Are you looking to extend your living space and add more value to your home? Building a sunroom on an existing patio is a great way to do just that! Here are the steps that you need to take to build a sunroom on your existing patio.

Creating an outdoor oasis that you can enjoy year-round has never been easier! If you’re looking to expand your living space in your backyard, check out the possibilities of building a sunroom on an existing patio.
It’s a great way to transform your patio into a stylish and inviting sanctuary while adding the bonus of additional square footage to your home. With careful planning, designing, and construction, you can construct a tailored environment that will let natural light shine in.
Throughout this blog post, we’ll walk through the essential steps for how to build a sunroom on an existing patio.
What Will You Need?
Before you begin, it’s important to ensure you have all the materials, tools, and supplies you need for the project. Here is a list of the essential items you will need:
- Framing materials – lumber, posts, beams, and joists
- Roof sheathing – plywood or OSB (oriented strand board) panels
- Roof covering – shingles, metal roofing, membrane
- Walls and windows
- Insulation for walls and ceiling
- Drywall for interior walls
- Painting supplies (primer and paint)
Once you have gathered the necessary supplies, you’re ready to begin building your sunroom!
10 Easy Steps on How to Build a Sunroom on an Existing Patio
1. Formulate Your Plans
The first step is creating detailed plans. This will include deciding where the sunroom will be located, how large it should be, what materials and windows you want to use, and more. You can draw up your own plans or hire an architect if needed.
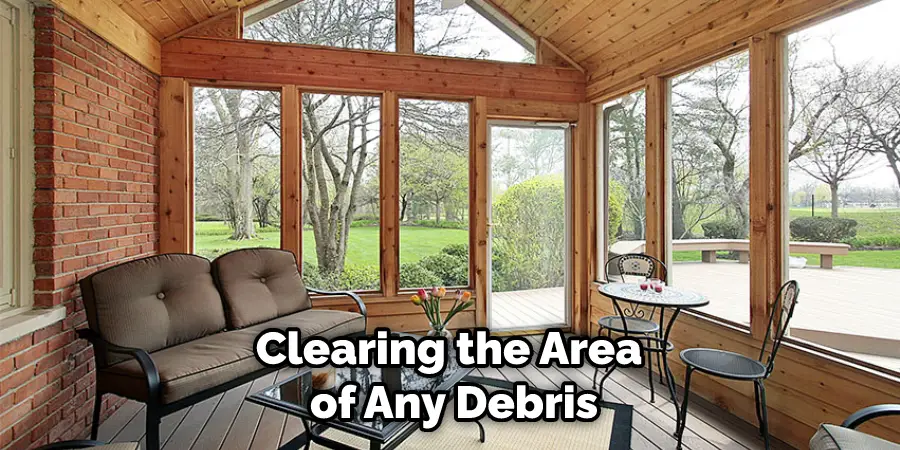
2. Prepare the Area
Once you’ve set your plan in motion, it’s time to start prepping the area where the sunroom will be built. This means clearing the area of any debris, leveling the land, and ensuring that it is safe to build on. Be careful not to damage existing utilities during the process.
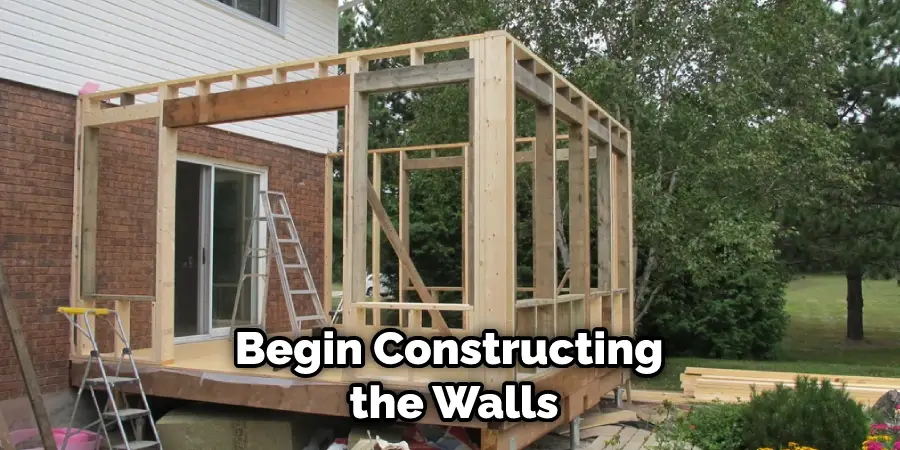
3. Assemble the Frames
Using your plans as a guide, begin assembling the frames for your sunroom. This will involve cutting lumber to size and attaching posts, beams and joists together with nails or screws, depending on how sturdy you want them to be. You can also hire a professional to do this step if needed.
4. Install Roof Sheathing
Once the framing is complete, it’s time to install roof sheathing onto the structure. This can be done using either plywood panels or OSB (oriented strand board) sheets which are lightweight but strong enough for this purpose. Another option is to use metal roofing panels which are more durable and easier to install.
5. Add Roof Covering
The next step is to cover the roof with a material of your choice. Shingles are the most common material used for this, but metal roofing and membrane can also be used. When installing shingles, you must ensure they overlap to prevent any water from seeping in. It will also help to extend the life of your roof.
6. Construct the Walls and Windows
Once the roof is complete, you can begin constructing the walls and windows for your sunroom. This will involve cutting out each individual piece of wood or metal framing that will make up the walls and windows, then assembling them together with nails or screws.
You may also want to add insulation between the frames for added protection from outside elements.
7. Hang Drywall
Now it’s time to hang drywall on all of your interior walls in order to protect them from moisture and damage. Each sheet should be precisely cut out before securing it in place with drywall screws or nails. Be sure to cover any seams with a joint compound to ensure a smooth finish.
8. Paint the Interior Walls
After allowing the joint compound to dry, you can paint your sunroom’s interior walls. This will add a bit of color to your room and also protect it from moisture damage. Be sure to use a primer before applying the final coat of paint for the best results.
9. Install Flooring
Once all the above steps are completed, you can install flooring in your sunroom. Depending on how much maintenance you want to do later down the road, you have a wide range of options here, such as tile, hardwood, laminate, and carpet. Be careful when installing the floor to ensure that it is level and secure.
10. Enjoy Your Sunroom!
The last step is to sit back, relax and enjoy your new sunroom! This is the perfect way to add additional living space to your home without building a whole new structure.

Whether you use it as a dining area, office, or just an extra place to hang out – there’s no limit to how you can use this space.
By following these steps, you’ll easily build a sunroom on an existing patio. With a little bit of planning and patience, you can have your dream sunroom in no time!
5 Additional Tips and Tricks
- Choose a sunroom design that complements your existing patio. Consider the style, size, and color of both the patio and the sunroom for a seamless look.
- Make sure you have all the necessary tools and materials on hand before starting construction on your existing patio. This will save you time in the long run as you won’t need to search for what you need as you go along.
- When it comes to building any structure, consider how much sunlight exposure it will get throughout the day to ensure optimal conditions for your sunroom.
- Adequately prepare your existing patio space with an appropriate foundation, gravel or sand, to support the new structure.
- Ensure the design and construction of your sunroom meet local building codes and regulations, as it will affect how you build and how long the sunroom lasts. Make sure to get any necessary permits for the work you’re doing.
Following these tips, you should have no issues building a sunroom on an existing patio. Good luck!
5 Things You Should Avoid
- Not properly measuring the size of your patio. Make sure you take precise measurements and consider how much space is needed to fit a sunroom comfortably.
- Skipping the permit process. Check with local authorities to see if a building permit is required before constructing a sunroom.
- Trying to DIY the entire project without professional help from an experienced contractor or installer who knows how to assemble and install a sunroom safely and securely.
- Ignoring applicable regulations. Make sure to research and adhere to building code regulations such as how much glass is allowed, how far away from the property line the sunroom must be, etc.
- Overlooking potential environmental hazards and safety issues. Make sure you are aware of your local environment and any pests or animals that may enter your sunroom, how hot it may become in direct sunlight, and how strong gusts of wind can affect the structure of your sunroom.
By following these tips, you can build a secure and safe sunroom on an existing patio with minimal hassle. Just remember to take precise measurements, get necessary permits, seek professional help, and research applicable regulations and potential environmental hazards.
Does a Sunroom Need a Foundation?
The answer to this question depends on how you plan to construct your sunroom. If you are planning on building a wooden frame structure attached to your existing patio, it may not need a dedicated foundation or footing.
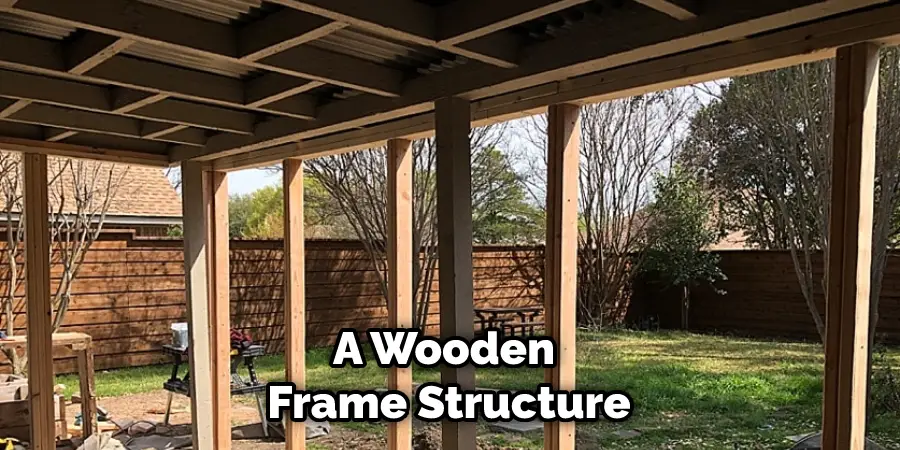
However, if you plan on constructing a freestanding sunroom with walls and roofing, then it will likely require some form of foundation for additional stability, such as concrete footings or piers. Consult with an expert and research local building codes before deciding the best foundation for your sunroom project.
Overall, how to build a sunroom on a patio is an easy and rewarding task if you take the right steps. Carefully measure your space, obtain necessary permits, hire professional help, and research applicable regulations and potential environmental hazards for a successful outcome.
Conclusion
Building a sunroom can be a fun, affordable, and stress-free project if you prepare properly – from having the right tools and materials to understanding the differences between types of sunrooms.
As long as you create a plan and do your research upfront, you should have no major issues with turning your existing patio into an exciting and inviting sun-filled living space.
Ultimately, this project is the perfect opportunity to get creative and express yourself – so get started today! Don’t forget to document your progress throughout; sharing photos of the work done along the way on social networks can help inspire others who may also want to build their own sunroom.
With a little commitment, patience, and some hard work, you can transform your home in no time.
Hopefully, the article on how to build a sunroom on an existing patio has provided some useful information and tips. Thanks for reading, and good luck with your new home improvement project!
You Can Check It Out to Extend Patio With Pavers
About
Outdoor Fixes is a distinguished figure in the world of Diy design, with a decade of expertise creating innovative and sustainable Diy solutions.
His professional focus lies in merging traditional craftsmanship with modern manufacturing techniques,
fostering designs that are both practical and environmentally conscious. As the author of diy,
outdoorfixes delves into the art and science of outdoorfixes-making, inspiring artisans and industry professionals alike.
Education RMIT University
(Melbourne, Australia) Associate Degree in Design (Outdoor Fixes) Focus on sustainable design, industry-driven projects,
and practical craftsmanship. Gained hands-on experience with traditional and digital manufacturing tools, such as CAD and CNC software.
Nottingham Trent University
(United Kingdom) Bachelor’s in outdoorfixes.com and Product Design (Honors) Specialized in product design with a focus on blending creativity with production
techniques. Participated in industry projects, working with companies like John Lewis and Vitsoe to gain real-world insights.
Publications and Impact
In diy, Outdoor Fixes his insights on indoor design processes, materials, and strategies for efficient production.
His writing bridges the gap between artisan knowledge and modern industry needs, making it a must-read for both budding designers and seasoned professionals.