Maintaining a swimming pool involves several key tasks, and occasionally, a complete drain is necessary. Whether you’re preparing for significant repairs, managing a severe chemical imbalance, or closing for the winter in a harsh climate, draining your pool is a major undertaking. For pool owners with a sand filter system, the process involves specific steps to ensure it is done correctly and safely.
This guide on how to drain pool with sand filter provides a detailed walkthrough on how to use your sand filter to drain your pool. Following these instructions carefully will help you avoid damage to your pool’s structure and equipment. Properly emptying your pool sets the stage for a fresh start, ensuring a clean and safe swimming environment for the future.

Tools and Materials You May Need
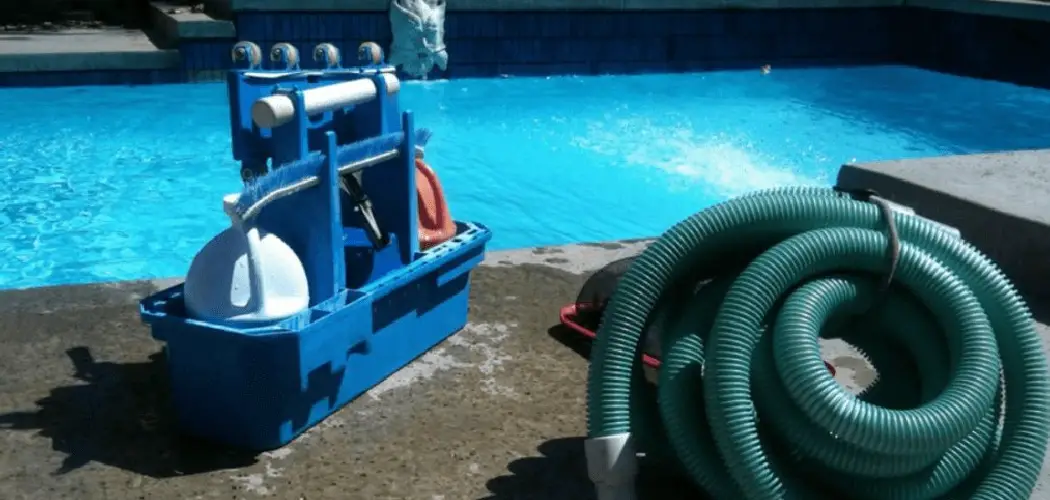
Before beginning the process of draining your pool with a sand filter, it is important to gather all necessary tools and materials. This will make the task more efficient and help prevent any delays or hiccups along the way. Some common tools and materials you may need include:
- A submersible pump
- Hoses (for both draining and refilling)
- A large container for storing pool water
- Protective gear such as gloves and goggles
- A garden hose or sump pump for removing remaining water from the bottom of the pool
- A vacuum head attachment for cleaning any debris on the bottom of the pool
8 Simple Step-by-step Guidelines on How to Drain Pool With Sand Filter:
Step 1: Prepare the Pool and Check Local Regulations
Before you start any draining activity, the first and most critical step is to prepare your pool and understand your local environmental regulations. Many municipalities have strict rules about where you can discharge large volumes of treated pool water.
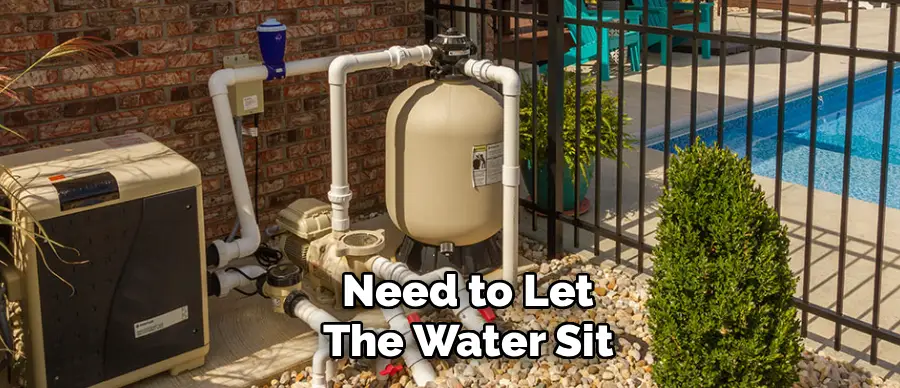
Pouring chlorinated water into storm drains can harm local ecosystems, so you must find a legally compliant drainage point, which might be your home’s sanitary sewer cleanout or a large, permeable area on your property far from any water sources. Additionally, check your water chemistry. If the chlorine levels are high, you may need to let the water sit for a few days without adding more chemicals to allow the chlorine to dissipate naturally to a level that is safe for discharge.
Failing to adhere to local ordinances can result in significant fines and environmental damage. Take the time to contact your local water authority or city planning department to get clear instructions on proper disposal. This initial research is not just about compliance; it’s about being a responsible pool owner.
Planning your drainage path is also part of this step. Ensure your backwash hose is long enough to reach the designated area and that the water will not flood your property, your neighbor’s property, or public walkways. This preparatory phase is foundational for a smooth and trouble-free draining process.
Step 2: Turn Off All Pool Equipment
Safety is paramount when working with pool systems, which combine water and electricity. Before you manipulate any part of your filtration system, you must completely shut down all power to the pool equipment. This includes the pool pump, heater, automatic chlorinator, and any lighting systems.
The most effective way to do this is at the main circuit breaker that supplies power to your pool pad. Simply turning off the pump’s timer or switch is not sufficient, as it can still receive power. Flipping the dedicated breaker to the “off” position ensures that no electrical current can reach the equipment, preventing the risk of electric shock and protecting the machinery from damage.
Once the power is off, it’s a good practice to put a piece of tape over the breaker switch with a note indicating that work is in progress. This small action can prevent someone from inadvertently turning the power back on while you are working on the system. Double-check that everything is powered down before proceeding.
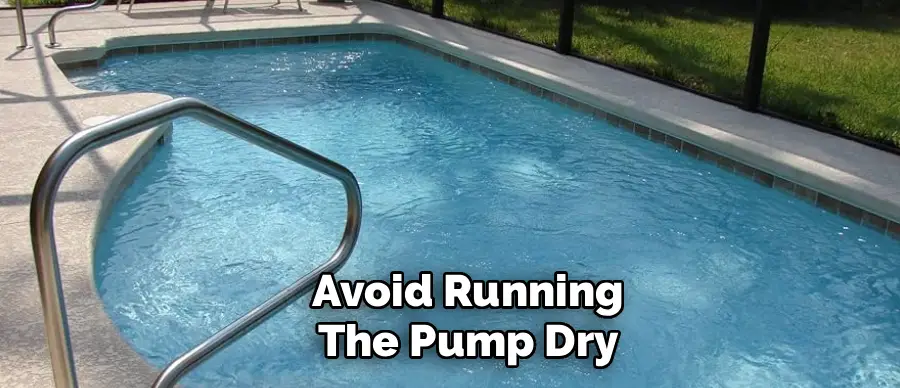
This step is non-negotiable and protects both you and your expensive pool equipment. Running a pump without water, known as running it dry, can cause it to overheat and fail within minutes, leading to costly repairs or replacements.
Step 3: Attach the Backwash Hose to the Waste Port
With the power safely turned off, you can now set up the drainage hardware. Your sand filter’s multiport valve will have several labeled ports, one of which is “WASTE” or “DRAIN.” This is the outlet you will use to discharge the pool water.
Take your backwash hose and securely attach one end to this waste port. Use a hose clamp and a screwdriver or pliers to tighten it firmly. A secure connection is vital to prevent the hose from detaching under the pressure of the flowing water, which could cause a messy and uncontrolled flood in your pool equipment area.
After connecting the hose to the filter, unroll it completely and extend it to your pre-determined, legally approved drainage location. Make sure there are no kinks, twists, or sharp bends in the hose, as these can restrict water flow and build up excess pressure in the system.
Position the output end of the hose so that the discharging water will not cause erosion, flooding, or damage to landscaping. If you are watering your lawn, move the hose periodically to distribute the water and prevent oversaturation in one spot. A smooth, straight path for the hose ensures an efficient and contained draining process.
Step 4: Set the Multiport Valve to the “WASTE” or “DRAIN” Setting
The multiport valve is the control center of your sand filter, directing the flow of water through the system. To drain the pool, you need to bypass the filter media and send the water directly out through the waste port. First, ensure the pump is still completely off at the breaker.
Next, press down firmly on the multiport valve handle and rotate it from its current position (likely “FILTER”) to the “WASTE” or “DRAIN” setting. You must always depress the handle before turning it; rotating it without doing so can damage the internal gasket, leading to leaks and improper function.

Once the handle is in the “WASTE” position, it should lock into place. Double-check that it is securely set in the correct slot. This setting creates a direct path from the pool’s main drain, through the pump, and straight out the backwash hose, bypassing the sand filter entirely.
This is the most efficient way to remove large volumes of water quickly. It is crucial that you never change the multiport valve’s setting while the pump is running, as the force of the water can cause immediate and severe damage to the valve. This simple but critical action determines the success of the entire draining operation.
Step 5: Begin Draining the Pool
With the multiport valve set to “WASTE” and the backwash hose properly positioned, you are ready to begin draining the water. Go back to your circuit breaker and turn the power to the pool pump back on. The pump will prime itself and then begin pulling water from the pool and pushing it out through the backwash hose. Immediately walk over to the end of the backwash hose to confirm that water is flowing out as expected and that it is being discharged into the correct location without causing any issues.
Also, check the connection at the waste port to ensure there are no leaks.
You must monitor the draining process closely. Do not leave the pump running unattended for an extended period. The main concern is that the water level will drop below the skimmer inlets and eventually the main drain, causing the pump to suck in air and run dry. This can quickly overheat and destroy the pump motor. For an in-ground pool, the process will take several hours, so plan to stay nearby. As the water level drops, it will first go below the skimmers. At this point, the pump will be pulling water exclusively from the main drain at the bottom of the pool.
Step 6: Monitor the Water Level and Turn Off the Pump
As the pool drains, constant monitoring is essential to protect your equipment. The most critical moment comes as the water level approaches the main drain at the bottom of the deep end.
Once the water level gets low enough that the main drain starts to pull in air, you will often hear a change in the sound of the pump as it struggles. You may also see air bubbles in the pump’s strainer basket. This is your cue to act immediately. Running the pump with a mix of air and water, or just air, is incredibly damaging.
The moment you see signs of the pump taking in air, head straight to the circuit breaker and shut off the power to the pump completely. Do not delay, as even a few minutes of running dry can cause irreversible damage to the pump’s seals and motor.
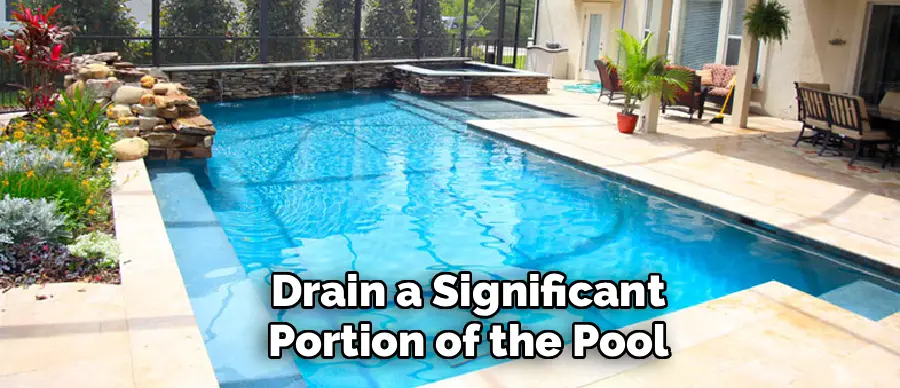
The sand filter itself can drain a significant portion of the pool, but it will not be able to remove all the water. There will inevitably be a few inches of water remaining at the bottom, especially in the deep end, that the main drain cannot reach. Trying to get this last bit of water with the main pump is risky and inefficient.
Step 7: Remove the Remaining Water with a Submersible Pump
After turning off the main pool pump, you will be left with a shallow pool of water at the bottom. To remove this remaining water, you will need a submersible pump, also known as a sump pump. Place the submersible pump in the deepest part of the pool, which is typically near the main drain.
Attach another discharge hose to the submersible pump and run it to the same approved drainage area you used for the backwash hose. Plug the pump into a GFCI-protected outlet to ensure electrical safety, and turn it on.
The submersible pump will efficiently remove the last several inches of water from the pool floor. You may need to sweep or push water towards the pump with a pool brush to get the surface as dry as possible.
This is particularly important if you are planning to perform repairs, repaint the surface, or conduct an acid wash, as these tasks require a completely dry and clean surface. Using a submersible pump is the safest and most effective method for this final stage of draining, protecting your main pool pump from damage and ensuring the pool is fully empty and ready for the next steps of your maintenance project.
Step 8: Perform Necessary Maintenance and Refill
Once the pool is completely empty and dry, you can proceed with the intended maintenance. This could include tasks like acid washing to remove stains, repairing cracks in the plaster, replacing tiles, or repainting the surface.
While the pool is empty, it’s also an excellent opportunity to inspect all its components, including the main drain cover, lights, and return fittings, to ensure they are in good condition and securely fastened. Perform your work efficiently, as leaving a pool empty for too long, especially an in-ground vinyl liner or fiberglass pool in an area with a high water table, can be risky. The external pressure from groundwater can cause the pool shell to lift or “pop” out of the ground.
After completing all repairs and cleaning, you can begin the refilling process. Before you start, remember to reset your filtration system. Return the multiport valve handle to the “FILTER” position. Close any air relief valves you may have opened. Begin filling the pool with one or more garden hoses.
As the pool fills, place a clean cloth under the hose nozzle to prevent it from damaging the pool surface. Once the water level reaches the middle of the skimmer opening, you can turn your filtration system back on. The final step will be to test and rebalance the new water’s chemistry, adding the necessary chemicals to get it back to safe and comfortable swimming levels.
Following these steps on how to drain pool with sand filter, you can successfully drain and refill your pool without any issues. However, before starting the process, it is important to check with your local municipality or water district for any regulations or restrictions on draining and refilling your pool.
Safety Precautions and Considerations
When draining your pool, safety should always be your top priority. Always turn off all power at the circuit breaker before working on any equipment to prevent electric shock. Never leave a draining pool unattended to avoid running the pump dry, which can cause costly damage.
Be aware that an empty in-ground pool, particularly fiberglass or vinyl liner types, can be vulnerable to popping out of the ground due to hydrostatic pressure from groundwater. Therefore, avoid draining your pool after heavy rains and try to complete your work and refill it as quickly as possible.
Do You Need To Use Professionals?
While many pool owners can successfully drain their pool as a DIY project, there are specific situations where hiring a professional is the wiser choice. If you are inexperienced with your pool’s equipment or unsure about local drainage regulations, a professional can manage the process safely and legally. Furthermore, for major repairs like resurfacing, acid washing, or fixing significant structural cracks, professional expertise is essential.
They have the right tools, knowledge of different pool types (concrete, vinyl, fiberglass), and an understanding of risks like hydrostatic pressure. If your pool is in an area with a high water table or if you need to drain it during a wet season, letting a professional handle the job can prevent catastrophic damage, such as the pool shell lifting from the ground.
Frequently Asked Questions
Q1: How Long Does It Take to Drain a Pool?
A1: The time it takes to drain a pool depends on several factors, including the size of the pool, the flow rate of your pump, and the diameter of your backwash hose. For an average-sized residential pool (15,000-20,000 gallons), you can expect the process of draining with the main pump to take anywhere from 8 to 14 hours. Using an additional submersible pump for the final stage will add another hour or two to the total time.
Q2: Can I Drain My Pool into the Street?
A2: In most cases, no. Most municipalities have strict environmental regulations that prohibit discharging chlorinated or chemically treated water into storm drains, which lead directly to local rivers and streams. This can harm aquatic life. You must check with your local water authority for approved disposal methods, which typically involve draining into your home’s sanitary sewer cleanout or onto a large permeable surface on your property where the water can be absorbed safely.
Q3: What Happens if I Leave My Pool Empty for Too Long?
A3: Leaving a pool empty for an extended period, especially an in-ground pool, can be risky. The primary danger is hydrostatic pressure from surrounding groundwater pushing against the empty shell, which can cause a fiberglass or vinyl liner pool to pop out of the ground.
For concrete or gunite pools, prolonged exposure to the sun and air without water can cause the plaster to dry out, shrink, and crack. It is best to complete any necessary work and refill the pool as quickly as possible, ideally within a few days.
Q4: When Is the Best Time of Year to Drain a Pool?
A4: The best time to drain a pool is typically during the spring or fall when the weather is mild and the water table is likely to be lower. Avoid draining your pool during periods of heavy rain or in the middle of winter in freezing climates. Draining in the extreme heat of summer can also be problematic, as the direct sun can damage the exposed pool surface. Planning the project for a dry, temperate time of year minimizes risks and provides a more comfortable working environment.
Conclusion
Draining a pool using your sand filter is a manageable task when approached with care, preparation, and a clear understanding of the process. By following these step-by-step guidelines on how to drain pool with sand filter, from checking local regulations to safely refilling the pool, you can effectively empty your pool for necessary maintenance without damaging your equipment or the pool structure itself.
Safety remains the most important aspect, so always prioritize shutting off power and monitoring the process closely.
While the DIY approach is feasible for many, remember that professional assistance is a valuable option for complex repairs or if you are uncertain about any part of the procedure. Proper maintenance, including the occasional drain and refresh, is key to the long-term health and enjoyment of your swimming pool.
About
Outdoor Fixes is a distinguished figure in the world of Diy design, with a decade of expertise creating innovative and sustainable Diy solutions.
His professional focus lies in merging traditional craftsmanship with modern manufacturing techniques,
fostering designs that are both practical and environmentally conscious. As the author of diy,
outdoorfixes delves into the art and science of outdoorfixes-making, inspiring artisans and industry professionals alike.
Education RMIT University
(Melbourne, Australia) Associate Degree in Design (Outdoor Fixes) Focus on sustainable design, industry-driven projects,
and practical craftsmanship. Gained hands-on experience with traditional and digital manufacturing tools, such as CAD and CNC software.
Nottingham Trent University
(United Kingdom) Bachelor’s in outdoorfixes.com and Product Design (Honors) Specialized in product design with a focus on blending creativity with production
techniques. Participated in industry projects, working with companies like John Lewis and Vitsoe to gain real-world insights.
Publications and Impact
In diy, Outdoor Fixes his insights on indoor design processes, materials, and strategies for efficient production.
His writing bridges the gap between artisan knowledge and modern industry needs, making it a must-read for both budding designers and seasoned professionals.