
Are you looking to create more additional storage space in your garden? If so, then extending a shed may be an ideal solution. With the right materials and tools, it’s easy to extend your existing shed with minimal effort or cost involved. This blog post will provide easy step-by-step instructions on exactly how to do it – from choosing supplies wisely and selecting the right foundation for your new addition, all the way through to painting it for a professional finish. Let’s get started!
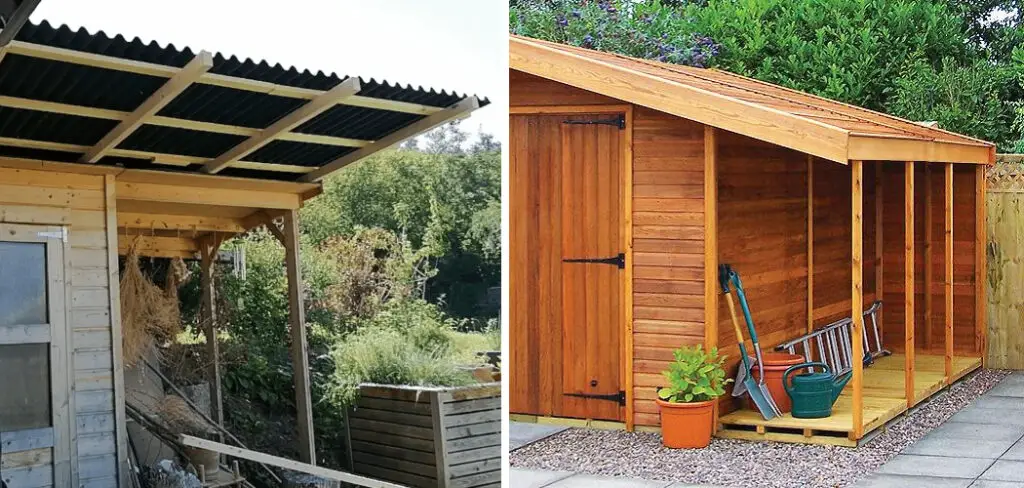
Adding on to your existing structure can provide more usable room while still avoiding any additional building permits – but it’s not always easy. In this blog, we’ll explain how to extend a shed safely and efficiently so that you can enjoy the benefits of added storage space without having to worry about construction mishaps along the way! Read on for full details and helpful tips.
Why May You Want to Extend a Shed
1 . To Increase Storage Space
When you need more space for your tools, furniture or other items, extending the shed is a great way to add additional storage. This is especially helpful when you don’t have room in your home and require a secure storage area outside.
2 . To Upgrade the Look of Your Shed
Upgrading the look of your shed can add value to your property and make it more attractive. To accomplish this, extending your shed can give you the additional space to accommodate new doors, windows or any other feature that you would like to include.
3 . To Add a Deck or Patio Area
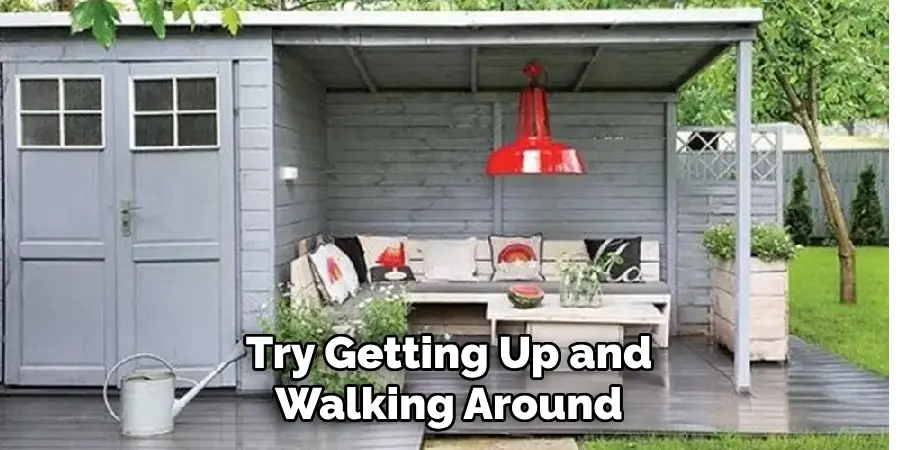
With an extended shed, you have the opportunity to build a deck or patio area off the side of your shed. This can be a great way to create a comfortable outdoor space for entertaining, relaxing or working on projects.
4 . To Insulate the Shed
An extended shed allows you to add additional insulation and make sure that your items are protected from the elements. You might also want to consider adding an insulated roofing material to keep it cool in the summer and warm in the winter.
5 . To Create a Multi-functional Space

An extended shed can be used as both storage and living space. With additional living space, you could use your extended shed for hobbies such as painting or woodworking. Or, if you are feeling creative, you could even turn it into an outdoor office.
6 . To Increase Your Home’s Curb Appeal
Finally, extending your shed can increase your home’s curb appeal and make it look more inviting. Whether you decide to stain or paint the exterior of the extended shed, adding an attractive feature to your yard can attract more attention and boost its value.
How to Extend a Shed in 5 Easy Steps
Step 1: Gather All The Tools
The very first step is to gather all the necessary tools you will need for this job. This includes a measuring tape, saw, drill, screws and concrete blocks. Make sure you have everything at hand so that you don’t have any trouble with the installation process later on.
Step 2: Plan Your Extension
Once you have gathered your materials it is important to get a clear plan for the extension. Consider what size you want your shed to be as well as the placement of the windows and doors. This will help you create a blueprint for the construction project, so take your time with this step.
Step 3: Construct The Foundation
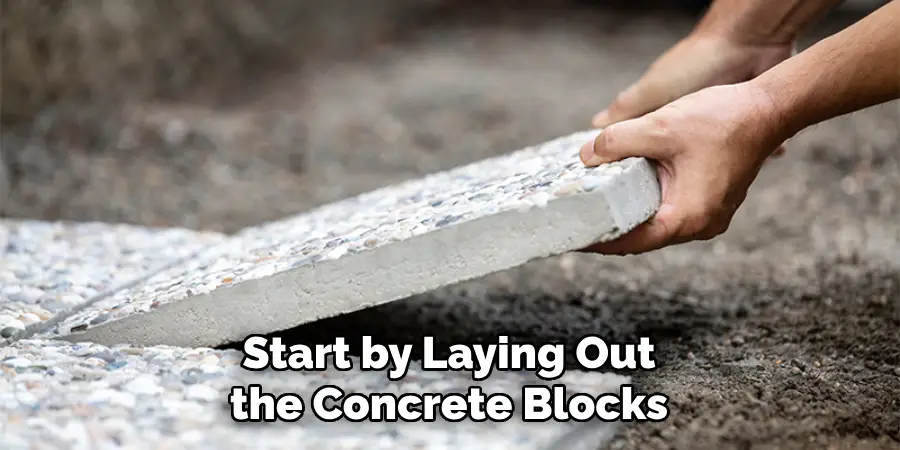
Once you have figured out where and how you would like your shed to look, it is time to construct the foundation. Start by laying out the concrete blocks and making sure they are even. Put the 2x4s into place and attach them with screws. This will form a strong base for your shed extension.
Step 4: Assemble The Walls
Now that you have a sturdy foundation in place, start constructing the walls of your shed. Use the pre-cut wood and screw them into place along the concrete blocks. Build each wall according to your plan until you have created the frame for your new extension.
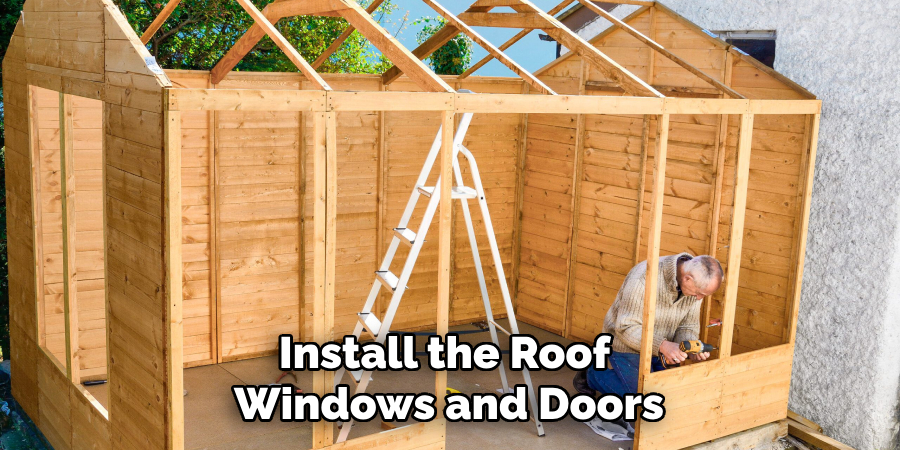
Step 5: Install The Roof And Doors/Windows
The final step in extending your shed is to install the roof, windows and doors. After measuring and cutting the wood according to your plan, screw them into place. Make sure that everything is secure and watertight before you consider your project finished.
Some Extra Tips to Extend a Shed
1 . Prepare the Foundation
It is highly important to ensure that the foundations for a shed are stable and reliable. Before beginning to extend an existing shed, make sure to check if the foundation is secure enough. If it needs repairs or replacing, do so before starting any other work on the extension.
2 . Choose Appropriate Materials
When extending a shed, it is important to select the right materials for the job. Take into account factors such as weathering, cost, and durability when selecting wood or other building materials.
3 . Measure Twice, Cut Once
Before cutting any pieces of lumber for an extension project, it is essential to make sure that all measurements are accurate. Double-check measurements before buying materials to ensure that the extension project will go smoothly and successfully.
4 . Protect the Shed from Weather
When extending a shed, it is important to make sure that all new materials are properly sealed and protected from the elements. This can be done by applying sealant or paint to protect wood from water damage and rot. Additionally, install appropriate flashing around all new joints and connections to help prevent water leakage from the extended shed.
5 . Get Professional Assistance If Required
If a shed extension is too large or complex for one person, consider hiring a professional contractor who has experience in building or remodeling sheds. Professional contractors can provide useful guidance and advice to ensure that an extended shed project is successful.
6 . Enjoy the Extended Shed
Once a shed extension is complete, it can be enjoyed for years to come! With proper care and maintenance, an extended shed can provide much-needed storage space or an additional living area. Have fun with the project and enjoy all of its benefits.
Frequently Ask Question
What Precautions Should I Take When Extending a Shed?
Extending your shed is a great way to maximize storage space and create extra room for tools, supplies, and other items. However, there are some precautions you should take before beginning any work on your shed. Before starting the project, make sure the area you are working with is level and stable. You don’t want to run the risk of your shed tipping over or shifting after you have extended it.
Additionally, make sure that the materials used are strong enough to support any extra weight from items being stored in the shed. Finally, be sure to check the local building codes and zoning regulations for your area before beginning any project involving a structure on your property. Taking these precautions will ensure a safe and successful extension of your shed.
What Kinds of Materials Can I Use to Extend My Shed?
The possibilities for materials used to extend your shed are almost limitless. The most common materials used in shed extensions are wood, metal, and plastic. Wood is an affordable option that can be easily painted or stained to match the existing structure. However, wood is not as durable and may require more maintenance over time. Metal is a more durable option that can be used to add support for heavier items, but it is generally more expensive than other materials. Plastic is an inexpensive material that offers a lightweight and easy-to-install solution. Ultimately, the choice of material depends on your budget and preferences.
What Steps Should I Take to Extend My Shed?
When it comes to extending your shed, the steps will vary depending on the type of material being used and the complexity of the project. Generally, there are a few key steps you should take regardless of the material. First, measure and cut all necessary pieces for the extension before beginning installation. Second, carefully secure the pieces together with nails, screws, or bolts. Finally, attach the extended structure to the existing shed. Be sure to check that all connections are secure and that there is no risk of it becoming unstable. If you follow these steps carefully, your shed should be safely extended in no time!
Conclusion
It is easy to extend a shed without much effort. With the right materials and a few helpful tools, you can customize the size of your shed in no time. Once complete, you will have extra space to store all your garden supplies or use as an outdoor workspace.
Now you know how to extend a shed! Whatever you decide, extending a shed could be one of the most satisfying DIY projects that allow you to become more organized and efficient with limited resources. Plus, the sense of pride you feel when completing such a project is priceless! Therefore, if you are looking for an interesting afternoon activity that gives useful results, look no further than the task of extending a shed!
About
Outdoor Fixes is a distinguished figure in the world of Diy design, with a decade of expertise creating innovative and sustainable Diy solutions.
His professional focus lies in merging traditional craftsmanship with modern manufacturing techniques,
fostering designs that are both practical and environmentally conscious. As the author of diy,
outdoorfixes delves into the art and science of outdoorfixes-making, inspiring artisans and industry professionals alike.
Education RMIT University
(Melbourne, Australia) Associate Degree in Design (Outdoor Fixes) Focus on sustainable design, industry-driven projects,
and practical craftsmanship. Gained hands-on experience with traditional and digital manufacturing tools, such as CAD and CNC software.
Nottingham Trent University
(United Kingdom) Bachelor’s in outdoorfixes.com and Product Design (Honors) Specialized in product design with a focus on blending creativity with production
techniques. Participated in industry projects, working with companies like John Lewis and Vitsoe to gain real-world insights.
Publications and Impact
In diy, Outdoor Fixes his insights on indoor design processes, materials, and strategies for efficient production.
His writing bridges the gap between artisan knowledge and modern industry needs, making it a must-read for both budding designers and seasoned professionals.