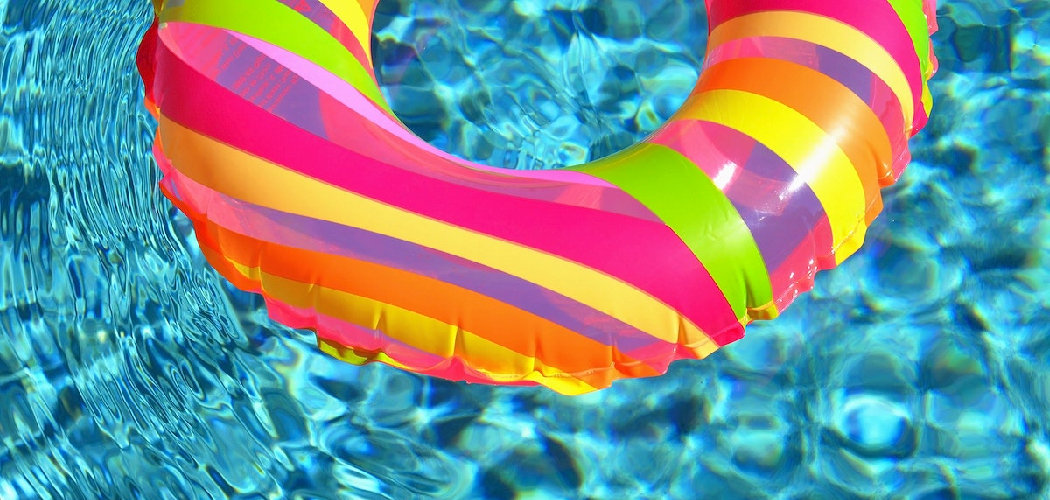

Whether you’re planning a day at the beach or a weekend trip to the lake, having an inflatable swimming tube is a must for any water adventure. But before you can enjoy hours of fun in the sun, first, you have to inflate your tube!
Fortunately, inflating your tube doesn’t have to be complicated. You can quickly and easily get your tube ready with simple steps and the right tools. So keep reading to learn more about how to inflate swimming tube.
Can You Inflate the Swimming Tube?
Swimming tubes are a great way to lounge around in the pool, but sometimes they can get too flat to provide enough comfort. Knowing how to inflate your tube properly is key. Inflation can be done with either a hand pump or an air compressor, which can be purchased at major sports retailers.
Depending on the type of valve your swimming tube has, select the nozzle accordingly and inflate it until you have reached the desired level of firmness. Be sure not to over-inflate, though! After a few uses, it’s always a good idea to check that the tube has not lost its Air, so it remains comfortable and easy to use.
Why Should You Inflate the Swimming Tube?
Swimming tubes provide hours of enjoyment for everyone, from children to adults. Not only are they great fun, but taking the time to ensure your swimming tube is properly inflated can also help ensure that you and your family remain safe while out on the water.

Taking the time to ensure that your swimming tube is properly filled with air gives you greater control while enjoying the water and helps prevent unwanted accidents due to faulty equipment.
It’s important to remember that, like any other gear, investing a few extra minutes to ensure that it is up-to-date and properly inflated will help keep you safe and sound for many more enjoyable trips out on the lake or river.
7 Steps to Follow on How to Inflate Swimming Tube
Step 1: Gather Your Supplies
The first step in inflating your swimming tube is gathering your supplies. For this job, you will need an air pump (either manual or electric) and an inflation nozzle that fits the size of your tube’s valve. If you use an electric air pump, ensure it’s plugged in and turned on before beginning.
Step 2: Attach the Nozzle and Start Pumping
Once all of your supplies are gathered, attach the inflation nozzle to the valve on your swimming tube. Then turn on the pump—if using an electric one—and begin pumping air into the tube until it reaches its desired firmness.
If using a manual pump, keep pumping until you reach the desired firmness; just make sure not to over-inflate! As you fill up the tube with air, often check to make sure there are no leaks at either end of the nozzle.
Step 3: Fix Any Leaks
If there are any leaks at either end of the nozzle, replace them immediately with new ones so that no air escapes from your tube as it fills up. Furthermore, always ensure that both ends of each nozzle fit securely into their respective valves so that no air escapes while inflating or after completing inflation.
Once all leaks are fixed, and everything is secure, continue pumping until your swimming tube has reached its desired level of firmness.
Step 4: Check Firmness
Once your tube has reached the desired level of firmness, it’s time to check how tight it is. To do this, press down on the top and bottom of the tube to ensure that there are no soft spots or weak areas. If you find any weak spots, simply pump more air into the tube until it is firm throughout.
Step 5: Securely Attach Valve Cap
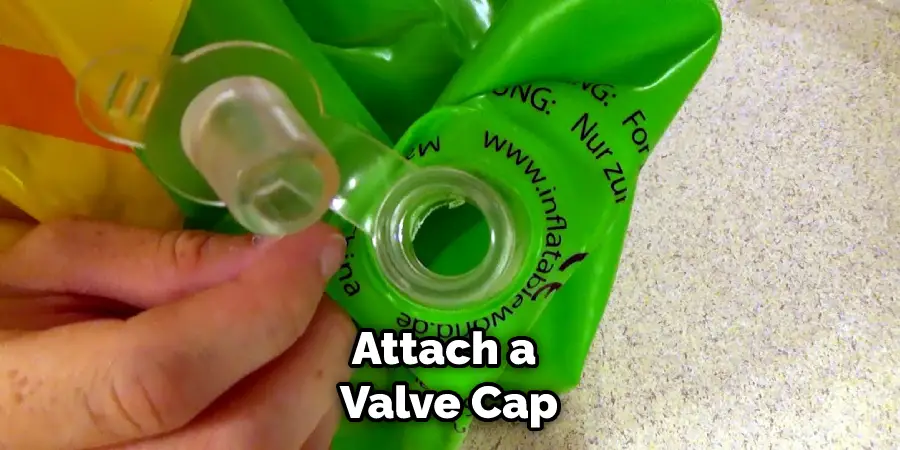
Once your swimming tube has been filled to its desired level of firmness, make sure to attach a valve cap to the end of each nozzle—this will help ensure that no more air escapes from the tube as you use it.
Step 6: Disconnect Nozzle and Store Away Pump
When you’re done inflating the tube, make sure to disconnect the nozzle from both ends of the tube before storing away your air pump. This will help prevent any excess air from escaping and ensure that your swimming tube remains inflated for longer.
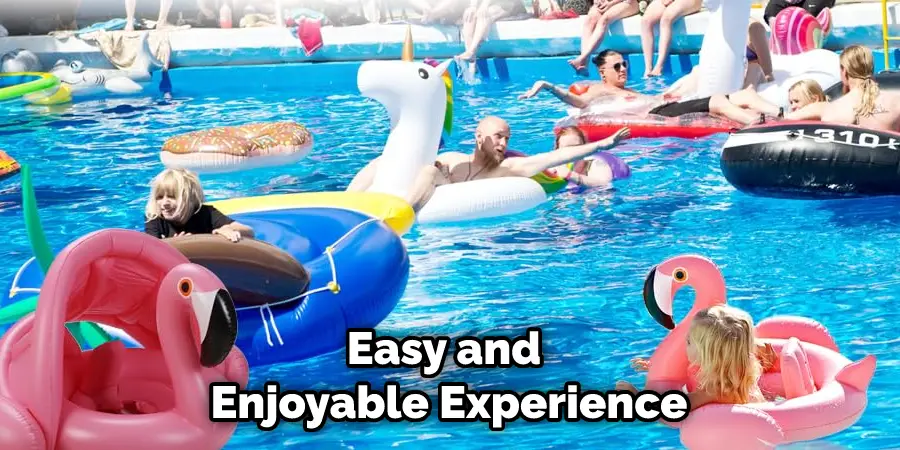
Step 7: Enjoy Swimming!
Now that your swimming tube is inflated, it’s time to enjoy the fun! Grab a few friends or family members and hit the pool—you’re sure to have a blast. With these steps as your guide, inflating your swimming tube should be an easy and enjoyable experience. Have fun!
That’s it! You’ve now learned how to inflate swimming tube, from gathering your supplies to enjoying the pool fun. With these steps as your guide, inflating your swimming tube should be a breeze, and you’ll be ready for a wonderful day of swimming in no time.
Things You Need to Know Before Inflating Swimming Tube
Before setting off to have fun in the pool with an inflatable swimming tube, you should know a few things. Firstly, always check the tube for any tears or punctures that may have developed over time and repair them before inflating.
Secondly, make sure to use a quality pump when inflating and deflating, as this can ensure safety and prevent the malfunction of valves and other components.
Thirdly, use suitable valves, ones made specifically for the type of tube you are using, as this will improve air retention and provide greater stability during use.
Finally, do not over-inflate your swimming tube; checking the pressure gauge is essential. If followed correctly, these tips can help provide a safe and enjoyable experience anytime you go for a swim.
Benefits of Inflating Swimming Tube
Swimming pool tubes are a fun and safe way to enjoy time spent in the water. Inflatable swimming pool tubes provide multiple benefits, including the ability to pack up flat when not in use, and their lightweight and easily portable construction provides a convenient item for traveling.
They are also very affordable compared to other flotation devices, such as boats or life jackets. Additionally, swimming pool tubes often have brightly colored designs and patterns, making them sensational and eye-catching when used in or around the pool or lake.
Overall, inflatable swimming tubes offer an array of benefits that make them an ideal choice for recreational water activities where safety is essential.
6 Common Mistakes People Make When Trying to Inflating Swimming Tube
1. Not Checking the Weather First
One of the most common mistakes people make when trying to inflate a swimming tube is not checking the weather first. The tube will likely inflate fine if the weather is hot and sunny. However, getting the tube to inflate properly can be much more difficult if the weather is cold or wet.
2. Not Using a Pump
Another common mistake is not using a pump to help inflate the tube. While it is possible to blow up a tube without a pump, it will take much longer and be much more difficult. A pump will help to get the job done quickly and easily.
3. Not Following the Instructions
When inflating a swimming tube, it is important to follow the instructions that come with the product. Each type of tube will have its own specific inflation process, so it is essential to follow the directions to get the best results.
4. Overinflating the Tube
One mistake that people often make when inflating a swimming tube is overinflating it. This can cause the tube to burst or leak, which can be extremely dangerous. It is important only to inflate the tube to the recommended level to avoid accidents.
5. Underinflating the Tube
Just as overinflating can be dangerous, so can underinflating. If the tube is not inflated enough, it will not provide proper support and could lead to someone getting hurt. It is important to inflate the tube enough so that it is firm but not too hard.
6. Not Letting the Air Out After Use
Another mistake people make when using a swimming tube is not letting all of the air out after they are finished using it. If air is left in the tube, it can cause mold or mildew to grow, harming your health.
Is an Electric or Manual Pump Better for Inflating a Swimming Tube?
While the preferred pumps for inflating a swimming tube may vary from person to person, both electric and manual pumps can get the job done. Generally, electric pumps are faster and more efficient at pumping air into items such as swimming tubes or air mattresses.

However, manual pumps tend to be smaller and more portable, making them a great option for users who will often need to inflate their swimming tubes on the go.
Additionally, electric pumps typically cost more than manual models; this makes investing in a manual pump an attractive choice for those who aren’t willing to make a larger financial commitment. Ultimately, the choice of which pump is best depends on personal preference and budget.
Conclusion
Inflating a swimming tube doesn’t have to be difficult when you have all of the necessary supplies and know how to use them properly!
By following these simple steps—gather supplies, attach nozzle/start pumping, and fix any leaks—you can quickly and easily inflate any type of swimming tube in no time flat.
So what are you waiting for? Get out there and enjoy those summertime waters! Thanks for reading our post about how to inflate swimming tube.
About
Outdoor Fixes is a distinguished figure in the world of Diy design, with a decade of expertise creating innovative and sustainable Diy solutions.
His professional focus lies in merging traditional craftsmanship with modern manufacturing techniques,
fostering designs that are both practical and environmentally conscious. As the author of diy,
outdoorfixes delves into the art and science of outdoorfixes-making, inspiring artisans and industry professionals alike.
Education RMIT University
(Melbourne, Australia) Associate Degree in Design (Outdoor Fixes) Focus on sustainable design, industry-driven projects,
and practical craftsmanship. Gained hands-on experience with traditional and digital manufacturing tools, such as CAD and CNC software.
Nottingham Trent University
(United Kingdom) Bachelor’s in outdoorfixes.com and Product Design (Honors) Specialized in product design with a focus on blending creativity with production
techniques. Participated in industry projects, working with companies like John Lewis and Vitsoe to gain real-world insights.
Publications and Impact
In diy, Outdoor Fixes his insights on indoor design processes, materials, and strategies for efficient production.
His writing bridges the gap between artisan knowledge and modern industry needs, making it a must-read for both budding designers and seasoned professionals.