
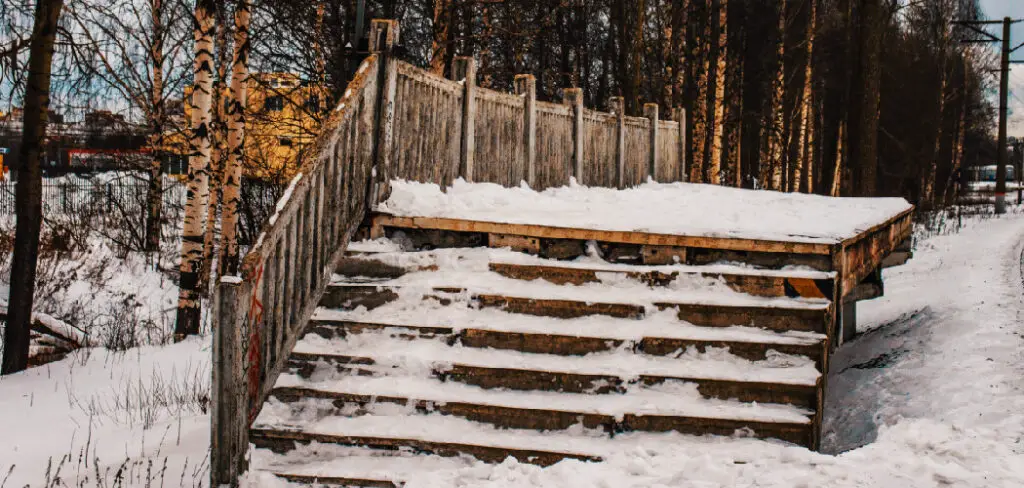
Do you have a sloped yard and want to install a privacy fence? Installing a bar on a sloped terrain can be tricky, but it’s not impossible. With careful planning and preparation, you can construct the perfect backyard oasis for your home in no time!
In this guide, we will provide detailed instructions on how to install a privacy fence on a slope with ease along uneven surfaces, enabling you to quickly transform an open space into an enclosed area with added protection from adjacent regions.
We will take you through each step of the installation process – including posthole digging, selecting materials, fastening posts in place, stretching panels between posts, and lastly, adding gate accessories. By following these steps closely, you should create desirable boundaries while maintaining the reliable structural integrity of the fencing system without difficulty.
Necessary Items
Before installing your privacy fence, gathering all the necessary materials and tools is important. These include:
- Fence panels
- Pressure
- Fence posts
- Post caps
- Concrete mix
- Gravel or crushed stone
- Level
- Tape measure
- Post-hole digger or auger
- Circular saw
- Hammer or mallet
- Nails or screws
- Gate hardware (if installing a gate)
It’s also helpful to have someone assist you during the installation process, as it can be physically demanding, and having an extra set of hands can make things easier. Once you have all your materials ready, you can begin planning and preparing for the installation.
10 Steps on How to Install a Privacy Fence on a Slope
Step 1: Planning and Preparation
Before starting any construction work, planning and preparing the area where you’ll be installing the privacy fence is essential. Start by marking out the location of your fence with string or spray paint. Make sure to consider any elevation changes and determine the placement of posts accordingly.
Step 2: Digging Post Holes
Next, use a post-hole digger or auger to dig the holes for your fence posts. The hole’s depth should equal one-third of the length of the post plus six inches. This will provide sufficient stability and strength for your fence.
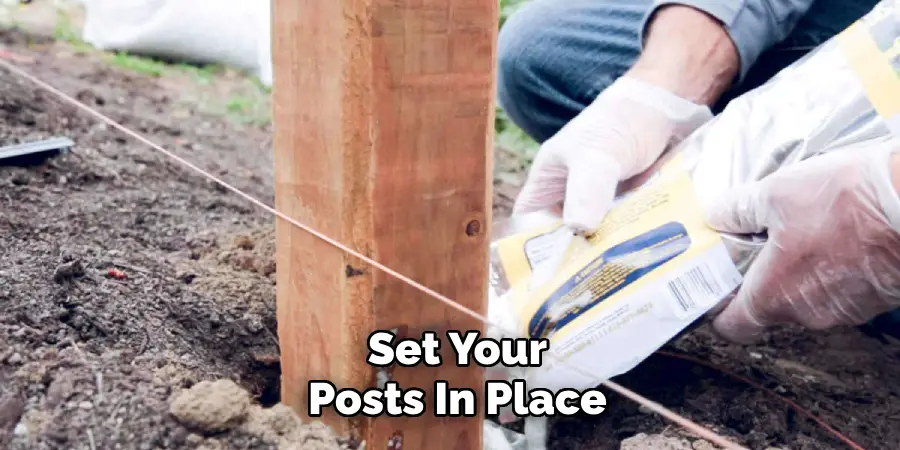
Step 3: Leveling Posts
Once all your holes are dug, it’s time to set your posts in place. Use a level to ensure that the posts are straight and plumb. If your slope is significant, use angled cuts on the bottom of the posts to create a level top.
Step 4: Securing Posts
After the posts are positioned, fill each hole with concrete mix and gravel or crushed stone. This will help secure the posts in place and provide additional stability.
Step 5: Installing Post Caps
Once the concrete has been set, install post caps on each post to protect it from water and weather damage. This step is optional but recommended for added durability.
Step 6: Setting Stringers
Next, attach stringers (horizontal support beams) between the posts. Cut them at an angle if necessary to follow the slope of the terrain. These will serve as a base for attaching your fence panels.
Step 7: Adding Fence Panels
Carefully attach your fence panels to the stringers, ensuring they are level and evenly spaced. Use nails or screws to secure them in place.
Step 8: Installing Gate Hardware
If you plan on including a gate in your privacy fence, now is the time to install the necessary hardware. Follow the manufacturer’s instructions for proper installation.
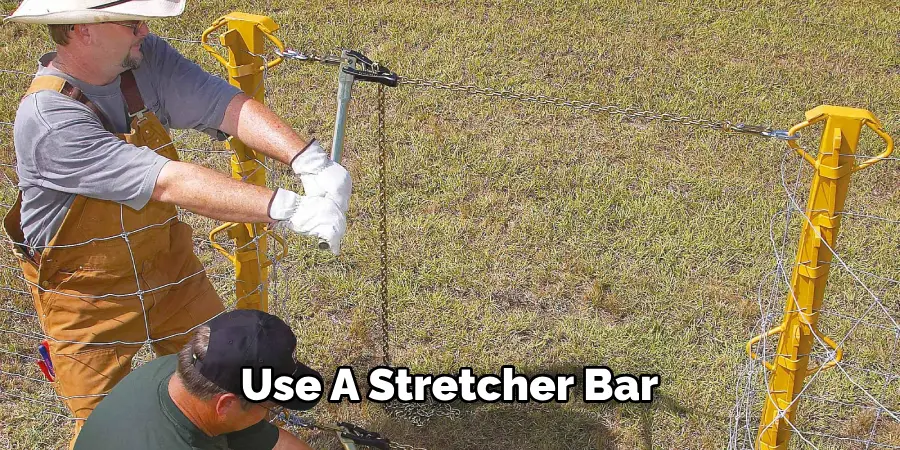
Step 9: Stretching Panels
Once all panels are installed, use a stretcher bar or come along to pull them tight and ensure they are evenly spaced. This step is crucial for maintaining structural integrity on a slope.
Step 10: Finishing Touches
Lastly, add any finishing touches, such as post caps, trim pieces, or decorative elements, to enhance the appearance of your privacy fence. Ensure everything is securely in place before enjoying your newly installed fence on a slope!
Installing a privacy fence on a slope may seem daunting, but it can be done successfully with proper planning and preparation. Remember to gather all necessary materials and tools, carefully plan the placement of your fence posts, and take your time with each step of the installation process.
With these instructions, you can create a beautiful and functional privacy fence that will provide security and enhance the overall look of your property for years to come. So roll up your sleeves and get ready to transform your sloped yard into a private oasis!
8 Care Tips for Privacy Fence on a Slope
Now that you have successfully installed your privacy fence on a slope, it’s essential to maintain and care for it to ensure its longevity properly. Here are some helpful tips:
1. Regularly Inspect and Repair
Make a habit of inspecting your fence regularly for any signs of damage or wear. Address any issues promptly to prevent them from worsening.
2. Keep the Fence Clean
Dirt, debris, and mildew can build up on your fence over time. Use a gentle cleaner and a soft brush to clean it regularly, especially in areas with high moisture.
3. Trim Plants and Trees
Plants and trees near your fence can cause damage or pressure it, especially as they grow over time. Keep them trimmed to avoid any potential issues.
4. Check for Proper Drainage
Ensure that your fence has proper drainage to prevent water from pooling around the posts, which can lead to rot and instability.
5. Protect Against Rot
Wooden fences are susceptible to rot, especially in areas with high moisture or constant exposure to water. Consider applying a waterproof sealant to prevent this issue.
6. Re-stain or Paint as Needed
If you have a wooden fence, it’s essential to re-stain or paint it every few years to protect the wood from weather damage and maintain its appearance.

7. Repair Any Damaged Areas
If you notice any damaged areas, such as loose boards or broken hardware, repair them immediately to prevent further damage and maintain the structural integrity of your fence.
8. Consider Professional Maintenance
For those uncomfortable with maintaining their privacy fence on a slope, hiring professionals for regular maintenance and repairs is always a good idea. This will ensure your fence is in top condition and save you time and effort.
Remember these care tips and your privacy fence on a slope will continue to serve its purpose and enhance the beauty of your property for years to come! So sit back, relax, and enjoy your private oasis. Proper care and maintenance are key to a long-lasting privacy fence on a slope. With these tips, you can rest assured that your fence will stay strong and beautiful for years.
Frequently Asked Questions
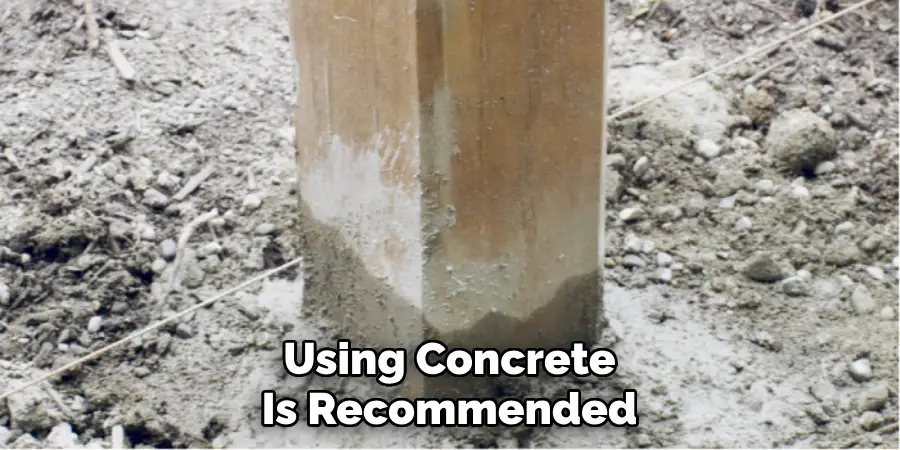
Is Using Concrete When Installing a Privacy Fence on a Slope Necessary?
While using concrete is recommended for added stability, it is not always necessary. If your slope is not too steep, you can securely set the posts in gravel or crushed stone. However, concrete is the best option for ensuring your fence remains strong and stable on a slope.
Can I Install a Gate on a Sloped Privacy Fence?
You can install a gate on a sloped privacy fence by following the same steps as installing panels. However, properly adjust the gate angle and use appropriate hardware for secure installation.
How Do I Determine the Number of Fence Panels Needed on a Slope?
To determine the number of fence panels needed for your privacy fence on a slope, you will first need to measure the length of your proposed fence line. Then, divide this number by the width of your fence panels to determine the needed panels. Remember that you may need to cut some panels if your slope is not evenly spaced.
Can I Install a Gate on a Sloped Privacy Fence?
Yes, installing a gate on a privacy fence on a slope is possible. However, it may require additional planning and careful installation to ensure proper functionality and stability. It’s always best to consult with professionals for assistance in installing a gate on a sloped privacy fence.
So don’t let the slope in your yard stop you from creating your desired privacy and security. With these instructions, care tips, and FAQs, you can confidently install a beautiful and functional privacy fence on any terrain!
Conclusion
Installing a privacy fence on a slope may seem challenging, but it is achievable with the right tools and techniques. Remember to carefully plan and measure your fence line, properly set your posts, and take your time with each step of the installation process.
With regular maintenance and upkeep, your privacy fence on a slope will continue to serve its purpose for years. Proper planning, preparation, and maintenance allow you to achieve the privacy and security you desire for your property.
Remember to gather all necessary materials and tools, carefully plan the placement of your fence posts, stretch panels properly on a slope, and add finishing touches for an aesthetically pleasing look. Regularly inspect and maintain your fence to ensure its longevity, and consider hiring professionals for assistance if needed.
With these tips on how to install a privacy fence on a slope, you can successfully install a privacy fence on any slope and enjoy your private oasis for years to come. Now, go ahead and start transforming your yard into a personal sanctuary!
About
Outdoor Fixes is a distinguished figure in the world of Diy design, with a decade of expertise creating innovative and sustainable Diy solutions.
His professional focus lies in merging traditional craftsmanship with modern manufacturing techniques,
fostering designs that are both practical and environmentally conscious. As the author of diy,
outdoorfixes delves into the art and science of outdoorfixes-making, inspiring artisans and industry professionals alike.
Education RMIT University
(Melbourne, Australia) Associate Degree in Design (Outdoor Fixes) Focus on sustainable design, industry-driven projects,
and practical craftsmanship. Gained hands-on experience with traditional and digital manufacturing tools, such as CAD and CNC software.
Nottingham Trent University
(United Kingdom) Bachelor’s in outdoorfixes.com and Product Design (Honors) Specialized in product design with a focus on blending creativity with production
techniques. Participated in industry projects, working with companies like John Lewis and Vitsoe to gain real-world insights.
Publications and Impact
In diy, Outdoor Fixes his insights on indoor design processes, materials, and strategies for efficient production.
His writing bridges the gap between artisan knowledge and modern industry needs, making it a must-read for both budding designers and seasoned professionals.