Crossbuck fences are beloved for their traditional charm and unique design, but building one on your own can be a daunting task. With a few simple materials and some help from this blog post on how to build a crossbuck fence, you’ll have the knowledge and confidence to tackle this project with ease.
From planning out the layout of your fence to installing posts and panel boards, we’ve got all the tips you need to build a crossbuck fence that complements your landscape—without breaking the bank or taking too much time.
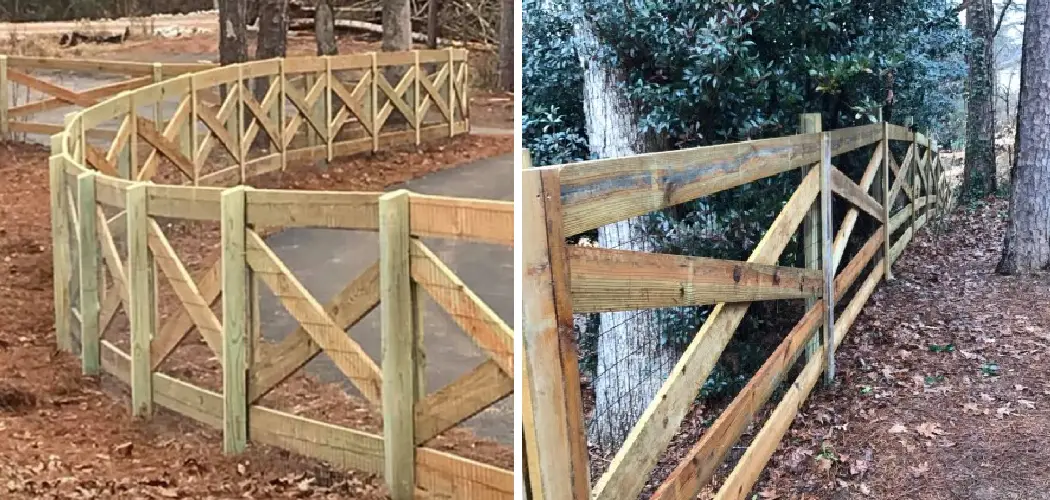
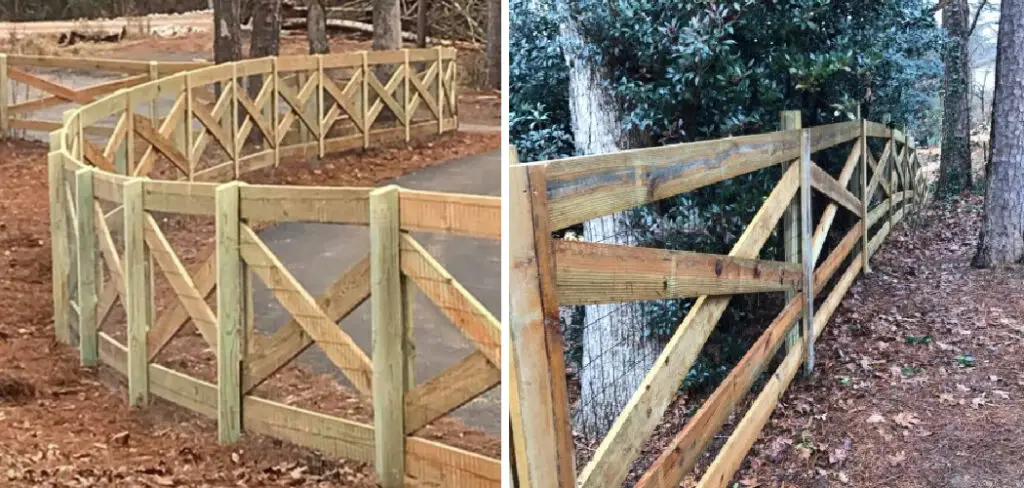
What is a Crossbuck Fence
A crossbuck fence is a type of wooden fence that features intersecting diagonal boards, creating an “X” shape. These fences are commonly used for decorative purposes, but can also serve as functional barriers for privacy or to keep animals in or out of a certain area. It’s a popular choice for homesteads, country homes, and ranches due to its rustic appeal.
Materials You’ll Need
Before you start building, make sure you have all the necessary materials. Here’s a list of what you’ll need:
- Wooden Posts
- Panelboards
- Nails or Screws
- Hammer or Drill
- Saw
- Measuring Tape
- Level
10 Step-by-Step Guide on how to build a crossbuck fence
Step 1: Plan Your Layout
The first step is to plan out the layout of your fence. This includes measuring the area where you want to install the fence, marking out where the posts will go, and deciding how many panels you’ll need. You can use stakes and string to help with this process. It’s also important to check with your local zoning laws and homeowners association rules before starting any construction. But once you have a plan in place, it’s time to move on to the next step.
Step 2: Gather Your Materials
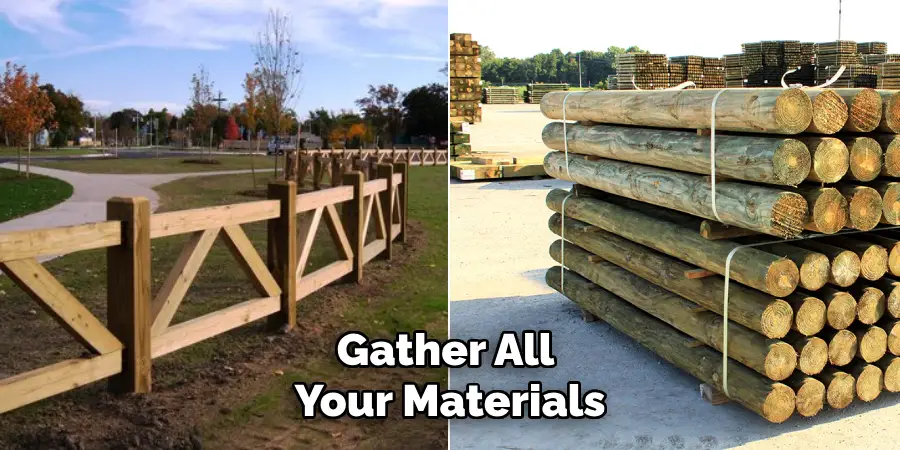
Once you have your layout planned out, it’s time to gather all your materials. Make sure you have enough posts, panel boards, and nails or screws for your fence. It’s always good to have a little extra on hand just in case. You’ll also need your tools, including a hammer or drill, saw, measuring tape, and level. This will ensure that you have everything you need before starting the construction process.
Step 3: Install Corner Posts
Start by digging holes for the corner posts of your fence. These should be at least two feet deep to ensure stability. Place the posts in the holes and fill them with concrete to secure them in place. Use a level to make sure they are straight. It’s important to let the concrete dry before moving on to the next step. It usually takes about 24 hours for the concrete to set. It’s also a good idea to brace the posts while the concrete is drying to prevent them from shifting.
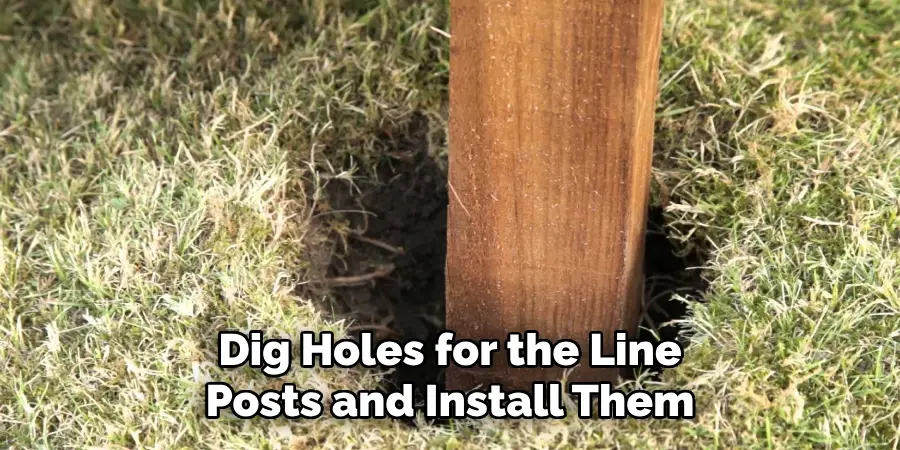
Step 4: Add Line Posts
Next, dig holes for the line posts and install them in the same manner as the corner posts. These posts should be evenly spaced throughout the fence line. But make sure to leave enough room between posts for the panel boards. It’s also important to keep the posts at a consistent height for a level fence. It’s a good idea to use a string line to make sure the posts are all in line with each other.
Step 5: Attach Panel Boards to Posts
Using a saw, cut panel boards to fit between each set of posts. Attach them to the posts using nails or screws, making sure they are evenly spaced and level. You can use a measuring tape or level to ensure accuracy. Make sure the panel boards are attached securely for stability. This will also give you a visual idea of what the final fence will look like. It’s a good idea to have someone hold the panels in place while you secure them to the posts.
Step 6: Cut and Attach Diagonal Boards
Now comes the fun part – adding the diagonal boards that give crossbuck fences their unique design. Use a saw to cut boards at an angle, making sure they fit snugly between the panel boards. Then attach them to the posts using nails or screws. You’ll need two diagonal boards per panel section, creating an “X” shape. Make sure these boards are also level for a symmetrical look.
Step 7: Secure and Reinforce
Once all the panels and diagonal boards are in place, go back and reinforce them with additional screws or nails. This will ensure that your fence is sturdy and long-lasting. It’s also a good idea to add braces or supports to the corners and end posts for extra stability. You can use additional pieces of wood or metal brackets for this. But be careful not to damage the existing fence structure while doing this. You can also paint or stain your fence at this point for added protection and aesthetic appeal.
Step 8: Fill in Gaps
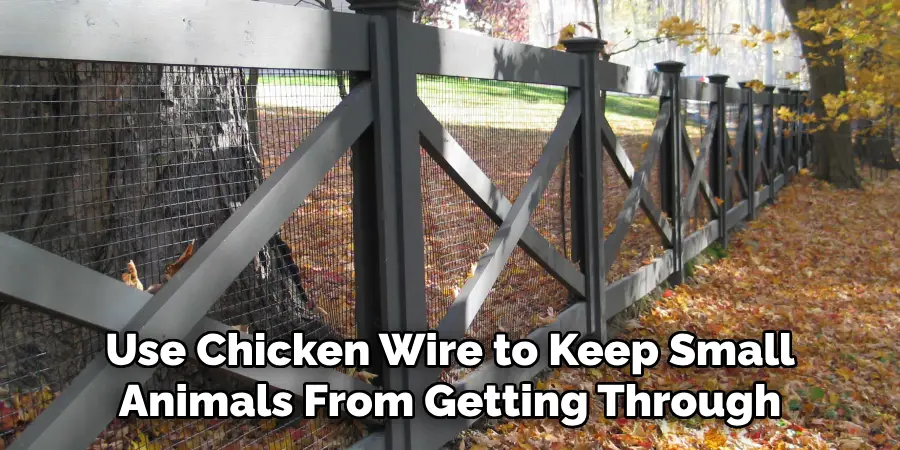
If there are any gaps between the bottom of the fence and the ground, you can fill them in with additional panel boards or use chicken wire to keep small animals from getting through. It’s important to do this before adding a gate if you plan on having one. It’s also a good idea to check for any sharp edges or splinters on the fence and sand them down for safety. But if you prefer a more rustic look, you can leave the edges as is.
Step 9: Paint or Stain
You can leave your crossbuck fence in its natural wood state, but it’s also common to paint or stain it for added protection and aesthetic appeal. Choose a color that complements your landscape. It’s recommended to use a paint or stain that is specifically designed for outdoor wood. Apply at least two coats for maximum protection, and make sure to let the fence dry completely before adding any additional coats.
Step 10: Add Finishing Touches
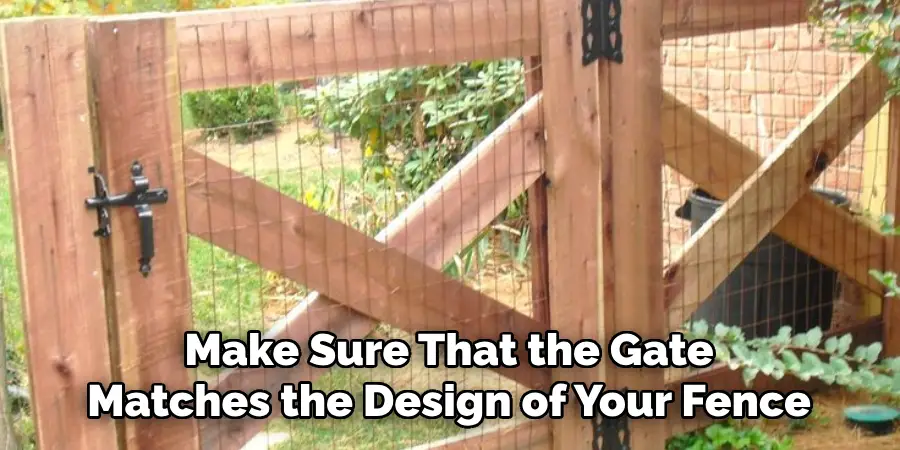
To complete your crossbuck fence, you can add a gate or decorative postcaps. This will not only enhance the appearance of your fence but also make it more functional. However, make sure that the gate matches the design of your fence and is securely attached to the posts. You can also add postcaps for a decorative touch. These can be made of wood or metal, depending on your personal preference.
Following these steps on how to build a crossbuck fence carefully and having the right materials will help you build a beautiful crossbuck fence that adds character and value to your property. So go ahead, roll up your sleeves, and take on this DIY project with confidence! So why wait? Start building your crossbuck fence today! Happy fencing!
Frequently Asked Questions
Q1. Can I Build a Crossbuck Fence on My Own or Do I Need Professional Help?
It is possible to build a crossbuck fence on your own, but it may require some carpentry skills and knowledge of basic tools. If you feel confident in doing so, you can definitely take on this DIY project. However, if you are unsure about your abilities or don’t have the time, it’s always best to hire a professional for assistance. They will be able to build a sturdy and professional-looking fence for you.
Q2. How Long Does it Take to Build a Crossbuck Fence?
The time it takes to build a crossbuck fence depends on various factors such as the size of the fence, your building skills, and the availability of assistance. On average, it can take anywhere from 1-3 days to build a crossbuck fence.
Q3. What Materials Do I Need to Build a Crossbuck Fence?
To build a crossbuck fence, you will need a drill, saw, measuring tape, level, concrete or cement mix, nails or screws, panel boards, diagonal boards, and braces or supports for reinforcement. It’s important to choose high-quality materials for a durable and long-lasting fence.
Q4. Can I Customize the Design of My Crossbuck Fence?
Yes, you can definitely customize the design of your crossbuck fence according to your preferences. You can choose different types of wood, paint or stain colors, and even add decorative elements such as postcaps. Just make sure the design still follows the basic construction principles for a sturdy fence.
Conclusion
With the completion of your crossbuck fence, you can rest assured knowing that you took the time to assemble a secure and durable fence that is attractive and well-made. Whether it be to define boundaries around your property or to give your yard a rustic charm, this type of fencing makes an interesting statement that will last for years to come. By taking the time to make sure each piece is carefully crafted and secured, you’ve added value to both your yard and home.
Plus, it was fun too! This type of do-it-yourself project builds the skills necessary for any other complicated DIY projects so keep those tools handy! And remember, when in doubt refer back to this helpful guide on how to build a crossbuck fence so that future projects go even more smoothly.
About
Outdoor Fixes is a distinguished figure in the world of Diy design, with a decade of expertise creating innovative and sustainable Diy solutions.
His professional focus lies in merging traditional craftsmanship with modern manufacturing techniques,
fostering designs that are both practical and environmentally conscious. As the author of diy,
outdoorfixes delves into the art and science of outdoorfixes-making, inspiring artisans and industry professionals alike.
Education RMIT University
(Melbourne, Australia) Associate Degree in Design (Outdoor Fixes) Focus on sustainable design, industry-driven projects,
and practical craftsmanship. Gained hands-on experience with traditional and digital manufacturing tools, such as CAD and CNC software.
Nottingham Trent University
(United Kingdom) Bachelor’s in outdoorfixes.com and Product Design (Honors) Specialized in product design with a focus on blending creativity with production
techniques. Participated in industry projects, working with companies like John Lewis and Vitsoe to gain real-world insights.
Publications and Impact
In diy, Outdoor Fixes his insights on indoor design processes, materials, and strategies for efficient production.
His writing bridges the gap between artisan knowledge and modern industry needs, making it a must-read for both budding designers and seasoned professionals.