Are you looking to install polymeric sand in your hardscape project? While it may seem like a daunting task, the installation of this specialized paver jointing material is quite simple.

If you’re looking for a fast and simple way to enhance the look of your landscaping, then installing polymeric sand is an excellent choice. Not only does it add aesthetic appeal to your outdoor space, but it also helps keep weeds at bay and prevents washouts during heavy rains.
Whether you’re an experienced DIYer or simply want to spruce up your yard without putting in too much effort, we have all the information you need on how to install polymeric sand correctly.
What is Polymeric Sand?
Polymeric sand is a specialty mixture of sand and polymers designed to fill joints between pavers such as bricks, stones, or concrete slabs. It’s different from regular sand due to its specialized composition, which helps it bind better with the surfaces it’s applied on. This strengthens the joints between your pavers and results in a more durable pavement for your outdoor space.
What Will You Need?
Before you begin, make sure you have the following items on hand:
- Polymeric sand
- A broom
- A leaf blower or shop vacuum (optional)
- Garden hose with a light pressure nozzle
- Plate compactor (optional)
Once you have your materials, it’s time to begin installation.
10 Easy Steps on How to Install Polymeric Sand
Step 1: Preparing Your Area
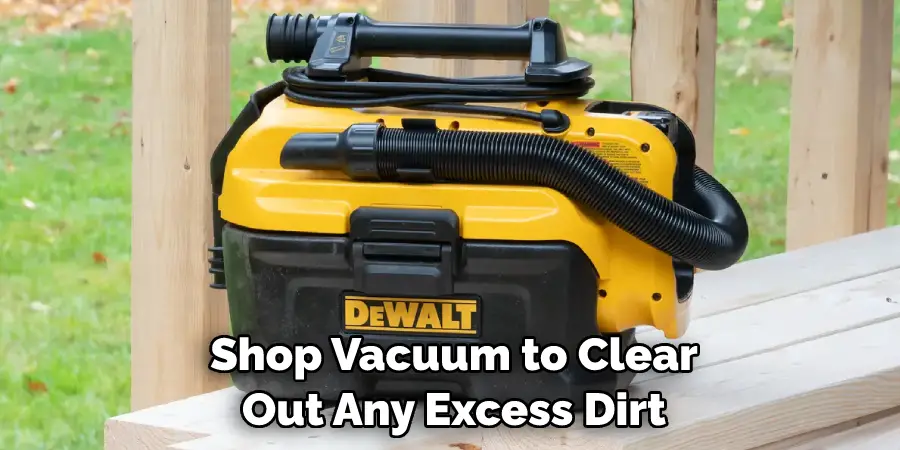
Before installing the polymeric sand, you must prepare the area by brushing away all debris, such as leaves or grass, that has grown between the pavers.After this step is done, use a leaf blower or shop vacuum to
The first step in installing polymeric sand is to prepare the area by brushing away any debris that has grown between the pavers, such as leaves or grass. Once complete, use a leaf blower or shop vacuum to clear out any excess dirt and dust.
Step 2: Adding Polymeric Sand
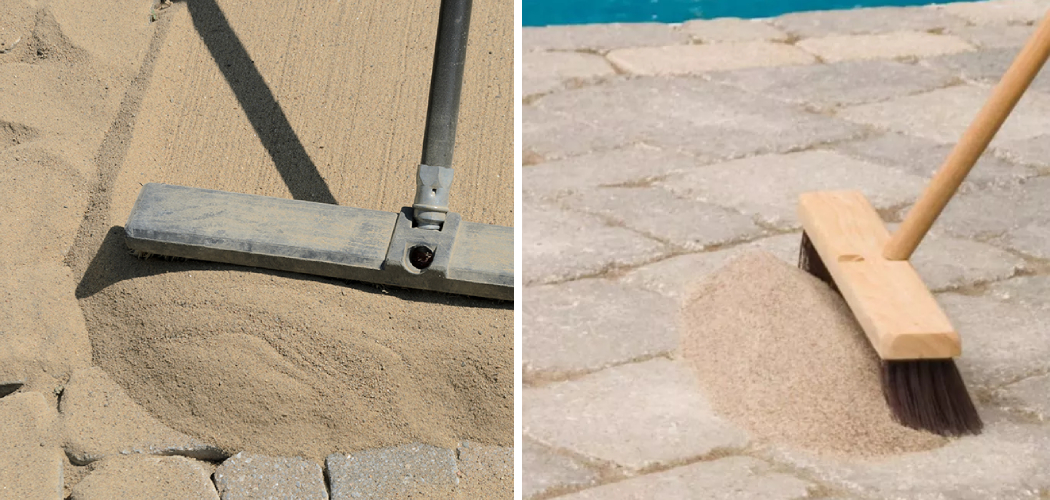
Once your area has been swept clean, it’s time to add the polymeric sand. Begin by pouring it over your paved area and using a broom to distribute it evenly across all the joints. Additionally, you can use your fingers to press the sand down into the joints if needed.
Step 3: Compacting
Once you’ve evenly distributed the polymeric sand, it’s important to compact it properly. This will ensure that all the sand is firmly in place and eliminates any potential washouts or weeds from growing between your pavers. You can complete this step manually with a plate compactor or simply walk over the area several times.
Step 4: Washing Out Excess Sand
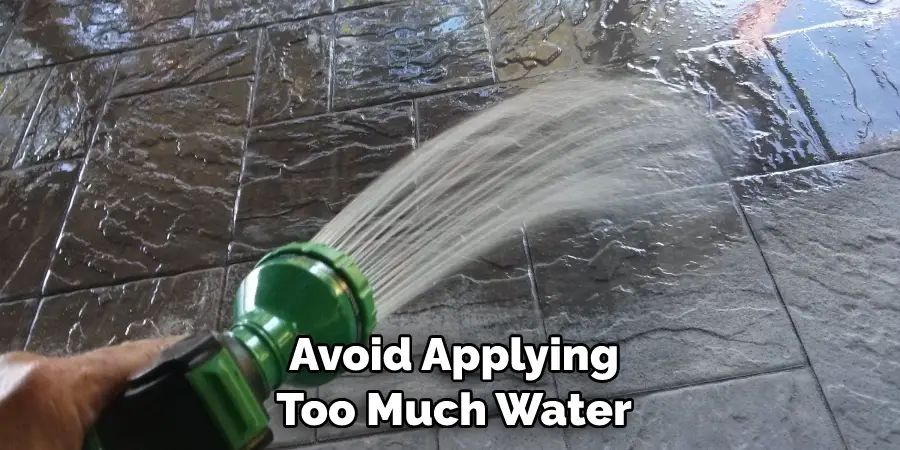
Once you’ve completed steps 1-3, it’s time to wash out any excess sand that may still be present on your pavers. Use a garden hose with a light pressure nozzle to rinse away any loose sand. As you do this, keep the water pressure low enough so that it doesn’t force out any of the polymeric sand from the joints.
Step 5: Final Inspection
Once you have completed steps 1-4, it’s time for one final inspection. Look at the area and ensure that all of the polymeric sand is firmly in place and no weeds or other debris have infiltrated the joints. If everything looks good, you’re ready to enjoy your newly installed polymeric sand!
Step 6: Letting the Sand Cure
The final step in your polymeric sand installation is letting it cure. After washing, let the sand dry and harden for some time. This typically takes around 24 to 48 hours but can vary depending on weather conditions. Ensure you avoid any foot or vehicle traffic in the area and protect it from any potential rain during this period.
Once the sand has fully hardened, it will provide a sturdy and resilient joint between your pavers, completing your project.
Step 7: Maintenance and Upkeep
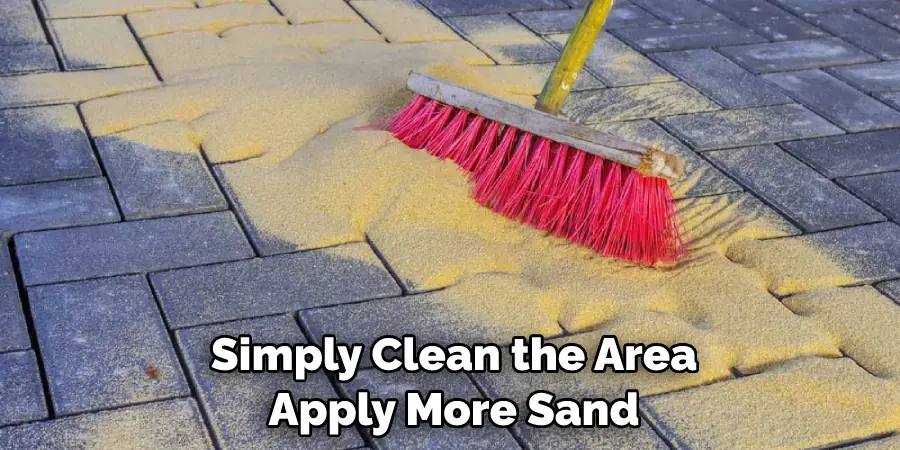
After successful installation and curing, it’s essential to maintain your polymeric sand for long-term durability. Regular inspection is recommended to check for any signs of wear or erosion. If the sand is diminishing in certain areas, you should add more.
Simply clean the area, apply more sand, compact it, and allow it to cure again. Also, consider sealing your pavers every couple of years to add an extra layer of protection and keep your hardscape looking fresh and new.
Step 8: Enjoy Your Pavers
After giving your polymeric sand sufficient time to cure and completing the necessary maintenance checks, it’s time to enjoy your newly refreshed outdoor space. Whether it’s an elegant patio, a winding walkway, or a rugged driveway, the enhanced durability and aesthetic appeal brought by polymeric sand will surely elevate your outdoor areas.
Remember, the longevity of your hardscape depends on regular upkeep, so continue to monitor your pavers and polymeric sand condition to maintain your beautifully upgraded exterior.
Step 9: Regular Follow-up
After enjoying your beautifully upgraded outdoor area, it’s vital not to become complacent. Regular follow-up is essential to ensure the longevity of your hardscape. This means checking your polymeric sand condition every few months to detect any signs of wear and tear early.
If you notice any significant gaps or loosening, be prepared to repeat the installation process for those specific areas. Proactive maintenance and timely fixes are the keys to a durable and attractive hardscape.
Step 10: Celebrate Your Achievement
You’ve done it! You’ve successfully learned how to install polymeric sand and have revitalized your outdoor living space. Now, it’s time to sit back, relax, and enjoy the fruit of your hard work.
Whether it’s hosting a BBQ on your newly fortified patio, playing games on an improved path, or simply appreciating the enhanced aesthetic appeal, make sure to celebrate your DIY success. Remember to take pride in your accomplishment and share the knowledge you’ve gained about installing polymeric sand with others who might benefit from it.
By following these ten easy steps, you can easily and successfully install polymeric sand in your outdoor space. This material is not only aesthetically pleasing, but it’s also more resistant to erosion and weeds than regular sand. With its improved durability and resilience, you can look forward to enjoying your repaved area for years to come.
5 Additional Tips and Tricks
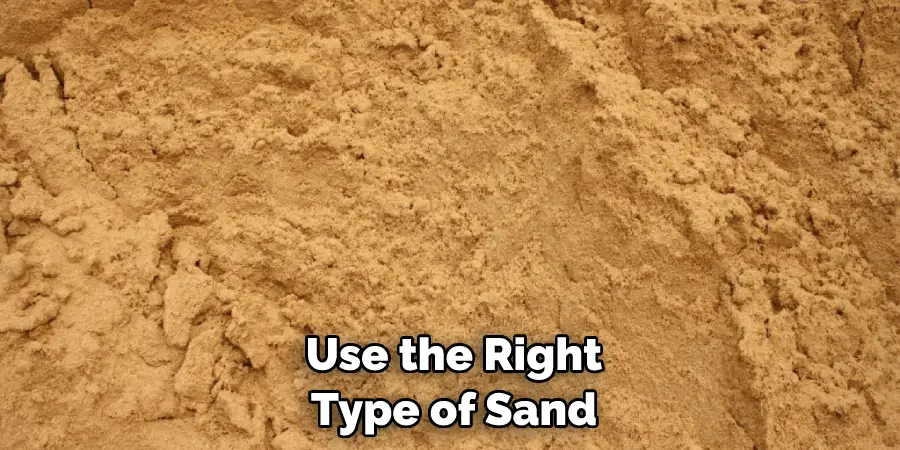
- Make sure to use the right type of sand for your project. Polymeric sands are typically sold in different colors and sizes, so check with your local home improvement center to find the best option for you.
- Be sure to clean out any large stones or debris lurking in the sand before laying it down. This will ensure a smooth, even surface when the project is complete.
- Wetting the sand before and during installation will help ensure that it sets properly and doesn’t leave gaps between pavers or bricks.
- Compact the sand after installation to avoid any shifting over time. This can be done with a hand tamper or a gas-powered compactor.
- Once the sand is installed, give it time to completely dry and cure before using your patio or walkway. This will ensure the sand adheres properly and does not wash away with rain or snow.
These additional tips can help ensure a successful polymeric sand installation for any project! Remember that proper preparation and installation is the key to a successful project. If you need help with how best to proceed, consulting with a professional or doing additional research before starting is always best.
5 Things You Should Avoid
- Never use concrete or any other type of sand instead of polymeric sand. It will set differently, leading to uneven surfaces and gaps in your project.
- Remember to remove debris from the sand before installation. This will help ensure you get a smooth, even look when finished.
- Avoid applying too much water to the sand during installation. This can lead to shifting and an uneven finish later on.
- Remember to use a hand tamper or compactor after laying down the sand. This is necessary to avoid shifting over time.
- Finally, don’t be tempted to use your patio or walkway too soon after installation. It’s important to give the sand time to dry and cure before you put any weight on it. This will help ensure that your project looks great for years to come!
By avoiding these common mistakes, you can be certain that your polymeric sand installation will turn out great! If in doubt, always double-check with a professional or do some additional research before undertaking any project.
Conclusion
Overall, installing polymeric sand with the right tools and preparation is not difficult. Taking the time to ensure each step of the process has been completed correctly can help ensure your hard work won’t be done in vain and will last for years to come.
With a little bit of care, you can help your finished product look great without having to worry about weeds again! Installing polymeric sand is surprisingly easy but very important- take the extra time needed to get it right.
Make sure you measure the area before laying down the sand, and double-check all your measurements. Don’t forget to remove any unwanted areas with tape or edging boards.
Finally, you should remember that completing the job means more than just settling down the polymeric sand. There are additional steps, such as tamping, sweeping, and wetting, that will be necessary to complete your installation project perfectly.
Following this advice on how to install polymeric sand should help transform your good intentions into beautiful results.
About
Outdoor Fixes is a distinguished figure in the world of Diy design, with a decade of expertise creating innovative and sustainable Diy solutions.
His professional focus lies in merging traditional craftsmanship with modern manufacturing techniques,
fostering designs that are both practical and environmentally conscious. As the author of diy,
outdoorfixes delves into the art and science of outdoorfixes-making, inspiring artisans and industry professionals alike.
Education RMIT University
(Melbourne, Australia) Associate Degree in Design (Outdoor Fixes) Focus on sustainable design, industry-driven projects,
and practical craftsmanship. Gained hands-on experience with traditional and digital manufacturing tools, such as CAD and CNC software.
Nottingham Trent University
(United Kingdom) Bachelor’s in outdoorfixes.com and Product Design (Honors) Specialized in product design with a focus on blending creativity with production
techniques. Participated in industry projects, working with companies like John Lewis and Vitsoe to gain real-world insights.
Publications and Impact
In diy, Outdoor Fixes his insights on indoor design processes, materials, and strategies for efficient production.
His writing bridges the gap between artisan knowledge and modern industry needs, making it a must-read for both budding designers and seasoned professionals.