Are you ready to install a pergola in your outdoor space but need help anchoring it down? You may wonder if you need to drill into the surface or purchase special equipment. Not to worry, anchoring down a pergola doesn’t require unnecessary stress and effort.

If your pergola plans involve setting it on pavers, this guide will show you how to anchor a pergola to pavers using simple tools and materials. Follow the steps below, and your pergola is properly secured quickly.
This post discusses three easy strategies for securing your pergola onto pavers without damaging the surface. With these pro tips, you’ll have an attractive and safe structure that blends perfectly with the existing landscaping – so let’s get started!
What Will You Need?
Before you get started, you’ll need to gather a few materials. Here’s what you need to anchor your pergola onto the pavers:
- Pergola kit
- Hammer drill
- Masonry screws
- Expansion anchors
- Bolts and nuts
Once you have these items, you’ll be ready to begin anchoring your pergola.
10 Easy Steps on How to Anchor a Pergola to Pavers
Step 1: Position Your Pergola
Select the area where you want to place your pergola. Ensure that you have enough space for the pergola and that it’s in the desired position. This is crucial as once the pergola is anchored, moving it will be quite a task.
Pay attention to the surroundings, and make sure that the pergola doesn’t obstruct any pathways or views. After deciding on the position, place the pergola kit on the pavers, ensuring it’s aligned correctly.
Step 2: Mark the Anchor Points
Once your pergola is properly positioned, the next step is to mark the points where you will drill into the pavers. These will be the anchor points for your pergola. Using a marker, outline the points on the pavers that align with the holes in the base of your pergola kit. It’s essential to ensure these markings are accurate, as they will guide you when drilling holes for the anchors.
Step 3: Drill the Holes
After marking the anchor points, the next step is to drill holes using a hammer drill. Make sure the drill bit is the same size as the masonry screws that came with your expansion anchors.
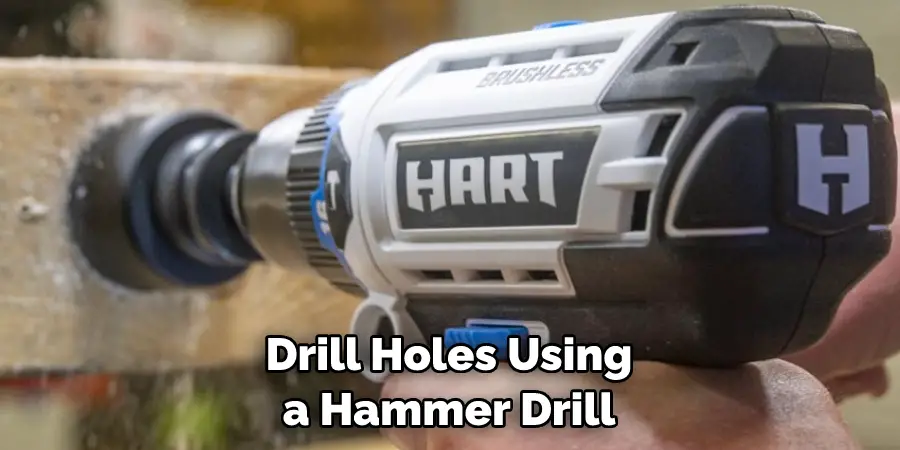
While drilling, be careful not to apply too much pressure as this might crack the pavers. Once the holes are drilled, clear any debris from them with a brush or compressed air to ensure the anchors will fit correctly.
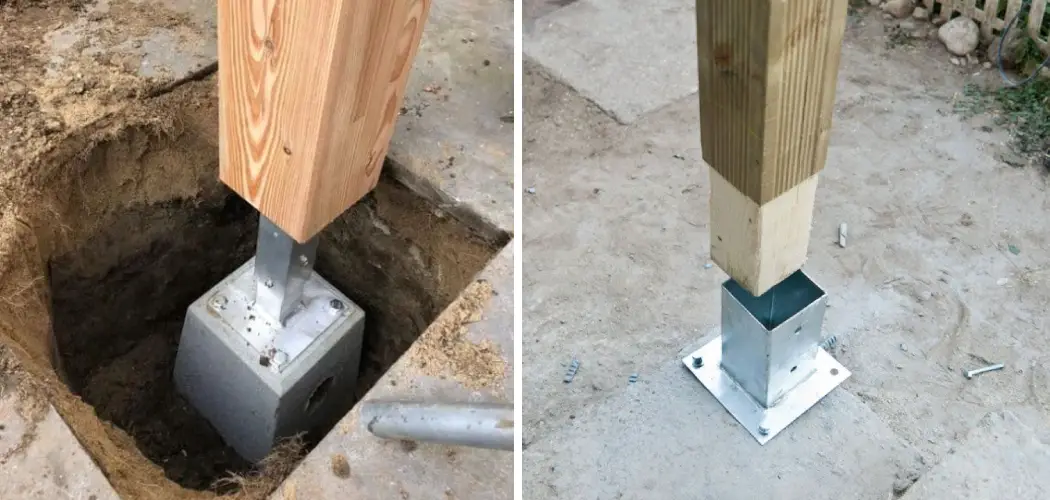
Step 4: Insert the Expansion Anchors
Now, you will insert the expansion anchors into the holes you just drilled. These anchors will securely hold the pergola in place. Push the expansion anchors into each hole. If the anchor doesn’t go all the way in, you can tap it lightly with a hammer until it’s flush with the paver surface. Make sure to do this gently to avoid damaging the pavers.
Step 5: Secure the Pergola Base
With the expansion anchors in place, it’s time to secure the pergola base. Align the holes in the base of the pergola with the expansion anchors. Insert your masonry screws through the pergola base and into the expansion anchors.
Use a hammer drill to tighten these screws until the pergola base is firmly secured. Remember not to overtighten the screws as it can cause the pavers to crack. Once done, your pergola will be securely anchored to the pavers, ready for the next steps of assembly.
Step 6: Assemble the Pergola
With the base now securely anchored, you can assemble the pergola according to the instructions in your pergola kit. This usually involves attaching the posts, crossbeams, and rafters.
Ensure that each component is level and square as you attach it for a sturdy and well-formed structure. As you work, fasten each piece securely with the nuts and bolts in your kit. Once the assembly is complete, your pergola will be anchored to the pavers and have the structural integrity to withstand various weather conditions.
Step 7: Check the Stability
After you’ve completed the assembly of your pergola, it’s time to check for stability. Give the structure a gentle shake to see how it holds up. If you notice any wobbling, you might need to tighten the screws at the base or the bolts holding the structure together.
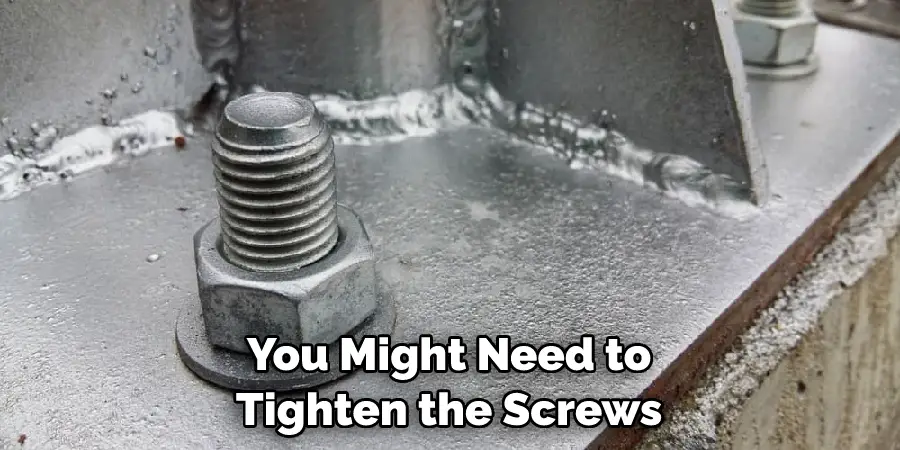
A well-anchored pergola on pavers should be stable and firm, not moving or swaying under pressure. Confirming the stability of your pergola is crucial in ensuring it’s safe for you and your guests to enjoy.
Step 8: Apply Weatherproofing
Depending on the material of your pergola, apply a layer of weatherproofing to protect it from the elements. This could be a stain or sealant designed for outdoor use.
Follow the manufacturer’s instructions for the product you choose. This will likely involve applying a thin layer to the entire structure, especially on the joints and any areas exposed to direct rainfall. Allow it to dry fully before proceeding with any other steps.
Step 9: Add Finishing Touches
After your pergola is securely anchored and weatherproofed, consider adding finishing touches to enhance its appearance and functionality. This could include installing lighting fixtures for nighttime use, hanging plants or flowers to add a touch of nature, or mounting outdoor curtains for privacy and shade.
Consider adding outdoor furniture beneath the pergola to create a cozy space for relaxation or entertaining guests. These final touches will turn your pergola into a stylish, comfortable outdoor living space perfect for enjoying beautiful weather.
Step 10: Enjoy Your Anchored Pergola
Congratulations! You’ve successfully anchored your pergola to the pavers. This is the final step, where all you need to do is enjoy the fruits of your labor. Relax under the shade, read a good book, or host an outdoor get-together with friends and family.
Regularly check the pergola for any signs of wear and tear or loose screws that may need tightening. With proper maintenance, your pergola will provide a beautiful and functional outdoor space for years to come.
By following these steps, anchoring a pergola to pavers will be a breeze. Use quality materials and take your time during the process for optimum results. Remember to enjoy the journey of constructing your outdoor living space as much as you’ll enjoy basking in its beauty when it’s finished.
5 Additional Tips and Tricks
- Before starting, ensure all necessary tools and materials are within reach. This will include your pergola, paver anchors, a drill, and concrete screws. Anchoring a pergola to pavers will be much smoother and more efficient if you are well-prepared before you begin.
- Carefully measure and mark the spot where the pergola will be anchored on your paver. Precision is key as it ensures the pergola is safe and aesthetically pleasing. Using a drill, create holes in the marked spots. These will guide your concrete screws and ensure your pergola is securely anchored to the pavers.
- Insert the paver anchors into the drilled holes. Make sure they fit perfectly and securely, as these will serve as the primary support for your pergola. If the fit is not tight, gently tap the anchors into place gently using a mallet.
- Once your anchors are set, position your pergola over them. Align the holes in the pergola’s feet with the anchors in the pavers. This is a critical step in the process, as proper alignment ensures the stability and safety of your pergola.
- Finally, fasten the pergola to the pavers by using concrete screws. Secure each foot of the pergola to the paver anchors, ensuring the pergola is sturdy and well-supported. Always double-check all screws are tight and secure for optimal safety.

With these steps, you can anchor your pergola to pavers quickly! Once the installation is complete, take a moment to admire your hard work and bask in the satisfaction of a job well done.
5 Things You Should Avoid
- Do not drill into pavers that are part of a patterned layout. This can cause visible damage and ruin the aesthetic of your outdoor space.
- Avoid using metal anchors for this project, as their weight can be too much for the pergola’s feet. It is best to use plastic or composite anchors as they provide adequate support while being lightweight.
- Refrain from anchoring your pergola without measuring or marking the spot where it will be placed. Imprecise measurements can lead to a poorly-anchored pergola, so take the time to ensure accuracy before proceeding.
- Do not over-tighten the screws, as this can cause damage to both the pavers and the pergola. Instead, secure the screws until they are firm but not too tight.
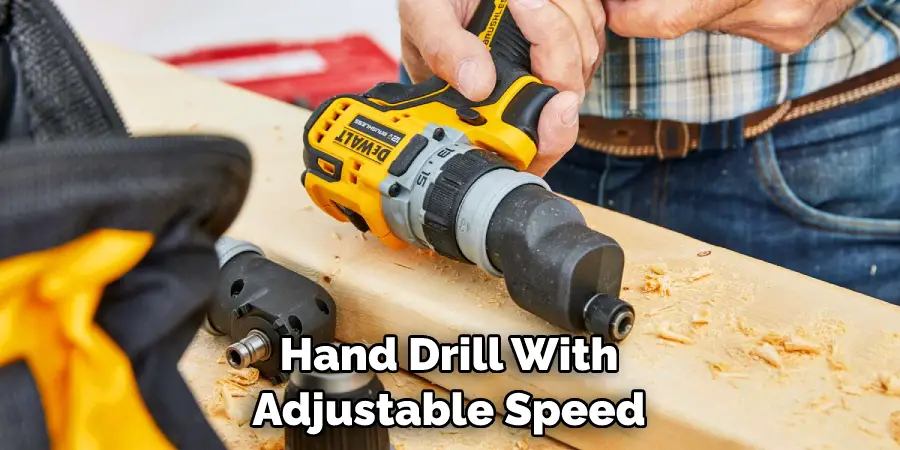
- Avoid using a power drill with high torque for this project, as it can cause unnecessary damage to the pavers and anchors. Use an electric or hand drill with adjustable speed settings to better control your drilling process.
By following these tips and tricks, you can ensure your pergola is securely anchored and aesthetically pleasing. With patience and effort, you can easily create an outdoor space that looks great and functions perfectly.
Conclusion
How to anchor a pergola to pavers is not a difficult task, but it does require diligent, careful execution, as conveyed by all of the methods discussed in this blog post. Securing your pergola properly will ensure it remains firmly in place for many years.
By understanding the installation methods available for anchoring your pergola to pavers, you can be confident in selecting the best technique for your installation needs. Taking extra time and effort during the installation process instead of rushing through it is key in ensuring your pergola is installed correctly and securely.
Ensuring proper spacing between the support members of both the pavers and the posts of your pergola will also help keep it structurally sound over time. After thoroughly researching these key components, you’ll be well on your way to enjoying an outdoor living area with a beautiful, secure, and reliable structure.
About
Outdoor Fixes is a distinguished figure in the world of Diy design, with a decade of expertise creating innovative and sustainable Diy solutions.
His professional focus lies in merging traditional craftsmanship with modern manufacturing techniques,
fostering designs that are both practical and environmentally conscious. As the author of diy,
outdoorfixes delves into the art and science of outdoorfixes-making, inspiring artisans and industry professionals alike.
Education RMIT University
(Melbourne, Australia) Associate Degree in Design (Outdoor Fixes) Focus on sustainable design, industry-driven projects,
and practical craftsmanship. Gained hands-on experience with traditional and digital manufacturing tools, such as CAD and CNC software.
Nottingham Trent University
(United Kingdom) Bachelor’s in outdoorfixes.com and Product Design (Honors) Specialized in product design with a focus on blending creativity with production
techniques. Participated in industry projects, working with companies like John Lewis and Vitsoe to gain real-world insights.
Publications and Impact
In diy, Outdoor Fixes his insights on indoor design processes, materials, and strategies for efficient production.
His writing bridges the gap between artisan knowledge and modern industry needs, making it a must-read for both budding designers and seasoned professionals.