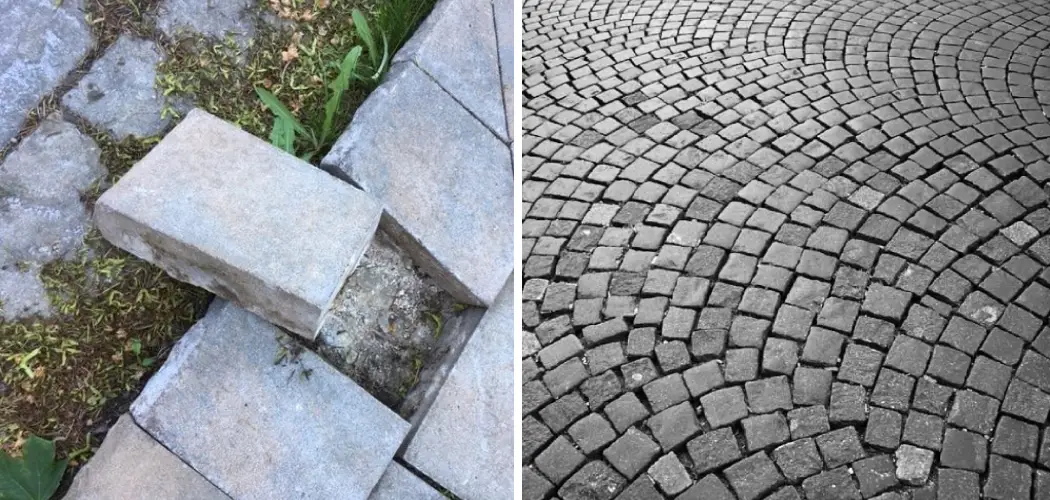
Do you have loose pavers causing a tripping hazard in your driveway or walkway? If so, don’t worry – this is an easy fix! With the right tools and knowledge of properly securing the pavers, you can ensure that your outdoor space will remain safe for years.
Whether you’re dealing with brick, stone, or concrete pavers, the technique for fixing them is essentially the same. Follow the steps below, and you’ll have a secure foundation in no time.
In this blog post, we’ll provide all the tips and tricks on how to fix loose pavers that you need to get your loose pavers secured quickly and efficiently. Learn some simple methods to fix your loose pavers now and save yourself time (and money!) in the future.
What Will You Need?
Before you begin the process of fixing loose pavers, you need to make sure that you have the necessary tools and supplies. You’ll need:
- A rubber mallet (or a large hammer and a piece of wood)
- Masonry sand
- Paver sealer/locker (optional)
- Garden hose (optional)
With these items in hand, you’re now ready to start the process.
10 Easy Steps on How to Fix Loose Pavers
Step 1: Prepare the Area
Start by turning off the water supply and removing any obstructions, such as plants or shrubbery, blocking access to your pavers. You’ll also need to clear the area of any debris or dirt that could get in the way. If you’re dealing with grass, cutting the lawn shorter so the pavers have more support is best.
Step 2: Take Out the Loose Paver
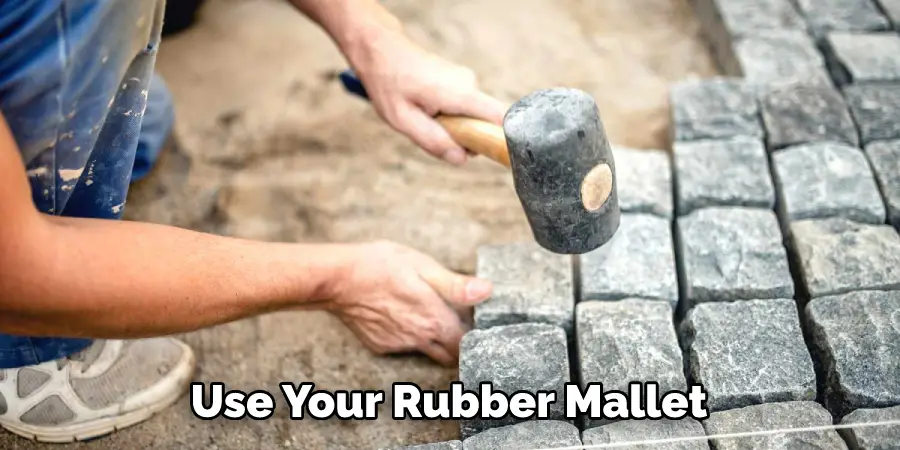
Next, use your rubber mallet (or hammer and piece of wood) to remove the loose paver from its spot carefully. Once removed, set aside and prepare to relay the platform. Remember to check the underside of the paver for any damage or cracks that may need to be fixed.
Step 3: Add Masonry Sand
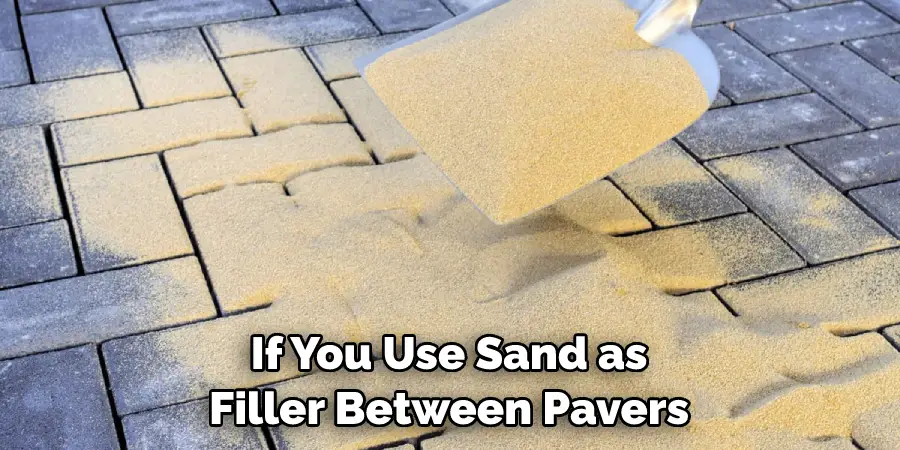
Now it’s time to add a layer of masonry sand into the space left by the removed paver. This will provide extra support and cushioning, allowing you to fit your pavers back into place securely. The sand also helps keep soil in place and prevents water from seeping underneath your pavers.
Step 4: Re-Lay the Pavers
Once you have added enough masonry sand into the space, it’s time to lay the paver back into its spot. Gently tap down on each side of the paver using your rubber mallet or hammer/wood combo until it is firmly in place. Try to ensure that the surface of all the pavers is at a consistent height and not too high or low.
Step 5: Add More Sand
Finally, you’ll need to add more sand around each side of your paver. This will help support it further and fill any gaps between pavers that may have been caused by settling. Once you’ve added the sand, use the rubber mallet to tap the edges of each paver until it’s flush with all the other pavers on your surface.
Step 6: Add Paver Sealer/Lockers
If you’d like extra security for your loose pavers or just want to add some extra protection, you can also use a paver sealer/locker. These products are designed to fill the gaps between pavers and create an additional bond to ensure your pavers stay in place for longer. You can find these at most hardware stores; all you need to do is spray them onto the surface.
Step 7: Place a Rubber Mat
If your surface still feels a bit spongy even after re-laying your pavers, then add an extra layer of protection with a rubber mat. This will help distribute the weight of any foot traffic more evenly, ensuring that your pavers remain in place even with high activity levels. These mats can be found at most hardware stores and are relatively inexpensive.
Step 8: Clean the Area
Once you’re finished re-laying your pavers, cleaning the surrounding area is important. This will help ensure that your pavers remain in place and that any sealer/lockers are applied evenly. Use a garden hose to gently wash away any dirt or debris, and let the area dry completely before moving on.
Step 9: Check for Stability
Before you use your newly secured pavers, take a few minutes to check for any signs of instability. Gently press down on each paver and ensure it doesn’t wobble or move at all. If there are any loose pavers, repeat steps 2-8 until everything is firmly in place.
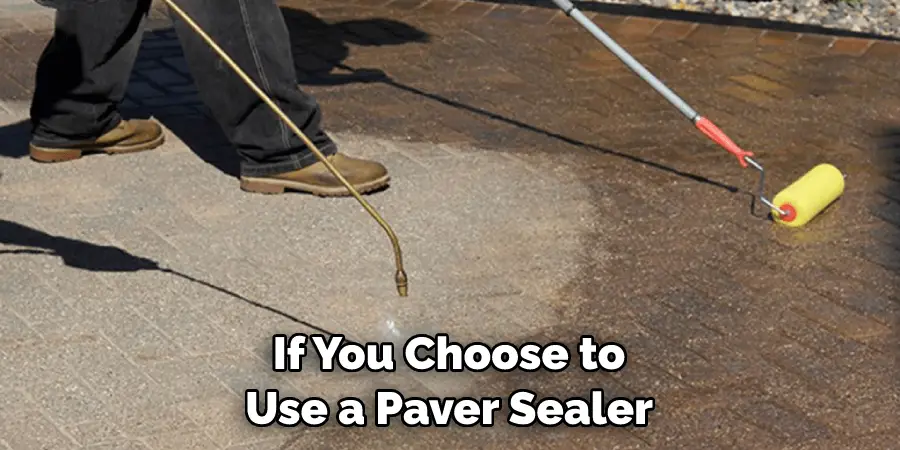
Step 10: Apply Your Paver Sealer/Locker
Finally, if you choose to use a paver sealer/locker, now is the time to apply it. Simply spray the product onto the entire surface and let it sit for 24 hours before testing its stability. This will provide an extra layer of protection and help ensure your pavers stay in place for years.
Following these ten steps, you can quickly and easily fix any loose pavers in your driveway or walkway. Not only will this help keep your outdoor space safe for years to come, but it will also save you time (and money!). With that said, don’t forget to check for unstable pavers regularly and reapply sealers/lockers every few years to ensure they remain secure.
5 Additional Tips and Tricks
- If the loose pavers are still in good condition, you can stick them back to the ground with adhesive. A high-strength construction adhesive, such as epoxy or silicone sealants, will help keep your pavers in place for longer.
- If it’s necessary to replace one or more of the damaged pavers, make sure to match the new pavers with the existing ones. This will ensure that your patio or walkway looks uniform and keeps its aesthetic appeal.
- It’s important to properly prep the area before installing pavers, as this can help prevent them from becoming loose in the future. When prepping the ground, use a tamper tool or plate compactor to firmly compact the soil and create a solid base.
- If you use sand or gravel as filler between pavers, make sure that it is spread evenly and packed down before laying your pavers in place. This will help ensure that the spaces between them are consistent and even, helping keep the pavers in place over time.
- Finally, make sure to use a sealer once you install your pavers. This will help protect them against water damage, staining, and fading while also helping keep the pavers in place. Choose a sealer designed for outdoor use and reapply it regularly according to the manufacturer’s instructions.
Following these tips and tricks will help ensure your pavers stay in place, providing a safe and aesthetically pleasing walkway or patio for years to come.
5 Things You Should Avoid
- Avoid fixing loose pavers without first removing any dirt or debris between the bricks. This can interfere with the adhesive and cause the pavers to become loose again in the future.
- Remember to wear appropriate safety equipment when handling pavers. Protective gloves, safety glasses, and sturdy footwear can help prevent injuries during the repair process.
- Avoid using a low-quality adhesive or sealant. It might not hold the pavers in place effectively and deteriorate faster with weather changes.
- Try not to rush the process. Properly fixing loose pavers takes time; rushing could lead to mistakes and even more loose pavers in the future.
- Pay attention to regular maintenance. Routinely inspecting your paved areas and addressing small issues as they can prevent larger problems in the future.
Avoiding these mistakes will help ensure that your project is successful and that your pavers remain in place for years. With the right tools, materials, and know-how, you can easily fix loose pavers and keep your walkway or patio looking great.
Why Do My Pavers Feel Loose?
Pavers can come loose for a variety of reasons. If your pavers are not set in sand or gravel, the soil underneath them may have become too dry and shifted, causing them to move.
Inadequate compaction when installing the pavers can also result in looser bricks. Additionally, improper drainage may cause the ground beneath the paver to erode over time, leading to unevenness and instability. Finally, if the pavers were not sealed properly after installation or have since gone unsealed, they may become loose due to water damage.
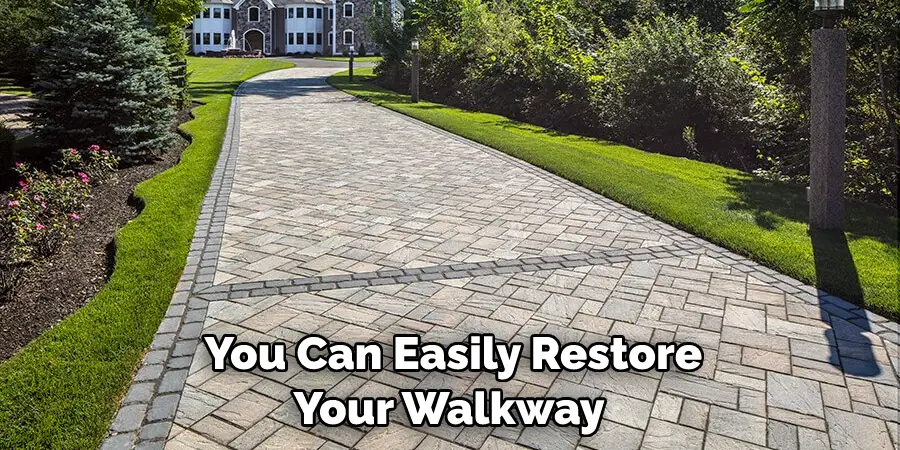
If you find yourself with loose pavers, rest assured that there are ways to fix them. Following the steps outlined above, you can easily repair and keep your loose pavers in place for years. You can easily restore your walkway or patio to its former glory with the right materials and some elbow grease!
Conclusion
Though it may seem daunting, how to fix loose pavers can be a straightforward task with the right tools and guidance.
Taking a few moments to research the installation process and the materials needed for repair is essential in ensuring the longevity of your patio or pathway.
From tamping down joints properly to ensuring your pavers are level, the key to successful paver installation lies in taking the time to do things correctly from start to finish.
After properly installing and maintaining your pavers, you’ll enjoy a patio or pathway that looks great for many years ahead—and you’ll have bragging rights for having done it yourself!
No matter what kind of space you want to create with your pavers, whether ornamental or functional, following these tips will help ensure long-lasting craftsmanship that you can be proud of.
About
Outdoor Fixes is a distinguished figure in the world of Diy design, with a decade of expertise creating innovative and sustainable Diy solutions.
His professional focus lies in merging traditional craftsmanship with modern manufacturing techniques,
fostering designs that are both practical and environmentally conscious. As the author of diy,
outdoorfixes delves into the art and science of outdoorfixes-making, inspiring artisans and industry professionals alike.
Education RMIT University
(Melbourne, Australia) Associate Degree in Design (Outdoor Fixes) Focus on sustainable design, industry-driven projects,
and practical craftsmanship. Gained hands-on experience with traditional and digital manufacturing tools, such as CAD and CNC software.
Nottingham Trent University
(United Kingdom) Bachelor’s in outdoorfixes.com and Product Design (Honors) Specialized in product design with a focus on blending creativity with production
techniques. Participated in industry projects, working with companies like John Lewis and Vitsoe to gain real-world insights.
Publications and Impact
In diy, Outdoor Fixes his insights on indoor design processes, materials, and strategies for efficient production.
His writing bridges the gap between artisan knowledge and modern industry needs, making it a must-read for both budding designers and seasoned professionals.