Pavers on your patio, walkway or driveway look great and are incredibly durable. Not only do they enhance the aesthetic appeal of your property, but they also increase its value. Despite their durability, pavers can also be prone to wear and tear. The primary cause of this is weathering and shifting due to soil movement.
Unfortunately, the maintenance and upkeep of pavers can be tasking but it is a job that must be done to keep them looking great. One of the key maintenance tasks required to keep pavers in good shape is replacing polymeric sand between them. This post outlines 11 steps to guide you on how to replace polymeric sand between pavers through the process.
11 Step-by-step Guidelines on How to Replace Polymeric Sand Between Pavers
Step 1: Gather Supplies
As with any DIY project, you need to gather all necessary supplies before starting. For this task, you’ll need polymeric sand, a broom, a compactor, a garden hose, and a leaf blower. It’s important to ensure that you have a quality polymeric sand brand like Sakrete Polymeric Sand, as it expands when wet and binds with the paver joints. This helps to prevent weed growth and sand erosion.
Step 2: Remove the Old Sand
Once you have the necessary supplies, the next step is to remove the old sand. Use a leaf blower or a power washer to remove any debris on the surface, including dirt and leaves.
Afterward, use a broom to remove as much sand as possible from between the paver joints. But be careful not to damage the paver surface as you work. This can easily be done by brushing gently and using a soft-bristled broom.
Step 3: Create a Stable Surface
It’s important to ensure that the surface is firm and stable before replacing the sand. Any soft spots should be filled with a crushed stone base. Use a compactor to ensure that the surface is 100% level. It’s also recommended to use high-quality compaction equipment like the Sakrete Compactor. This will help to ensure that the pavers are level and strong.
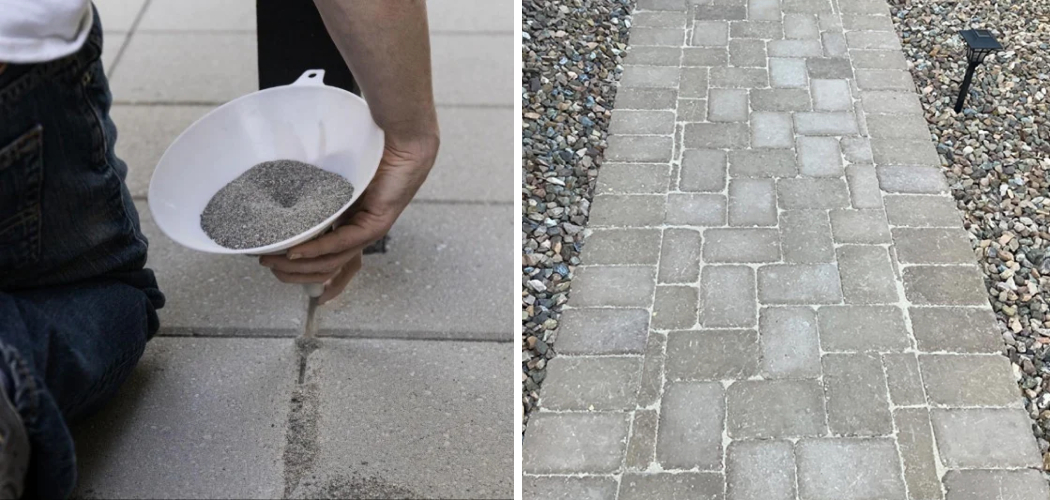
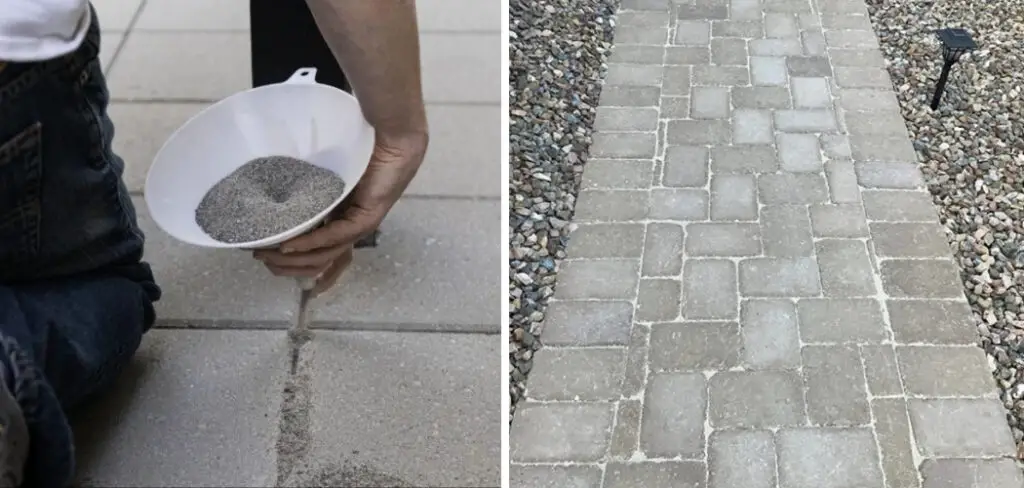
Step 4: Add New Sand
Once the surface is stable, you can begin adding the new sand. In a typical scenario, you should add a small amount of sand over the surface of the pavers. You can use a broom to help disperse the sand in between the pavers.
Make sure you overlap the joints with sand to create a well-filled joint. You should also be sure to add sand in all areas of the patio or walkway, including along the edges.
Step 5: Spread the Sand
Use a compactor to distribute the sand, making sure it has been spread evenly. It’s essential that you ensure the sand fills every crevice to avoid loose pavers. But be careful not to press down too hard as it can cause the pavers to shift.
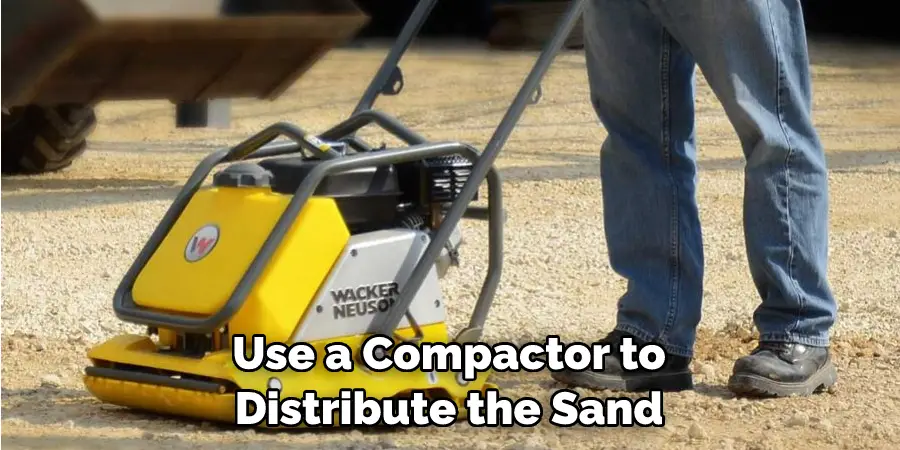
However, if you’re using quality compaction equipment like the Sakrete Compactor, you should have no issues. It’s also important to make sure you sweep off any excess sand from the surface of the pavers.
Step 6: Add More Sand
After compacting the first layer of sand, you will need to add another layer of sand. You can either pour it directly onto the surface or use a broom to distribute it. The amount you add will vary depending on the size of the joints you are filling.
If necessary, use a compactor to smooth out the surface and make sure it’s level. This should be done with care to avoid damaging the pavers. It’s also important to make sure you sweep off any excess sand from the surface of the pavers.
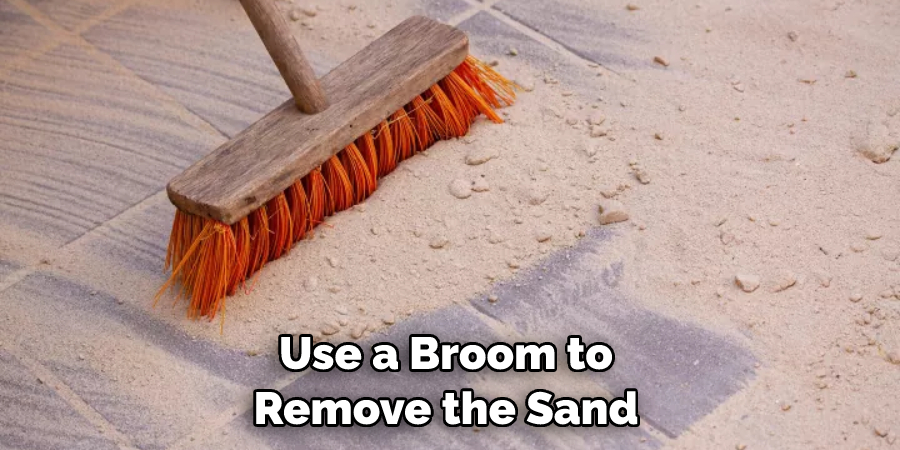
Step 7: Sweep the Excess Sand
Once you have added sand to the joints, use a broom to sweep the excess sand off the pavers. Make sure you are gentle when sweeping, so you don’t displace the sand you have just added. Otherwise, you will need to start the process again from the beginning.
Although this step may seem tedious, it is important to ensure that the sand is evenly distributed and that all excess sand has been removed. It’s also recommended to vacuum up any excess sand that is still on the surface. This will help eliminate any potential problems down the road.
Step 8: Water the Sand
After you have swept the excess sand, it’s time to water the sand. Lightly mist the sand with water using a garden hose. It’s important not to saturate the sand, as this will cause it to clump together.
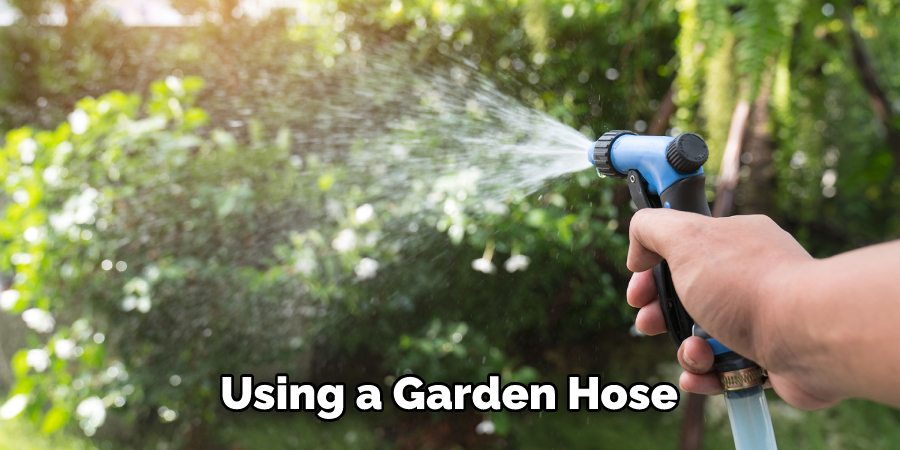
But make sure you don’t under-water it either, as this can cause the sand to shift due to soil movement. It’s also important to note that the water should not be hot, as this can damage the pavers. You should use only cold water.
Step 9: Compact the Sand
Once the sand has been lightly misted, use a compactor to ensure the sand is compressed into the joints. This is important, as it will lock the pavers in place. It also eliminates the possibility of weeds or grass growing between the pavers.
Just like with Step 5, make sure you are careful when compacting to avoid any damage to the pavers. This can easily be done using quality compaction equipment like the Sakrete Compactor.
Step 10: Reapply Sand
If the joints are not completely filled, you can apply more sand as needed. Repeat steps 7 to 9 until the joints are filled. You can also use a broom to help sweep the sand into the joints if necessary. Don’t forget to lightly mist the sand with water, and then compact it.
Keep in mind that you should not add too much at once or else you may end up with clumping issues. But if this happens, you can lightly sweep the area and then compact it again.
Step 11: Final Sweep
Finally, give the pavers one last sweep to ensure that there is no excess sand left on the surface. Always use a broom with soft bristles, so as not to displace the sand. This will be your last chance to get rid of any excess sand, so make sure you are thorough.Once this is done, your patio or walkway should have been re-sanded and is now ready for use!
You can enjoy your newly refreshed patio or walkway knowing that it’s been done properly and safely. However, you should also remember to inspect the area regularly for signs of erosion or loose pavers. If necessary, feel free to add more sand and repeat the steps above if needed.
It’s important that you maintain your patio or walkway in order to keep it looking beautiful and functioning properly. With the right supplies and a bit of know-how, replacing polymeric sand between pavers is an easy job that anyone can do. Enjoy your newly refreshed patio or walkway!
Following these steps on how to replace polymeric sand between pavers will help ensure that your pavers stay in good condition for years to come. Be sure to check the sand occasionally and reapply it as needed. As long as you keep it filled, your pavers will look great! And remember: when replacing polymeric sand between pavers, always wear safety glasses and a dust mask to protect yourself. Happy DIY-ing!
Frequently Asked Questions
Q: How Often Should I Replace Polymeric Sand Between Pavers?
A: The frequency with which you need to replace the polymeric sand will depend on how much wear and tear your pavers are exposed to. In general, it’s recommended that you replace the sand every two years or so.
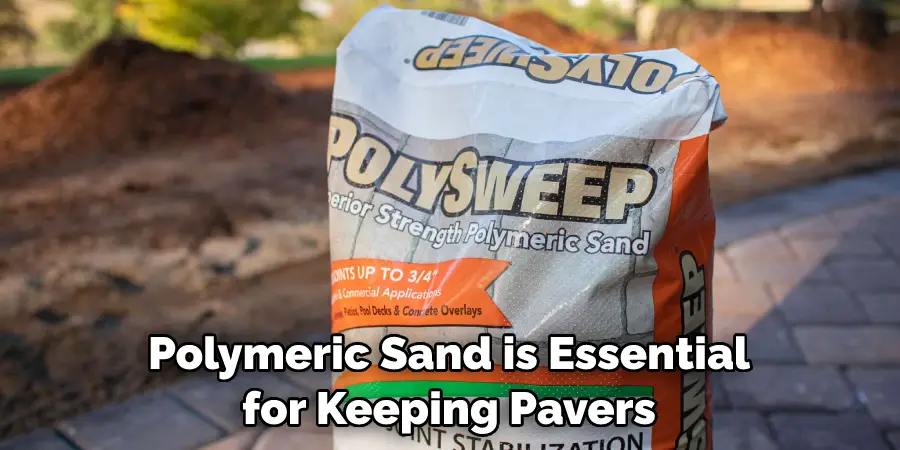
Q: Is Polymeric Sand Necessary Between Pavers?
A: Yes, polymeric sand is essential for keeping pavers in place. It prevents weeds from growing between the pavers and provides additional stability. Without it, your pavers may become loose or shift over time due to soil movement.
Q: How Long Does Polymeric Sand Last?
A: The lifespan of polymeric sand depends on the environment and wear and tear that it is exposed to. Generally speaking, you can expect polymeric sand to last up to two years before needing to be replaced.
Q: What Is the Best Polymeric Sand?
A: The best polymeric sand for your project will depend on the type of pavers you are using and environmental factors like rainfall and temperature. Look for sand that is specifically designed for use with concrete or stone pavers, and that is easy to spread and compact. It’s also important to make sure the sand you choose is weed-free.
Conclusion
Maintaining pavers is essential to ensure that they remain durable and look great for years to come. Replacing the polymeric sand between pavers is an important part of this maintenance process. When done correctly, it will ensure that your pavers remain in good condition, deterring the growth of weeds and making the surface level.
The 11-step guide outlined above on how to replace polymeric sand between pavers should make the process easier, and you will be able to enjoy your beautiful outdoor space without worrying about the unsightly appearance of poorly-maintained pavers.
About
Outdoor Fixes is a distinguished figure in the world of Diy design, with a decade of expertise creating innovative and sustainable Diy solutions.
His professional focus lies in merging traditional craftsmanship with modern manufacturing techniques,
fostering designs that are both practical and environmentally conscious. As the author of diy,
outdoorfixes delves into the art and science of outdoorfixes-making, inspiring artisans and industry professionals alike.
Education RMIT University
(Melbourne, Australia) Associate Degree in Design (Outdoor Fixes) Focus on sustainable design, industry-driven projects,
and practical craftsmanship. Gained hands-on experience with traditional and digital manufacturing tools, such as CAD and CNC software.
Nottingham Trent University
(United Kingdom) Bachelor’s in outdoorfixes.com and Product Design (Honors) Specialized in product design with a focus on blending creativity with production
techniques. Participated in industry projects, working with companies like John Lewis and Vitsoe to gain real-world insights.
Publications and Impact
In diy, Outdoor Fixes his insights on indoor design processes, materials, and strategies for efficient production.
His writing bridges the gap between artisan knowledge and modern industry needs, making it a must-read for both budding designers and seasoned professionals.