Are you looking to give your outdoor space a beautiful makeover with travertine pavers? Travertine pavers are an elegant and natural-looking solution for creative landscaping designs, as they can be used on walkways, driveways, or patios.
If you plan to install travertine pavers, it’s important to know that sealing the stones is essential to ensure their durability and longevity. This guide will provide an overview of the key steps of sealing travertine pavers. Just follow these simple steps, and you’ll be ready to enjoy your new outdoor space in no time!
With just a few easy steps, you can properly seal your travertine pavers and protect them from wear and tear while maintaining their beauty for many years. Read on to learn how to seal travertine pavers!
What Will You Need?
Before sealing your travertine pavers, ensure you have all the materials and tools you need to complete the job. You will need:
- Travertine paver sealer
- Clean cloths or paper towels
- Bucket
- Sponge
- Protective gloves and eyewear
Now, let’s get started!
10 Easy Steps on How to Seal Travertine Pavers
Step 1: Preparation
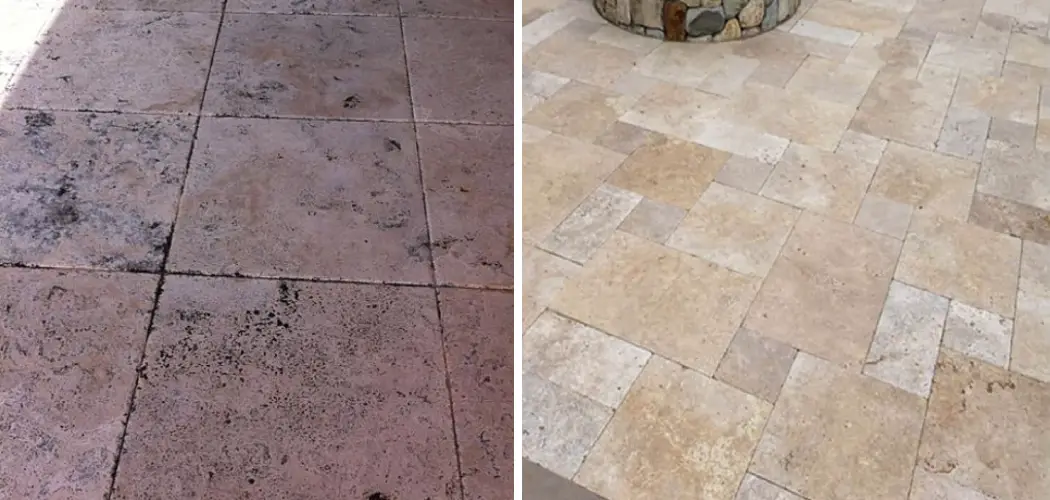
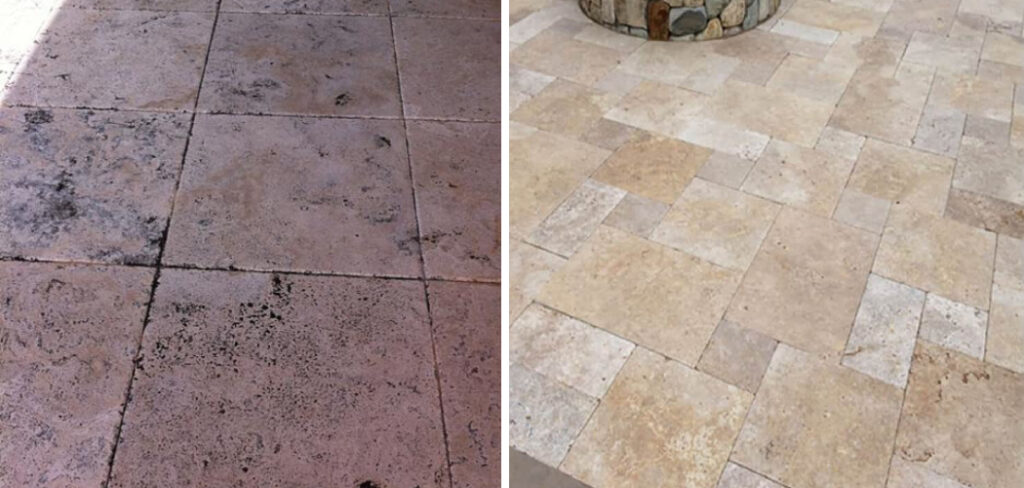
The first step in sealing your travertine pavers is to ensure they are clean and free of dirt, debris, and other contaminants. Start using a broom or vacuum cleaner to remove any dirt on the surface. Then, mop the stones with water and a cleaning solution to make sure that you remove any stubborn stains and dirt. Allow the pavers to dry completely for a few hours before moving on to the next step.
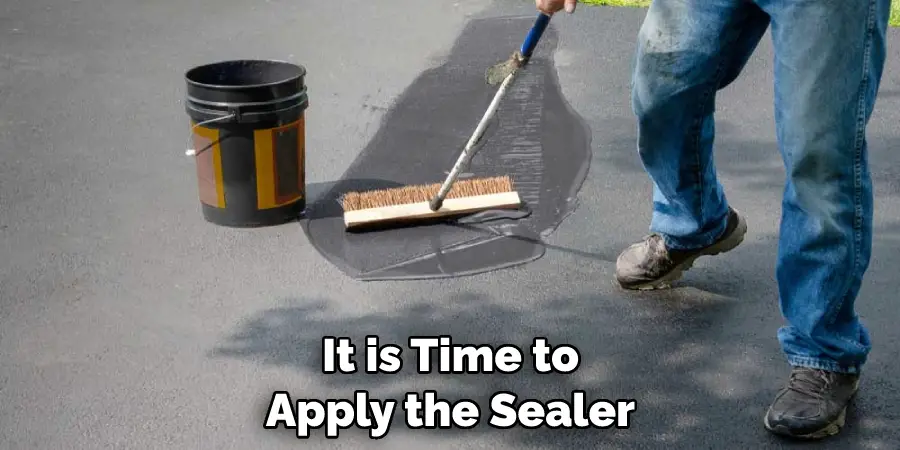
Step 2: Applying the Sealer
Once you’ve successfully cleaned your travertine pavers, it’s time to apply the sealer. Start by pouring some of the sealers into a bucket. Then, use a sponge to apply the sealer evenly across the surface of the stones. Make sure to spread it in even strokes and cover all areas thoroughly. Allow the first coat to dry for an hour before applying a second coat.
Step 3: Buffing and Polishing
Once you’ve applied two coats of the sealer, it’s time to buff and polish the travertine pavers. Use a soft cloth or paper towel to buff each stone in circular motions gently. This will help remove any excess sealer and ensure a smooth finish.
Step 4: Allow Travertine Pavers to Dry
Now that you’ve sealed and polished your travertine pavers, allowing them to dry completely is important. Leave the stones in a warm and dry place for at least 24 hours before walking on them or using them for landscaping. If the pavers are not allowed to dry thoroughly, they may become slippery and potentially hazardous.
Step 5: Inspecting the Pavers
After the pavers have completely dried, it’s time to inspect them for any spots that may have been missed during the sealing process. Walk around your outdoor space and note any areas where the travertine appears dull or unsealed.
Remember to check corners and edges, as these areas can often be overlooked. If you find any spots that need additional sealing, simply repeat steps 2 and 3 to ensure your travertine pavers are fully protected.
Step 6: Regular Maintenance
Having sealed your travertine pavers, it’s important to set a regular cleaning and maintenance schedule to keep them in top-notch condition. Regularly sweep or vacuum the pavers to remove dirt and debris. For stains, use a mild cleaning solution and a soft brush to scrub the surface gently.
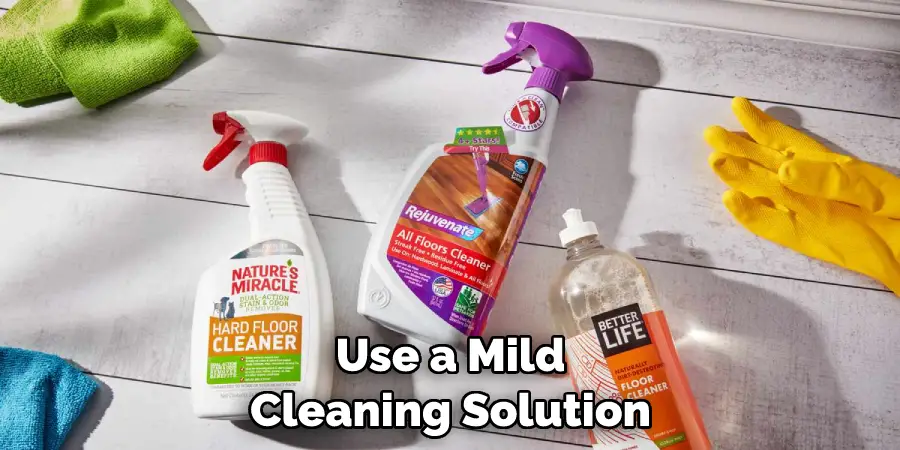
Avoid using acidic cleaners as they can damage the sealer and the stone. Reapply the sealer every two to three years or as needed to ensure your pavers continue to retain their natural beauty and durability. Regular care will help your travertine pavers stand the test of time and weather, providing you with a beautiful outdoor space for years.
Step 7: Checking for Weather Damage
Since travertine pavers are predominantly used in outdoor spaces, it’s crucial to check for any weather-related damage periodically. Exposure to rain, wind, snow, and sun can deteriorate the sealer over time. Look for any signs of cracking, discoloration, or surface erosion.
If you spot any such damage, it may be a sign that a fresh coat of sealer is needed to preserve the integrity of your pavers. If the damage is significant, consider seeking professional help to restore your travertine pavers to their original beauty.
Step 8: Re-Sealing As Needed
Re-sealing your travertine pavers is necessary, especially when the sheen starts to wear off. The frequency of re-sealing often depends on the traffic and weather conditions your pavers are exposed to. Typically, a good quality sealer should last for two to three years.
To re-seal, follow steps 1 to 4, as mentioned above. Re-sealing will protect your pavers and rejuvenate their appearance, making your outdoor spaces look bright and inviting. Remember, the key to maintaining the beauty of your travertine pavers is regular maintenance and timely re-sealing!
Step 9: Enjoy Your Travertine Pavers
With your travertine pavers now properly sealed and maintained, it’s time to sit back and enjoy the beauty and elegance they bring to your outdoor space. Whether used in a patio, walkway, or driveway, these pavers add a touch of natural charm that can elevate the look of any landscape design. Proper care and maintenance ensure that your travertine pavers will continue to impress for many years.
So, have a picnic, throw an outdoor party, or simply relax and appreciate the hard work you’ve put into creating your beautiful outdoor oasis.
Step 10: Share and Inspire
Now that your travertine pavers are perfectly sealed and looking their best remember to share the results with others. Snap a few photos of your beautiful outdoor space and share them with friends and family or on social media.
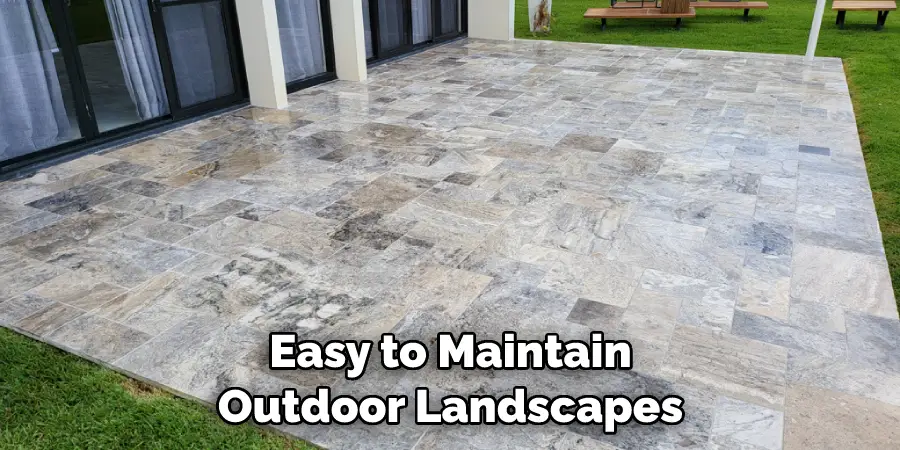
You may inspire others to undertake similar projects, creating beautiful, durable, easy-to-maintain outdoor landscapes. Your success story may be the push someone else needs to transform their outdoor space with travertine pavers. Remember, the key to a successful project is regular maintenance and care of your pavers!
These simple steps teach you how to seal travertine pavers and create a stunning outdoor oasis. The key is in staying patient and taking the time to prepare and apply the sealer properly. Regular care and maintenance will ensure that your travertine pavers retain their natural beauty for years. So, get started on creating an outdoor space you’ll love!
5 Additional Tips and Tricks
- Always use a sealer specifically designed for travertine pavers to ensure that your paver surfaces are properly protected and can last for years to come.
- When applying the sealer, evenly spread it over the entire surface of each paver with a roller or brush.
- Make sure there is no standing water on the surface of your pavers before applying the sealer, as this could cause discoloration and damage to the stones.
- Let the sealer sit for 24 hours after application before allowing traffic onto the surface.
- Re-seal your travertine pavers at least once a year to keep them looking their best and protect them from the natural elements.
No matter which type of travertine pavers you choose, sealing them is an important step in keeping them looking their best and lasting for years to come. With these tips and tricks, you’ll be ready to seal your travertine pavers quickly!
5 Things You Should Avoid
- Avoid using acidic cleaners on your travertine pavers, as they can etch the surface and cause irreversible damage. Always opt for pH-neutral cleaning products.
- Do not rush the curing time after you have applied the sealer. Letting it properly dry for at least 24 hours is crucial to ensure optimal protection.
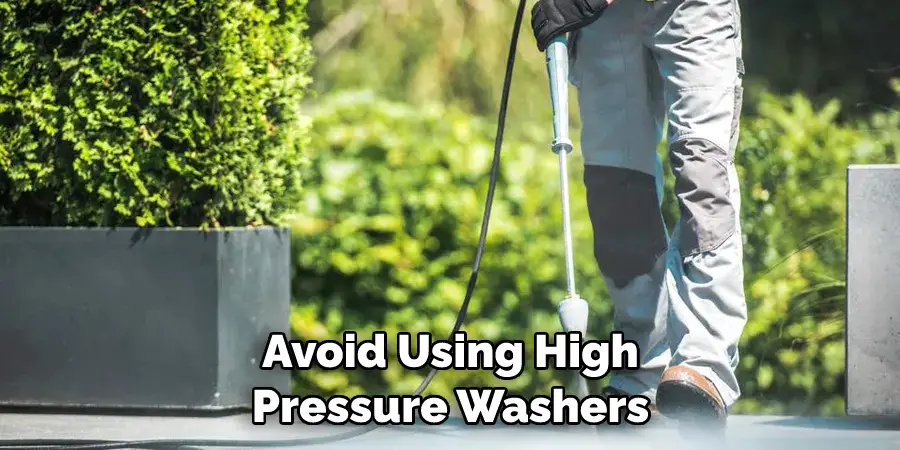
- Refrain from using high-pressure washers to clean your travertine pavers. The intense pressure can cause cracks or remove the sealer.
- Try to pay attention to the resealing schedule. Skipping the annual resealing can expose the pavers to damage from weather and traffic.
- Don’t ignore stains or discoloration. Addressing these issues promptly can prevent them from becoming permanent and enhance the longevity of your pavers.
Avoiding these common mistakes and following our outlined tips will help you keep your travertine pavers looking their best for years to come. With proper care, your travertine pavers can maintain their beauty and provide a luxurious outdoor space that you can enjoy.
Conclusion
Different types of stones have different methods for proper installation and sealing. Travertine pavers require extra effort in prepping the paving for use, but when done right, it can help create a beautiful addition to your outdoor area. Applying sealer to travertine pavers can change the atmosphere and provide added protection from staining and discoloration.
Before applying a sealer, ensure the surface is clean and dry so that the sealer can adhere properly. It’s also important to do a sample test first for two reasons: to make sure you’ve chosen the right type of sealant, and to ensure that you know exactly how much coverage your sealant provides. Sealing travertine pavers correctly will give you many years of enjoyable use while protecting your investment.
Hopefully, the article on how to seal travertine pavers was helpful in providing some guidance for you. If done correctly, it can be a great DIY project that adds a unique touch to any outdoor space. Get sealing and enjoy the outdoors!
About
Outdoor Fixes is a distinguished figure in the world of Diy design, with a decade of expertise creating innovative and sustainable Diy solutions.
His professional focus lies in merging traditional craftsmanship with modern manufacturing techniques,
fostering designs that are both practical and environmentally conscious. As the author of diy,
outdoorfixes delves into the art and science of outdoorfixes-making, inspiring artisans and industry professionals alike.
Education RMIT University
(Melbourne, Australia) Associate Degree in Design (Outdoor Fixes) Focus on sustainable design, industry-driven projects,
and practical craftsmanship. Gained hands-on experience with traditional and digital manufacturing tools, such as CAD and CNC software.
Nottingham Trent University
(United Kingdom) Bachelor’s in outdoorfixes.com and Product Design (Honors) Specialized in product design with a focus on blending creativity with production
techniques. Participated in industry projects, working with companies like John Lewis and Vitsoe to gain real-world insights.
Publications and Impact
In diy, Outdoor Fixes his insights on indoor design processes, materials, and strategies for efficient production.
His writing bridges the gap between artisan knowledge and modern industry needs, making it a must-read for both budding designers and seasoned professionals.