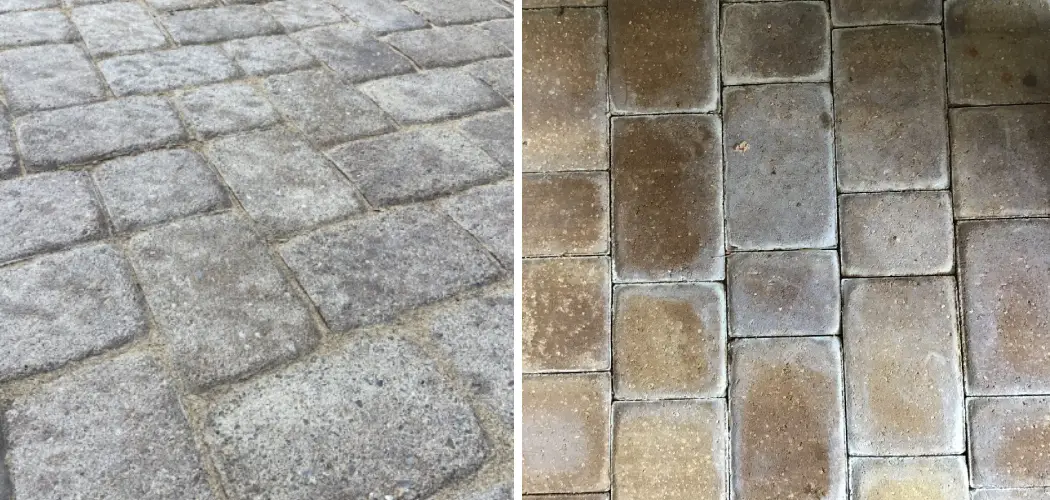
Are you looking for an effective and efficient way to remove sealer from your pavers? You can successfully remove any sealer from brick and concrete pavers with the right supplies, patience, and elbow grease.
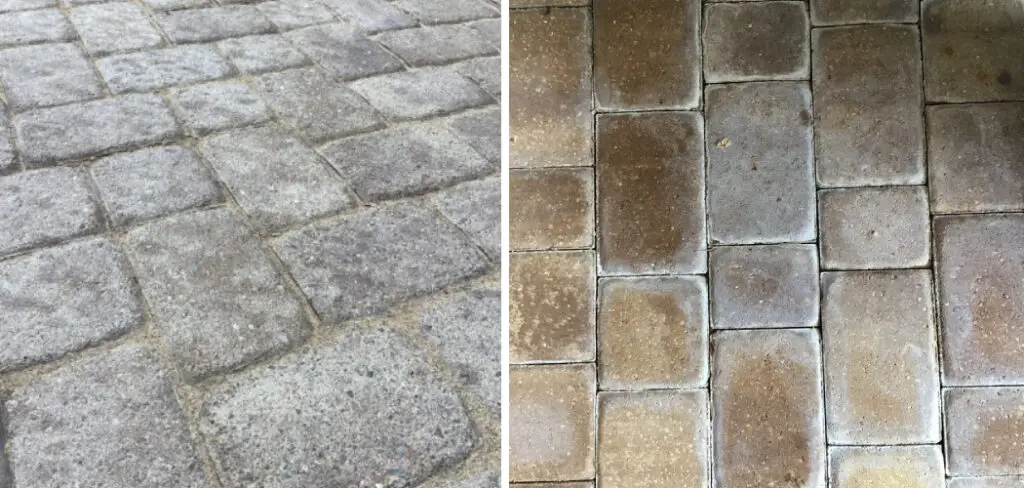
Once finished, not only will your outdoor space have an updated look, but it will also be thoroughly sealed against moisture damage for years to come.
Whether you are trying to remove a single layer of sealer or accumulate many layers, the process is relatively simple. Here’s what you need to know about how to remove sealer from pavers.
In this blog post, we’ll discuss how to safely remove existing sealers from your pavers and what equipment is necessary for the job. We’ll also offer insightful tips on how to avoid mistakes so that you achieve the best results possible!
What Will You Need?
Before you can begin, you’ll need to gather all the necessary supplies given below:
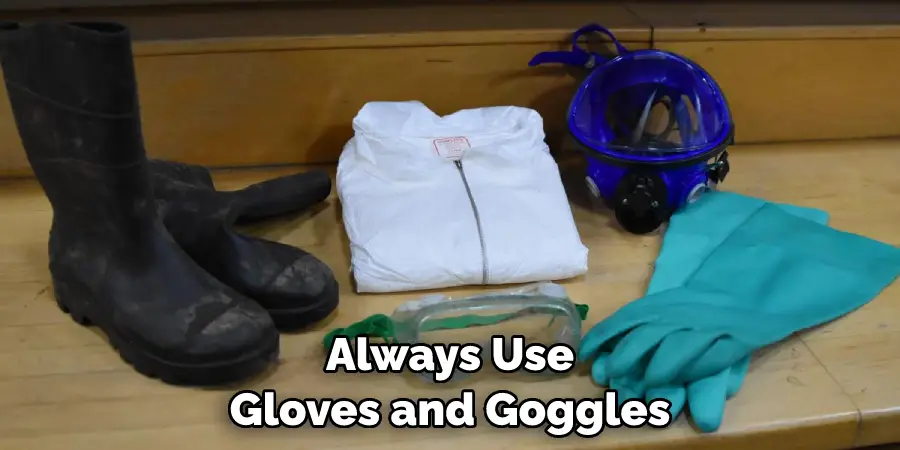
- Protective Gear – safety goggles, gloves, and dust mask
- Acid Cleaners – oxalic acid and muriatic acid
- Paver Brush – wire brush or abrasive pad
- Pressure Washer – to remove loosened dirt and sealer
- Neutralizing Agent – baking soda/ white vinegar will work
- Hose – for rinsing your pavers
- Bucket – for mixing your acid cleaners
- Detergent – to prepare the surface before cleaning
- Towels/Rags – to clean up spills
Once you have all your supplies, you can begin to prepare the surface of your pavers.
10 Easy Steps on How to Remove Sealer From Pavers
Step 1. Preparing the Surface
The first step in removing sealer from pavers is to prepare the surface. This includes sweeping or blowing away any loose debris and dirt and scrubbing the paver with a detergent solution using a brush or a broom. If you are dealing with a significant accumulation of dirt, you can also pressure wash the paver surface.
Step 2. Neutralize the Surface
Once you’ve removed any loose dirt and debris from the surface, it is important to neutralize it by rinsing the pavers with either a baking soda/ water solution or white vinegar/ water solution.
If using the baking soda method, mix 1/2 cup of baking soda with 1 gallon of water and rinse the pavers thoroughly. If using the white vinegar method, mix 1 cup of white vinegar with 1 gallon of water and rinse the pavers thoroughly. Don’t forget to rinse again with clean water after you’ve used the neutralizing agent.
Step 3. Apply the Acid Cleaner
The next step in removing the sealer from the pavers is to apply the acid cleaner. This process should be handled carefully, as the acids can be harmful if not used properly. Always remember to wear your protective gear – safety goggles, gloves, and dust mask.
Mix a solution of the oxalic or muriatic acid cleaner in a bucket according to the manufacturer’s instructions. Using a brush, apply the acid solution evenly across the surface of the pavers, making sure to cover all areas. Leave the solution on the pavers for some time as directed by the manufacturer, typically around 10-15 minutes, to allow it to loosen the sealer.
Step 4. Scrub the Pavers
After the acid solution has had enough time to work, it’s time for some scrubbing. Use a wire brush or an abrasive pad to scrub the pavers. Be thorough, ensuring that you scrub all areas of the pavers, especially the stubborn spots where the sealer might be heavily applied. The scrubbing action will help to lift the sealer from the pavers, making it easier for the next step.
Step 5. Rinse with a Pressure Washer
Once you’ve finished scrubbing, rinse the pavers using a pressure washer. The pressure washer will help to remove any loosened sealer and dirt from the pavers. Be careful to avoid damage to the pavers by gently setting the pressure washer.
Step 6. Check for the Remaining Sealer
After you’ve pressure-washed the pavers, check them to ensure all the sealer has been removed. If not, repeat steps 3 through 5 as necessary. Ensure that all remaining sealer has been completely removed before beginning the sealing process.
Step 7. Neutralize Again
Once you are sure that the sealer has been removed, it is important to neutralize the surface again. This will help ensure your pavers are properly sealed during the next step. Use a baking soda/ water solution or white vinegar/ water solution to rinse the pavers.
Step 8. Dry the Pavers
After you’ve completed the neutralization, it’s time to let your pavers dry. Depending on the weather and the material of your pavers, this could take between 24 to 72 hours.
It’s essential to ensure the pavers are completely dry before moving on to the next step, as any remaining moisture can negatively affect the new sealer’s application and longevity. You can use towels or rags to blot any visible water but remember that the material may still hold moisture, so allow ample time for complete drying.
Step 9. Apply New Sealer
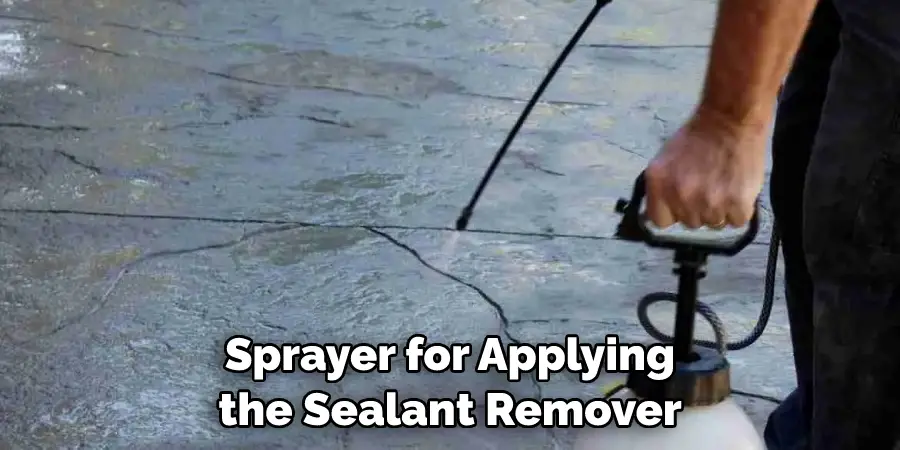
With your pavers thoroughly cleaned and dried, it’s time to apply the new sealer. Choose a sealer that is appropriate for your type of pavers. The sealer can generally be applied using a roller, brush, or sprayer, depending on your preferences and the size of the area.
Start at one end and work your way to the other, ensuring you have an even coverage across all pavers. Allow the sealer to dry according to the manufacturer’s instructions before proceeding to the next step.
Step 10. Final Check and Clean Up
Once the sealer is completely dry, do a final check of your pavers. Look for any areas that might need a touch-up or missed spots. If everything looks good, congratulations, you have successfully removed and reapplied sealer to your pavers! The last task is to clean up your supplies, making sure to dispose of any remaining acid cleaner properly.
Also, rinse your brushes and rollers thoroughly so they can be used for future projects. Now, it’s time to enjoy your freshly sealed pavers!
Following these ten easy steps, you can successfully remove the sealer from the pavers and reapply the new sealer to bring a fresh look to your outdoor space. It’s important to keep in mind that this is an intensive process and requires the use of materials that may be hazardous if not used correctly.
5 Additional Tips and Tricks
- Begin Immediately: Optimal sealer removal occurs during mild, dry weather. Extreme heat can cause the removal solutions to evaporate too quickly, while damp conditions may prevent them from working effectively. Aim for a day with moderate temperatures and no rain forecast.
- Protect Plants and Other Surfaces: Before starting the process of sealer removal, it’s critical to protect any nearby plants, furniture, or non-paver surfaces. Industrial-grade sealant removers can be harsh and may cause damage to these elements. Cover them with plastic sheets or tarps for protection.
- Use the Right Tools: Ensure you have the correct tools for the job. You’ll need a stiff brush, a paint roller or sprayer for applying the sealant remover, and a pressure washer for rinsing. Using the right tools will make the process easier and more effective.
- Allow Adequate Time: Patience is key when removing sealer from pavers. After applying the removal solution, allow it to sit for the recommended time, usually between 2-4 hours, depending on the product instructions. This gives the solution time to break down the sealer. Rushing this process can result in uneven removal.
- Rinse Thoroughly: After waiting, thoroughly rinse the treated area with a pressure washer. The pressure washer will help lift and remove the sealer the solution has broken down.
With these tips in hand, you’re ready to make quick work of your sealer-removal project.
5 Things You Should Avoid
- Avoid Using the Wrong Chemicals: Certain chemicals may seem like they’d be effective at removing sealer but could end up doing more harm than good. Avoid anything acidic or oil-based, as these can discolor the pavers or break them down over time. Always opt for a specially-formulated paver sealer remover.
- Avoid Skipping Protective Wear: Working with a sealer remover can be hazardous. Thus, there are other options than skipping out on protective gear. Always use gloves, goggles, and long-sleeved clothing to protect your skin and eyes from the chemicals.
- Avoid Inadequate Rinsing: After applying the sealer remover, it’s crucial to rinse the area adequately. Failing to do so can leave residues that may dull the appearance of your pavers or create a slippery surface.
- Avoid Rushing the Process: As mentioned above, rushing the process can lead to uneven removal or even damage to the pavers. Always give the remover adequate time to work and never try to speed it up with extra applications.
- Avoid Ignoring Manufacturer’s Instructions: Every product has specific instructions for optimal use. Ignoring these can lead to ineffective removal, damage to the pavers, or safety risks. Always read and follow the manufacturer’s instructions when using a sealer remover.
Avoiding these mistakes can help you achieve a successful sealer-removal project that results in beautiful, clean pavers. When done correctly, the process should leave your pavers looking like new!
Conclusion
In conclusion, how to remove sealer from pavers can be a tedious task. However, the job will be fairly easy to do with the right products, knowledge, and steps. A pressure washer won’t be effective on old sealers. Still, some specialized cleaning agents won’t damage the material of your pavers and will easily dissolve the chemical bond between it and the stone.
If you choose to sand blast or use a chemical stripper, then you will need some protective equipment for both yourself and any bystanders that might be present in order for them to stay safe. All in all, with plenty of effort, time, and dedication, this should not be an impossible feat.
With the correct steps taken, you can have your pavers looking beautiful again in no time!
About
Outdoor Fixes is a distinguished figure in the world of Diy design, with a decade of expertise creating innovative and sustainable Diy solutions.
His professional focus lies in merging traditional craftsmanship with modern manufacturing techniques,
fostering designs that are both practical and environmentally conscious. As the author of diy,
outdoorfixes delves into the art and science of outdoorfixes-making, inspiring artisans and industry professionals alike.
Education RMIT University
(Melbourne, Australia) Associate Degree in Design (Outdoor Fixes) Focus on sustainable design, industry-driven projects,
and practical craftsmanship. Gained hands-on experience with traditional and digital manufacturing tools, such as CAD and CNC software.
Nottingham Trent University
(United Kingdom) Bachelor’s in outdoorfixes.com and Product Design (Honors) Specialized in product design with a focus on blending creativity with production
techniques. Participated in industry projects, working with companies like John Lewis and Vitsoe to gain real-world insights.
Publications and Impact
In diy, Outdoor Fixes his insights on indoor design processes, materials, and strategies for efficient production.
His writing bridges the gap between artisan knowledge and modern industry needs, making it a must-read for both budding designers and seasoned professionals.