Do you have a patio paver project that requires the removal of existing pavers? Are you hesitant to remove them because you don’t want to damage the pavers or the surrounding area? Well, have no fear!

If you’re wondering how to remove pavers without breaking them, then you’ve come to the right place. Removing pavers can be tricky, but with some patience and proper technique, it can be done with minimal damage to the pavers or the surrounding area.
In this blog post, we will walk through a step-by-step process to safely and efficiently remove your pavers without breaking them. We cover everything from what materials and tools are needed for the job to detailed instructions on protecting your existing pavers while they are removed. So get ready – it’s time for some paver removal!
What Will You Need?
Before you start removing your pavers, it is important to have the right materials and tools on hand. You will need the following supplies:
- Gloves will help protect your hands while lifting and carrying heavy objects.
- Protective eyewear – wearing this type of eye protection is important when working with tools or debris that could become airborne.
- Shovel – this is used to dig around the edges of the pavers and loosen them for removal.
- Paver edging tool – a small specialized tool that helps loosen individual pavers without damaging them.
- Tarp or tarpaulin – use this material to place the removed pavers on to keep them from getting damaged.
- Wheelbarrow – this is used to transport the removed pavers to their new location.
Once you have gathered all of your necessary supplies, it’s time to remove the existing pavers.
10 Easy Steps on How to Remove Pavers Without Breaking Them
Step 1: Wear the Proper Safety Gear
Safety should always be your first priority for any home improvement project. Start by putting on your gloves and protective eyewear. These will help prevent potential injuries from sharp edges or flying debris. Ensure your footwear is sturdy and provides adequate grip to avoid slips and falls. Now, you’re all set to get started with the actual paver removal process.
Step 2: Clear the Area
Begin your work by clearing any outdoor furniture, plant pots, or other objects from the area around the pavers. This will provide ample space to operate without hindrances and reduce the risk of damaging other items. Also, sweeping the area free of dust and leaves will prevent them from interfering with your work. Remember, a clean workspace is a safe workspace.
Step 3: Mark the Pavers to be Removed
Identify and mark the pavers you want to remove. You can use a small piece of chalk or a washable marker. By doing this, you can easily distinguish between the pavers to be removed and those to be left in place. This step is significant as it helps prevent any accidental removal of the pavers you want to keep intact, ensuring a smooth and efficient process.
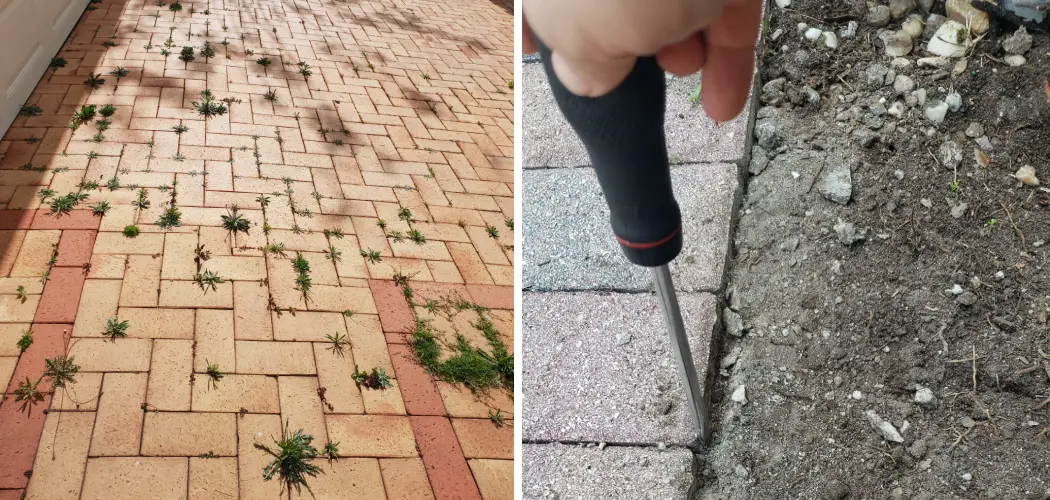
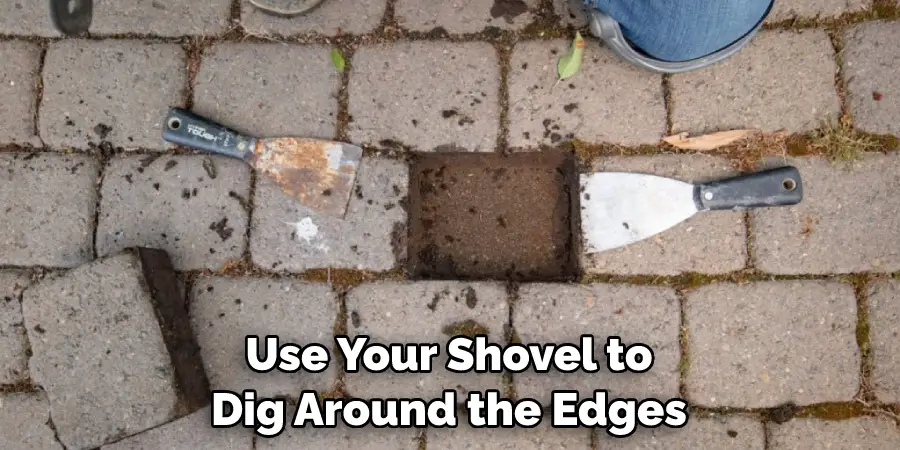
Step 4: Loosen the Edges of the Pavers
To start the removal process, use your shovel to dig around the edges of the marked pavers gently. This helps to loosen the soil or sand underneath, making it easier to lift the pavers. You can also utilize a paver edging tool if you have one, as it’s specifically designed to free the pavers from tight spots without causing any damage. Be sure to perform this step with care and precision to prevent any unnecessary breakage.
Step 5: Lift the Pavers
Now that the edges are loosened lifting the pavers is time. Gently slide the shovel or paver edging tool under the paver, not forcing it. Apply a slow and steady upward pressure to lift the paver from its place. If the paver seems resistant, don’t resort to force. Instead, try loosening the surrounding soil a bit more. Once lifted, carefully place the paver on your tarp or tarpaulin to avoid damage.
Step 6: Clean the Pavers
Upon successful removal, it’s important to clean the pavers. This process helps to remove any dirt or grime that may have accumulated over time. Use a dry brush to gently sweep away loose debris from the surface of the paver. If stubborn dirt persists, a mild solution of soap and water can be used to scrub the surface.
Rinse with plain water and allow the pavers to dry completely before repositioning or storage. Remember, clean pavers are easier to work with and offer a neater finish for your next project.
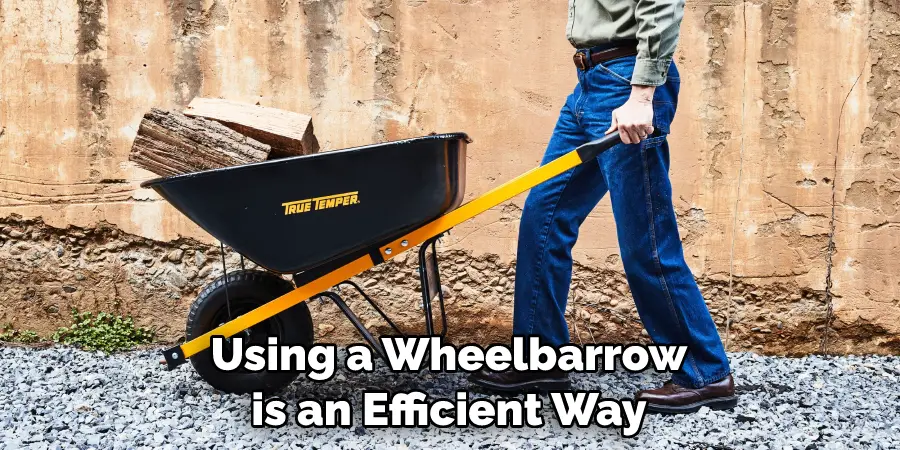
Step 7: Transport the Pavers
Once the pavers are cleaned and dried, it’s time to transport them to their new location or storage area. Using a wheelbarrow is an efficient way to move multiple pavers simultaneously while protecting them from damage. Carefully stack the pavers in the wheelbarrow, taking care not to stack them too high as this could make the wheelbarrow unstable and increase the risk of the pavers falling and breaking.
Push the wheelbarrow slowly and steadily to the new location or storage area, taking care of any corners or obstacles to prevent accidents.
Step 8: Prepare the New Location
If you plan to reposition the pavers in a new location, the next crucial step is preparing the new site. Clear the new area of any debris or obstructions, similar to how you prepared the original paver site. Use your shovel to level the ground and apply a layer of paver base material, which aids in drainage and provides a firm foundation for the pavers.
Smooth out the base material using a hand tamper or a vibrating plate compactor. Take time to ensure the area is properly prepared, as this significantly influences the longevity of your newly positioned pavers.
Step 9: Lay the Pavers
You’re ready to lay the pavers on the newly prepared site. Start from one corner and work your way across, gently placing each paver onto the base material. Ensure each paver fits snugly against the next, maintaining a straight line for a neat finish.
Remember to periodically check the level of the pavers using a spirit level, making any necessary adjustments to the base material to keep the surface even. If a paver doesn’t sit correctly, lift it, adjust the base material underneath, and reposition it. This step requires patience and precision, but the result will be a beautifully laid paver area that is durable and aesthetically pleasing.
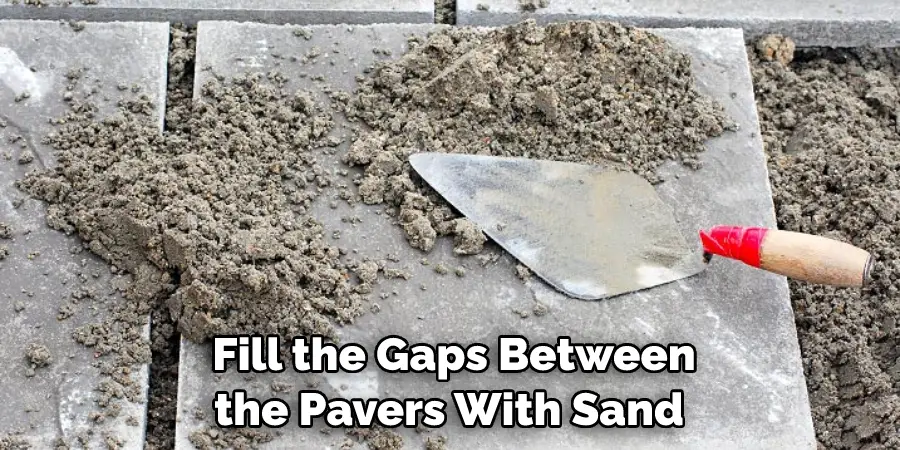
Step 10: Final Inspection and Cleanup
Step back and inspect your work once all the pavers are in place. Ensure the pavers are evenly spaced and level. If any adjustments are needed, make them now. Once satisfied, fill the gaps between the pavers with sand or polymeric sand to lock them in place and prevent movement.
Sweep the excess sand off the pavers with a broom. This is also a good time to appropriately clean your tools and dispose of any debris or waste material. Congratulations, you’ve successfully learned how to remove pavers without breaking them and given them a new life in a new location!
Following these steps, you can complete a paver removal project without hassle and with minimal damage to the pavers. With good preparation and attention to detail, you can achieve great results!
5 Additional Tips and Tricks
- Use a hand-held sledgehammer to break up the pavers and reduce the risk of damaging them.
- If you don’t have access to a sledgehammer, use a small hammer and chisel to break away the broken pieces at a time carefully.
- Wear safety goggles when handling broken paver pieces, as they can be sharp and dangerous.
- Consider renting a paver saw to make the job easier and safer – it will save time on removing pavers without breaking them!
- To avoid cutting into the underlying ground, lay down some plywood first before using a paver saw. This will protect against any potential damage caused by the saw blade.
With these additional tips and tricks, you can easily remove pavers without breaking them! With the right tools and supplies, it’s a project that can be completed quickly and safely.
5 Things You Should Avoid
- Don’t use excessive force when removing pavers. It can cause them to break or be damaged in the process.
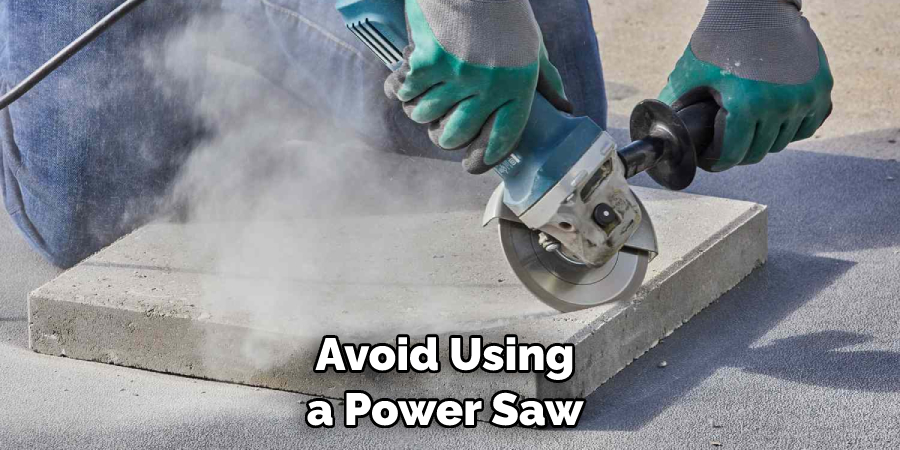
- Avoid using a power saw, as this could easily damage or crack pavers if not done carefully.
- Don’t try to pry out pavers with a crowbar – it might seem easy to remove them, but it’s more likely to cause them to break.
- Don’t use a hammer or pry bar on the edges of pavers, as this can chip or break them.
- Avoid digging into the underlying ground when removing pavers – the soil may be too hard and damage the pavers.
By avoiding these common mistakes, you can be sure to successfully remove pavers without breaking them! With the right tools and supplies, as well as following these tips, you can complete this project safely and quickly.
Conclusion
Removing pavers without breaking them is no small feat, and it is possible with the right tools and techniques. With some preparation, patience, and care, you can safely and efficiently remove your pavers. Don’t forget the most important advice when removing pavers – don’t try to do it alone! Having an extra set of hands can be invaluable in helping you complete the removal process quickly but safely.
Additionally, wear protective clothing and eyewear to protect yourself from any debris that may occur during the removal process. Taking these precautionary steps will help ensure your work goes smoothly and successfully. Lastly, investing in professional pavers reinstallation services can eliminate any guesswork or mishaps that may arise during the process.
All in all, how to remove pavers without breaking them does take time, but it can be done with the right approach and hard work!
About
Outdoor Fixes is a distinguished figure in the world of Diy design, with a decade of expertise creating innovative and sustainable Diy solutions.
His professional focus lies in merging traditional craftsmanship with modern manufacturing techniques,
fostering designs that are both practical and environmentally conscious. As the author of diy,
outdoorfixes delves into the art and science of outdoorfixes-making, inspiring artisans and industry professionals alike.
Education RMIT University
(Melbourne, Australia) Associate Degree in Design (Outdoor Fixes) Focus on sustainable design, industry-driven projects,
and practical craftsmanship. Gained hands-on experience with traditional and digital manufacturing tools, such as CAD and CNC software.
Nottingham Trent University
(United Kingdom) Bachelor’s in outdoorfixes.com and Product Design (Honors) Specialized in product design with a focus on blending creativity with production
techniques. Participated in industry projects, working with companies like John Lewis and Vitsoe to gain real-world insights.
Publications and Impact
In diy, Outdoor Fixes his insights on indoor design processes, materials, and strategies for efficient production.
His writing bridges the gap between artisan knowledge and modern industry needs, making it a must-read for both budding designers and seasoned professionals.