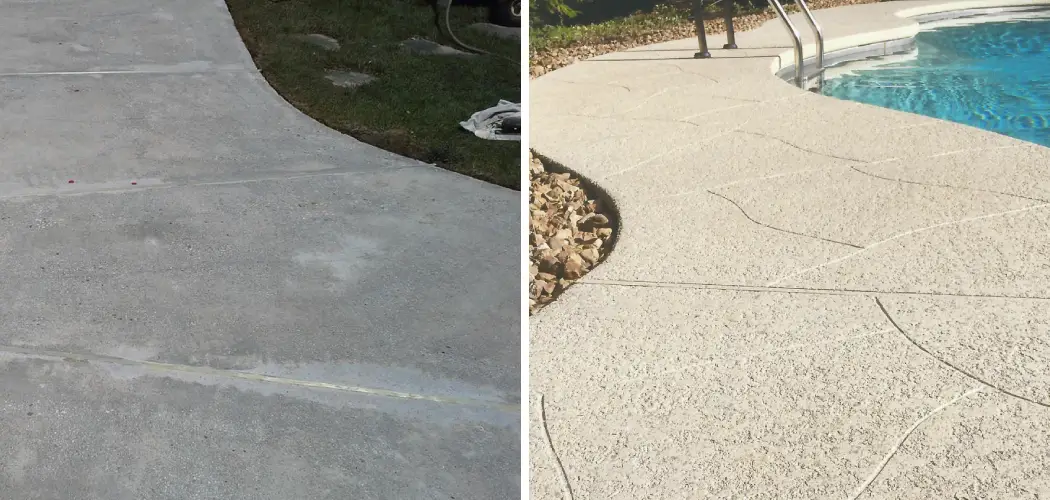
Are you looking for a way to enhance the visual appeal of your outdoor living space? Whether you own a pool, patio, or deck, one excellent solution is to install cool decking. Cool decking can provide aesthetics and comfort all year round; however, sometimes, it’s necessary to remove existing cool deck materials due to wear or damage.
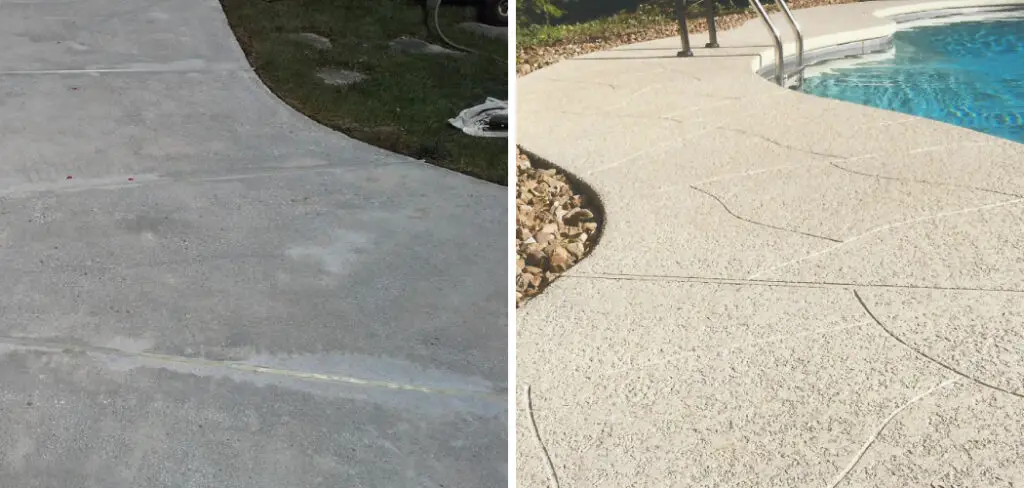
Removing cool deck doesn’t have to be difficult – with some preparation and planning ahead of time, it can be done quickly and easily! Whether you have decided to change the look of your outdoor space or need to repair an area of cool decking, here is a step-by-step guide on how to remove cool deck.
In this blog post, we’ll discuss how to properly remove cool decks from your property in order to ensure successful results.
What Will You Need?
Before beginning the process of removing the cool deck, it’s important to gather all necessary materials and tools. Here are some items you will need to complete this task:
- Protective gear (gloves, goggles, dust mask)
- Crowbar or pry bar
- Hammer
- Chisel
- Scraper or floor scraper
- Power washer or hose with high-pressure nozzle
- Chemical stripper (optional)
Once you have all the necessary materials, you’re ready to get started on removing your cool deck.
10 Easy Steps on How to Remove Cool Deck
Step 1: Prepare the Area
Before starting the removal process, it’s essential to protect yourself and your surroundings. Put on protective gear such as gloves, goggles, and a dust mask to prevent any injuries.
Then, clear the area of any furniture or objects that may be in the way. This will make it easier to work and prevent any potential damage to your belongings.
Step 2: Start the Removal Process
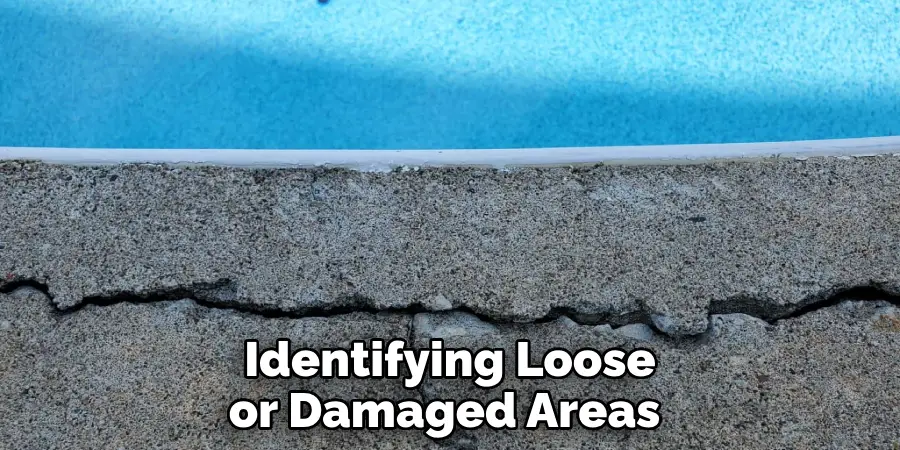
Begin the removal process by identifying loose or damaged areas of the cool deck. Use your crowbar or pry bar to start lifting these sections. Be careful not to dig too deep, as this could cause unnecessary damage to the underlying structure. Continue this process throughout the area, gently prying and lifting the cool deck material. Make sure to dispose of the removed material properly to keep your workspace clean and safe.
Step 3: Scraping Off the Remaining Cool Deck
After removing the loose or damaged sections, use a scraper or floor scraper to remove any remaining cool deck material. This should be done in a systematic, uniform manner, starting from one end of the area and working your way to the other. Take care not to apply too much pressure, as this could damage the base layer.
If there are stubborn patches, you may choose to use a chemical stripper. Apply the stripper as per the instructions on the container, then wait for the recommended time before scraping off. Once all the cool deck material has been removed, prepare for the cleaning process.
Step 4: Cleaning the Surface
After all the cool decking material has been removed, it’s time to clean the surface thoroughly. Use a power washer or a hose with a high-pressure nozzle to rinse off any remaining debris or chemical stripper residue. Start from the top and work your way down, ensuring that the entire surface is cleaned.
If there are still tough spots, you can use a stiff-bristled brush along with a detergent solution to scrub them clean. Once done, let the surface dry completely before moving to the next step. Remember, a clean and dry surface is critical for the success of any new application or repair.
Step 5: Assessing the Surface
Once the surface is clean and dry, it is important to assess it for any damage or uneven areas. Walk around the entire space, paying close attention to any cracks, holes, or dips in the concrete. These will need to be addressed before reapplying a new deck finish or installing a different type of surface.
If you find any areas that need repair, make a note of them for the next step. This assessment phase is crucial in ensuring the longevity and quality of your new decking application.
Step 6: Repairing the Surface
After identifying areas that need repair, it’s time to fix them. Small cracks or holes can be filled using a concrete patch product. Apply the patch compound to the damaged area with a trowel, ensuring it is smooth and level with the rest of the surface.
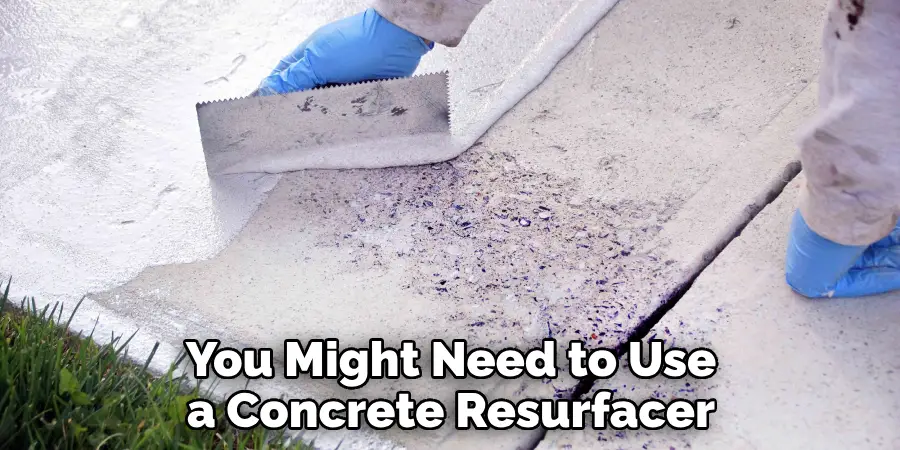
For larger cracks or holes, you might need to use a concrete resurfacer. Follow the directions on the product label for the best results. Allow any repairs to cure as directed by the product instructions before proceeding to the next step. This step is crucial for ensuring a smooth, even base for your new decking material.
Step 7: Preparing for the New Finish
Now that your surface is clean, dry, and repaired, it’s time to prepare to apply the new finish. Depending on the product you choose, you might need to apply a primer or sealer before applying the new deck finish. This will help the new material adhere better to the surface and increase its durability.
Read and follow the instructions provided by the manufacturer of your chosen product. Ensure that the entire area is evenly covered, and let the primer or sealer dry completely before moving on to the next step. Patience in this step is key, as rushing might affect the quality of the finish.
Step 8: Applying the New Finish
After the surface is thoroughly prepared and the primer or sealer completely dries, it’s time to apply the new deck finish. Again, it’s essential to follow the manufacturer’s instructions for the best results. Start from one end of the area and work your way to the other, applying the finish in smooth, even strokes.
Be sure to cover the entire surface evenly and check for any missed spots or unevenness as you go. Depending on the product you’re using, you may need to apply multiple coats. Allow each coat to dry completely before applying the next. This step might take time, but the attention to detail will ensure a stunning result.
Step 9: Checking the Final Result
Once you’ve applied the final coat of your new deck finish, it’s time to let it dry completely as per the manufacturer’s instructions. Resist the urge to walk on it or place furniture back too soon. After the required drying time, inspect the surface meticulously for any uneven color, missed spots, or possible imperfections.
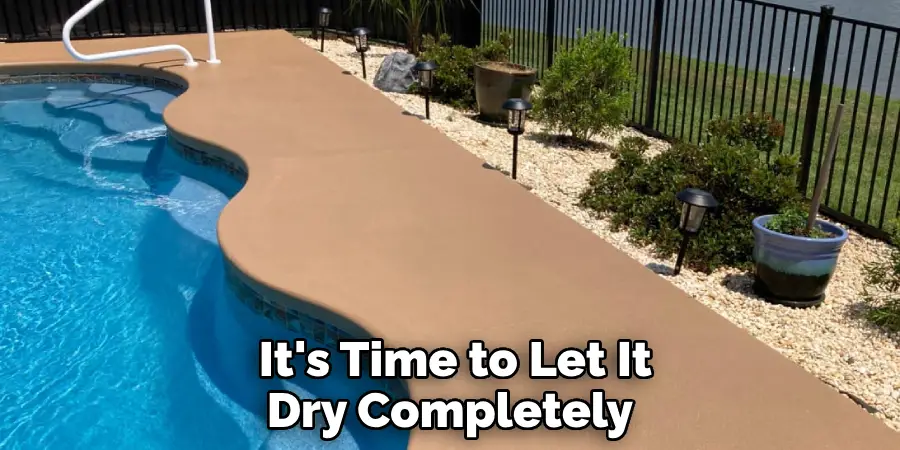
Remember, it’s easier to fix these issues now than after everything has been moved back. This step ensures you’re thoroughly satisfied with your work and that your deck surface is flawlessly finished and ready for use.
Step 10: Reestablishing the Area
Upon confirming that the new deck finish is evenly applied and completely dry, it’s time to reestablish the area. Carefully return the furniture and any other items you removed at the beginning of the process. Layout your furniture strategically to complement your new deck finish.
Finally, step back and appreciate your hard work and the newly transformed space. Remember, regular maintenance can prolong the life of your deck finish, ensuring your outdoor area remains an attractive and comfortable space to enjoy.
Following these steps, you can successfully remove and replace a cool deck surface. Remember to prioritize safety at all times, use the appropriate tools and protective gear, and carefully follow product instructions for the best results.
5 Additional Tips and Tricks
- Start with a Test Spot: Before fully committing, start with a small, inconspicuous spot. If the removal is successful without causing damage, you can proceed with the rest of the deck.
- Take Care with the Pressure Washer: A pressure washer can be a powerful tool in removing a cool deck, but it also can cause damage if not used correctly. Always keep the nozzle moving to avoid concentrated pressure on one spot.
- Consider the Weather: Weather conditions can affect the ease of removal. A cooler, overcast day will keep the deck from drying out too quickly and make the process easier.
- Clean Up Properly: After removing the cool deck, clean up the area thoroughly. Dispose of the removed material properly and clean your tools for future use.
- Use Protective Gear: It is essential to protect yourself during the removal process. Wear gloves, safety glasses, and a dust mask to avoid any potential irritation from the material or chemicals used. Additionally, make sure to ventilate the area while working properly. Safety should always be a top priority when removing cool decks.
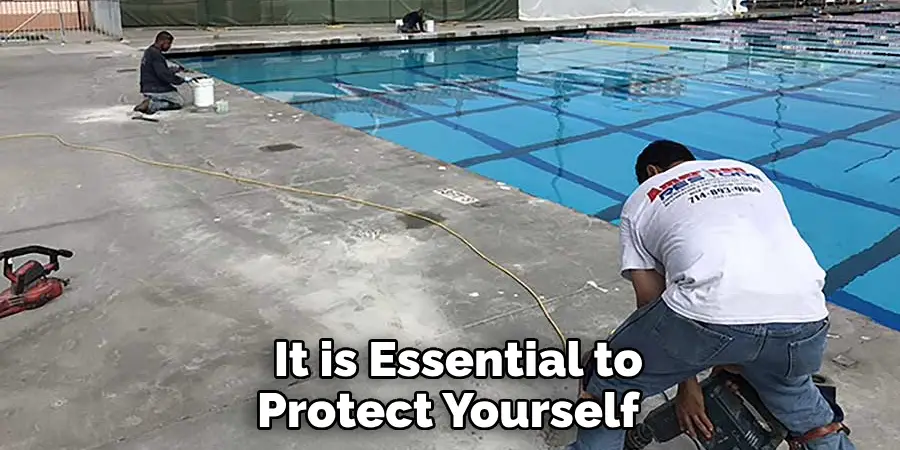
With these additional tips, you can ensure a successful and safe removal of your cool deck.
6 Things You Should Avoid
- Rushing The Process: Cool deck removal requires patience and precision. Rushing through the process can damage the underlying surface or incomplete removal.
- Using Incorrect Tools: Using the wrong tools can significantly hamper your progress and cause unnecessary damage. Make sure to research and use the appropriate tools for the job.
- Ignoring Safety Precautions: Skipping on safety gear can lead to injuries and health issues. Always put safety first and follow all recommended precautions.
- Disposing of Waste Improperly: The cool deck material and any chemicals used during the removal process should be disposed of properly in accordance with local regulations. Dumping them irresponsibly can harm the environment.
- Working in Poor Weather Conditions: Attempting to remove cool deck in rainy or excessively hot weather can complicate the process and affect the results. It’s best to choose a cool, dry day for this task.
- Don’t Stop Too Soon: Cool deck removal can be a tedious task, but it’s essential to ensure you have thoroughly removed all layers of the material. If any remnants are left behind, it can affect the appearance and longevity of your new surface. Take your time and thoroughly remove all cool deck material.
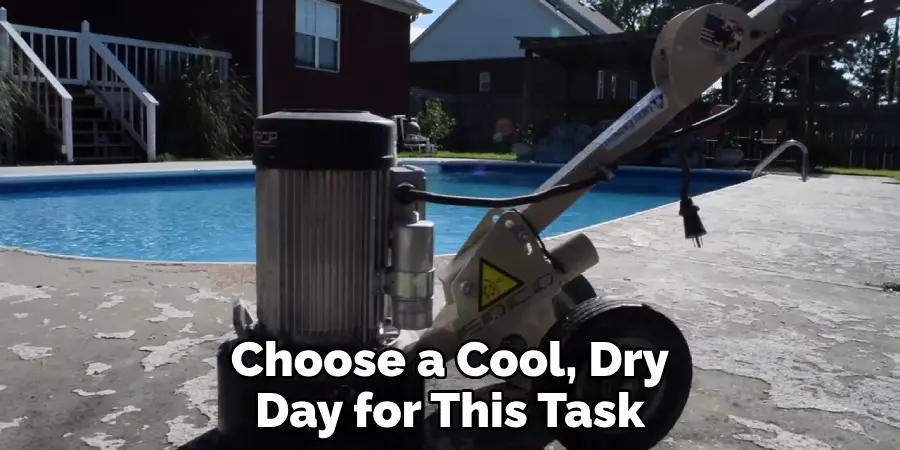
By avoiding these common mistakes, you can ensure a smoother and more successful removal of your cool deck.
Can Cool Deck Be Resurfaced?
Yes, a cool deck can be resurfaced with suitable materials and techniques. However, it is important to first assess the condition of your deck and determine if a full removal and replacement is necessary. If the damage is not severe, resurfacing may be a viable option.
This process involves cleaning the existing cool deck surface, repairing any cracks or damaged areas, and then applying a new coat of cool deck material. It is essential to follow the instructions provided by the manufacturer for best results. With proper maintenance, a resurfaced cool deck can last for several years.
However, if there are significant issues with the underlying surface or structure of your deck, it may be more beneficial to remove and replace the cool deck entirely.
Why Does Cool Deck Crack?
Cool decks can crack for various reasons, including age, weather conditions, and improper installation or maintenance. As cool deck is often applied over existing surfaces such as concrete or masonry, any movement or shifting in the underlying surface can cause cracks to form. Additionally, extreme temperature changes and exposure to harsh chemicals or UV rays can contribute to cracking.
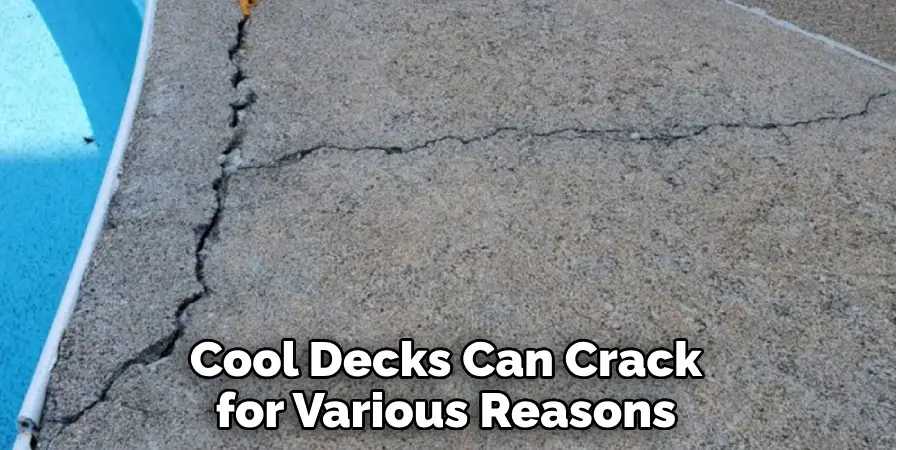
Furthermore, if the cool deck is not installed correctly or proper maintenance is not performed, it can lead to premature cracking. It is essential to address any cracks as soon as they appear to prevent further damage and ensure the longevity of your cool deck. Keeping up with regular maintenance and using appropriate sealants can also help prevent cracking in the future.
In conclusion, removing a cool deck requires careful consideration, proper tools and techniques, and adherence to safety precautions. With the additional tips provided, you can successfully remove cool deck without causing damage or harm to yourself.
Conclusion
To end, removing a cool deck from a home can seem daunting, but with the right supplies and patience, it is possible to do it yourself. If the task becomes too overwhelming, there are always professionals who specialize in pool renovations that can help out. By following these steps and trusting your sense of DIY, you will get the job done quickly and easily. When completed, you will be pleased with your accomplishment and know that your efforts have certainly paid off.
Hopefully, the article on how to remove cool deck has provided you with all the information and guidance needed to complete this project successfully. Always prioritize safety, take your time, and seek professional help if needed.
So don’t wait another day – gather your supplies and get to work!
You Can Check It Out
You Can Check It Out How to Shade a Pool
About
Outdoor Fixes is a distinguished figure in the world of Diy design, with a decade of expertise creating innovative and sustainable Diy solutions.
His professional focus lies in merging traditional craftsmanship with modern manufacturing techniques,
fostering designs that are both practical and environmentally conscious. As the author of diy,
outdoorfixes delves into the art and science of outdoorfixes-making, inspiring artisans and industry professionals alike.
Education RMIT University
(Melbourne, Australia) Associate Degree in Design (Outdoor Fixes) Focus on sustainable design, industry-driven projects,
and practical craftsmanship. Gained hands-on experience with traditional and digital manufacturing tools, such as CAD and CNC software.
Nottingham Trent University
(United Kingdom) Bachelor’s in outdoorfixes.com and Product Design (Honors) Specialized in product design with a focus on blending creativity with production
techniques. Participated in industry projects, working with companies like John Lewis and Vitsoe to gain real-world insights.
Publications and Impact
In diy, Outdoor Fixes his insights on indoor design processes, materials, and strategies for efficient production.
His writing bridges the gap between artisan knowledge and modern industry needs, making it a must-read for both budding designers and seasoned professionals.

