
Are you looking for a way to upgrade your backyard landscape? Installing a fountain is an excellent and easy way to elevate the look of your property. In addition, creating a water feature gives off that feeling of tranquility and peace when spending time outdoors.

However, if you already have a fountain installed, there are still some things that need maintenance every once in a while- one of those things being replacing fountain tubing. If this skill seems intimidating at first, no worries! In this blog post, we’ll provide step-by-step instructions on how to replace fountain tubing so you can get back outside and enjoy your outdoor oasis in no time.
Can You Repair a Broken Concrete Fountain?
Yes, it is possible to repair a broken concrete fountain. Depending on the extent of the damage, you may be able to make repairs yourself or with the help of a professional. If the fountain consists of large pieces that are still in fairly good condition, you can use mortar and grout to fill any cracks and seal them together. If the fountain is completely broken down into smaller pieces, you may need to reconstruct it by using cement and sand.
If there are parts missing, such as fountains tubing or other components, they can be replaced with new ones available from home improvement stores or online retailers. Keep in mind that when making repairs to a concrete fountain, it’s important to use high-quality materials so your fountain will last as long as possible.
Also, be sure to follow all instructions carefully and, if necessary, seek professional help. With the right tools, a little patience, and some guidance, you can repair your broken concrete fountain and restore it back to its former glory.
Once repairs are complete, it is important to maintain the water feature regularly to ensure it continues working correctly and looks attractive. This includes cleaning the fountain, replacing any worn or damaged components such as tubing or pumps, and refilling the reservoir with fresh water.
Proper maintenance will also help prevent further damage in the future so your concrete fountain can remain to look beautiful for many years to come. Taking care of your fountain may require additional time and effort, but it’s worth the effort when you see how your fountain looks after the repairs have been made.
10 Methods on How to Replace Fountain Tubing
1. Cut the Power.
Before you do anything, make sure to cut the power to your fountain. This will ensure that you don’t accidentally electrocute yourself while working on the fountain. If you have an extension cord or plug-in fountain, unplug it from the wall.
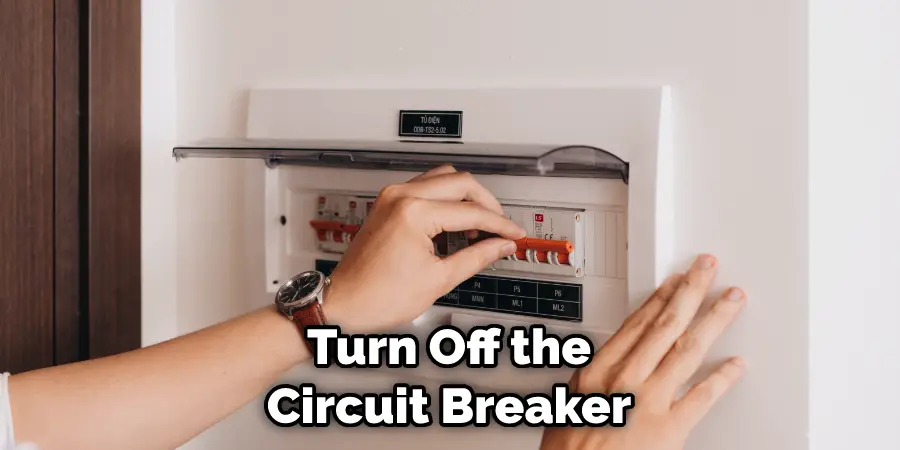
If your fountain is hardwired, turn off the circuit breaker that supplies power to it. However, if you’re not sure which breaker is the right one, it’s best to shut off all power to the house.
2. Drain the Water.
Once the power is off, you can begin draining the water from the fountain. You can do this by simply tipping the fountain over and allowing the water to pour out. Depending on the size of your fountain, you may need to use a bucket or container to capture the water as it drains.
Make sure that you completely drain the fountain of all water before you attempt to replace the tubing. Make sure that the pump is disconnected before you drain the fountain. Though it’s rare, water can leak into the pump and cause electrical damage if you don’t disconnect it first.
3. Remove the Old Tubing.
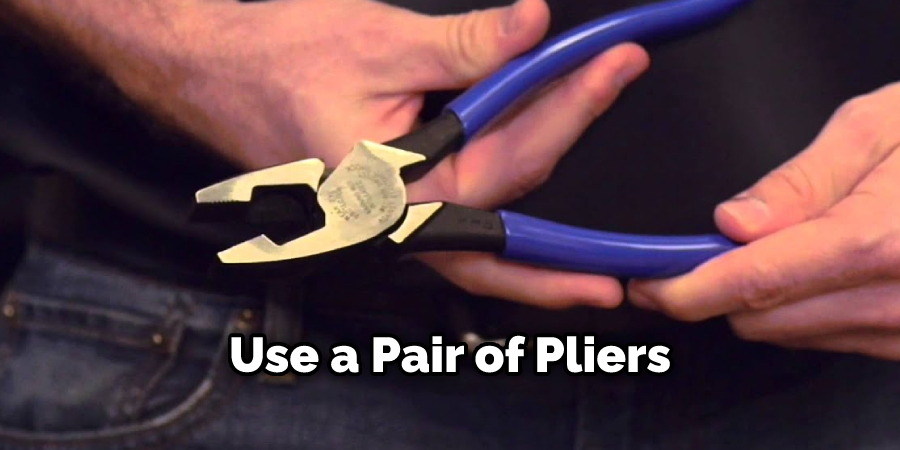
Once the water is drained, you can remove the old tubing from the fountain. Simply pull it out and discard it. If it is stuck, you can use a pair of pliers to help pull it out. Be sure to wear gloves when working with the tubing, as metal can be sharp.
When the old tubing is removed, check the fountain base for any debris or blockages that may have been caused by the previous tube. If there are any issues, use a pipe cleaner to remove them. After cleaning, you’re ready for the new tubing.
4. Measure the New Tubing.
Before you install the new tubing, you’ll need to measure it so that it fits correctly in the fountain. Measure the tubing from one end to the other, and make sure that it is at least two inches longer than the old tubing. Once you’ve done this, cut the tubing with scissors or a knife to size.
If the tubing is too long, you can always trim it down. Although you can use a hacksaw for this task, it’s usually best to avoid that tool since it may damage the tubing. Try to use a sharp blade, and make sure to cut the tubing straight.
5. Cut the New Tubing to Size.
Once you have measured the new tubing, cut it to size using a sharp knife or a pair of scissors. It is important to make sure that you cut the tubing straight and not at an angle. If the tubing is cut with an angle, it will create a weak spot in the line which may cause leaks. Once the new tubing has been cut, use sandpaper to smooth out any rough edges. With the tubing cut to size, it is now ready to be installed.
6. Install the New Tubing.
Now it’s time to install the new tubing in your fountain. Start by threading one end of the tubing through the hole in the bottom of the fountain base. Make sure you thread it so that the end will be facing down when you are done.

Connect the tubing to the pump and then slide the other end of the tubing through the hole in the top part of the fountain bowl. Secure both ends with clamps or hose clamps as necessary.
7. Connect the Tubing to a Pump.
Once you have threaded one end of the tubing through the hole in the bottom of your fountain, connect it to a pump using a hose clamp or a similar device. Secure the tubing firmly to the pump and make sure it is in place.
Once you have connected the tubing, turn on the pump and check for any leaks. If the tubing is leaking, you may need to adjust the hose clamp and re-secure it in place. Make sure that all connections are tight and secure before you move on to the next step.
8. Fill Your Fountain with Water.
Once you have connected your new tubing to a pump, fill your fountain with water and turn on the pump. The water should begin flowing through your tubing and into your fountain basin. Make sure you double-check all connections and ensure there are no leaks. If everything looks good, your fountain is now ready to enjoy.
9. Adjust Your Flow Rate as Desired.
You may need to adjust your flow rate depending on how much water you want flowing through your Fountain Tubing at any given time. To do this, simply turn the knob on your pump until you reach your desired flow rate.
If you want less water flowing through your Fountain Tubing, turn The knob to “low.” If you want more water flowing through, turn The knob “high.” You can also adjust The direction of The flow by pointing The nozzle in different directions.
10. Add Rocks or Other Decorations (Optional).
If desired, you can add rocks or other decorations to your Fountain Tubing setup. This is completely optional but can add an extra level of beauty and interest to your Fountain. If you are adding decorations, make sure that they are safe for water and non-toxic.
Once you have added all of your decorations, give the tubing and the fountain a test run to make sure everything is working correctly. Enjoy your new Fountain Tubing setup!
Things to Consider When Replacing Fountain Tubing
- Make sure to have the right tubing for your fountain. Different designs and materials of fountains may require different types of tubing depending on their size, pressure needs, and application. Be sure to consult the manufacturer’s instructions prior to replacing any tubing.
- Measure the existing fountain tubing carefully before purchasing a replacement tube so that you get the correct size and length. It’s best to measure twice, as an incorrect size of tubing can not only lead to poor water flow but may also cause damage to the fountain.
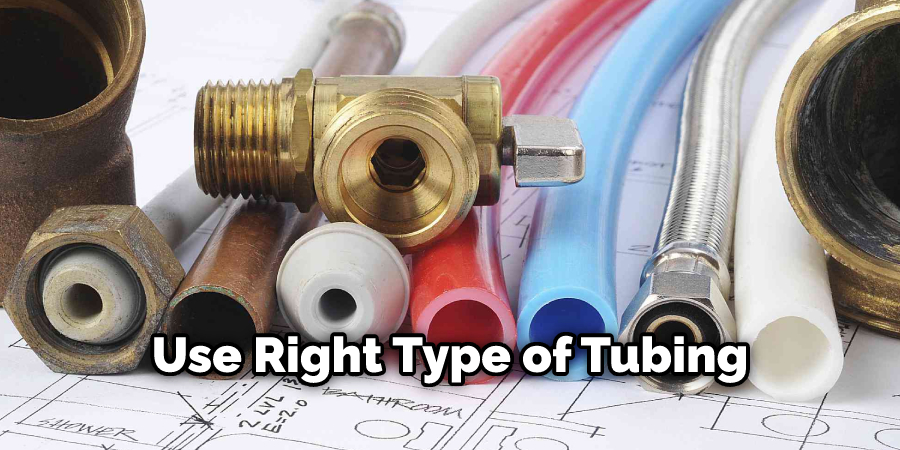
- Choose the right type of tubing for your fountain. Most fountains use vinyl or polyvinyl chloride (PVC) tubing since it’s cost-effective, lightweight, and easy to work with. However, if you have a high-pressure fountain or one that runs regularly, you may need a more durable material like stainless steel or a braided hose.
- Consider if you will need any additional parts when replacing your tubing. Depending on the type of fountain you have and the design of its plumbing system, you may need to purchase additional connectors and adapters to ensure a proper fit.
Conclusion
Now that you have read through these directions, you are well on your way to making sure that your fountain stays in tip-top shape. If you put in the work to replace the tubing properly and regularly allow for cleaning, it will ensure that your water feature will last for many years to come.
Whether you want to give a loved one an ambient gift or add some extra atmosphere to your own backyard space, how to replace fountain tubing is an easy task that anyone can learn quickly! Go forth and make something beautiful!
About
Outdoor Fixes is a distinguished figure in the world of Diy design, with a decade of expertise creating innovative and sustainable Diy solutions.
His professional focus lies in merging traditional craftsmanship with modern manufacturing techniques,
fostering designs that are both practical and environmentally conscious. As the author of diy,
outdoorfixes delves into the art and science of outdoorfixes-making, inspiring artisans and industry professionals alike.
Education RMIT University
(Melbourne, Australia) Associate Degree in Design (Outdoor Fixes) Focus on sustainable design, industry-driven projects,
and practical craftsmanship. Gained hands-on experience with traditional and digital manufacturing tools, such as CAD and CNC software.
Nottingham Trent University
(United Kingdom) Bachelor’s in outdoorfixes.com and Product Design (Honors) Specialized in product design with a focus on blending creativity with production
techniques. Participated in industry projects, working with companies like John Lewis and Vitsoe to gain real-world insights.
Publications and Impact
In diy, Outdoor Fixes his insights on indoor design processes, materials, and strategies for efficient production.
His writing bridges the gap between artisan knowledge and modern industry needs, making it a must-read for both budding designers and seasoned professionals.