Are you looking to give your fence a fresh new look? Staining your fence with a roller is an easy and cost-effective way to enhance its appearance while protecting it from the elements.
Give your fence a neat and professional look with a roller and some stain! It’s a simple process that anybody can do, and it could give the whole exterior of your home an instant facelift. While staining a fence using a roller may seem intimidating at first, it doesn’t have to be.
In this blog post, we’ll cover everything you need to know about how to stain a fence with a roller—from when it’s best to begin staining as well as the supplies required for the job. We’ll even provide helpful tips along the way so you can easily finish this project!
What Will You Need
Before you begin staining your fence, you’ll need to gather the necessary tools. These include the following:
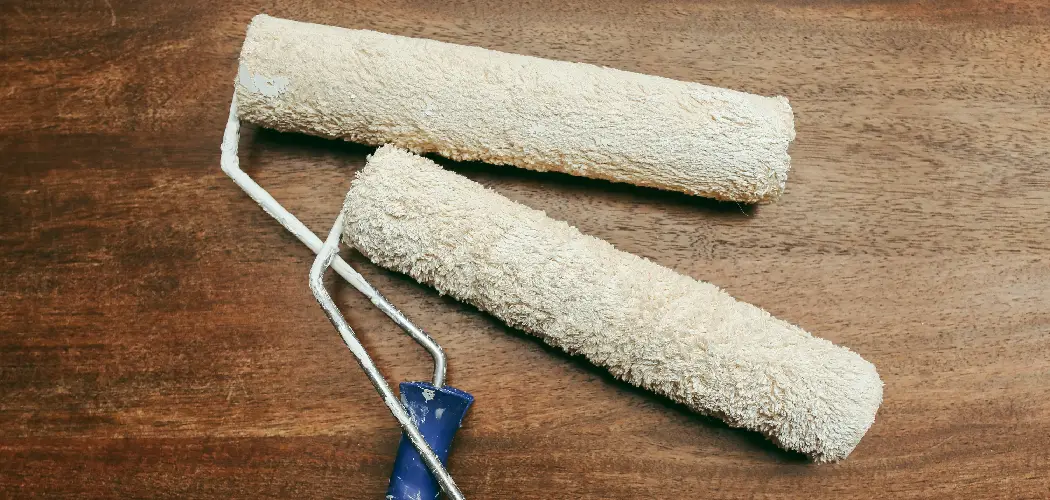
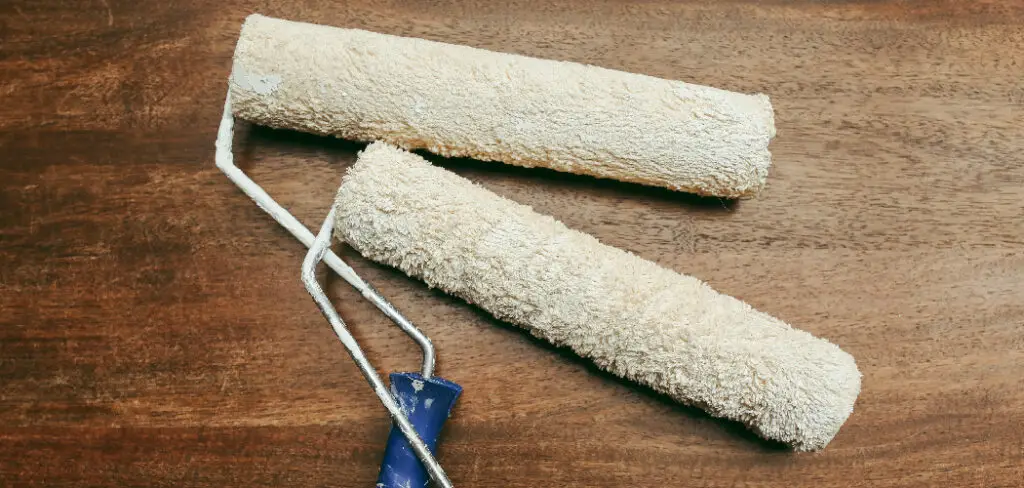
- Roller
- Stain
- Paint tray or roller pan
- Drop cloth or tarp
- Paintbrush (optional)
- Cleaner/degreaser (if needed)
- Water hose and water source
- Sandpaper (if needed)
Make sure to choose a roller with a nap length that is appropriate for the type of stain you’ll be using. A nap length of 3/8 inch is typically a good choice for most stains.
10 Easy Steps on How to Stain a Fence With a Roller
Step 1: Prepare the Area
Start by preparing the area around your fence. You will want to lay a drop cloth or tarp on the ground to protect your grass or plants from the stain. If your fence is near your home or other structures, you may want to cover them with a tarp as well to prevent any accidental staining.
Step 2: Clean the Fence
Before you start staining, it’s crucial to ensure that your fence is clean and free of dirt, mildew, or peeling paint. This will allow the stain to adhere properly. Use a cleaner/degreaser and a water hose to clean the fence thoroughly.
If you see any old, peeling paint or rough areas, use sandpaper to smooth them down. Allow the fence to dry completely before moving on to the next step. Patience is key here; rushing the process could compromise your results.
Step 3: Apply the Stain
Now comes the crucial part – applying the stain. Pour your chosen stain into a paint tray or roller pan. Fully immerse the roller into the stain, ensuring it’s fully saturated but not dripping excessively. Begin at one end of your fence and roll the stain onto the wood, working in sections of about 3-4 feet at a time.
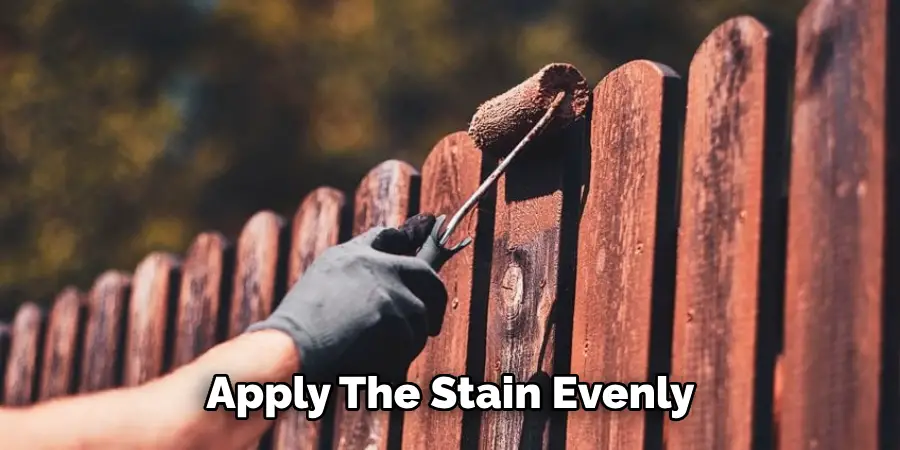
Apply the stain evenly, moving with the wood grain to ensure the best coverage. Try to avoid over-saturating any one part of the fence. If you notice any drips or uneven areas, you can use a paintbrush to smooth them out. Once you’ve finished the first coat, allow it to dry completely before applying a second coat, if needed. Remember, the key to a successful application is patience and consistency.
Step 4: Let it Dry
After you’ve applied the stain, you’ll need to let it dry. The drying time will depend on the type of stain you’ve used, the weather conditions, and the wood itself. Generally, allow at least 24 hours before touching the fence. Resist the temptation to speed up the drying process with fans or heaters, as this can cause the stain to dry unevenly.
Once the stain is completely dry, inspect the fence for any missed spots or uneven areas. If necessary, apply a second coat of stain and allow it to dry completely. Patience is vital during this stage to ensure the best results.
Step 5: Cleanup and Care
The final step is cleaning up your tools and taking care of your newly stained fence. Firstly, safely dispose of any leftover stain according to your local waste disposal regulations. Clean your roller and brushes with warm, soapy water until the water runs clear, then allow them to dry thoroughly before storage.
For the fence, avoid hanging anything on it or allowing plants to lean against it for a few days to prevent any damage to the fresh stain. Regularly clean your fence with a mildew-resistant cleaner to maintain the luster of the stain and prolong its lifespan.
Step 6: Regular Maintenance
To keep your fence looking its best, regular maintenance is crucial. Depending on your local climate and the type of stain used, you may need to re-stain your fence every 2-3 years.
Keep an eye out for any signs of wear and tear, such as peeling or fading stains, and address these issues promptly to prevent further damage. Remember to clean your fence regularly to remove dirt and mildew, and during the winter months, try to remove snow from your fence to prevent moisture damage.
Step 7: Showcase Your Effort

Finally, step back and admire your handiwork! Staining a fence may take a bit of time and effort, but the result is well worth it. A freshly stained fence enhances the aesthetic appeal of your property and adds value by protecting the wood from the elements. Feel free to share pictures of your beautifully stained fence on social media or enjoy the enhanced backyard view.
Step 8: Provide Regular Inspections
Consistently inspect your fence for any signs of damage or deterioration. Look for any sections where the stain appears to be fading, peeling, or chipping. Any cracks or splits in the wood should also be noted.
By detecting these issues early, you can address them promptly, whether that means a simple touch-up or a more comprehensive re-staining. Regular inspections ensure that your fence remains in top condition, maintaining its functionality and aesthetic appeal.
Step 9: Consider a Professional Inspection
If you notice significant wear and tear or if you’re unsure about the condition of your fence, consider a professional inspection. An expert can provide in-depth analysis and advice, helping you decide whether a simple re-staining will suffice or if more extensive repairs are necessary. They can also give you valuable tips on the best stain products for your specific type of fence and local climate conditions.
Step 10: Celebrate Your Success
After all your hard work and diligence, it’s time to celebrate your success. Plan a small gathering with family or friends, or simply enjoy some quiet time admiring your fence with a cup of coffee or tea. The satisfaction that comes from completing a task like staining a fence by yourself is immeasurable.
Not only have you enhanced the beauty of your property, but you’ve also acquired valuable skills and experience that you can apply to other home improvement projects in the future.
By following these steps, you can easily and effectively stain your fence with a roller, creating a beautiful and long-lasting finish. With patience, care, and regular maintenance, your fence will continue to be an attractive addition to your home for years to come.
5 Additional Tips and Tricks

- Choosing the Right Roller: Select a roller with a nap at least 1 inch thick. This ensures the roller can hold plenty of stains and cover the fence efficiently.
- Stir the Stain: Before application, stir the stain well to ensure it’s properly mixed. This will help to achieve a consistent color across your fence.
- Use a Paint Tray: Pour your stain into a paint tray. This can help control the amount of stain picked up by your roller and prevent oversaturation.
- Rolling Technique: Start at the top of your fence and roll down with smooth, even strokes. This will help prevent runs and drips and give you a uniform finish.
- Clean Up: After staining, thoroughly clean your roller and tray with mineral spirits (if you used an oil-based stain) or soapy water (if you used a water-based stain). Proper cleaning will extend the life of your tools.
With these additional tips, you’ll be well on staining your fence with a roller like a pro.
5 Things You Should Avoid
- Avoid Using Old Stain: Old or improperly stored stains might not give the desired finish and can lead to uneven coloration. Always make sure you are using fresh stains for best results.
- Do Not Rush the Prep Work: Skipping the stage of cleaning and sanding the fence to save time can compromise the staining quality. An untreated or unprepared surface won’t absorb the stain properly.
- Avoid Overloading the Roller: Over-saturating your roller with stain can lead to drips and runs, ruining the finish. Always aim for a thin, even layer of stain.
- Never Ignore Weather Conditions: Staining your fence in extreme conditions like high humidity or direct sunlight can impact the drying process and the final finish. Plan your staining project around mild, dry weather for optimal results.
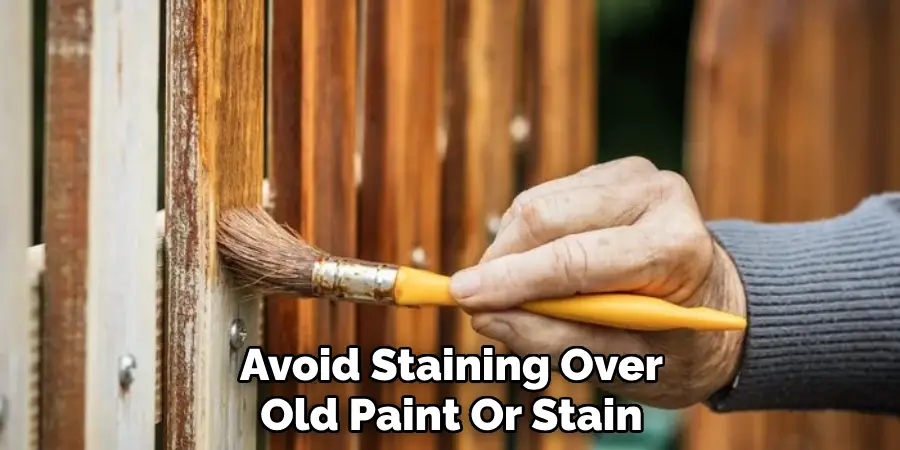
- Avoid Staining Over Old Paint or Stain: Applying new stain over old paint or stain can result in an uneven finish. Always remove old layers before applying a new stain.
By avoiding these common mistakes, you can ensure a smooth and successful fence staining project.
Conclusion
Staining a fence with a roller is an easy and efficient way of giving your outdoor space an eye-catching look. Not only does it give you the option to customize the final color, but it can also help protect against water, sun damage, and warping.
By following the tips outlined in this post, you can guarantee a smooth and professional looking job. It’s important to remember that preparation is key when staining any type of surface, so take your time removing debris from the fence and light sanding if necessary.
Hopefully, the article on how to stain a fence with a roller has given you the confidence and knowledge to tackle this project independently. With practice and attention to detail, you’ll soon become a pro at staining fences with a roller. Happy staining!
About
Outdoor Fixes is a distinguished figure in the world of Diy design, with a decade of expertise creating innovative and sustainable Diy solutions.
His professional focus lies in merging traditional craftsmanship with modern manufacturing techniques,
fostering designs that are both practical and environmentally conscious. As the author of diy,
outdoorfixes delves into the art and science of outdoorfixes-making, inspiring artisans and industry professionals alike.
Education RMIT University
(Melbourne, Australia) Associate Degree in Design (Outdoor Fixes) Focus on sustainable design, industry-driven projects,
and practical craftsmanship. Gained hands-on experience with traditional and digital manufacturing tools, such as CAD and CNC software.
Nottingham Trent University
(United Kingdom) Bachelor’s in outdoorfixes.com and Product Design (Honors) Specialized in product design with a focus on blending creativity with production
techniques. Participated in industry projects, working with companies like John Lewis and Vitsoe to gain real-world insights.
Publications and Impact
In diy, Outdoor Fixes his insights on indoor design processes, materials, and strategies for efficient production.
His writing bridges the gap between artisan knowledge and modern industry needs, making it a must-read for both budding designers and seasoned professionals.