
Taking apart a trampoline can be an intimidating task, especially when you are unsure of the process or parts involved. However, by understanding the basic structure and components that make up your trampoline, as well as following a few simple steps, it is possible to efficiently break down and store your trampoline away for future use.
Whether you are downsizing or need to relocate your large-scale equipment, this blog post breaks down the basics of taking apart a trampoline in easy-to-follow instructions so you can quickly put it back together later with minimal effort.

If you’ve ever had the pleasure of jumping on a trampoline, then you know it can be quite a magical experience – soaring in endless circles with friends and family. That said, most people don’t think about what goes into taking apart the trampoline when they’re done having fun.
If you want to take your spring-loaded backyard acrobatics to another level this summer (or store away your trampoline for safekeeping) then here is everything that you need to know about how to take a trampoline apart. Let’s get started!
Why May You Want to Take a Trampoline Apart
1 . Clean Up
Taking a trampoline apart is not an easy task, but it can be a great way to finally clean up the mess created by years of use. Taking your trampoline apart will give you access to every part and allow you to thoroughly wash down the frame and jump mat as well as check for any signs of damage.
2 . Avoiding Weather Damage
If you’re storing your trampoline outside during the winter months, taking it apart can help to protect it from the elements. You’ll be able to dismantle and store the frame in a shed or garage, keeping it safe from heavy snowfall and strong winds.
3 . Moving Home
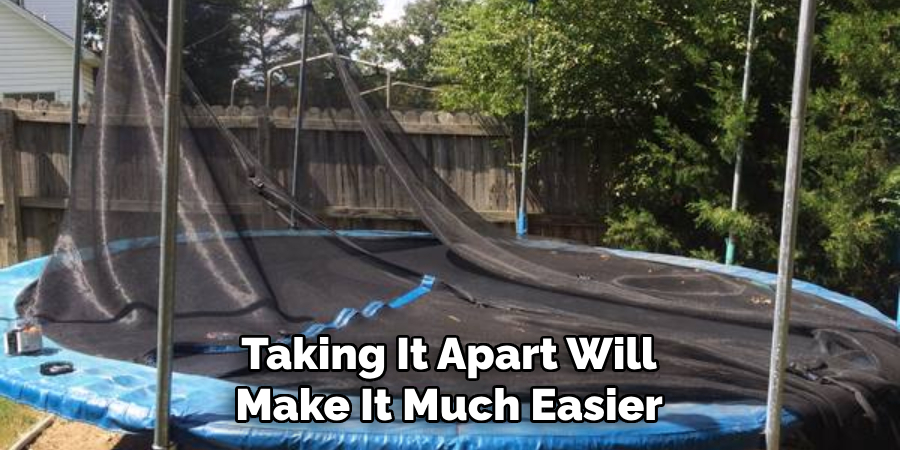
You may have enjoyed your trampoline at your current home, but you may be planning to move homes soon. Taking it apart will make it much easier to transport and reassemble in your new property.
4 . Winterizing the Trampoline
If you’re looking for a way to keep your trampoline safe during winter, taking it apart is a great choice. You’ll be able to cover the frame and jump mat with a tarp or waterproof sheet to protect it from rain, snow, and frost.
5 . Replacing Parts
If your trampoline is showing signs of wear and tear, you may need to replace certain parts such as the jumping mat or springs. Taking your trampoline apart will give you access to all the components, making it easier to remove and replace them.
6 . Upgrading Your Trampoline

If you’re looking to upgrade your trampoline, you’ll need to take it apart in order to access and replace existing parts. This could include extending the frame size or upgrading the jump mat for a better bounce. Taking it apart is an essential step in the upgrade process.
How to Take a Trampoline Apart in 6 Easy Steps
Step 1: Unbolt the Legs
First, unbolt the legs. This is typically done with a wrench or socket wrench depending on what type of bolts were used to attach them to the frame. Once all the nuts and bolts have been removed, you can take off each of the legs one at a time.
Step 2: Disassemble Frame Parts
Next, disassemble the frame parts. This involves unscrewing the screws and bolts that hold the frame pieces together, then separating them into their individual components. Be sure to keep track of all the nuts and bolts so you don’t lose any when reassembling.
Step 3: Remove Mat and Springs
Once you have taken apart the frame parts, you can now remove the mat and springs. This is usually done by unclipping the clips that hold them in place and then carefully removing them from the frame.
Step 4: Remove Safety Pad
Now, it’s time to remove the safety pad. This is typically held down with either velcro or ties. Untie or unstick the pad from the frame before taking it off.
Step 5: Clean Frame
Once everything is taken apart, you can clean the frame with mild soap and water. This will help to remove any dirt or debris that accumulated during use. Make sure to dry off the frame completely before reassembly.

Step 6: Reassemble
Finally, it’s time to reassemble. Start by taking the frame pieces and bolting them together in the same order you removed them. Then, attach the mat and springs back onto the frame. Lastly, tie or stick down the safety pad and reinstall all of the legs.
And that’s it! You’ve successfully taken your trampoline apart and now you can store it away until the next time you want to jump around. Don’t forget to keep track of all the nuts and bolts – you’ll need them for when you go to put it back together again. Happy bouncing!
Some Extra Tips to Take a Trampoline Apart
1 . Make Sure You Have the Right Tools
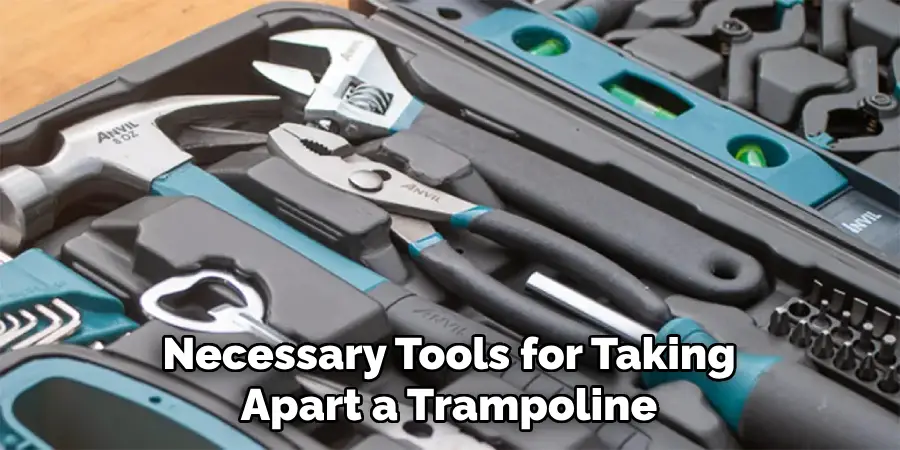
It’s important to make sure that you have all the necessary tools for taking apart a trampoline. This includes wrenches, pliers, screwdrivers and other similar equipment. Having the wrong size or type of tool could damage your trampoline, so be sure to double-check before starting.
2 . Inspect the Frame
Before taking apart your trampoline, inspect the frame for any rust or corrosion. If there’s a lot of rust build-up, it may be hard to take apart and could damage other components. If this is the case, you should consider replacing the frame before proceeding with disassembly.
3 . Remove the Pads and Springs
Once you’ve inspected the frame, it’s time to take apart the trampoline. Start by removing the pads and springs from around the frame. This can be done with a wrench if necessary. Make sure that each pad is detached completely before trying to remove it.
4 . Take Apart the Frame
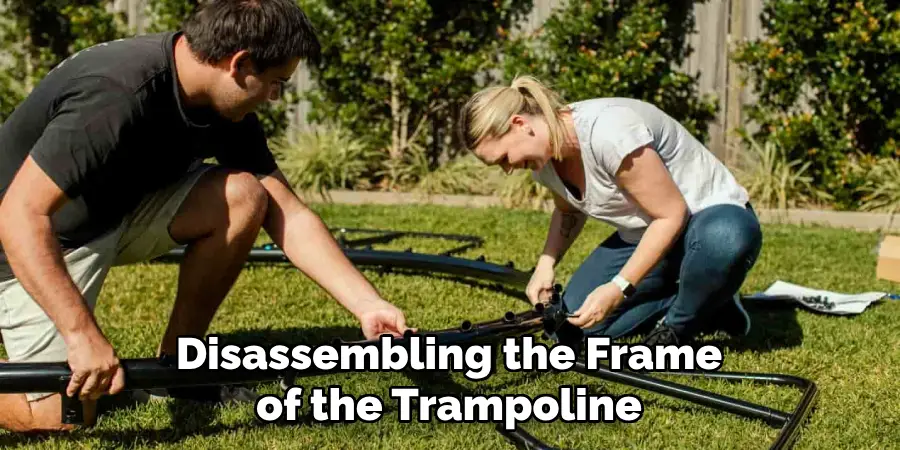
Once the pads and springs are removed, you can begin disassembling the frame of the trampoline. Start by removing the screws or bolts that hold it together. Make sure to keep track of where each piece comes from so you can put your trampoline back together when finished.
5 . Clean and Store Your Trampoline Parts
Once you’ve taken apart your trampoline, make sure to clean each of the individual pieces before storing them. This will help keep them in good condition for longer and prevent any rust or corrosion from forming. Store all of the parts in a dry place away from moisture and extreme temperatures.
6 . Assemble Your Trampoline Again
When you’re ready to use your trampoline again, it’s time to reassemble it. Start by putting the frame together and attaching each of the screws or bolts. Next, add back in the pads and springs around the frame. Finally, make sure everything is secure before using your trampoline again. With a few simple steps, you can easily take apart and reassemble your trampoline.
7 . Seek Professional Assistance When Necessary
If you’re having difficulty taking apart or putting your trampoline back together, it may be best to seek professional help. A qualified technician will have the necessary tools and expertise to do the job correctly. This will help ensure that your trampoline is properly assembled and safe for use.
8 . Maintaining Your Trampoline

Maintaining your trampoline is important for keeping it in good condition and increasing its lifespan. Be sure to inspect the frame and other components regularly for signs of wear and tear. Clean each piece before storing it and make sure all the pieces are stored in a dry place. Additionally, check the springs and pads for any damage or rust before using your trampoline again.
By following these tips, you can easily take apart and reassemble your trampoline with minimal effort. Make sure to inspect the frame beforehand and have all the necessary tools on hand before you begin. If you run into any trouble, don’t hesitate to seek professional assistance. Taking apart and putting back together a trampoline can be an easy task when done correctly. Enjoy your trampoline for many years to come!
Frequently Ask Question
What Precautions Should I Take Before Taking A Trampoline Apart?
It is important to take certain precautions before taking a trampoline apart. Make sure that all of the springs and other parts are securely fastened, and not loose or damaged. Check for any sharp edges on the frame, as these could potentially cause injury. Additionally, make sure that you have enough space available to work without obstruction, and always wear protective gloves and eye protection when disassembling a trampoline.
What Tools Will I Need to Take My Trampoline Apart?
The tools you will need for taking apart a trampoline will depend on its model and size. Generally speaking, however, the most common tools used are an adjustable wrench or socket wrench, pliers, and screwdrivers. Other tools you may need include a drill with the appropriate bits if your trampoline requires screws or nuts to be removed, and a utility knife for cutting any zip ties that secure components together.
How Can I Disassemble My Trampoline Safely?
The safest way to disassemble a trampoline is to start by removing the netting and padding first. After that, remove the jump mat and springs from the frame in that order. If your trampoline has large components or needs to be taken apart in pieces then it is important to pay attention to which screws are used for each part of the assembly so you can reassemble it correctly later. Once all of the components are removed, you can then take apart the frame and collapse it for easy storage.
Can I Put My Trampoline Back Together Again?
Yes! Putting a trampoline back together is generally just as easy as taking it apart. Just make sure to refer to your model’s instructions and put each component back in the same order as it was before. If you are still having trouble, there are plenty of online resources and tutorials that can help guide you through the process.
What Should I Do if My Trampoline Is Damaged?
If your trampoline is damaged or has worn parts then it should be replaced immediately for safety reasons. If you are unsure if the damage is significant enough to warrant replacement, consult a trampoline specialist or your manufacturer for advice. They can also help determine which parts need to be replaced and provide guidance on taking apart and reassembling the trampoline pieces correctly.
Where Can I Find Replacement Parts for My Trampoline?
Most trampoline manufacturers will have replacement parts available for purchase. It is important to make sure that you buy parts that are compatible with your specific model as different trampolines require different types of pieces. Additionally, some online retailers may carry universal replacement components as well.
Conclusion
Taking a trampoline apart is not necessarily a difficult task, and can be quite satisfying when completed successfully. This guide provides useful information about the process of safely and efficiently taking apart a trampoline so that it may be properly stored away, moved to another location, or recycled as scrap metal. It’s important to remember that safety should always be at the forefront of any dismantling project – take precautions before and during the tear-down process to avoid injury.
Now you know how to take a trampoline apart!
Additionally, it is worth noting that larger trampolines may require more than one person in order to safely remove them from locations. Anyone embarking on such a project is encouraged to prepare ahead of time by gathering the necessary equipment and looking through each step before attempting, so that they may responsibly enjoy all the benefits of having taken an old trampoline apart!
About
Outdoor Fixes is a distinguished figure in the world of Diy design, with a decade of expertise creating innovative and sustainable Diy solutions.
His professional focus lies in merging traditional craftsmanship with modern manufacturing techniques,
fostering designs that are both practical and environmentally conscious. As the author of diy,
outdoorfixes delves into the art and science of outdoorfixes-making, inspiring artisans and industry professionals alike.
Education RMIT University
(Melbourne, Australia) Associate Degree in Design (Outdoor Fixes) Focus on sustainable design, industry-driven projects,
and practical craftsmanship. Gained hands-on experience with traditional and digital manufacturing tools, such as CAD and CNC software.
Nottingham Trent University
(United Kingdom) Bachelor’s in outdoorfixes.com and Product Design (Honors) Specialized in product design with a focus on blending creativity with production
techniques. Participated in industry projects, working with companies like John Lewis and Vitsoe to gain real-world insights.
Publications and Impact
In diy, Outdoor Fixes his insights on indoor design processes, materials, and strategies for efficient production.
His writing bridges the gap between artisan knowledge and modern industry needs, making it a must-read for both budding designers and seasoned professionals.