

Are you looking for something fun to do with your kids while at home? Why not take on a DIY project folks?! Staining a playset is an activity that everyone can get involved in together, and it will help make lasting memories as well. Not only will it keep the kiddos entertained (for a while, at least) but updating and preserving the lifetime of those outdoor playgrounds can also help extend their lifespan.
Staining a wooden playset can be an intimidating task, but with the right supplies and knowledge, it’s actually quite easy! Not only will staining your playset make it look great year-round, but more importantly, it helps protect the wood from decay and damage that comes with exposure to sun and weather elements.
Here we’ll cover everything you need to know about how to stain a playset – leaving you with a beautiful finished product that both looks stunning and keeps your children safe while they play. Read on to learn how to get started!
Why May You Want to Stain a Playset
1 . To Enhance Protection
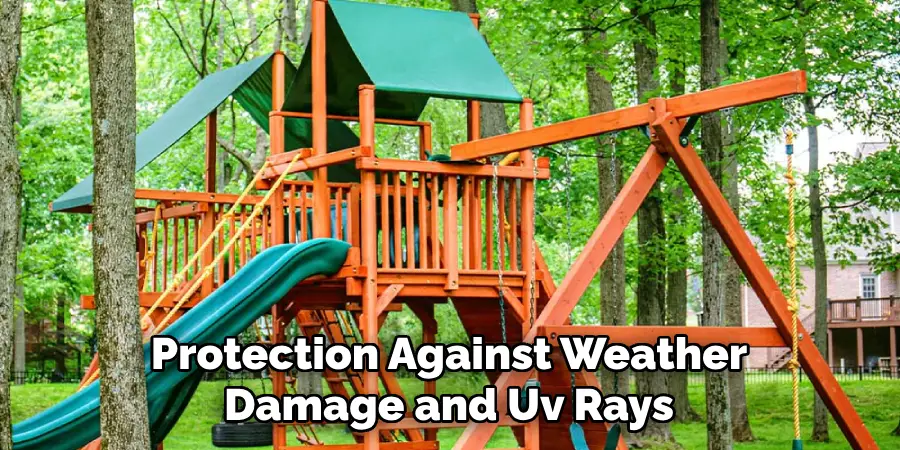
Staining a playset provides an extra layer of protection against weather damage and UV rays. By applying the stain, you help ensure that your playset is able to withstand the elements for many years to come. This also protects it from fading or warping due to sun exposure.
2 . To Give It An Attractive Look
Staining a playset can give it an attractive and polished look. Whether you are looking to create a more natural wood aesthetic or go for something bolder with bright colors, staining your playset gives you the chance to customize its appearance.
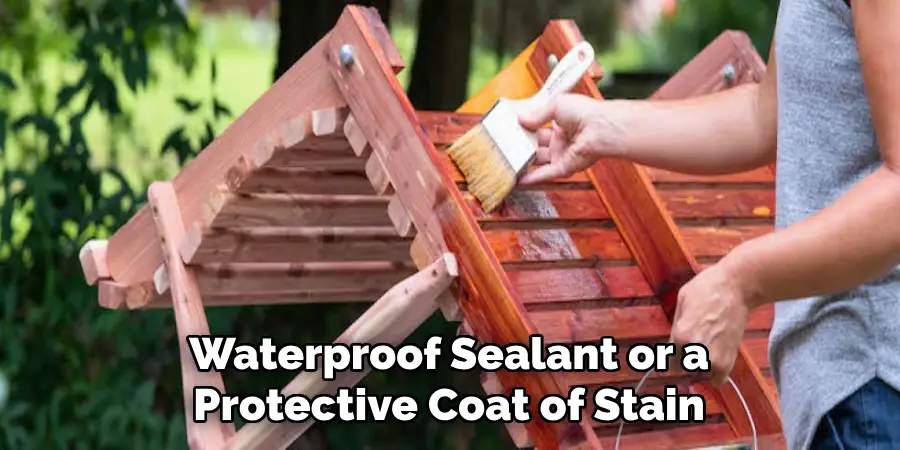
3 . To Preserve The Wood
Staining helps preserve the wood of your playset by keeping it safe from moisture. Applying a waterproof sealant or a protective coat of stain will help prevent water damage and mold growth, ensuring that your playset lasts for years to come.
4 . To Ensure Safety
Staining a playset is also important to ensure the safety of those using it. By protecting the wood with a coat of stain, you can help avoid splinters or sharp edges which can be hazardous to those using the playset.
5 . To Increase Durability
Staining a playset will increase its durability and sturdiness. By making sure that it is properly sealed and protected from the elements, you can ensure that it won’t easily warp or crack due to too much sun exposure or moisture.
6 . To Increase Its Value
If you are planning on selling your playset in the future, staining it is a great way to increase its value. Staining a playset helps keep it looking like new for many years and ensures that it will be attractive to potential buyers when the time comes.
7 . To Make Maintenance Easier
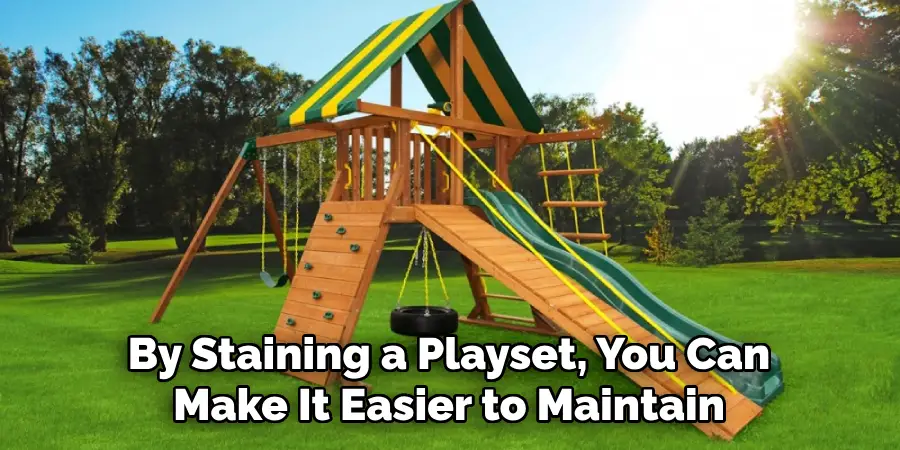
By staining a playset, you can make it easier to maintain. It will be easier to clean and won’t require as much upkeep since it is already protected from the elements. This means that you will spend less time on maintenance and more time enjoying your playset with family and friends.
How to Stain a Playset in 6 Easy Steps
Staining a playset is not an overly complicated process, but it requires careful preparation and attention to detail in order to ensure that your playset looks its best. Here is a step-by-step guide on how to stain a playset:
Step 1: Prepare the Playset
The first step in staining a playset is to make sure it is properly prepared. This includes sanding any rough edges, cleaning off any dirt or dust, and removing any old stain. Once your playset has been cleaned and prepped, you are ready to move on to the next step.
Step 2: Choose Your Stain

Now that your playset is ready you can begin selecting the right stain. Make sure to choose a high-quality, weather-resistant stain that will stand up to the outdoor elements and won’t fade over time.
Step 3: Apply the Stain
Once you have chosen your stain, it’s time to apply it to the playset. Begin by brushing the stain onto the playset in even strokes, making sure to get into all of the crevices and corners. When you have finished staining one area, move on to the next until the entire playset is coated with your chosen stain.
Step 4: Let it Dry
Once you have applied the coat of stain, it is important to let it dry before you continue. Depending on how much stain you used and the weather conditions, this could take anywhere from a few hours to a day.
Step 5: Apply a Second Coat (Optional)
If desired, you can apply a second coat of stain for added protection and longevity. This step is not necessary, but if you choose to do it, make sure that the first coat is completely dry before you begin.
Step 6: Seal and Protect Your Playset
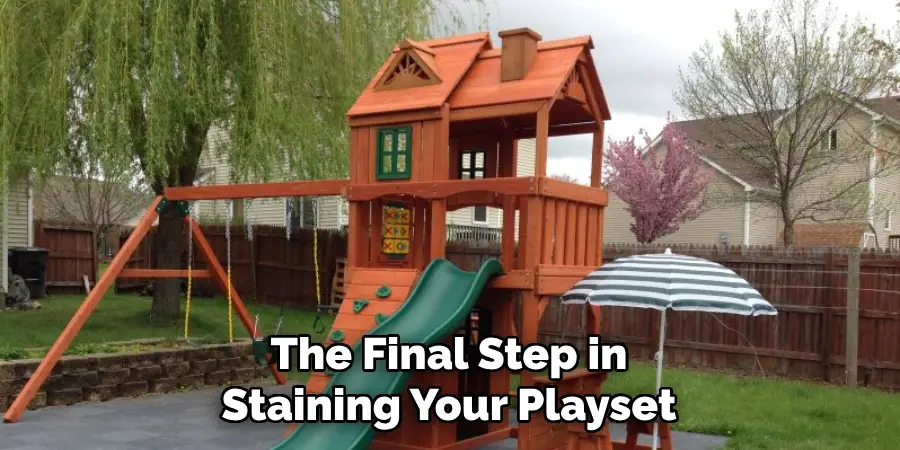
The final step in staining your playset is to seal and protect it. Apply a weatherproofing sealant or coating of some sort to ensure that your playset remains looking great for years to come.
Following these steps will help you get the best results when staining your playset. With a bit of patience and attention to detail, you can have a beautiful stained playset that will last for years to come. Happy staining!
Some Extra Tips to Stain a Playset
1 . Preparing the Surface
Before you begin staining your playset, it is important to make sure that the surface has been properly prepared for staining. The wood should be sanded and then cleaned with a mild detergent such as dish soap or TSP (trisodium phosphate). This will help remove any dirt, grime, oils, or other debris that may have built up on the surface. Once this is done, it’s important to allow the wood to dry completely before you begin staining.
2 . Selecting a Stain
The next step in the process of staining your playset is selecting a wood stain that will best suit your needs. There are many different types of stains available on the market, so it is important to do a bit of research into the type of wood you are using and what kind of stain will work best with it. It is also a good idea to select a stain that is UV-resistant, as this will help protect your playset from fading or discoloration over time.
3 . Applying the Stain
Once you have selected the appropriate stain for your playset, it’s time to begin applying it. You should always read the instructions provided with the wood stain before you begin just to make sure that you are using it correctly. It is also a good idea to work in sections, as this will help ensure an even coverage of the stain. Once all areas of the playset have been stained, make sure to allow it to dry according to the instructions.
4 . Sealing the Stain
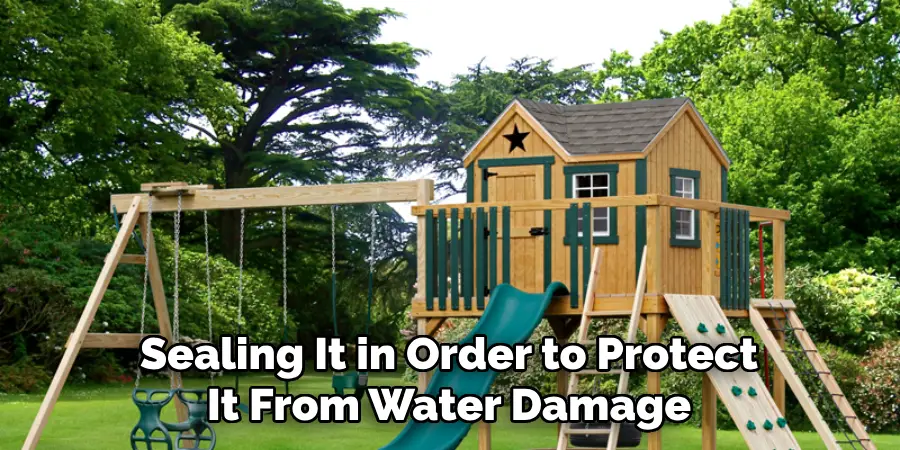
Once your stain has dried completely, the final step is sealing it in order to protect it from water damage, UV rays, and other elements that can cause discoloration or deterioration of the wood. You can use a clear sealant for this, which will help protect the wood from any damage and preserve its natural beauty. Make sure to apply multiple coats of sealant in order to get the best results.
5 . Enjoy Your New Playset!
Once you have finished staining and sealing your playset, all that’s left to do is sit back and enjoy it! This DIY project is a great way to enhance your outdoor living space. You can be sure that you have created something that will last for years to come and will bring joy to your family and friends. Have fun and enjoy your playset!
6 . Regular Maintenance
Although staining and sealing your playset will help protect it from the elements, it’s still important to perform regular maintenance. This includes cleaning and wiping down your playset on a regular basis, as well as checking for any signs of wear and tear. Regular maintenance will help keep your playset looking great for many years to come!
By following these simple tips, you can easily stain and seal your playset in no time! With some patience and the right supplies, you can be sure that your playset will look amazing for many years to come. Have fun and enjoy your outdoor space!
Frequently Ask Question
What Precautions Should Be Taken When Staining a Playset?
When straining a playset, it’s important to take all necessary precautions to ensure the safety of both yourself and your children. Make sure you wear protective clothing such as gloves and eyewear, and be aware of any potential hazards that may arise due to fumes from the stain or other materials used in the process.
Make sure your work area is well-ventilated, and avoid staining in direct sunlight or on hot surfaces that may cause the stain to dry too quickly. Additionally, make sure you read all instructions thoroughly before beginning and follow any safety warnings given by the manufacturer. With the proper precautions taken, you can ensure a safe and successful project!
What Type of Stain Should I Use on My Playset?
When choosing a stain for your playset, you’ll want to make sure it’s suitable for outdoor wood. Oil-based stains are generally the most resilient and will last longer than water-based formulas. Pay close attention to the ingredients listed on the product label, as some may contain harmful chemicals or other substances that can be dangerous for you and your family.
Additionally, bear in mind that different types of wood may require special attention—for example, hardwoods like cedar or redwood will need additional protection from UV rays and moisture buildup.
How Do I Apply the Stain?
Once you’ve selected the right stain for your playset, it’s time to apply it. Start by prepping the surface of the wood—this can be done with a sander or sandpaper to make sure any dirt or debris is removed and that the surface is smooth. After the wood has been sanded, you should apply a primer and/or sealer before applying the stain.
Make sure to follow all instructions carefully when mixing and preparing your stain, and always remember to wear protective gear such as gloves and eyewear when applying. Once you’ve applied the stain, use a brush or rag to spread it evenly across the wood. Wait for the recommended amount of time before applying a second coat, then let your playset dry for at least 24 hours before use.
What Tools Will I Need?
To safely and effectively stain your playset, you’ll need a few common tools. These include a sander or sandpaper to prep the wood before staining, a brush or rag for applying the stain, protective clothing such as gloves and eyewear, and a primer and/or sealer (if applicable). You’ll also need to make sure you have adequate ventilation, as some stains may contain harmful fumes. Following these simple steps, you’ll be ready to get started on your playset staining project!
What Should I Do After Staining My Playset?
Once you’ve applied the stain and allowed the wood to dry thoroughly, it’s time to protect it. Applying a sealer will help the wood retain its color and increase its resistance to weathering. You should also regularly inspect your playset for any signs of wear or damage, as any areas that become exposed will need to be re-stained in order to protect them from further damage.
Conclusion
After all the hard work of staining the playset, you can now enjoy it for years to come. You’ve transformed it from drab and faded to a beautiful addition to your backyard landscape. The process was perhaps long and difficult, but we hope our guide has been useful in helping you achieve the perfect finish.
Now you know how to stain a playset! And what’s even better is that your kids can now have hours of enjoyment playing on a safely restored structure. When everything is said and done, there is no price tag for creating memories that will last a lifetime! So go ahead and grab some friends or family members, have yourself an impromptu picnic, and enjoy your playset’s new vibrant colors! Best of luck!
About
Outdoor Fixes is a distinguished figure in the world of Diy design, with a decade of expertise creating innovative and sustainable Diy solutions.
His professional focus lies in merging traditional craftsmanship with modern manufacturing techniques,
fostering designs that are both practical and environmentally conscious. As the author of diy,
outdoorfixes delves into the art and science of outdoorfixes-making, inspiring artisans and industry professionals alike.
Education RMIT University
(Melbourne, Australia) Associate Degree in Design (Outdoor Fixes) Focus on sustainable design, industry-driven projects,
and practical craftsmanship. Gained hands-on experience with traditional and digital manufacturing tools, such as CAD and CNC software.
Nottingham Trent University
(United Kingdom) Bachelor’s in outdoorfixes.com and Product Design (Honors) Specialized in product design with a focus on blending creativity with production
techniques. Participated in industry projects, working with companies like John Lewis and Vitsoe to gain real-world insights.
Publications and Impact
In diy, Outdoor Fixes his insights on indoor design processes, materials, and strategies for efficient production.
His writing bridges the gap between artisan knowledge and modern industry needs, making it a must-read for both budding designers and seasoned professionals.