Are you looking for an easy, affordable way to create a level surface for your shed or outdoor structure? Building a gravel pad is the perfect solution! By following a few simple steps on how to build a gravel pad for shed, you can transform your yard into the perfect space for installing a cozy garden shed.
Not only does this method provide an effective foundation, but it also eliminates any potential drainage problems that could arise from having soil too close to the structure. Plus, staying on budget is made simple with our helpful tips on sourcing inexpensive gravel and minimizing labor costs. Read on to learn more about constructing an effective and budget-friendly gravel pad for your shed or other outdoor structure!
What is a Gravel Pad?
A gravel pad is a flat, level area of ground where you can place your shed. It helps to support the structure and keeps it from sinking into the ground over time. Gravel pads provide adequate drainage and keep the shed away from moisture in order to protect its contents.
Why Building a Gravel Pad for Shed?
1. To Level the Ground
Building a gravel pad for your shed is important as it helps to level out uneven ground and provides added support and stability. This process creates an even surface which will make the shed easier to build on and can help prevent water pooling around the base of the building, which in turn helps to extend its lifespan. Moreover, it also makes access into the shed much easier and can significantly reduce the risk of having uneven or unbalanced foundations.
2. To Increase Durability
Another reason to build a gravel pad for your shed is that it increases its durability, providing an additional layer of protection from the elements. A strong base will help protect against moisture while also keeping pests out, making for a more secure place to store your items.
3. To Enhance the Aesthetic Look
Lastly, building a gravel pad for your shed can help to enhance its overall aesthetic look. Adding a gravel layer to the area around your shed will provide nice curb appeal and make for an attractive feature in any yard or garden. The gravel pad also gives you the option of planting shrubs, flowers, or other vegetation to brighten up the area and create an inviting space.
Materials Needed
- Shovels
- Rakes
- Gravel
- Landscape fabric
- Sand
- Level
How to Build a Gravel Pad for Shed in 10 Steps
Step 1: Plan Your Gravel Pad Layout
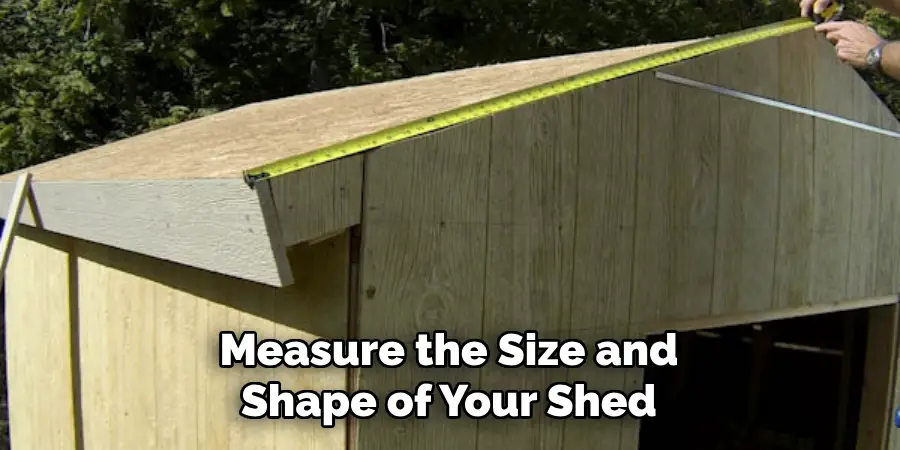
The first step in building a gravel pad for your shed is to plan the layout. You should take into consideration any obstacles or structures that could interfere with the construction process, such as trees, fences, or nearby buildings. Also, measure the size and shape of your shed to make sure that there is enough room for it.
Step 2: Prepare the Area
Once you have planned out the layout, start to clear away any debris or vegetation from the area. You should also use a shovel and rake to even out the ground as much as possible.
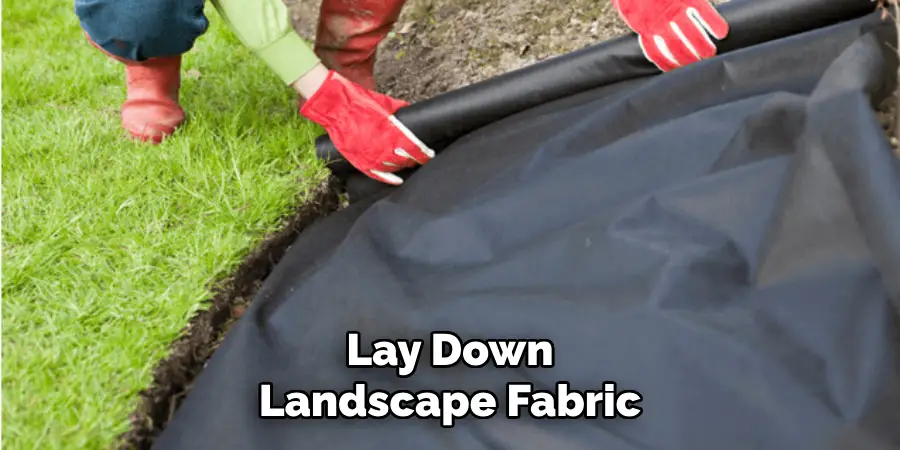
Step 3: Lay Down Landscape Fabric
Next, you need to lay down a layer of landscape fabric. This will help keep weeds and other unwanted vegetation from growing in the gravel pad. Make sure that it is laid out neatly and covers the entire area before moving on to the next step.
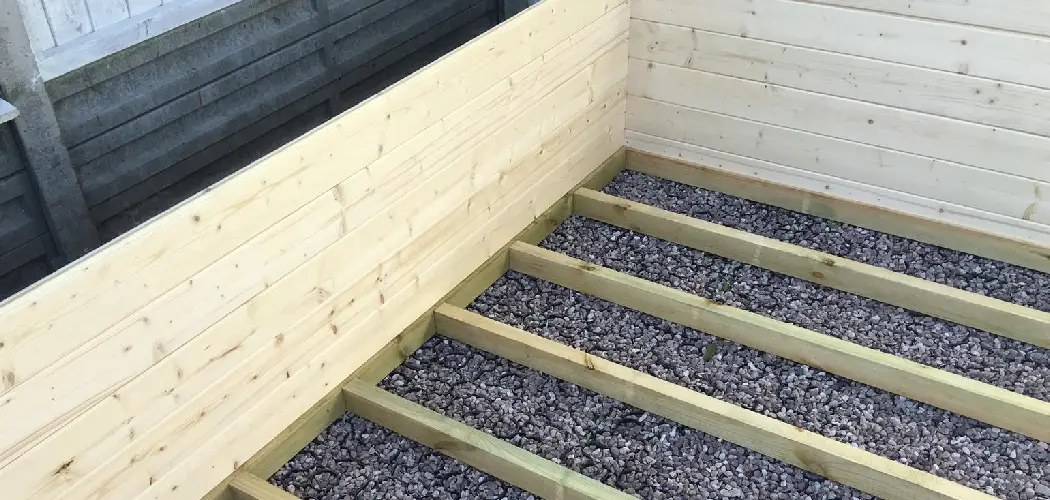
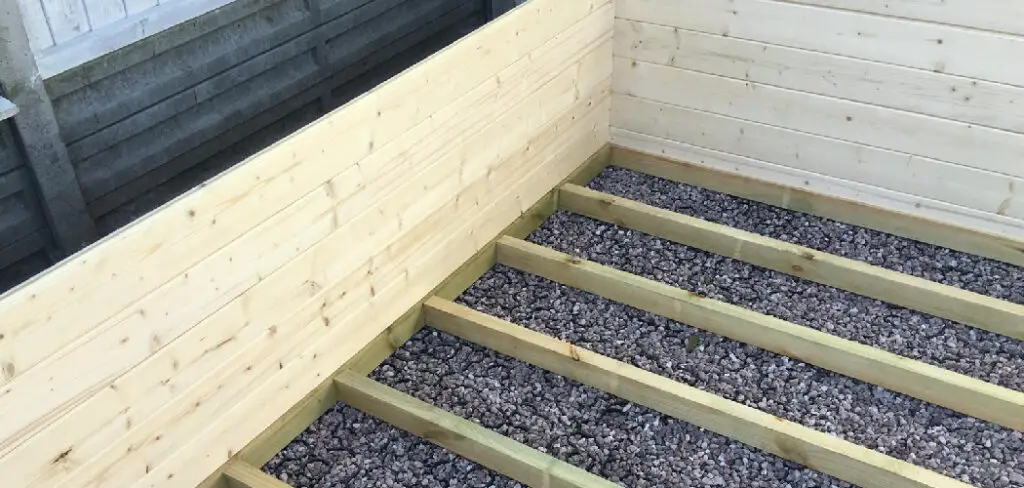
Step 4: Add Gravel
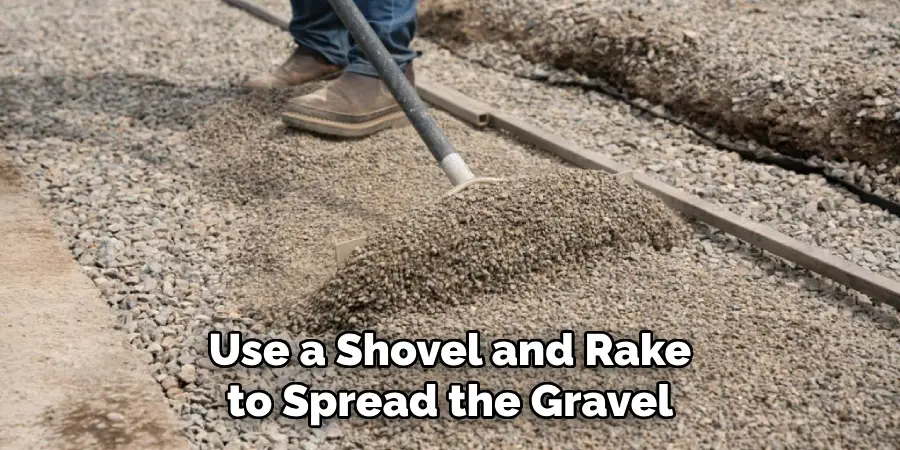
Once the landscape fabric is laid, it’s time to start adding the gravel. You can buy pea gravel or river rock, depending on your preference. Start by shoveling in a layer of gravel about two to three inches thick and spread it evenly across the surface with a rake.
Step 5: Level Out The Gravel
Now that the initial layer of gravel is added, you need to level it out. Use a level to check for any high or low spots and adjust accordingly. It’s important to make sure the area is completely flat before moving on to the next step.
Step 6: Add Another Layer of Gravel
Once the first layer is flat and level, it’s time to add a second layer. Again, use a shovel and rake to spread the gravel evenly across the surface and make sure that any high or low spots are addressed.
Step 7: Compact The Gravel
Once you have added the second layer of gravel, it’s important to compact it. You can do this by using a hand tamper, or you can rent a compactor from your local hardware store. Make sure to compact the gravel until it is as flat and level as possible.
Step 8: Add Sand
Once the gravel is compacted, you’ll want to add a layer of sand over the top in order to make the surface even smoother. Use a rake to spread the sand evenly across the gravel pad, and then use a level to check that it is flat.
Step 9: Add the Final Layer of Gravel
The last step in building your gravel pad is to add a final layer of gravel over top of the sand. Again, use a shovel and rake to spread the gravel evenly and make sure that there are no high or low spots.
Step 10: Add Finishing Touches
Once your gravel pad is complete, you can add any finishing touches such as edging, stones, or other landscaping features to enhance its look. You could also plant some shrubs or flowers around the edges for an even more attractive aesthetic.
By following these steps on how to build a gravel pad for shed, you are well on your way to constructing a sturdy, reliable foundation for your shed. With regular maintenance and inspection, the gravel pad will serve as a secure place to store your items while also adding an attractive feature to your yard or garden. So get out there and get started on your project today!
Tips for Building a Gravel Pad for Shed
- Make sure to use quality gravel with an angular shape so it can more easily interlock and create a sturdier base.
- Lay down landscape fabric before adding the gravel, as it will help to prevent weeds from growing in the pad.
- If you are renting a compactor, make sure to read the instruction manual carefully before using it.
- Add a layer of sand or fine gravel over top of the compacted gravel to make for an even smoother surface.
- Consider adding edging or other landscaping materials to enhance the aesthetic look of your gravel pad.
- Make sure to inspect and maintain your gravel pad regularly in order to keep it in good condition.
By following these tips on how to build a gravel pad for shed, you will be able to create an even, sturdy surface that can last for years to come.
8 Safety Precautions to Follow When Building a Gravel Pad for Shed
When building a gravel pad for a shed, there are safety precautions that should always be taken to ensure the project is completed safely. Here are 8 tips to help you stay safe while creating your gravel pad.
- Wear appropriate protective clothing such as gloves, goggles, and long pants and sleeves when handling gravel or other materials used to build the pad. Wearing the right kind of clothing will help protect your skin from cuts and abrasions.
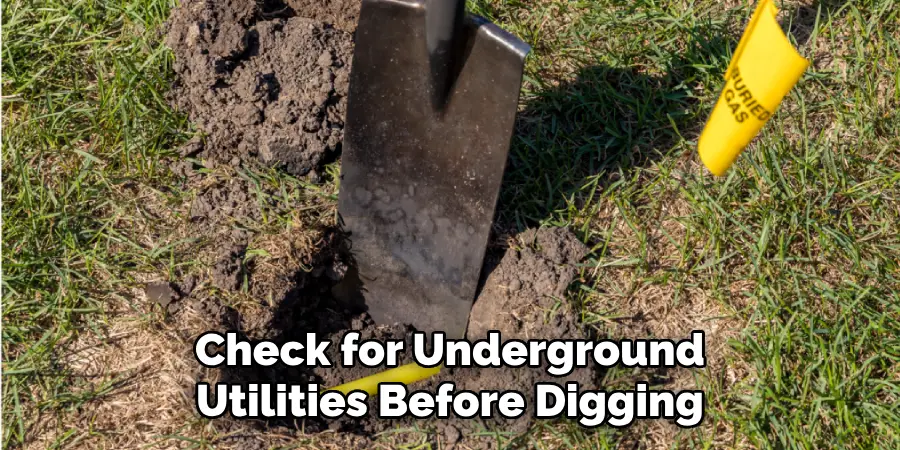
- Always check for underground utilities before digging for the gravel pad. Some areas may have gas lines, water lines, or electric wires running below the ground, so it’s important to be aware of these potential hazards before starting work on the project.
- Make sure the area where you are planning to build the gravel pad is clear of debris and objects that could get in your way or pose a safety threat. This includes removing any large rocks or roots that could cause a tripping hazard.
- Use caution when operating machinery such as shovels, rakes, or wheelbarrows to move gravel and other materials around the work site. Be aware of your surroundings and pay attention to the people and objects in your vicinity.
- Secure any heavy or large pieces of equipment used for the project, such as a tractor or backhoe, so that they do not move unexpectedly while in use.
- Avoid working alone if possible – especially when operating machinery like a tractor or backhoe. It’s always a good idea to have someone nearby who can help in case of an emergency.
- Make sure you do not over-exert yourself while building the gravel pad – take frequent breaks and make sure to stay hydrated throughout your project.
- Stop working if you start to feel sick or fatigued, and rest until you are feeling better before continuing on with the project.
Following these simple safety precautions will help ensure your gravel pad is built safely and correctly. But if you ever feel uncertain or uncomfortable while working, make sure to stop immediately and consult a professional for additional guidance.
With proper planning and attention to safety, building a gravel pad for your shed can be an enjoyable experience that results in beautiful finished product.
Five Steps for Building a Gravel Pad for a Shed
Creating a gravel pad for your shed is a straightforward project that can be completed in five easy steps. Here’s what you need to do:
- Prepare the area by clearing away any debris and making sure the area is level. Use stakes and string to outline where you plan to build the pad if needed.
- Line the area with landscape fabric to prevent weeds from growing through the gravel and secure it in place.
- Spread a layer of fill dirt over the landscape fabric, then compact it using a heavy roller or other machinery so that it forms an even base for your gravel pad.
- Spread several inches of gravel over the fill dirt and compact the gravel using a roller or tamper.
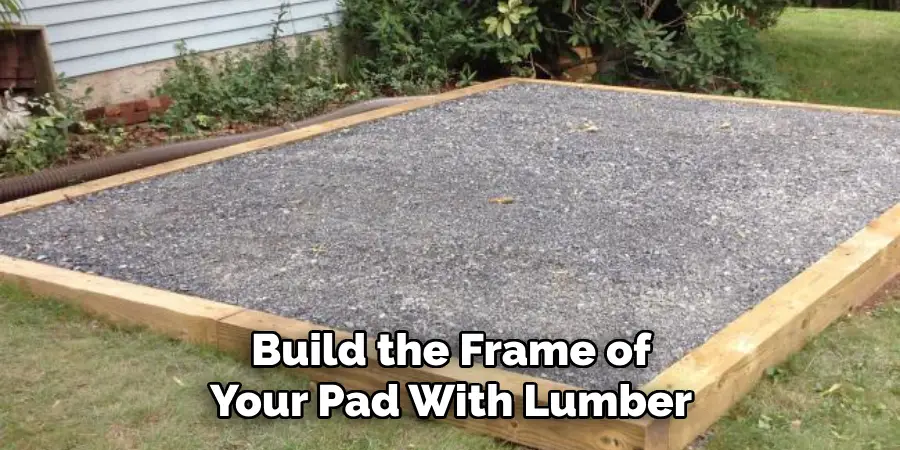
- Build the frame of your pad with lumber, then add more fill, dirt, and gravel to complete the project.
By following these steps, you can create a strong and durable gravel pad for your shed in no time. With some basic tools and materials, you can have an attractive outdoor living space
Conclusion
Building a gravel pad for your shed is an easy task that requires minimal tools and materials. Building a gravel pad for your shed is an essential task for many homeowners due to the added support and stability it provides.
With the right preparation and diligence, the process of crafting this important addition to your yard can be as stress-free as possible. It’s a great DIY project that serves to enhance the beauty and usability of any space.
Whether you’re just providing better access or need a stronger foundation, gravel pads can accommodate all needs. Don’t forget to regularly check for any uneven areas in the pad and ensure that it’s always clean.
By following these steps on how to build a gravel pad for shed, you are well on your way to constructing a sturdy, reliable gravel pad for your shed. So what are you waiting for? Get out there and get it done! So, if you’re looking to get started with creating a dependable foundation for your shed, building a gravel pad is one of the best ways to do just that!
About
Outdoor Fixes is a distinguished figure in the world of Diy design, with a decade of expertise creating innovative and sustainable Diy solutions.
His professional focus lies in merging traditional craftsmanship with modern manufacturing techniques,
fostering designs that are both practical and environmentally conscious. As the author of diy,
outdoorfixes delves into the art and science of outdoorfixes-making, inspiring artisans and industry professionals alike.
Education RMIT University
(Melbourne, Australia) Associate Degree in Design (Outdoor Fixes) Focus on sustainable design, industry-driven projects,
and practical craftsmanship. Gained hands-on experience with traditional and digital manufacturing tools, such as CAD and CNC software.
Nottingham Trent University
(United Kingdom) Bachelor’s in outdoorfixes.com and Product Design (Honors) Specialized in product design with a focus on blending creativity with production
techniques. Participated in industry projects, working with companies like John Lewis and Vitsoe to gain real-world insights.
Publications and Impact
In diy, Outdoor Fixes his insights on indoor design processes, materials, and strategies for efficient production.
His writing bridges the gap between artisan knowledge and modern industry needs, making it a must-read for both budding designers and seasoned professionals.