
There are some landscaping and gardening challenges that a simple shovel just cannot handle. When you are faced with rocky, compacted clay soil, stubborn tree roots, or even breaking up old concrete, you need a tool with serious leverage and penetrating power. The pickaxe, with its ancient design and imposing look, is that tool. It is the undisputed champion of manual demolition and excavation.
Yet, many homeowners are intimidated by its weight and power, fearing it is difficult or dangerous to wield. The truth is, the pickaxe relies more on technique than brute strength. By understanding its mechanics and using your body’s natural momentum, you can break through the toughest ground with surprising ease. This guide will demystify the process and teach you exactly how to use a pickaxe safely and effectively, transforming a daunting task into a manageable and satisfying project.
The pickaxe is a powerful tool used for breaking through tough ground and rocks. Often associated with mining and construction work, it can also be useful in everyday tasks such as gardening, landscaping, and even removing stubborn roots. While some may view the pickaxe as intimidating, it is actually a versatile tool that relies more on technique than brute strength. In this guide, we will cover the basics of how to use a pickaxe safely and effectively.

Understanding the Mechanics
Before diving into how to use a pickaxe, it’s important to understand its mechanics. A typical pickaxe consists of two main parts: the head and the handle. The head is made up of a pointed end called the pick and a flat, wide surface known as the adze. The handle is usually made of wood or fiberglass and provides leverage for swinging the pickaxe.
The key to using a pickaxe effectively is in its weight distribution. The majority of the weight should be in the head, allowing you to use gravity to your advantage when swinging it. It’s also important to note that the pickaxe is not meant for heavy-duty hacking, but rather for precision work such as breaking up soil or chopping roots.
Step-by-Step Guide on How to Use a Pickaxe
Step 1: Select the Right Pickaxe
Not all pickaxes are created equal, and choosing the correct one for your task is the first step toward success. The most common type is the standard pickaxe, which features a pointed “pick” on one side and a flat “adze” or chisel on the other. The pointed end is perfect for breaking up hard, rocky soil and prying out stones.
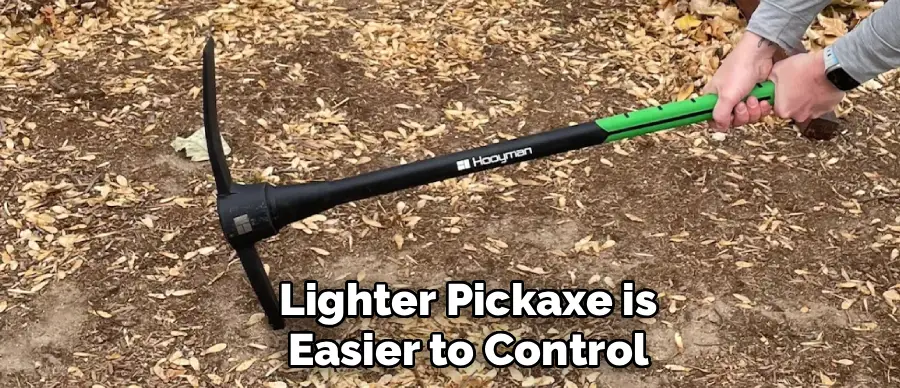
The adze is designed for cutting through roots, trenching, and scraping away looser material. For lighter-duty gardening in less compacted soil, a smaller “maddock” or cutter mattock, which has a smaller adze and a vertical axe-like blade, might be more appropriate. Consider the weight of the tool as well; a lighter pickaxe is easier to control for beginners and reduces fatigue during long projects.
Step 2: Clear Your Workspace and Wear Safety Gear
Safety is non-negotiable when working with a heavy-impact tool. Before you even lift the pickaxe, thoroughly inspect your work area. Remove any tripping hazards like loose stones, branches, or other tools. Establish a clear “swing zone” around you, ensuring there are no people, pets, or fragile objects within a 10-foot radius.
The heavy head can generate immense force, and a missed swing can have serious consequences. Equally important is your personal protective equipment (PPE). Always wear sturdy, closed-toe work boots, long pants, safety glasses to protect from flying debris, and work gloves to improve your grip and prevent blisters. This preparation is a fundamental part of learning how to use a pickaxe without injury.
Step 3: Establish a Stable Stance and Proper Grip
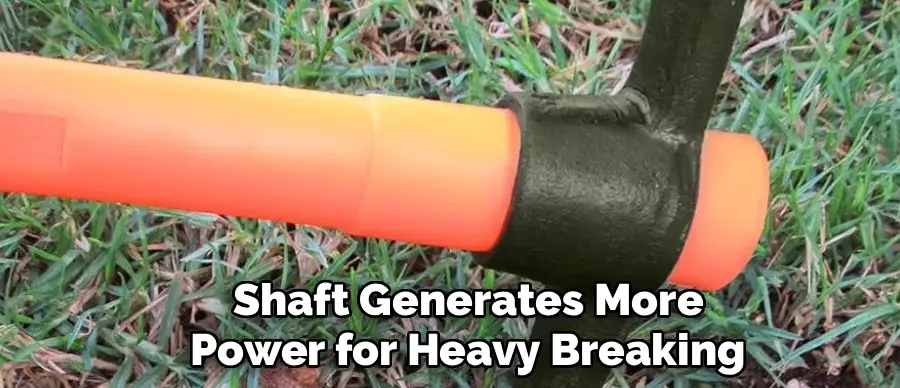
Your power and control come from your body, not just your arms. Stand with your feet planted firmly, about shoulder-width apart, with your knees slightly bent. This athletic stance provides a stable base and allows you to engage your core and leg muscles. To grip the tool, place your non-dominant hand near the end of the handle and your dominant hand about halfway up the shaft. This grip provides a balance of leverage and control. As you become more comfortable, you can adjust your dominant hand’s position. A choke-up grip offers more accuracy for precise strikes, while holding further down the shaft generates more power for heavy breaking.
Step 4: Master the Swing
The swing is all about using momentum, not brute force. Begin by lifting the pickaxe up to about shoulder height. Let your dominant hand slide down the handle until it is close to your non-dominant hand at the base. As you bring the tool down, let gravity do most of the work. Guide the head toward your target, allowing the weight of the tool to generate the impact force. You are not trying to muscle it into the ground. A smooth, controlled arc is far more effective and less tiring than a jerky, forceful chop. As the pickaxe strikes the ground, bend your knees to absorb the impact, which protects your back and joints from the shock of the blow.
Step 5: Use the Pick and Adze Correctly
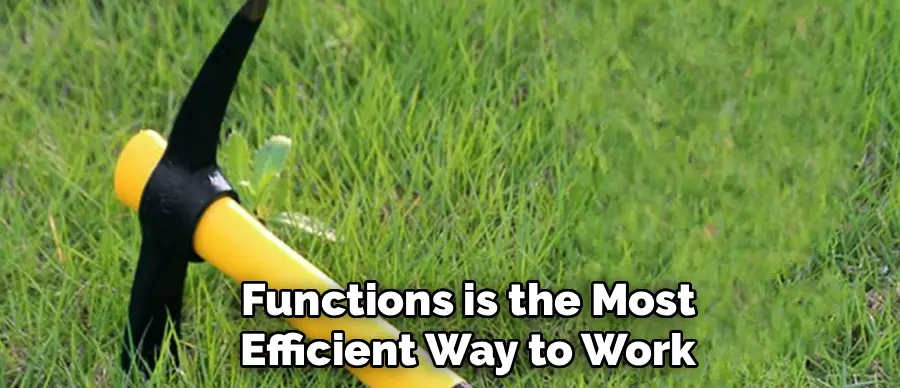
The two ends of the pickaxe head serve very different purposes. Use the pointed pick to fracture hard ground. Aim to strike the same spot multiple times, creating cracks and breaking the soil into manageable chunks. Once you have broken up an area, use the pick to pry the loosened material or rocks out of the ground. After a section is broken up, switch to the adze. The wide, flat blade is ideal for scooping, scraping, and cutting. Use it to pull the loosened dirt towards you, chop through thick roots that were exposed by the pick, or to carve out the sides of a trench. Alternating between these two functions is the most efficient way to work.
Step 6: Work in Sections and Manage Debris
Do not try to tackle an entire large area at once. This approach leads to exhaustion and messy work. Instead, mentally divide your project into small, manageable grids, perhaps two or three feet square. Focus all your energy on completely breaking up and clearing one section before moving on to the next. Use the pickaxe to break the ground, then switch to a shovel to clear the loosened debris out of the way. This systematic method provides a clear sense of progress and keeps your workspace from becoming cluttered with loose dirt and rocks. It also allows you to take short breaks between sections, helping you conserve energy for the entire project.
Frequently Asked Questions
What Is the Difference Between a Pickaxe and a Mattock?
A standard pickaxe has a pointed pick and a horizontal chisel-like blade (adze). A mattock is a variation.
- Cutter Mattock: Has an adze on one side and a vertical axe blade on the other, which is excellent for chopping through roots.
- Pick Mattock: This is another name for a standard pickaxe.
Essentially, a mattock is a type of pickaxe where one side is always an adze, and the other can be either a pick or an axe blade.
How Do I Secure a Loose Pickaxe Head?
A loose head is extremely dangerous. To fix it, stand the pickaxe upside down, resting on the head.
- Check the wooden wedge (kerf) at the top of the handle. If it’s loose, tap it back in firmly with a hammer.
- Many pickaxes also have a metal wedge driven in perpendicular to the wooden one. Ensure it is also secure.
- For a long-term fix, you can soak the head of the handle in water for a few hours. The wood will swell, tightening the fit.
Can You Use a Pickaxe to Remove a Tree Stump?
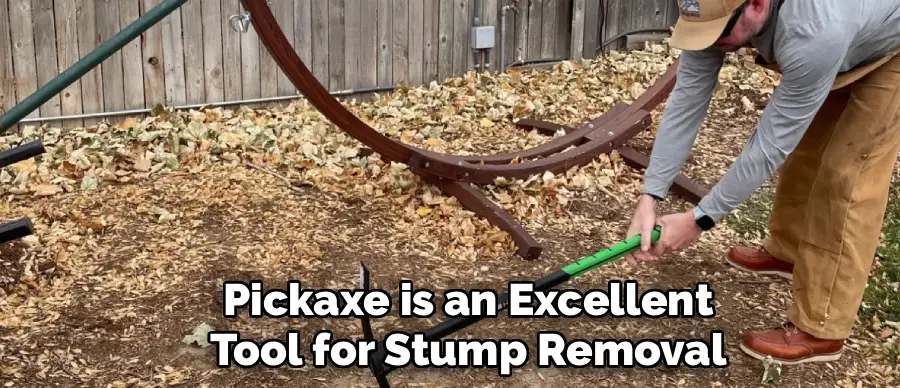
Yes, a pickaxe is an excellent tool for stump removal. First, dig a trench around the stump with a shovel. Then, use the adze (flat blade) of the pickaxe to chop through the thick lateral roots you have exposed. Use the pick end to break up compacted soil and pry rocks away from the root ball. It is a labor-intensive process, but the pickaxe provides the leverage and cutting power needed to sever the roots holding the stump in place.
Is a Pickaxe a Good Tool for Digging a Trench?
A pickaxe is the perfect tool for starting a trench, especially in hard or rocky soil. Use the pointed end to break up the compacted ground along the line of your trench. Once the ground is loosened, use the adze end to scrape and pull the dirt out. You will likely want to follow up with a narrow trenching shovel to clear out the loose debris more efficiently, but the pickaxe does the initial hard work of breaking the ground.
How Do I Sharpen a Dull Pickaxe?
A sharp pickaxe is safer and more effective. You can sharpen it using a large metal file, often called a mill bastard file.
- Secure the pickaxe head in a vise.
- Push the file away from you along the edge, maintaining the tool’s original bevel angle.
- Lift the file and return for the next stroke; do not drag it backward.
- File until you have a clean, reasonably sharp edge. It doesn’t need to be razor-sharp, just free of nicks and dents.
Conclusion
The pickaxe is more than just a tool for demolition; it is a key to unlocking your property’s potential, allowing you to conquer the most challenging ground conditions by hand. The secret lies not in raw power, but in smart technique—using proper form, letting the tool’s weight do the work, and pacing yourself.
By following these steps for safety and efficiency, you can confidently take on projects that once seemed impossible, from digging foundations in clay to clearing a stubborn stump. Do not let difficult terrain dictate your gardening or landscaping plans. Now that you have a clear understanding of how to use a pickaxe, you are equipped to break new ground and reshape your outdoor space with your own two hands.
About
Outdoor Fixes is a distinguished figure in the world of Diy design, with a decade of expertise creating innovative and sustainable Diy solutions.
His professional focus lies in merging traditional craftsmanship with modern manufacturing techniques,
fostering designs that are both practical and environmentally conscious. As the author of diy,
outdoorfixes delves into the art and science of outdoorfixes-making, inspiring artisans and industry professionals alike.
Education RMIT University
(Melbourne, Australia) Associate Degree in Design (Outdoor Fixes) Focus on sustainable design, industry-driven projects,
and practical craftsmanship. Gained hands-on experience with traditional and digital manufacturing tools, such as CAD and CNC software.
Nottingham Trent University
(United Kingdom) Bachelor’s in outdoorfixes.com and Product Design (Honors) Specialized in product design with a focus on blending creativity with production
techniques. Participated in industry projects, working with companies like John Lewis and Vitsoe to gain real-world insights.
Publications and Impact
In diy, Outdoor Fixes his insights on indoor design processes, materials, and strategies for efficient production.
His writing bridges the gap between artisan knowledge and modern industry needs, making it a must-read for both budding designers and seasoned professionals.