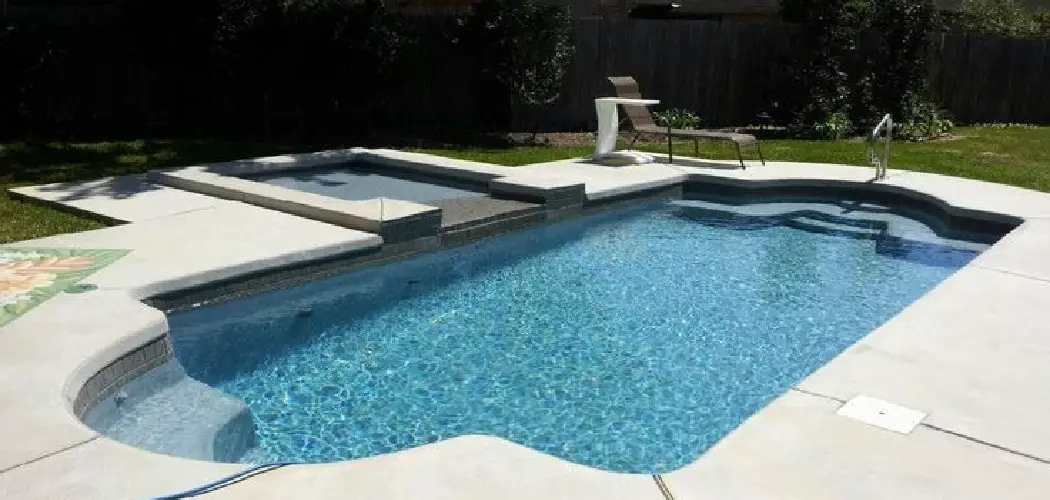
If you’ve been dreaming of having your pool but don’t want the hassle or expense of an in-ground version, fiberglass swimming pools may be just what you need. Durable and easy to install, these spacious basins come in various shapes and sizes, giving you plenty of options for a safe backyard retreat. Additionally, filling in a fiberglass swimming pool is a relatively straightforward process that any competent DIYer can do.

Although DIY installation is possible for many models – something we recommend if you are feeling up to the challenge – it will still take time and effort to get everything ready. But do not fear!
In this blog post, we will guide you step by step through how to fill in a fiberglass swimming pool so your dream can become reality.
What Will You Need?
Before you start, make sure that you have all the necessary tools and materials on hand. You will need:
- Safety gear such as gloves, goggles, and a respirator mask
- A shovel or backhoe for excavation
- Sand or gravel for backfilling
- Concrete mix or grout for filling in any gaps between the pool shell and surrounding soil
Once you have all of these materials, you can get started on filling in your fiberglass swimming pool.
10 Easy Steps on How to Fill in a Fiberglass Swimming Pool
Step 1: Excavation
The first step in filling in your fiberglass swimming pool involves digging the hole where your pool will be installed. This process, known as excavation, requires a backhoe or a shovel.
It should be done carefully to ensure the hole’s dimensions match the size of your pool, allowing for a small buffer around the edges for the backfill. Remember to wear safety gear such as gloves and goggles during this process to protect yourself from any potential injuries.
Step 2: Leveling and Preparing the Base
Next, it’s time to prepare the base for your fiberglass swimming pool. Start by leveling the base of the hole using a long level or a laser level. Once the base is flat and even, spread a layer of clean sand or gravel on top.
This layer will act as a cushion for the pool shell, helping it resist the soil pressure around it. It’s also essential to compact the sand or gravel before placing your pool, ensuring a strong and stable base.
Step 3: Placing the Pool
Now you are ready to place your fiberglass swimming pool into the hole. Remember, this is a delicate process that needs to be done carefully to avoid any damage to the pool shell.
You might need a crane or heavy machinery, depending on the pool size. Once the pool is in place, ensure it’s level. This is a critical step as an unlevel pool can lead to long-term problems such as uneven water distribution and unnecessary strain on certain pool parts.
Step 4: Backfilling the Pool
After successfully placing and leveling the pool, the next step is to backfill it. Backfilling is the process of adding material around the pool shell to provide support and stability. Typically, sand or gravel is used for this purpose.
Begin backfilling from the deepest end of the pool, gradually moving towards the shallow end. Be careful not to push or pull the pool shell out of level during this process. It’s also essential to compact the backfill as you go along to prevent it from settling over time, which could lead to the pool’s shifting position.
Step 5: Plumbing and Electrical Installation
Once the pool is securely backfilled, the next stage involves installing the necessary plumbing and electrical systems. This includes the pool pump, filter, and heater, along with any lighting or other accessories.
Remember to follow all local codes and regulations when installing these systems. For the plumbing, you’ll need to connect the pool’s circulation system to the pump and filter.
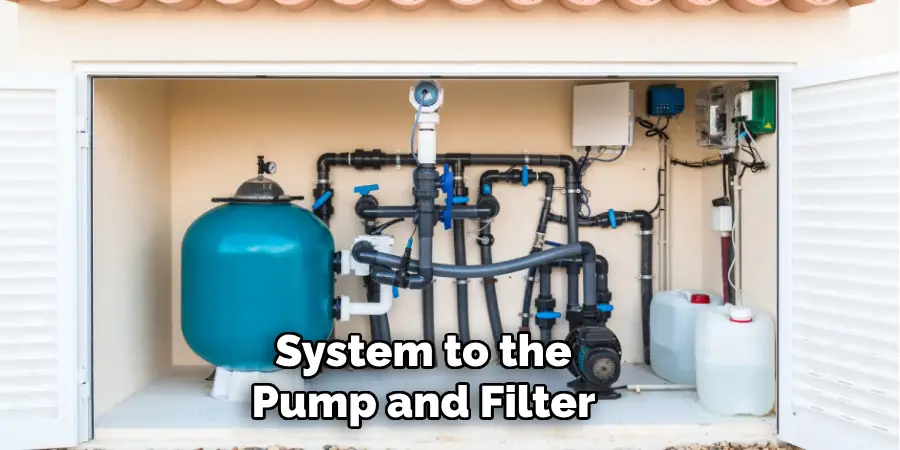
For the electrical installation, you’ll need to secure the pump, heater safely, and any other electrical components to your home’s power supply. Depending on your level of expertise, consider hiring a licensed professional for this step, as it involves dealing with water and electricity simultaneously, a combination that can be dangerous if not handled correctly.
Step 6: Filling the Pool
After installing the required plumbing and electrical systems, it’s time to fill your fiberglass swimming pool with water. Begin the filling process using a garden hose, ensuring the water spreads evenly across the pool floor.
It’s essential to fill the pool slowly to avoid creating any pressure imbalances. Be attentive to the water level during filling; it should remain at the midpoint of the pool skimmer opening or advised level by your pool manufacturer. Continue to check the level of the pool as you fill it. Any significant shifts or changes could indicate a problem that needs immediate attention.
Step 7: Checking for Leaks
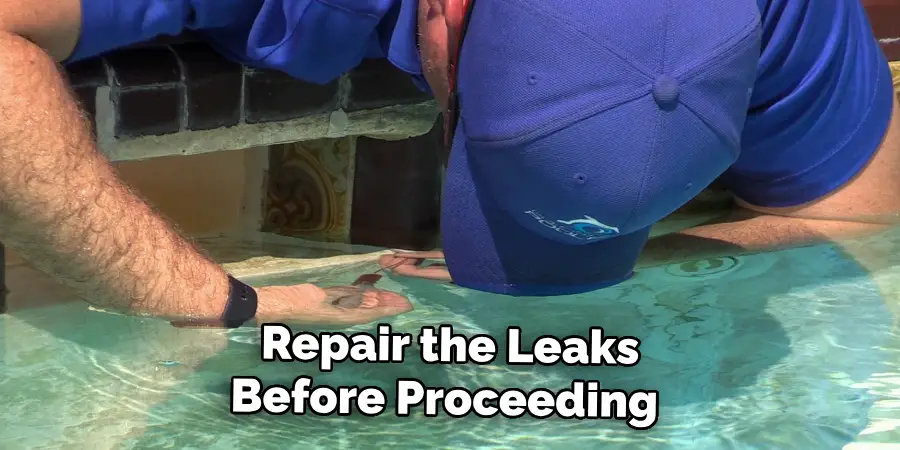
While filling the pool, it’s crucial to inspect for any potential leaks in your plumbing system. You can observe the pool for any unusual water loss that cannot be explained by evaporation or splashing.
Also, pay attention to the area around the pool and the equipment pad. If you notice the ground becoming saturated or see water dripping from the equipment, you may leak. If you detect any leaks, turn off the water, drain the pool to a safe level, and repair the leaks before proceeding.
Step 8: Balancing the Water
After filling the pool, the next step is to balance the water. The key parameters to test and adjust are pH, alkalinity, and sanitizer levels. Balanced water ensures a comfortable swimming environment and protects the pool’s components.
Use a good quality pool test kit for this purpose. Add the necessary chemicals as per the instructions on the test kit or those provided by the pool manufacturer, and allow the circulation system to distribute them evenly throughout the pool.
Step 9: Installing Pool Accessories
Now that your pool water is balanced, it’s time to install any additional accessories, such as ladders, handrails, diving boards, or slides. Follow the manufacturer’s instructions for each accessory to ensure safe and secure installation. Remember that some accessories might require assembly before installation.
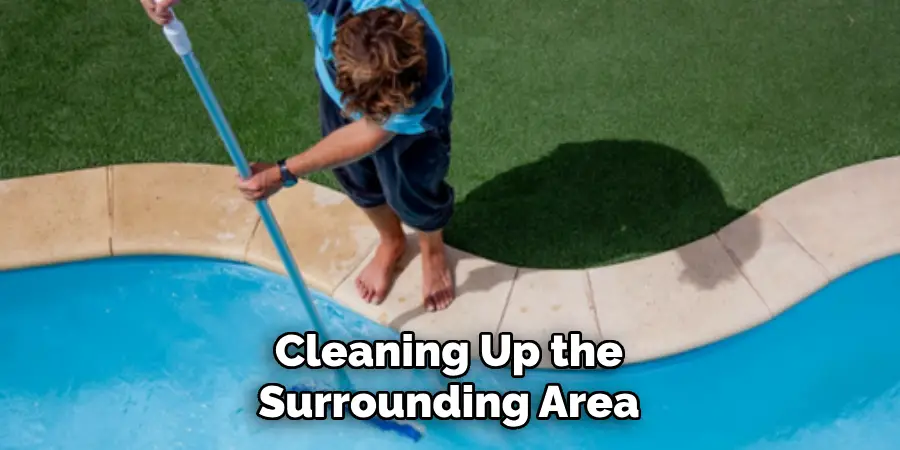
Step 10: Finishing Touches and Clean Up
The final step involves cleaning up the surrounding area and adding any finishing touches. This could include landscaping around the pool to enhance its appearance or installing a pool fence for safety. Congratulations, you have successfully filled in your fiberglass swimming pool! Now it’s time to enjoy your new backyard oasis. Remember, regular maintenance is vital to keeping your pool safe, clean, and enjoyable for many years.
By following these steps and taking the necessary precautions, you can confidently fill in a fiberglass swimming pool.
5 Additional Tips and Tricks
- Monitor Pool Chemicals Regularly: Regular monitoring and adjusting of pool chemicals is essential to maintain the water’s clarity and prevent the formation of algae and bacteria. Regular testing kits are available and easy to use.
- Invest in a Pool Cover: A pool cover is a significant investment to keep your pool clean from debris and reduce evaporation, helping you save on water.
- Adequate Pool Circulation: Ensure your pool pump and filter work effectively to keep the water circulating properly. This helps distribute the chemicals evenly and keeps the water clean.
- Regular Skimming and Vacuuming: Skimming the pool’s surface regularly helps to remove debris and leaves. Vacuuming the pool floor once a week helps keep the water clear and reduces the chemicals you need to add.
- Regular Inspection: Regularly check for any cracks or wear in the pool shell and the functioning of the pool equipment, and be alert for any unusual changes in water levels or pool behavior. Fixing minor problems early can save you from bigger ones down the line.
With these additional tips and tricks, you can ensure that your fiberglass swimming pool stays in top condition for many years.
5 Things You Should Avoid
- Avoid Over-Chlorinating: Too much chlorine in your pool can lead to skin, eye, and respiratory issues for swimmers. Always measure the chlorine levels accurately and avoid exceeding the recommended limits.
- Don’t Neglect Regular Cleaning: Skipping routine cleaning could lead to the accumulation of debris and algae, making your pool unhygienic and unpleasant. Ensure that your pool is regularly skimmed and vacuumed.
- Never Ignore pH Levels: A properly balanced pH level is crucial for the effectiveness of the sanitizers and the comfort of the swimmers. High or low pH levels can result in equipment damage and irritated skin or eyes. Regularly test and adjust the pH levels.
- Avoid Swimming Immediately After Chemical Treatment: Allow adequate time for the chemicals to circulate appropriately before you dive in. Swimming immediately after a chemical treatment might lead to skin irritations and may not be safe.
- Don’t Drain Your Fiberglass Pool Completely: Unlike concrete pools, fiberglass pools need to have some amount of water at all times to maintain the structural integrity and prevent it from popping out of the ground due to groundwater pressure. If your pool needs to be drained for any reason, make sure to consult with a professional.
By avoiding these common mistakes, you can keep your pool safe and enjoyable for everyone.
Conclusion
To sum up, there are many steps to take when filling a fiberglass swimming pool. It may seem daunting at first, but with the right amount of planning and knowledge, it can be surprisingly painless.
Make sure you have all the necessary materials, do your research on proper safety requirements, and always wear gloves to protect both yourself and your property during the process.
Once your pool is filled, it will be time to let the good times roll! So don’t wait any longer and start enjoying having an oasis of fun right in your backyard by following these simple steps when filling in your fiberglass swimming pool.
Hopefully, the article on how to fill in a fiberglass swimming pool has been informative and helpful for you. Thank you!
About
Outdoor Fixes is a distinguished figure in the world of Diy design, with a decade of expertise creating innovative and sustainable Diy solutions.
His professional focus lies in merging traditional craftsmanship with modern manufacturing techniques,
fostering designs that are both practical and environmentally conscious. As the author of diy,
outdoorfixes delves into the art and science of outdoorfixes-making, inspiring artisans and industry professionals alike.
Education RMIT University
(Melbourne, Australia) Associate Degree in Design (Outdoor Fixes) Focus on sustainable design, industry-driven projects,
and practical craftsmanship. Gained hands-on experience with traditional and digital manufacturing tools, such as CAD and CNC software.
Nottingham Trent University
(United Kingdom) Bachelor’s in outdoorfixes.com and Product Design (Honors) Specialized in product design with a focus on blending creativity with production
techniques. Participated in industry projects, working with companies like John Lewis and Vitsoe to gain real-world insights.
Publications and Impact
In diy, Outdoor Fixes his insights on indoor design processes, materials, and strategies for efficient production.
His writing bridges the gap between artisan knowledge and modern industry needs, making it a must-read for both budding designers and seasoned professionals.