Removing the steps from your above-ground pool might seem like a straightforward task, but it requires careful planning and execution to ensure the safety of your swimmers and the integrity of your pool structure. Whether you are upgrading to a new entry system, preparing your pool for the off-season, or simply need to perform maintenance, understanding the correct procedure is essential. A proper removal prevents damage to the pool liner and frame, which can save you from costly repairs down the line.
This guide on how to remove steps from above ground pool will walk you through the entire process, from gathering the necessary tools to making decisions about what to do after the steps are out. Following these detailed instructions will help you complete the job safely and efficiently. By taking the time to do it right, you can ensure your pool remains a source of enjoyment for years to come, free from the hazards that improper modifications can create.

Tools and Materials You May Need
Before you begin, gathering all the necessary tools and materials will make the process much smoother. Having everything on hand prevents interruptions and ensures you can work safely and effectively. Here is a list of items you will likely need:
- Wrench set or socket set
- Screwdrivers (both Phillips and flathead)
- Pliers
- Utility knife or scissors
- Protective gloves
- Safety goggles
- Weight bags or containers (for ballast)
- Cleaning brushes
- Mild soap or pool-safe cleaner
- Hose with a spray nozzle
- Soft towels or rags
- A friend to assist (recommended)
- Storage tarp or cover (if storing the steps)
8 Simple Step-by-step Guidelines on How to Remove Steps From Above Ground Pool
Following a structured approach is the key to removing your pool steps without causing damage or injury. Each step in this guide is designed to address a specific aspect of the removal process, from initial safety checks to the final cleanup.
Step 1: Drain the Pool to the Appropriate Level
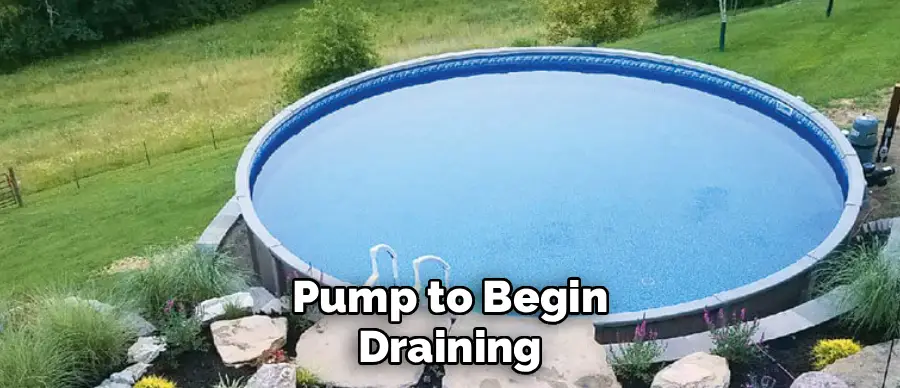
The first and most critical step in this process is to lower the water level in your pool. Attempting to remove steps, especially those weighted down with sand or water, from a full pool is not only incredibly difficult but also dangerous. The buoyancy and weight distribution can make the steps unstable and hard to control. Draining the water below the attachment points of the steps to the pool deck or frame makes them accessible and significantly lighter, reducing the risk of injury to yourself and damage to your pool’s liner. Start by using your pool pump’s “waste” setting or a submersible pump to begin draining.
Continue draining until the water level is at least a few inches below the lowest connection point of the steps. For most step systems, this means lowering the water to a level just below the top step. This ensures that you can clearly see and access all hardware, such as bolts, screws, or brackets, that secure the steps to the pool structure. This also minimizes water spillage onto your deck or surrounding area as you work. Once the water is at the right level, turn off your pump and any other pool equipment to ensure a safe working environment.
Step 2: Detach the Steps from the Pool Deck or Frame
With the water level lowered, you can now focus on disconnecting the steps from the pool’s deck or top rail. Most above-ground pool steps are secured with brackets, bolts, or screws to provide stability during use. Carefully inspect how your specific model is attached. You will likely need a wrench, socket set, or screwdriver for this task. It is highly advisable to wear protective gloves to get a better grip and protect your hands from sharp edges or rusted hardware. Having a small container handy to keep track of all the nuts, bolts, and washers is a great way to stay organized and prevent losing small but crucial parts.
Begin by loosening and removing the hardware that connects the handrails and the main body of the steps to the deck. Sometimes, these connections can be tight due to weather exposure or mineral buildup, so you may need to apply some gentle force. If you have a partner, one person can hold the steps steady while the other works on the fasteners. This teamwork prevents the steps from shifting unexpectedly and potentially scratching the pool liner or falling back into the water. Once all external connections are undone, the steps should be free from the deck, but they will still be resting inside the pool.
Step 3: Remove Ballast Weights from the Steps
Most in-pool step systems are designed to be filled with sand or water to weigh them down and prevent them from floating. This ballast is what keeps the steps securely on the pool floor during use, and it must be removed before you can lift them out. If your steps are filled with water, they will typically have caps or plugs that can be opened to let the water drain out. As the internal water drains, the steps will become progressively lighter and easier to handle. You may need to tilt the unit to help all the water escape from the various compartments.
If your steps use sand as ballast, the process is a bit more involved. You will need to carefully uncap the fill holes and scoop or pour the sand out. This can be a messy job, so be prepared. Having buckets or a wheelbarrow nearby can help contain the sand. Trying to lift steps still filled with wet sand is extremely difficult and can lead to back strain or other injuries. Take your time to empty as much sand as possible. A partner can be very helpful here, assisting you in tilting and maneuvering the bulky step unit to get all the ballast out.

Step 4: Carefully Lift the Steps Out of the Pool
Once all the ballast has been removed, the steps will be significantly lighter, but they can still be awkward and cumbersome to handle. This is another point where having a second person is almost essential. Position one person on the deck and the other inside the pool (if the water level allows for safe footing) or also on the deck. Together, get a firm grip on the step unit. Coordinate your movements and lift slowly and deliberately, being mindful of the pool’s top rail and liner.
The main goal is to lift the steps up and over the pool wall without scraping or tearing the vinyl liner. A single tear can lead to a significant leak, so this step requires your full attention. Lift vertically as much as possible until the bottom of the steps clears the top rail, then carefully move the unit away from the pool and onto the deck or a nearby grassy area. Avoid dragging the steps across the deck or ground, as this can cause scratches or damage to the plastic.
Step 5: Clean and Inspect the Removed Steps
Now that the steps are out of the pool, it is the perfect time to give them a thorough cleaning and inspection. Over time, algae, dirt, and chemical residue can build up on the surfaces, especially in crevices and non-slip textures. Use a soft brush and a solution of mild soap and water or a designated pool-safe cleaner to scrub all surfaces. Pay close attention to the areas that were submerged, as this is where most of the buildup will occur. A good cleaning not only improves their appearance but also removes potentially harmful bacteria.
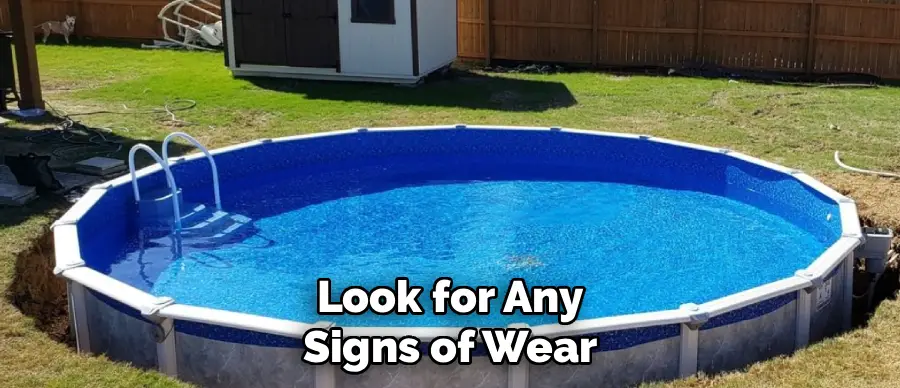
After scrubbing, rinse the steps completely with a hose to remove all soap residue. Leaving cleaner on the plastic can cause it to degrade over time. While the steps are clean and drying, conduct a detailed inspection. Look for any signs of wear and tear, such as cracks in the plastic, stress marks around connection points, or damage to the handrails. Identifying these issues now allows you to make necessary repairs or decide if the steps need to be replaced before they are used again, ensuring they remain safe for swimmers.
Step 6: Proper Disposal or Storage of Removed Steps
Once the steps are clean and dry, you need to decide what to do with them. If you are replacing them with a new system or no longer need them, you must consider proper disposal. Large plastic items like pool steps often cannot be left with regular household trash. Check with your local waste management provider about regulations for bulky item pickup or recycling options. Some communities have special collection days or require you to take such items to a transfer station. Disposing of them responsibly helps keep them out of landfills.
If you are removing the steps for winterization or temporary storage, find a suitable location where they will be protected from the elements. A garage, shed, or basement is ideal. Exposure to harsh sunlight and extreme temperatures can make the plastic brittle and prone to cracking. Cover the steps with a tarp to keep them clean and protected from dust and debris. Storing them properly will extend their lifespan and ensure they are in good condition when you are ready to reinstall them next season.
Step 7: Considering Pool Renovation Options
With the steps removed, you have a clear view of the pool interior and a unique opportunity to consider other upgrades or maintenance tasks. This is an ideal time to inspect the pool liner in the area where the steps were located. Look for any discoloration, stretching, or wear that might have been hidden. If you have been thinking about upgrading your pool’s entry system, now is the time to explore your options. You might consider a different style of step that is easier to remove, or perhaps a ladder that takes up less space inside the pool.
This is also a great moment to think about other renovations. Have you been wanting to install new underwater lighting? Or maybe you want to upgrade your pool’s circulation system. With the steps out of the way, access to the pool interior is much easier for these kinds of projects. Taking advantage of this “downtime” to bundle several maintenance or upgrade tasks together can save you time and effort later in the season. Planning these projects while the steps are already out streamlines the entire process.
Step 8: Enhancing Pool Safety and Accessibility
The final step in this process is to re-evaluate your pool’s safety and accessibility with the steps gone. If you have removed the steps permanently and replaced them with a ladder, ensure the new entry system is securely installed according to the manufacturer’s instructions. A wobbly ladder can be just as dangerous as unstable steps. Make sure it can support the weight of swimmers and that the treads are non-slip. The new entry point should be clearly visible and easily accessible from both the deck and inside the pool.
If you are removing the steps for the off-season, you must secure the pool to prevent accidental entry. A properly installed pool safety cover is the best defense against unauthorized access, especially by children and pets. Ensure the cover is in good condition and securely fastened all the way around the pool. If you don’t have a safety cover, consider installing a pool fence with a self-latching gate as a primary barrier. Safety should always be your top priority, and an open, unsecured pool is a significant hazard.
Following these steps on how to remove steps from above ground pool will not only help you maintain a clean and safe pool, but it will also save you time and money in the long run. Proper maintenance can extend the life of your pool, prevent costly repairs, and ensure a healthy swimming environment for you and your family.
Frequently Asked Questions
Q1: Can I Remove the Steps Without Draining Any Water?
A1: It is strongly discouraged to remove pool steps without at least partially draining the water. The steps are designed to be weighed down with water or sand, making them extremely heavy and difficult to manage when the pool is full. Attempting to lift them out of a full pool creates a high risk of personal injury, such as back strain. It also significantly increases the chance of dropping the steps and tearing the pool liner, which can result in a costly and difficult repair.
Q2: What Is the Best Way to Clean Algae Off the Pool Steps?
A2: The most effective way to clean algae off pool steps is to use a soft-bristled brush and a cleaning solution. You can create a simple cleaner by mixing mild soap with water. For more stubborn algae, a solution of one part white vinegar to three parts water can be effective. After removing the steps from the pool, apply the cleaner and scrub all surfaces thoroughly. Be sure to rinse the steps completely with a hose afterward to remove all residue before storage or reinstallation.
Q3: How Do I Ensure Pool Safety After Removing Steps?
A3: After removing the steps, securing the pool against accidental entry is crucial. The best method is to install a safety cover that is firmly anchored around the entire perimeter of the pool. This provides a strong barrier that can prevent children or pets from falling in. If a safety cover is not an option, a perimeter fence with a self-closing, self-latching gate is another essential safety measure. Never leave your pool unsecured after removing its primary entry and exit point.
Q4: Is It Better to Use Sand or Water as Ballast for Pool Steps?
A4: Both sand and water are effective as ballast, but each has its pros and cons. Water is much easier to add and remove, making seasonal installation and removal simpler. However, water can sometimes promote algae growth inside the steps if not properly treated. Sand provides more weight and stability, making the steps feel very secure. The main drawback is that sand is much more difficult and messy to remove, which can complicate the process of taking the steps out of the pool.
Conclusion
Removing the steps on how to remove steps from above ground pool from your above-ground pool is a manageable project when approached with care and preparation. By following the detailed guidelines, from draining the water to properly cleaning and storing the steps, you can complete the task safely and efficiently. The key is to work methodically, prioritize safety at every stage, and never underestimate the weight and bulk of the step unit, even after the ballast has been removed.
Ultimately, taking the time to remove your pool steps correctly protects your investment by preventing damage to the pool liner and structure. It also provides a valuable opportunity to clean, inspect, and perform other maintenance that keeps your pool in top condition. Whether for winterizing, upgrading, or cleaning, a well-executed removal ensures your pool remains a safe and enjoyable retreat for your family and friends.
About
Outdoor Fixes is a distinguished figure in the world of Diy design, with a decade of expertise creating innovative and sustainable Diy solutions.
His professional focus lies in merging traditional craftsmanship with modern manufacturing techniques,
fostering designs that are both practical and environmentally conscious. As the author of diy,
outdoorfixes delves into the art and science of outdoorfixes-making, inspiring artisans and industry professionals alike.
Education RMIT University
(Melbourne, Australia) Associate Degree in Design (Outdoor Fixes) Focus on sustainable design, industry-driven projects,
and practical craftsmanship. Gained hands-on experience with traditional and digital manufacturing tools, such as CAD and CNC software.
Nottingham Trent University
(United Kingdom) Bachelor’s in outdoorfixes.com and Product Design (Honors) Specialized in product design with a focus on blending creativity with production
techniques. Participated in industry projects, working with companies like John Lewis and Vitsoe to gain real-world insights.
Publications and Impact
In diy, Outdoor Fixes his insights on indoor design processes, materials, and strategies for efficient production.
His writing bridges the gap between artisan knowledge and modern industry needs, making it a must-read for both budding designers and seasoned professionals.