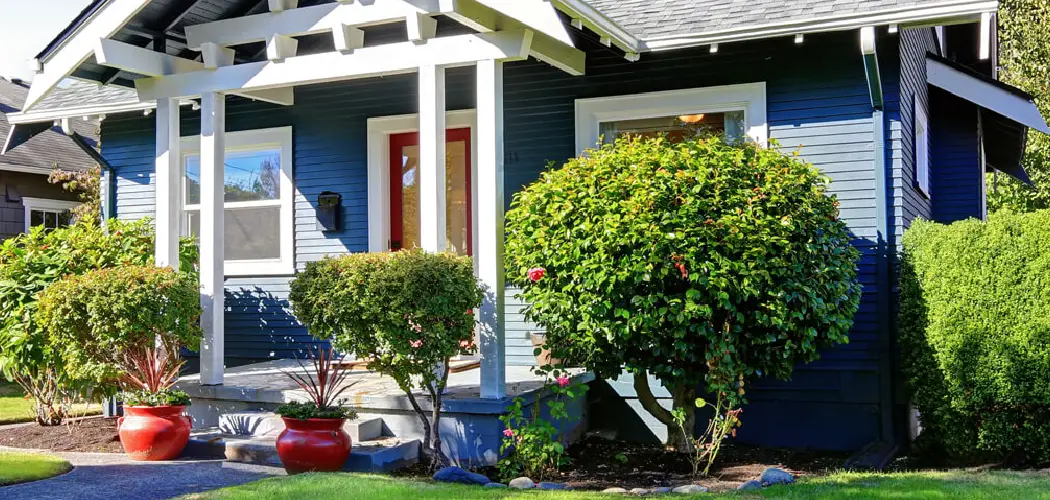
A covered front porch does more than just shelter you from the rain as you fumble for your keys. It dramatically enhances a home’s curb appeal, creates a welcoming transition from the outside world, and provides a valuable, protected outdoor living space. Many homeowners with an existing porch slab or deck dream of this upgrade, but the thought of tying a new roof to their home can seem incredibly complex.
While this project involves serious structural considerations, it is an achievable goal for a skilled and careful DIYer. This comprehensive guide will explain how to add a front porch roof to existing house structures safely, legally, and beautifully. We will walk through design choices, navigating permits, crucial structural attachment methods, and proper roofing techniques to ensure your new porch is both stunning and sound.

Planning and Design Considerations
Before a single tool is lifted, the planning and design phase must be meticulously executed. This initial stage is critical, as it dictates the project’s aesthetic success, structural integrity, and overall budget. The new roof should look like a natural extension of your home, not a tacked-on afterthought. This means carefully considering the architectural style of your house and choosing a roof design that complements it.
Selecting the Right Roof Style
There are several common roof styles to consider for a porch. A gable roof, with its classic triangular peak, is a popular choice that matches the roofline of many traditional homes. A shed roof, which is a single, sloping plane, is a simpler design that works well for homes with lower rooflines or potential obstructions like second-story windows.
A hip roof, which slopes down on all sides, is more complex to frame but offers a very polished and integrated look. When choosing, you must also consider the roof’s pitch, or slope. It needs to be steep enough to shed rain and snow effectively, but not so steep that it blocks upstairs windows or looks out of proportion with the main house.
Determining Size and Scale
The size and scale of your new porch roof must be in harmony with your home’s facade. A roof that is too large or massive can overwhelm the entrance and make the house look top-heavy. Conversely, a roof that is too small and narrow will look awkward and offer very little functional protection from the elements. A good rule of thumb is to have the roof extend at least one to two feet beyond the edges of the porch slab on all sides. Use stakes and string, or even cardboard mockups, to help you visualize the final scale before you commit to a design.
Navigating Building Codes and Permits
This is not a cosmetic upgrade; it is a structural addition to your home. As such, you must follow all local building codes and obtain the necessary permits. Skipping this critical step can lead to significant fines, a stop-work order, or even being forced to tear down your project. More importantly, it can result in an unsafe structure and create major problems if you ever decide to sell your property.
Checking Zoning and Setbacks
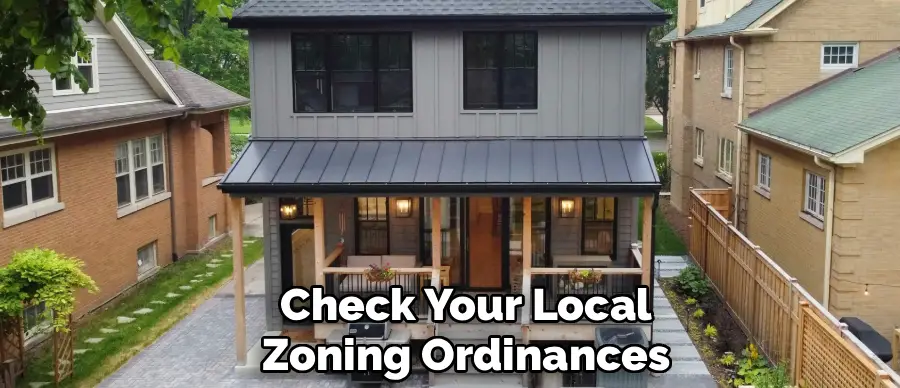
Before finalizing your design, you must check your local zoning ordinances, specifically the “setback requirements.” These rules dictate the minimum distance that a permanent structure must be from your property lines. Adding a roof to a porch that is already close to the front or side property line might violate these setbacks. A quick call or visit to your local planning and zoning department can provide you with this crucial information.
The Permitting Process
To obtain a building permit for a porch roof, you will typically need to submit a detailed set of plans to your local building department. These plans usually need to show the dimensions of the porch, the framing details (lumber sizes, spacing), the foundation plan for the support posts, and how the new roof will be attached to the existing house. You may also need to provide calculations for local snow and wind loads. The permitting process ensures that your plan is safe and compliant with all legal requirements.
Structural Integrity: Columns and Footings
A porch roof is incredibly heavy, and all that weight, plus the added load of snow or wind, must be transferred safely to the ground. This requires a solid foundation. It is a dangerous mistake to assume that an existing concrete porch slab is strong enough to support the roof columns. Most simple slabs are not designed to handle the concentrated “point load” from a post.
Assessing Existing Foundations
A standard porch slab is often only four inches thick and lacks the reinforced concrete footings necessary to support a roof structure. Placing a support post directly on such a slab will almost certainly cause the concrete to crack and fail under the immense weight. If your porch was built with a roof in mind, it may have integrated footings, but you must verify this. If there are no existing footings under the spots where your new posts will go, you absolutely must install new ones.
Installing New Frost Footings
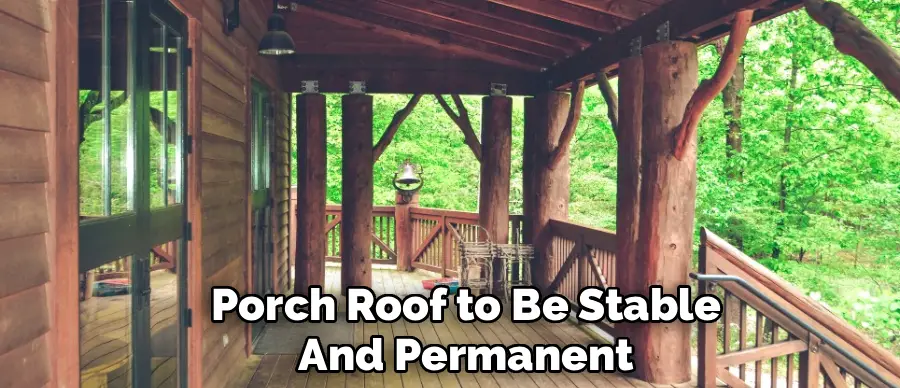
For a porch roof to be stable and permanent, its support posts must rest on concrete footings that extend below the local frost line. The frost line is the depth to which the ground freezes in winter. Placing footings below this depth prevents “frost heave”—a phenomenon where freezing and thawing soil can lift and shift the footing, and consequently, the entire roof structure. This movement can damage the roof and, more critically, tear the connection point away from your house. You will need to dig holes, typically 8-12 inches in diameter, down to the required depth, place a cardboard form tube, and fill it with concrete to create new, solid footings.
Essential Tools and Materials
Building a porch roof is a serious construction project that requires heavy-duty materials and a specific set of tools. Having everything you need on hand will ensure the project proceeds smoothly and safely.
Framing Lumber and Hardware
You will be working with standard framing lumber. All lumber that is exposed to the elements or in contact with concrete, such as the support posts, must be pressure-treated to resist rot and insects. The beams and rafters will typically be standard dimensional lumber. You will also need a variety of specialized metal hardware, such as post bases to connect the posts to the footings, joist hangers, and hurricane ties to securely connect the rafters, ensuring a strong frame that can withstand high winds.
Safety and Specialized Tools
Safety gear is non-negotiable. You will need safety glasses, work gloves, and sturdy boots. Given the working height, a stable set of scaffolding is often safer and more convenient than relying solely on tall ladders. For roof work, a safety harness is a wise investment. Your tool list will include a circular saw for cutting lumber, a powerful drill for fastening, a reciprocating saw for any demolition, and ideally, a framing nailer to speed up the assembly process.
Step-by-Step Guide: How to Add a Front Porch Roof to Existing House
This guide details the construction of a porch roof, focusing on the critical steps of connecting it to your house and building a sound structure. Precision and adherence to your approved plans are paramount throughout this process.
Step 1: Install the Ledger Board
The ledger board is the horizontal framing member that attaches the new roof directly to the existing house. This connection is the most critical structural point of the entire project. First, you must carefully remove the exterior siding in the area where the ledger will be installed to expose the house’s structural framing—typically the rim joist or wall studs. The ledger board, usually a 2×8 or 2×10, is then bolted securely to this framing using heavy-duty lag screws or specialized structural screws. Proper waterproofing here is essential. You must install metal flashing that tucks up behind the house wrap and drapes over the top of the ledger board to prevent any water from getting behind it and causing rot.
Step 2: Set the Posts and Beam
With the new footings cured, you can install the main support posts. Attach metal post bases to the concrete footings using anchor bolts. Then, place your pressure-treated posts into the bases, ensuring they are perfectly plumb (vertically level) using a long level. Brace them temporarily to hold them in position. Once the posts are set, you will install the main horizontal beam, or header, that spans across the top of the posts. This beam will carry the weight of the outer ends of the rafters. Secure the beam to the posts using the appropriate metal connectors.

Step 3: Cut and Install Rafters
The rafters are the angled framing members that form the slope of your roof. They will span from the ledger board on the house to the new beam supported by your posts. Calculating and cutting rafters requires precision. Each rafter will need a “birdsmouth” cut, which is a small notch that allows it to sit flush and securely on top of the beam. The rafters are typically spaced 16 or 24 inches apart on center, as specified in your plans. They are attached to the ledger board with joist hangers and to the beam with hurricane ties to resist wind uplift.
Step 4: Install Roof Sheathing
Once the entire rafter skeleton is in place, you will cover it with roof sheathing. This is typically 1/2-inch or 5/8-inch thick plywood or oriented strand board (OSB). The sheathing creates the solid roof deck that your final roofing material will be attached to. Nail the sheathing to the rafters according to the nailing schedule required by your local code, ensuring a strong, rigid roof structure.
Step 5: Waterproofing and Roofing
With the sheathing installed, the next step is to make it waterproof. Start by installing a metal drip edge along all the roof eaves. Then, cover the entire roof deck with a layer of roofing underlayment, often called ice and water shield or tar paper. This provides a secondary barrier against water intrusion. Finally, you can install your final roof covering, such as asphalt shingles or metal roofing, making sure to choose a color and style that matches your existing house roof for a seamless look.
Step 6: Tie into the Existing Roof (If Applicable)
In some designs, particularly gable roofs, the new porch roof will intersect with the existing house roof, creating a “valley.” This is the most complex part of the roofing process. It involves carefully removing the shingles on the existing roof in the area of the intersection, weaving the new roof sheathing and underlayment into the old, and then installing a continuous metal valley flashing to channel the high volume of water safely off the roof. This step must be done perfectly to prevent leaks.
Flashing and Water Management
Water intrusion is the number one enemy of any roof addition. The point where the new roof meets the existing house is the most vulnerable area, and proper flashing is the only way to ensure a permanent, leak-proof seal.
Ledger Flashing Techniques
As mentioned in the installation of the ledger board, proper flashing is critical. A continuous piece of metal “Z-flashing” should be installed so that it tucks behind the siding and house wrap above the ledger, comes out and over the top of the ledger board, and then hangs down slightly. This creates a multi-layered barrier that ensures any water running down the wall of the house is directed out and away from the vulnerable wooden framing.
Valley Flashing
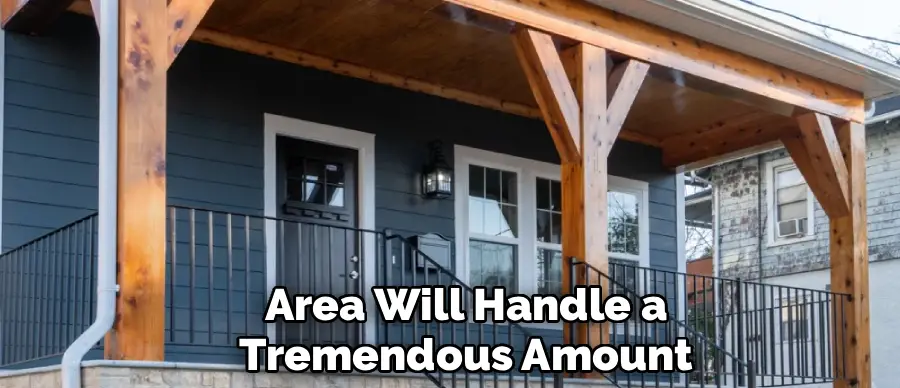
If your roof design creates a valley, this area will handle a tremendous amount of water during a rainstorm. This requires a dedicated valley flashing, typically a wide “W”-shaped piece of galvanized steel or aluminum that runs the entire length of the valley. It is installed on top of the underlayment, but before the final shingles. The shingles are then cut and installed alongside the flashing, but never nailed through it, allowing water to flow freely down the channel.
Finishing the Ceiling and Electrical
With the roof structure built and waterproofed, you can turn your attention to the finishing touches that will make your new porch a comfortable and functional living space.
Soffit and Fascia Installation
To give your porch roof a clean, finished look, you will need to install fascia and soffit. The fascia is the board that covers the ends of the rafters, and the soffit is the material that covers the underside of the roof overhang. These elements not only provide a polished appearance but also help to keep birds and insects out of the roof structure. If you are creating an enclosed roof structure, vented soffit panels are needed to allow for proper attic ventilation.
Wiring for Lights and Fans
Before you enclose the ceiling with a finished material like beadboard or tongue-and-groove pine, you should run any necessary electrical wiring. This is the time to install wiring for overhead lights and, most popularly, a ceiling fan. Ensure you use an electrical box that is specifically rated to support the weight and motion of a ceiling fan. Running the wires while the framing is still exposed is far easier than trying to fish them through a finished ceiling later.
Common Mistakes to Avoid
This advanced DIY project has several potential pitfalls. Being aware of these common mistakes can save you from costly and dangerous errors.
Improper Pitch
One of the most frequent mistakes is building a roof with too low a slope, or “pitch.” Standard asphalt shingles are not designed for low-slope roofs (typically anything less than a 3:12 pitch, meaning 3 inches of vertical rise for every 12 inches of horizontal run) and will inevitably leak. If your design requires a low-slope roof, you must use a roofing material specifically designed for it, such as rolled roofing or a standing seam metal roof.
Ignoring Load Paths
Remember that every single pound of weight from your new roof—including the lumber, shingles, and snow—must have a direct and uninterrupted structural path to the ground. This “load path” runs from the rafters to the beams, down the posts, and into the footings. Avoid the temptation to rest posts on hollow decking, unreinforced patio slabs, or any other element not designed to carry a massive, concentrated load.
Conclusion
Adding a covered roof to your front porch is a complex but immensely rewarding project that can transform the look and feel of your entire home. It significantly boosts curb appeal, property value, and, most importantly, your enjoyment of your outdoor space. Successfully learning how to add a front porch roof to existing house structures is a masterclass in residential construction, involving careful planning, precise framing, meticulous waterproofing, and strict adherence to safety standards.
While it is an advanced project, the result is a beautiful and durable addition that will welcome you home for decades. Given the structural implications, always remember to work from approved plans and never hesitate to consult a structural engineer or a professional carpenter if you have any doubts about your home’s ability to carry the new load.
About
Outdoor Fixes is a distinguished figure in the world of Diy design, with a decade of expertise creating innovative and sustainable Diy solutions.
His professional focus lies in merging traditional craftsmanship with modern manufacturing techniques,
fostering designs that are both practical and environmentally conscious. As the author of diy,
outdoorfixes delves into the art and science of outdoorfixes-making, inspiring artisans and industry professionals alike.
Education RMIT University
(Melbourne, Australia) Associate Degree in Design (Outdoor Fixes) Focus on sustainable design, industry-driven projects,
and practical craftsmanship. Gained hands-on experience with traditional and digital manufacturing tools, such as CAD and CNC software.
Nottingham Trent University
(United Kingdom) Bachelor’s in outdoorfixes.com and Product Design (Honors) Specialized in product design with a focus on blending creativity with production
techniques. Participated in industry projects, working with companies like John Lewis and Vitsoe to gain real-world insights.
Publications and Impact
In diy, Outdoor Fixes his insights on indoor design processes, materials, and strategies for efficient production.
His writing bridges the gap between artisan knowledge and modern industry needs, making it a must-read for both budding designers and seasoned professionals.