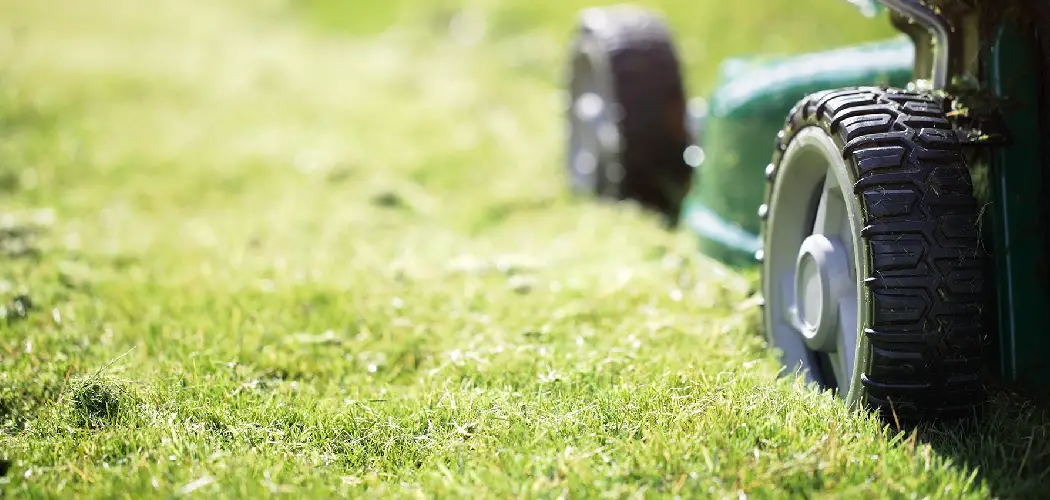
Dealing with a flat or worn-out lawn mower tire can bring your yard work to a sudden halt. While your first instinct might be to call a professional, learning to perform basic maintenance yourself can be incredibly rewarding.
One of the most common tasks is changing a tire, which involves a crucial step: breaking the bead. This is the seal between the tire and the wheel’s rim. It’s often tight and can seem intimidating, but with the right approach, it’s a manageable task for any DIY enthusiast. Understanding how to do this yourself not only saves you time and money but also empowers you with valuable skills for maintaining your equipment.
Let’s dive into how to break the bead on a lawn mower tire.

What Will You Need?
Before you begin, gathering the right tools will make the process much smoother and safer. Here’s a list of what you’ll need:
- Safety Gear: Gloves and safety glasses are essential to protect your hands and eyes.
- Wrench or Socket Set: To remove the wheel from the lawn mower axle.
- Valve Core Removal Tool: A small, inexpensive tool for deflating the tire completely.
- Pry Bars or Tire Irons: You’ll need at least two of these to help separate the tire from the rim.
- C-Clamps or a Bench Vise: These are used to apply pressure to the tire and break the bead.
- Lubricant: Soapy water or a specialized bead lubricant will reduce friction.
- Rubber Mallet: For gentle persuasion without damaging the wheel.
- Blocks of Wood: To protect the rim and provide a stable base.
- Bead Breaker Tool (Optional): While not required, a dedicated bead breaker makes the job much easier.
10 Easy Steps on How to Break the Bead on a Lawn Mower Tire
Follow these detailed steps to successfully break the bead on your lawn mower tire. Patience is key, especially if it’s your first time.
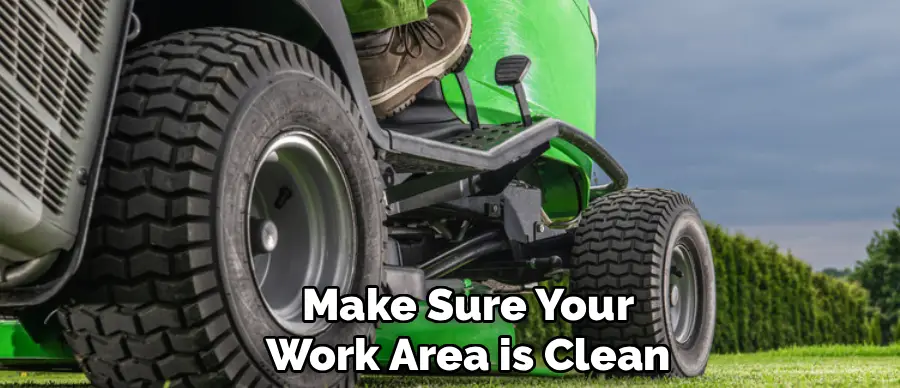
Step 1: Prepare Your Workspace and the Mower
Before you even touch the tire, make sure your work area is clean, flat, and well-lit. A garage floor or a level driveway is ideal. Safety is your priority, so ensure the lawn mower is turned off and the key is removed from the ignition to prevent any accidental starts. For added security, disconnect the spark plug wire. This is a simple but critical step that guarantees the engine cannot turn over while you are working.
If you are working on a riding mower, engage the parking brake. For a push mower, block the other wheels to prevent it from rolling. A stable mower is a safe mower. Having your tools organized and within reach will also streamline the process, preventing you from having to stop and search for something mid-task.
Step 2: Remove the Wheel from the Mower
With the mower secured, you can now focus on removing the wheel. Locate the lug nuts or the single cotter pin and cap that hold the wheel onto the axle. The retaining method can vary depending on your mower’s model. For lug nuts, use the appropriate socket or wrench to loosen them. It’s often helpful to loosen them slightly while the tire is still on the ground to get better leverage.
If your mower has a dust cap over a central nut, carefully pry it off with a flathead screwdriver. Underneath, you may find a cotter pin, a castle nut, or a C-clip. Straighten the cotter pin with pliers and pull it out, then remove the nut and any washers. Once the fasteners are off, the wheel should slide off the axle. It might be a little stuck due to rust or dirt, so a gentle wiggle or a light tap with a rubber mallet on the backside of the tire can help free it.
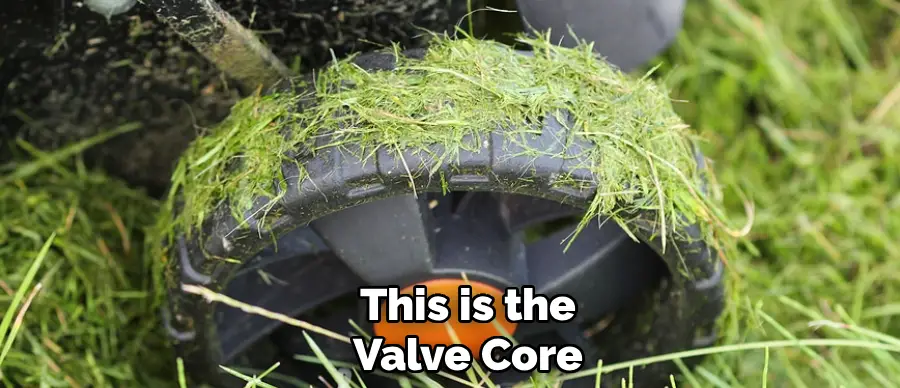
Step 3: Completely Deflate the Tire
The tire bead is held against the rim by air pressure, so you must release all the air before you can break it. Locate the air valve stem on the wheel. Unscrew the small plastic or metal cap. Inside the valve stem, you will see a tiny pin. This is the valve core. Using a valve core removal tool, insert it into the stem, engage the pin, and turn it counter-clockwise to unscrew it.
You will hear air hissing out rapidly. Be sure to keep the valve core in a safe place, as it’s very small and easy to lose. Allow the tire to deflate completely. You can press down on the tire tread to help force out any remaining air. The tire should feel soft and completely pliable. Attempting to break the bead on a partially inflated tire is not only difficult but also dangerous.
Step 4: Apply Lubricant to the Bead Area
This step is crucial for reducing friction and making the bead-breaking process significantly easier. Prepare a lubricant solution by mixing dish soap with water in a spray bottle or a small bucket. You don’t need a precise ratio; a good squirt of soap in a few cups of water works well. Alternatively, you can use a commercial tire lubricant.
Liberally apply the soapy water around the entire circumference of the tire on both sides, focusing on the area where the rubber of the tire meets the metal rim. This is the bead line. Don’t be shy with the lubricant; the more you use, the better. The soap will help the rubber slide away from the rim when you apply pressure, preventing it from sticking and potentially tearing. Let the lubricant sit for a minute or two to penetrate the gap.
Step 5: Position the Tire for Bead Breaking
How you position the tire depends on the method you plan to use. If you’re using C-clamps or a vise, lay the tire flat on a workbench or the ground. Place a small block of wood on the tire’s sidewall, right next to the rim. This wood block will distribute the pressure from the clamp and protect the tire’s rubber.
Place another, larger block of wood underneath the wheel to protect the rim from getting scratched or bent by the clamp or the work surface. The goal is to create a stable setup where you can apply focused, downward pressure directly onto the bead without damaging any part of the wheel assembly. Proper positioning ensures that the force you apply is effective and directed exactly where it needs to be.
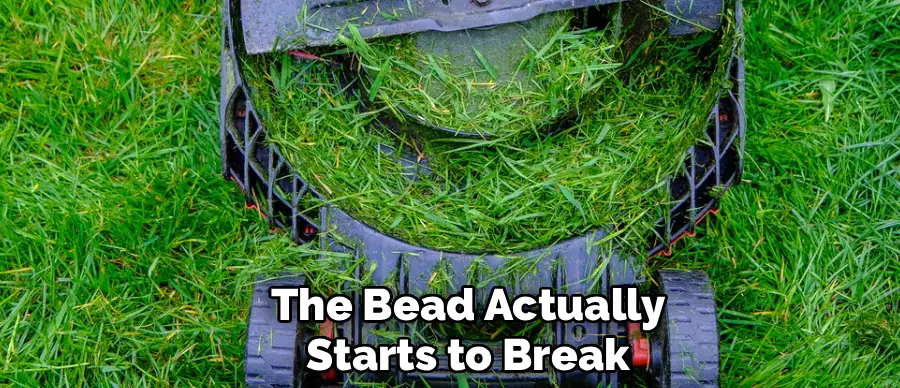
Step 6: Apply Gradual Pressure with C-Clamps or a Vise
This is where the bead actually starts to break. If using C-clamps, position one over the block of wood on the tire’s sidewall and the other end under the wheel itself (or the block of wood you placed there). Begin to slowly tighten the clamp. You will see the tire’s sidewall start to deform and press inward. Listen for a pop or hiss, which indicates the bead has broken free from the rim.
If it doesn’t break, tighten the clamp a little more. Patience is key here; don’t force it too quickly. If you are using a bench vise, you can place the wheel in the vise so that the jaws press on the wood block and the edge of the rim. Slowly tighten the vise to apply pressure. If the bead is particularly stubborn, you might need to reposition the clamp and try again in a different spot, about a quarter-turn around the tire.
Step 7: Work Your Way Around the Tire
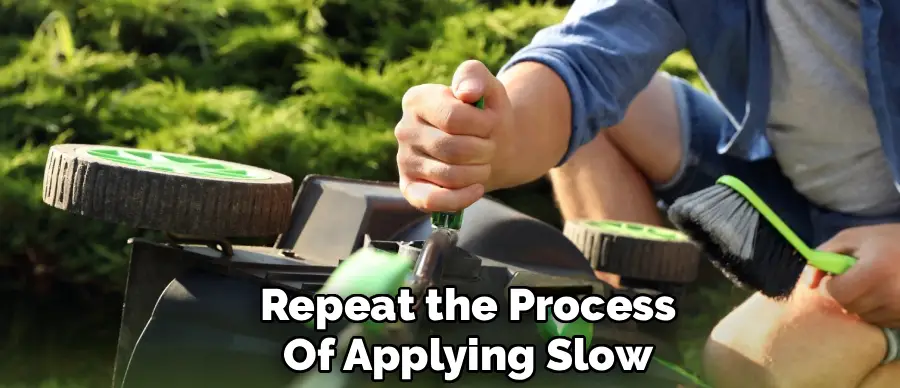
Once you have broken the bead in one spot, the rest of the process becomes easier, but it’s not finished yet. The bead is likely still sealed in other areas. Release the pressure from your clamp or vise and rotate the tire about a quarter of the way around. Reapply your lubricant to the new section if needed.
Position your wood block and clamp again, and repeat the process of applying slow, steady pressure until that section of the bead breaks free. Continue this process, moving around the circumference of the tire, until the entire bead on one side is loose and separated from the rim. You should be able to easily push the sidewall down with your hand all the way around.
Step 8: Flip the Tire and Repeat on the Other Side
With one side completely free, it’s time to tackle the other. Flip the wheel over. The process is identical. Lay the wheel flat, apply your soapy water lubricant all around the bead line, and position your blocks of wood. Use your C-clamp or vise to apply gradual pressure to the sidewall, working your way around the tire just as you did before.
Often, the second side is a little easier than the first because the tire has more room to flex. Continue applying pressure in sections until you hear that satisfying pop and the entire second bead is free from the rim. At this point, the tire should be completely loose on the wheel, held on only by the shape of the rim itself.
Step 9: Use Pry Bars to Remove the Tire from the Rim
Now that both beads are broken, you can remove the tire. Insert the curved end of a tire iron or a sturdy pry bar between the tire bead and the lip of the rim. Be careful not to pinch the inner tube if your tire has one, or scratch the rim itself. Use the edge of the rim as a fulcrum and pry a small section of the tire bead up and over the rim’s edge.
Hold that section in place with your knee or one hand. Take your second tire iron and insert it a few inches away from the first one. Pry the next section of the bead over the rim. Continue this leapfrogging motion, working your way around the tire until the entire top bead is off the rim. Then, you can often pull the rest of the tire off the wheel by hand.
Step 10: Clean and Inspect the Rim
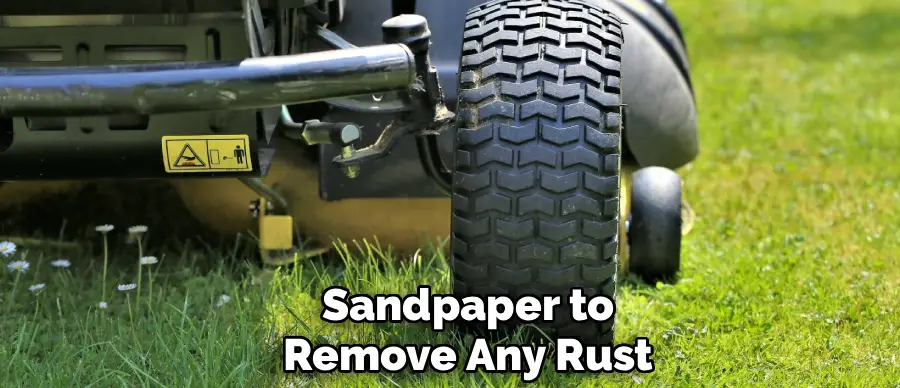
With the old tire removed, take this opportunity to clean and inspect the wheel rim. Use a wire brush or sandpaper to remove any rust, dirt, or old rubber residue from the bead seating area. A clean surface is essential for creating a proper seal with the new tire and preventing future leaks.
Check the rim for any bends, dents, or cracks that could have caused your tire issue in the first place. Pay special attention to the valve stem hole; ensure it is clean and not damaged. If you find significant damage to the rim, it may need to be repaired or replaced. A clean, smooth rim will make installing the new tire much easier and ensure a long-lasting, airtight seal.
Conclusion
How to break the bead on a lawn mower tire might seem like a difficult task, but it is well within the reach of a determined DIYer.
By following these steps, using the right tools, and prioritizing safety, you can confidently handle this essential piece of equipment maintenance. The benefits of saving money, avoiding the hassle of a repair shop, and gaining a deeper understanding of your mower are well worth the effort. So the next time you face a flat, don’t hesitate.
Gather your tools, roll up your sleeves, and take pride in keeping your own equipment running smoothly.
About
Outdoor Fixes is a distinguished figure in the world of Diy design, with a decade of expertise creating innovative and sustainable Diy solutions.
His professional focus lies in merging traditional craftsmanship with modern manufacturing techniques,
fostering designs that are both practical and environmentally conscious. As the author of diy,
outdoorfixes delves into the art and science of outdoorfixes-making, inspiring artisans and industry professionals alike.
Education RMIT University
(Melbourne, Australia) Associate Degree in Design (Outdoor Fixes) Focus on sustainable design, industry-driven projects,
and practical craftsmanship. Gained hands-on experience with traditional and digital manufacturing tools, such as CAD and CNC software.
Nottingham Trent University
(United Kingdom) Bachelor’s in outdoorfixes.com and Product Design (Honors) Specialized in product design with a focus on blending creativity with production
techniques. Participated in industry projects, working with companies like John Lewis and Vitsoe to gain real-world insights.
Publications and Impact
In diy, Outdoor Fixes his insights on indoor design processes, materials, and strategies for efficient production.
His writing bridges the gap between artisan knowledge and modern industry needs, making it a must-read for both budding designers and seasoned professionals.