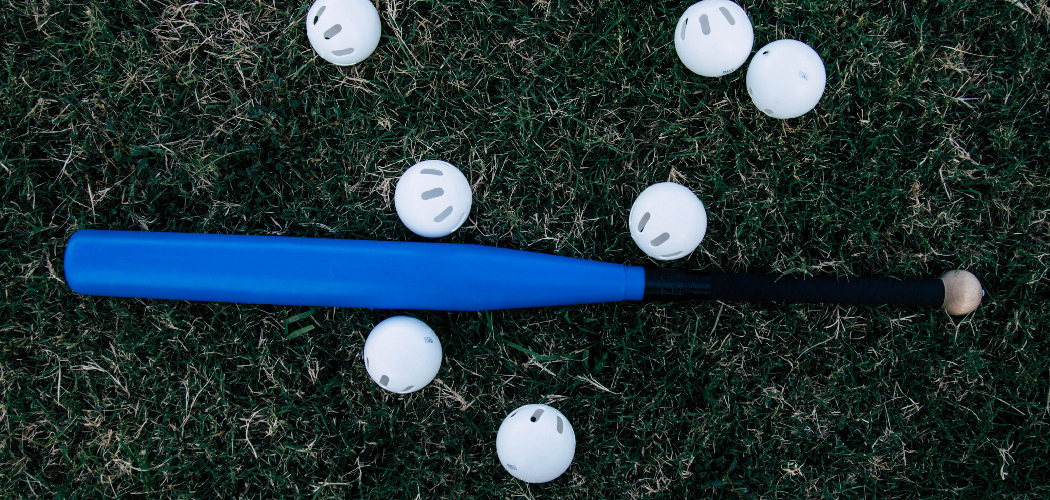
Corks are a great way to increase the weight of bats and give you more power when hitting balls. This method is used by many professional players, and it can be done at home with just a few basic tools.
It’s important to note that corking should only be done if your bat is legal for sanctioned play; otherwise, you could be banned from playing in tournament or league games.
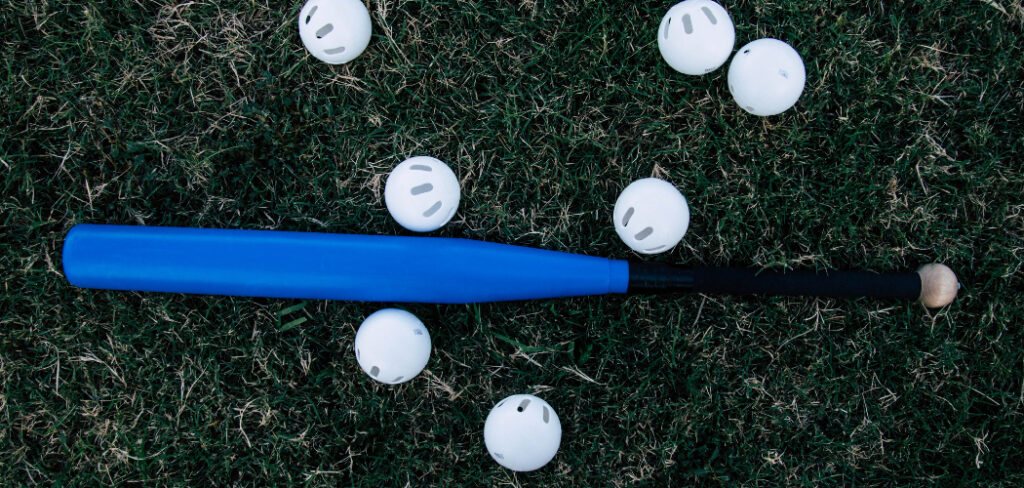
Corking a wiffle ball bat offers several advantages, including increased power and control over the ball. When corked, the bat is slightly heavier and will require more energy to swing. This added weight increases your ability to hit with greater force, allowing for farther hits.
The added weight also makes it easier to maintain control of the bat throughout your swing, providing more accuracy and precision when hitting. You can find step-by-step instructions on how to cork a wiffle ball bat in this blog article.
Tools You Will Need
- Wiffle Ball Bat
- Cork
- Hammer
- Screwdriver
- Glue Gun
- Drill
- Sandpaper
- Tape Measure
- Safety Goggles
- Masking Tape
Once you have all of the tools and materials ready, it’s time to get started! Begin by removing any screws from the handle of the bat. Then, use the sandpaper to make sure that any rough patches or areas on the bat are smooth and even.
Step by Step Processes for How to Cork a Wiffle Ball Bat
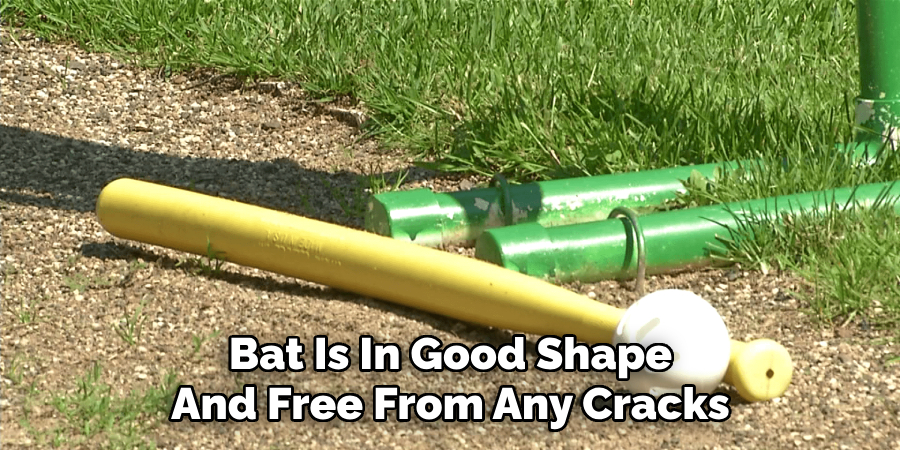
Step 1: Inspect Your Wiffle Ball Bat
Make sure that your Wiffle Ball bat is in good shape and free from any cracks or damage. You want to make sure that the corking process does not compromise the integrity of your bat.
Use a mild soap and warm water to clean the entire surface area of your Wiffle Ball bat. This will ensure that no dirt or grime will interfere with the corking process.
Step 2: Prepare Cork
Measure and cut a piece of cork slightly larger than the circumference of your Wiffle Ball bat. You want to make sure that there is enough cork material to cover the entire surface area of the bat. Use an orbital sander to sand the cork piece until it resembles a perfectly smooth surface. This will ensure that your bat will have an even and consistent look when the cork is applied.
Step 3: Apply Glue
Apply a thin layer of glue onto the bat’s surface area as well as onto one side of the pre-cut cork piece. Allow both surfaces to dry for a few minutes before proceeding. Once the glue is dried, carefully attach the cork piece onto the bat’s surface area. Make sure that it is tightly pressed against the bat and that there are no air pockets or gaps in between.
Step 4: Secure Cork Piece
Use a rubber mallet to securely press the cork piece onto the bat’s surface area. This will ensure that the cork is firmly attached and won’t come loose. Use a utility knife or scissors to trim away any excess cork material that may be extending beyond the circumference of your Wiffle Ball bat.
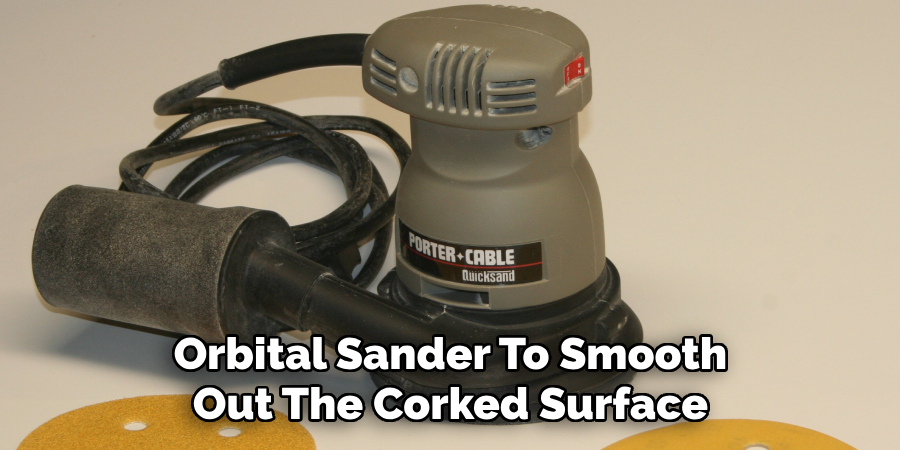
Step 5: Sand Corked Bat Surface
Use an orbital sander to smooth out the corked surface area of your Wiffle Ball bat. This will make sure that you have a uniform and consistent look when the cork is applied. Once the sanding process is complete, use a clear sealant to protect the cork surface from dirt and moisture. Allow your Wiffle Ball bat to dry completely before using it in a game.
Corking your Wiffle Ball bat can be an effective way to increase power and accuracy when hitting a ball. By following these steps, you should have an evenly corked bat that will perform optimally in your next game.
Safety Tips for How to Cork a Wiffle Ball Bat
- Wear protective glasses while corking a Wiffle Ball bat to avoid any eye injuries from flying shrapnel.
- Make sure to use the right type of drill bit for the job– a masonry drill bit is best suited for this task as ordinary drill bits will quickly become dull and ineffective on cork.
- When drilling, always start at a low speed and gradually increase as necessary.
- Make sure to keep hands away from corking area while the drill is in motion to avoid possible injuries.
- Wear protective gloves when handling sharp or hot objects– this will help protect your hands from any burns or cuts that may occur during the corking process.
- Use a proper corking tool when necessary– this will help speed up the process and ensure you don’t over-cork the Wiffle Ball bat.
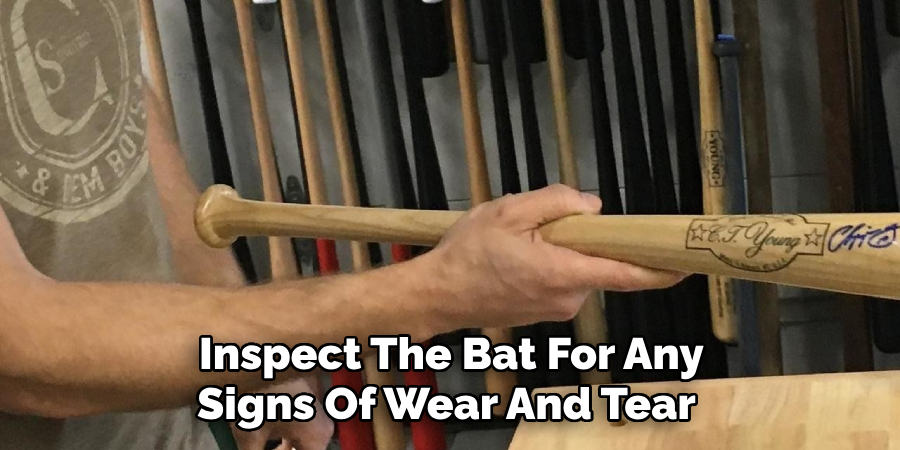
- After corking, always inspect the bat for any signs of wear and tear before using it for play– if any damage is observed, replace the bat immediately.
Finally, be sure to follow all safety instructions provided by the manufacturer when corking a Wiffle Ball bat and always use appropriate protective gear such as gloves, glasses and masks when necessary.
What Risks Are Associated With Corking a Wiffle Ball Bat
Corking a Wiffle Ball bat may come with certain risks. As with any alteration to a batting tool, the player must be aware of possible consequences. The most obvious risk is that if the bat isn’t corked correctly, it could potentially break and cause harm to those nearby.
It’s also important to remember that modifying a bat can alter its weight and balance, which can reduce a player’s ability to hit with the same accuracy.
Additionally, in some leagues corking a bat may be considered illegal or against certain regulations; players should consult their local league prior to attempting any modifications.
Although there are risks associated with corking a Wiffle Ball bat, it is still possible to do so safely and effectively. The key is to make sure that the bat is corked correctly and with care – following the instructions provided in this article can help ensure that the process goes smoothly and without incident.
With a little bit of knowledge and patience, players can modify their bats to optimize their hitting performance while minimizing the potential risk.
What Are Some Common Mistakes That People Make When Corking a Wiffle Ball Bat
When corking a Wiffle Ball bat, there are a few common mistakes that people make. First of all, it is important to remove any debris from the bat before starting to cork it.
Failing to do this can result in air pockets or other defects in the corked area. Another mistake people often make when corking a Wiffle Ball bat is using too much cork. If the cork is not spread evenly and in the right amount, it can cause an uneven surface on the bat or make it difficult to control the ball when hitting with it.
Lastly, people tend to forget to wait for the glue to fully dry before playing with their newly corked bat. This can cause the cork to come loose and make it difficult to use.
It is important to take your time when corking a Wiffle Ball bat in order to avoid making these common mistakes. Make sure that all debris has been removed from the bat before starting, spread the cork evenly across the surface, and wait for the glue to fully dry before playing with it.
Is There Any Advice You Can Give Me for Corking a Wiffle Ball Bat
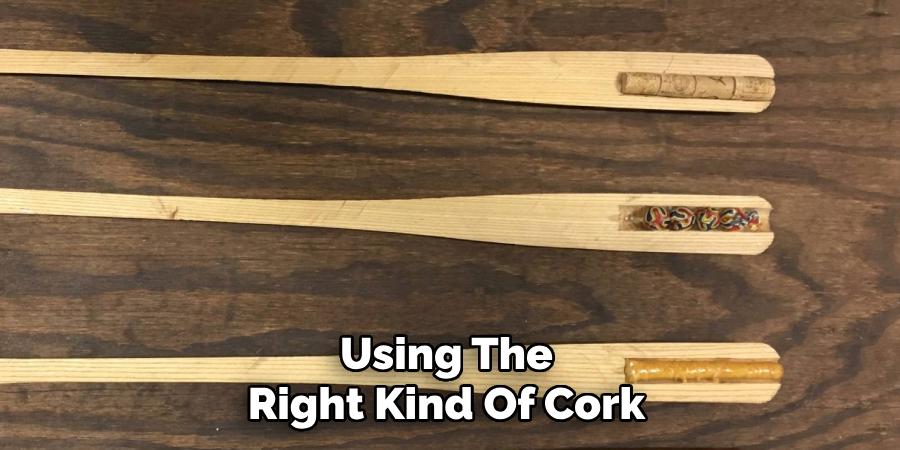
Yes. There are some important pieces of advice to keep in mind when corking a Wiffle ball bat. First, make sure that you use a real cork, not any other type of material. Other materials will not work as well and may even cause damage to the bat.
Second, make sure that the area on the bat that you’re corking is sanded and prepped beforehand. This will ensure that the cork sticks to the bat properly. Third, apply the cork in a circular motion, from one end of the bat to the other, making sure that it’s completely covered. Finally, make sure you use super glue or another adhesive to make sure that the cork stays in place.
What is the Most Important Thing to Keep in Mind When Corking a Wiffle Ball Bat
When corking a Wiffle ball bat, the most important thing to keep in mind is to be sure that you are using the right kind of cork. Some bats come with pre-drilled holes for inserting cork, while others do not. Be sure to make sure you have the correct size and shape of cork to make sure it fits properly.
Additionally, be sure that you are not drilling too deep as this can potentially damage the bat and weaken it over time. Finally, apply a small amount of wood glue to each cork plug before inserting it into the hole on the Wiffle ball bat for added security. This will help seal in the cork and prevent it from popping out during use.
Conclusion
Corking a Wiffle Ball bat is not without its risks. One of the most common disadvantages associated with corking a bat is the possibility for reduced power and performance. If the user applies too much pressure when corking, it can cause stress fractures in the handle, resulting in decreased strength and durability.
In conclusion, corking a wiffle ball bat is not the most difficult task in the world, but it does require proper technique and practice. It helps to understand why and how corking works before attempting the procedure. All of the steps outlined above should be followed precisely if you want to have success with your wiffle ball bat corking.
Be sure to use quality parts and wear protective eyewear as well. I hope reading this post has helped you learn how to cork a wiffle ball bat. Make sure the safety precautions are carried out in the order listed.
About
Outdoor Fixes is a distinguished figure in the world of Diy design, with a decade of expertise creating innovative and sustainable Diy solutions.
His professional focus lies in merging traditional craftsmanship with modern manufacturing techniques,
fostering designs that are both practical and environmentally conscious. As the author of diy,
outdoorfixes delves into the art and science of outdoorfixes-making, inspiring artisans and industry professionals alike.
Education RMIT University
(Melbourne, Australia) Associate Degree in Design (Outdoor Fixes) Focus on sustainable design, industry-driven projects,
and practical craftsmanship. Gained hands-on experience with traditional and digital manufacturing tools, such as CAD and CNC software.
Nottingham Trent University
(United Kingdom) Bachelor’s in outdoorfixes.com and Product Design (Honors) Specialized in product design with a focus on blending creativity with production
techniques. Participated in industry projects, working with companies like John Lewis and Vitsoe to gain real-world insights.
Publications and Impact
In diy, Outdoor Fixes his insights on indoor design processes, materials, and strategies for efficient production.
His writing bridges the gap between artisan knowledge and modern industry needs, making it a must-read for both budding designers and seasoned professionals.