Installing a gas pool heater is one of the most effective ways to extend your swimming season and enjoy warm, comfortable water regardless of the outside temperature. These powerful units heat up your pool quickly, allowing you to take a dip early in the morning or late at night without shivering.
While the process requires careful planning and attention to safety, having a reliable heating system transforms your backyard into a year-round oasis for relaxation and fun. Whether you are replacing an old unit or adding a new one, understanding the installation basics is crucial for maximizing efficiency and ensuring safety. In this guide on how to install a gas pool heater, we will walk you through the steps necessary to get your pool ready for those chilly nights and cooler months.

Tools and Materials You May Need
- Gas pool heater unit
- Appropriate fuel source (natural gas or propane)
- Pool water testing kit
- PVC pipes and fittings
- Pipe glue and primer
- Tape measure
- Wrenches and screwdrivers
- Hacksaw or pipe cutter
8 Step-by-step Guidelines on How to Install a Gas Pool Heater:
Step 1: Selecting the Right Location and Preparing the Base
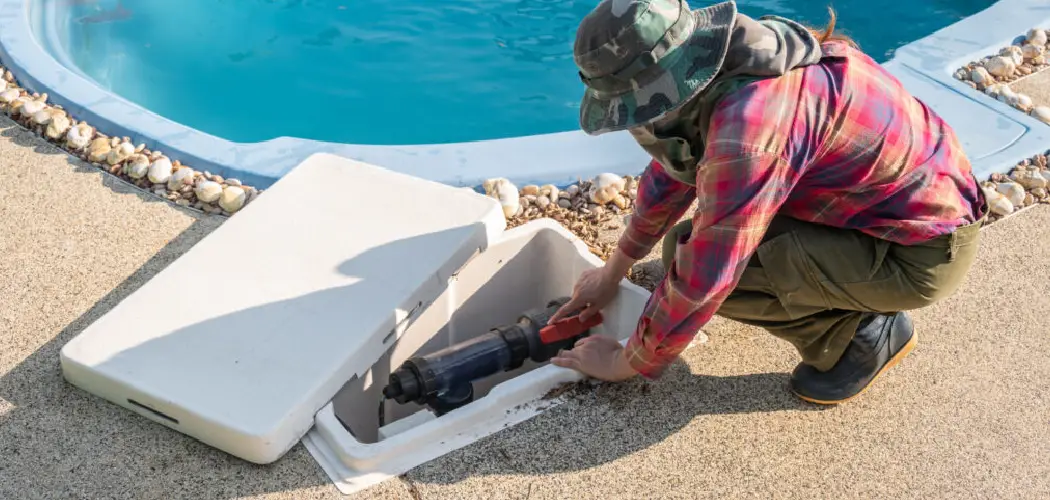
The very first step in this process involves carefully selecting the optimal location for your new gas pool heater, as placement dictates both safety and efficiency. You need to choose a spot that is outdoors or well-ventilated, strictly adhering to the manufacturer’s clearance requirements regarding windows, doors, and property lines. The heater must be placed downstream from the filter to ensure that only clean water passes through the heating element, which prevents clogging and damage. Furthermore, you must ensure there is ample space around the unit for future maintenance access and proper airflow, which is critical for gas combustion.
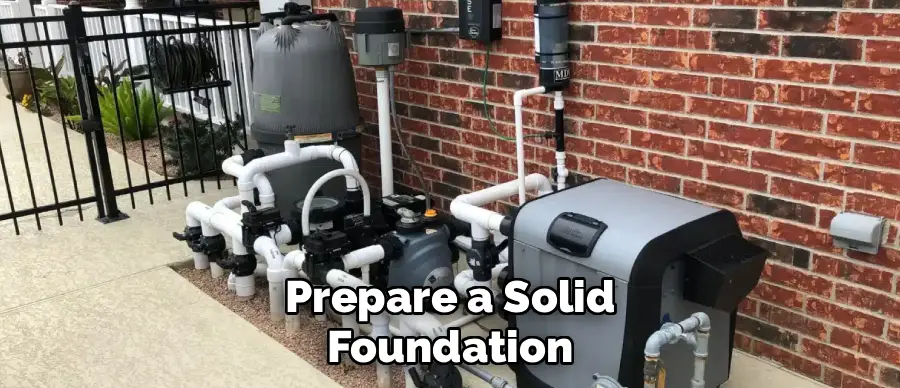
Once the spot is chosen, you must prepare a solid foundation, typically a concrete pad or a level surface made of fire-proof pavers. This base needs to be perfectly level to ensure the internal components of the heater function correctly and to prevent stress on the plumbing connections. If the heater is not level, condensation can collect in the wrong areas, leading to corrosion or premature failure of the heat exchanger. Take your time with a spirit level to ensure the pad is flat and stable before placing the heavy unit onto it.
Step 2: Plumbing the Heater into the Pool System
Connecting the heater to your pool’s circulation system requires precise cutting and gluing of PVC pipes to divert water from the filter into the heater and then back to the pool. You will need to cut into the return line—the pipe carrying filtered water back to the pool—and divert it toward the heater’s inlet. It is vital to dry-fit all your connections first to ensure the layout is clean and the angles are correct before applying any glue. Most professionals recommend installing a bypass valve assembly, which allows you to take the heater offline for maintenance without shutting down the entire pool pump system.
An essential component in this step is the installation of a check valve between the heater outlet and any chlorinator or chemical feeder. If you skip this, highly concentrated chlorinated water can backflow into the heater when the pump turns off, which will rapidly corrode the copper heat exchanger inside the unit. Ensure that the water flows in the direction indicated by the arrows on the heater’s manifold; reversing the inlet and outlet is a common mistake that will prevent the heater from operating. Use high-quality PVC primer and cement to secure all joints, holding them firmly for several seconds to prevent push-out.
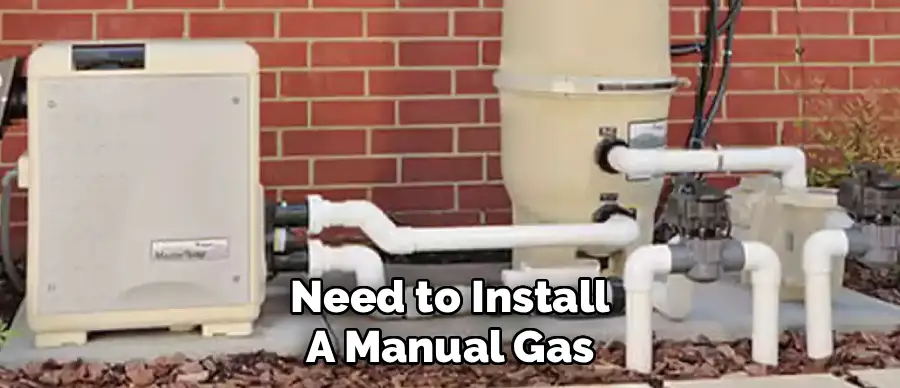
Step 3: Connecting the Gas Supply Line
This is the most dangerous and critical part of the installation, involving the connection of a gas line from your meter or propane tank directly to the heater unit. You must use the correct pipe size specified in the manual, as an undersized pipe will starve the heater of fuel, causing it to soot up or fail to ignite completely. Typically, black iron or galvanized steel pipe is used, and every threaded connection must be sealed with pipe dope or gas-rated Teflon tape to prevent leaks. The gas line should include a sediment trap (or drip leg) right before the heater to catch any debris or moisture in the gas supply.
Before making the final connection to the heater’s gas valve, you need to install a manual gas shut-off valve outside the heater jacket for emergency access. It is imperative to check local codes regarding the depth at which gas pipes must be buried if running underground, and whether you need a specific type of plastic gas pipe for subterranean runs. Once the physical connections are made, you must pressure test the line before turning the gas on. This usually involves pumping air into the line and watching a gauge to ensure it holds pressure, confirming there are no leaks in your new piping system.
Step 4: Electrical Wiring and Bonding
Even though it is a gas heater, modern units require electricity to power the digital display, control board, and ignition system, necessitating careful electrical work. You will need to run a conduit from your pool’s sub-panel or a nearby power source to the heater, pulling the appropriate gauge wire through. Most heaters can run on either 120V or 240V, so you must configure the internal transformer or wiring block inside the heater to match the voltage you are supplying. Failing to match the voltage correctly will instantly destroy the transformer and control board upon power-up.
In addition to the power supply, you must bond the heater to the pool’s equipotential bonding grid. This involves connecting a bare copper wire (usually 8 AWG) from the bonding lug on the outside of the heater casing to the continuous bonding loop that connects your pump, filter, and pool shell. This is a critical safety step that prevents stray voltage from shocking swimmers. Ensure the bonding wire is securely tightened and makes good contact with the metal lug. Never skip this step, as it is a fundamental requirement of the National Electrical Code for pool safety.
Step 5: Installing Ventilation (Indoor or Shed Installations Only)
If you are installing the heater inside a pool shed, garage, or enclosure, proper venting is absolutely mandatory to prevent carbon monoxide poisoning and ensure efficient combustion. You must install the specific venting kit designed by the heater manufacturer, which usually involves galvanized or stainless steel vent pipes directing exhaust gases outside. The vent must rise vertically or with a specific upward slope to ensure natural draft carries the hot gases away. Never use a standard dryer vent or PVC (unless the heater is a high-efficiency condensing model designed for it) for exhaust.
You must also ensure there is adequate make-up air entering the enclosure so the heater doesn’t starve for oxygen. Gas heaters consume massive amounts of air; if the room is sealed too tightly, the flame will become unstable and produce dangerous levels of soot and carbon monoxide. You will likely need to install permanent air intake vents near the floor and ceiling of the enclosure to facilitate air circulation. Always double-check local building codes regarding the distance the vent cap must be from windows, doors, and overhangs to prevent exhaust from being drawn back into the building.
Step 6: Pressure Testing and Leak Detection
Before you even think about firing up the heater, you must perform a rigorous leak detection test on both the plumbing and the gas lines to ensure total system integrity. For the gas line, turn on the gas supply at the meter and use a mixture of dish soap and water (or a specialized leak detector fluid) on every single threaded joint and connection. If you see bubbles forming, you have a leak that must be tightened or redone immediately. Do not proceed until you are 100% certain the gas line is sealed tight.
For the water plumbing, turn on the pool pump and let water circulate through the heater. Inspect the PVC joints, the union connections on the heater manifold, and the drain plug for any drips or sprays. A water leak at this stage is less dangerous than a gas leak, but can still undermine the foundation or damage the heater’s electronics over time. If you spot a leak at the threaded PVC unions, hand-tighten them further; do not use a wrench on plastic unions as they can crack. Once both systems are verified leak-free, you are ready to move to the startup phase.

Step 7: Initial Startup and Configuration
With all connections secure and safety checks complete, you can now proceed to the initial startup sequence to bring your new heater to life. First, ensure the pool pump is running and there is a steady flow of water through the heater; never turn on the heater without water flow, as it will melt the internal components. Open the gas valve and turn on the electrical breaker. On the heater’s control panel, set the temperature to a setting higher than the current water temperature to call for heat. You should hear the blower fan engage (on forced draft models), followed by the igniter clicking or glowing.
Observe the heater closely during this first ignition. You should hear a smooth “whoosh” as the burners light. If the heater sputters, bangs, or fails to light, turn it off immediately and check your gas supply pressure. Once lit, check the exhaust temperature; it should be hot but not melting the vent. Most modern heaters have a digital menu where you can configure settings like maximum temperature lockouts or remote control compatibility. Take this time to familiarize yourself with the error codes and operation modes detailed in the user manual.
Step 8: Final Safety Checks and Cleanup
The installation is not technically finished until you have performed a final walkthrough and cleaned up the job site to professional standards. Re-check the bonding wire, ensure the gas shut-off valve is accessible, and verify that no flammable materials (like leaves, paper, or chemicals) are stored near the heater. If you installed a new gas line, ensure the trench is properly backfilled and the ground is settled. Secure any loose electrical wires or conduit with straps to prevent movement.
Finally, run the heater for at least 15 to 20 minutes to ensure it maintains a stable flame and the water temperature exiting the return jet feels warmer than the pool water. Check the gas meter to ensure it is registering flow. Once you are satisfied with the operation, apply the weather cover (if you have one) only after the unit has cooled down completely. Keep the installation manual in a safe place, as it contains the warranty information and the specific error codes you might need in the future. Now, you are ready to enjoy a warm pool.
Following these steps on how to install a gas pool heater will ensure that your unit is functioning properly and efficiently. However, it is also important to regularly maintain and check on your gas pool heater to prolong its lifespan and avoid any potential issues.
Troubleshooting and Maintenance
Regular maintenance involves checking the burner tray for debris, inspecting the heat exchanger for soot buildup, and keeping the area around the heater clear of leaves.
Common troubleshooting issues often relate to low water flow, which prevents the pressure switch from engaging, so always clean your filter first if the heater won’t fire. Additionally, inspect wiring for rodent damage annually to ensure reliable operation.
Compliance and Regulations
Adhering to local building codes and regulations is not optional; it is a legal and safety requirement that protects your home and family. Most municipalities require a permit for installing gas appliances, which necessitates an inspection upon completion to verify that gas lines, electrical bonding, and venting meet the current safety standards.
Ignoring these regulations can void your homeowner’s insurance policy in the event of a fire or accident. Furthermore, manufacturers often void warranties if the installation does not strictly follow local codes and their specific installation manuals.

Do You Need to Use Professionals?
While a handy homeowner can tackle parts of the installation, hiring a professional is strongly recommended for the gas and electrical connections due to the high risks involved. A licensed gas fitter ensures the fuel line is sized correctly and leak-free, while an electrician guarantees the unit is bonded and grounded to prevent electrocution hazards.
Professionals also understand the nuances of venting and clearances that an amateur might overlook. Ultimately, the cost of a professional is a small price to pay for the peace of mind that your family is safe.
How Much Will It Cost?
The total cost of installing a gas pool heater varies significantly based on the unit’s size, the complexity of the gas run, and labor rates in your area. You can expect to pay anywhere from $1,500 to $4,500 for the heater unit itself, with installation labor and materials adding another $500 to $2,500.
If you need to run a new gas line over a long distance or upgrade your electrical panel, these costs will increase. Long-term costs include monthly gas bills, which can range from $200 to $600 depending on usage, and annual maintenance service fees.
Frequently Asked Questions
Q1: How Long Does Installation Take?
A1: The installation timeframe typically depends on the complexity of the job and whether utilities are already in place. If you are simply swapping out an old unit for a new one of the same model, a professional can often finish the job in 3 to 5 hours. However, if you are installing a heater for the first time, requiring new gas lines to be trenched and new electrical conduit to be run, the process can take 1 to 2 days.
Q2: Can I Install It Myself?
A2: While you can physically place the heater and do the PVC plumbing yourself, it is highly discouraged to perform the gas and electrical connections unless you are licensed. Mistakes with gas lines can lead to explosions or carbon monoxide leaks, and improper electrical bonding can cause dangerous shocks. Many manufacturers explicitly state that the warranty is void if the unit is not installed by a qualified professional.
Q3: How Long Will The Heater Last?
A3: A well-maintained gas pool heater typically lasts between 7 and 12 years, though this can vary based on usage and water chemistry. The number one killer of pool heaters is improper water chemistry, specifically low pH, which corrodes the copper heat exchanger from the inside out. Regular maintenance, proper winterization, and balanced water chemistry are the keys to extending the lifespan of your unit beyond a decade.
Q4: Which Is Cheaper: Natural Gas Or Propane?
A4: Generally, natural gas is significantly cheaper to operate than liquid propane, as it is piped directly to your home and has a lower cost per BTU. However, natural gas heaters require a connection to a municipal supply, which isn’t available everywhere. Propane is a viable alternative for remote locations but requires a large on-site tank and regular refills, making the monthly operating costs higher for the same amount of heat.
Conclusion
When choosing between natural gas and propane, it’s essential to consider your specific needs, location, and budget. While natural gas may offer lower operating costs and convenience in urban areas, propane provides flexibility and independence in remote locations.
Carefully weighing the availability, installation costs, and long-term expenses will help you make an informed decision that suits your household or business requirements. Both options are efficient energy sources, and selecting the right one ensures comfort and cost-effectiveness in the years to come. Thanks for reading this guide on how to install a gas pool heater.
About
Outdoor Fixes is a distinguished figure in the world of Diy design, with a decade of expertise creating innovative and sustainable Diy solutions.
His professional focus lies in merging traditional craftsmanship with modern manufacturing techniques,
fostering designs that are both practical and environmentally conscious. As the author of diy,
outdoorfixes delves into the art and science of outdoorfixes-making, inspiring artisans and industry professionals alike.
Education RMIT University
(Melbourne, Australia) Associate Degree in Design (Outdoor Fixes) Focus on sustainable design, industry-driven projects,
and practical craftsmanship. Gained hands-on experience with traditional and digital manufacturing tools, such as CAD and CNC software.
Nottingham Trent University
(United Kingdom) Bachelor’s in outdoorfixes.com and Product Design (Honors) Specialized in product design with a focus on blending creativity with production
techniques. Participated in industry projects, working with companies like John Lewis and Vitsoe to gain real-world insights.
Publications and Impact
In diy, Outdoor Fixes his insights on indoor design processes, materials, and strategies for efficient production.
His writing bridges the gap between artisan knowledge and modern industry needs, making it a must-read for both budding designers and seasoned professionals.