
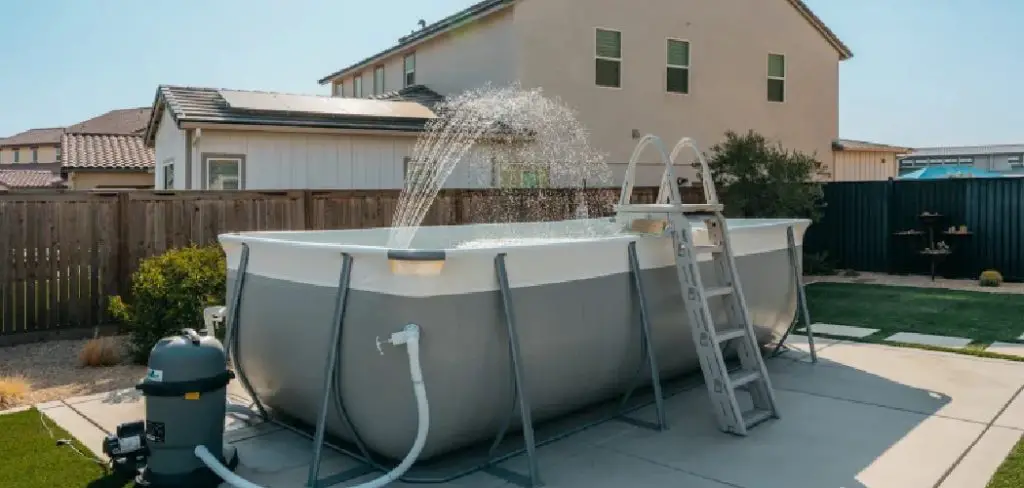
Opening your above-ground pool signals the start of summer fun, transforming your backyard into a refreshing oasis for friends and family. However, peeling back that winter cover requires careful preparation to ensure the water is clean, safe, and ready for swimmers. Rushing this process can lead to cloudy water or equipment damage, so taking the time to do it right is essential for a stress-free season.
Properly opening your pool involves removing debris, balancing chemicals, and checking your equipment thoroughly before the first dive. By following a structured approach on how to open my above ground pool, you protect your investment and extend the life of your liner and pump system significantly. With the right tools and a bit of patience, you will have sparkling, clear water waiting for you when the temperatures finally rise.
Tools and Materials You May Need
Before you begin the process of opening your pool, gather the following supplies to ensure a smooth workflow:
- Pool Cover Pump: To remove accumulated water from the top of your winter cover.
- Soft Broom or Skimmer Net: For clearing leaves and debris off the cover.
- Start-Up Chemical Kit: Usually includes shock, algaecide, and clarifier.
- Test Strips or Liquid Test Kit: To measure pH, alkalinity, and chlorine levels.
- Pool Brush and Vacuum Head: To scrub walls and clean the pool floor.
- Telescoping Pole: For attaching your brush and vacuum.
- Garden Hose: To refill the water level.
- Lubricant (Silicone or Teflon): For O-rings and gaskets.
- Filter Media: Sand, DE powder, or a new cartridge, depending on your system.
- Safety Goggles and Gloves: For handling chemicals safely.
8 Simple Step-by-step Guidelines on How to Open My Above Ground Pool
Step 1: Clean and Remove the Winter Cover Carefully
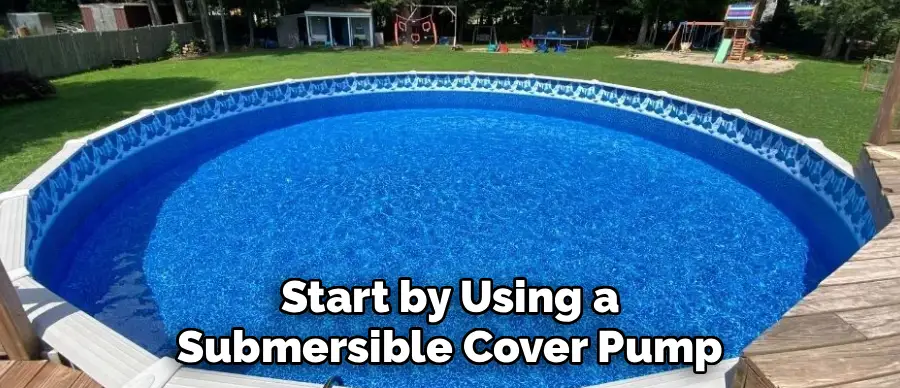
The first major task involves clearing off the winter cover without allowing the dirty, stagnant water on top to spill into your clean pool water underneath. Over the winter months, your cover has likely accumulated a significant amount of rain, melted snow, and decaying leaves that form a sludge you definitely do not want mixing with your pool water. Start by using a submersible cover pump to drain all the standing water from the top of the cover, positioning it in the lowest spot to catch as much liquid as possible. While the pump is working, you can use a soft broom or a leaf net to gently scoop away heavy piles of wet leaves, being extremely careful not to use anything sharp that could puncture the material. This process requires patience because rushing can cause the heavy cover to slip into the pool, defeating the purpose of covering it in the first place.
Once the cover is as dry and clean as possible, ask a friend or family member to help you peel it off slowly, folding it in an accordion style as you go to contain any remaining debris. Never drag the cover across the grass or concrete immediately, as this can cause tears or snagging on rough surfaces. Take the cover to a driveway or a large flat area where you can spread it out completely for a thorough cleaning with water and a mild detergent. You must let it dry completely before folding it for storage; otherwise, mold and mildew will grow in the folds during the summer, ruining the material. Store it in a heavy-duty bin with a tight lid to keep mice and insects from nesting in it, ensuring it is ready for use when the swimming season ends.
Step 2: Remove Winter Plugs and Reinstall Accessories
Now that the pool is uncovered, you need to go around the perimeter and remove all the winterizing equipment that protected your pool from freezing temperatures. This includes the expansion plugs in the return lines, the skimmer guard (or Gizzmo), and any ice compensator pillows that were floating in the middle of the water. As you remove these plugs, you will see water start to flow back into the lines, which is a good sign that your plumbing is clear. Keep a bucket or a specific storage box nearby to collect all these winterizing parts immediately. Losing a plug or a skimmer plate screw is incredibly frustrating when you try to close the pool in the fall, so organization right now is key. Inspect the skimmer basket and the return jets for any cracks or damage that might have occurred during the cold season, replacing anything that looks brittle or broken before moving on.
After the winter gear is out, it is time to reinstall the fun and functional accessories that make your pool usable, such as ladders, stairs, handrails, and diving boards. Inspect every bolt and tread on your ladder carefully, as plastic steps can crack over time and metal bolts can rust, posing a serious safety hazard to swimmers. If you removed your skimmer basket or return eyeballs for the winter, screw them back into place now, ensuring they are snug but not overtightened. You should also check the weir gate—the little flapper door inside the skimmer—to make sure it moves freely, as this is crucial for proper surface skimming. Reconnecting these components correctly ensures that water circulates properly once you turn on the filtration system, setting the stage for effective chemical treatment.
Step 3: Fill the Pool to the Correct Water Level
During the winter, the water level in your above-ground pool likely dropped due to displacement from the ice compensator or slow evaporation, or you may have intentionally drained it below the skimmer line to prevent freezing damage. Before you can even think about turning on your filter system, you must bring the water level back up to its optimal operating height, which is typically halfway up the skimmer opening. Grab your garden hose and drop it into the pool, allowing it to run until the water reaches the midpoint of the skimmer faceplate. If the water level is too low, your pump will suck in air instead of water, which can cause the motor to overheat, run dry, and eventually burn out, leading to expensive repairs.
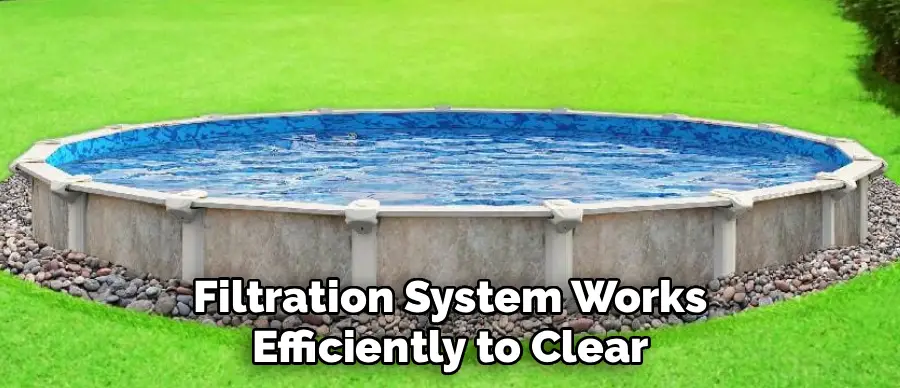
While the pool is filling, which can take several hours depending on your water pressure and how much water was lost, take this time to walk around the exterior of the pool and check the structural integrity. Look for any signs of rust on the walls, bulging in the liner, or shifting of the upright posts that support the frame. Once the water reaches the proper level, the weight of the water will push against the walls, so ensuring the frame is secure is vital for safety. Do not attempt to start the pump until the water is sufficiently high; patience here is critical. Once the skimmer is half-submerged, the system is primed to pull water effectively, ensuring that your filtration system works efficiently to clear up any cloudiness.
Step 4: Set Up and Inspect the Filter and Pump System
Reconnecting your filter and pump system is perhaps the most technical part of opening your above-ground pool, requiring attention to detail to prevent leaks. Bring your pump and filter unit out of storage and position them on their pad, checking all the hoses and connections for flexibility and integrity. Over time, plastic hoses can become brittle and crack, while O-rings can dry out and flatten, leading to frustrating drips and loss of suction. Generously apply a silicone-based lubricant (never petroleum jelly, which eats rubber) to all O-rings on the pump lid, filter tank, and hose adapters to ensure a watertight seal. Connect the hoses from the skimmer to the pump, and from the pump to the filter, and finally from the filter back to the return jet, tightening the clamps securely with a screwdriver.
If you have a sand filter, check if the sand needs changing—usually every 3 to 5 years—or if it just needs a good backwash; if you use a cartridge filter, ensure you have a clean element installed. Open the pump lid, fill the pot with water to prime it, and then secure the lid tightly before flipping the power switch. Watch the system closely for the first few minutes, listening for strange noises and checking for leaks at every connection point. If the pump struggles to catch prime, turn it off, add more water to the pot, and check for air leaks in the suction line. Once water is flowing steadily through the system and the pressure gauge reads normal, you know your mechanical systems are ready to tackle the water chemistry.
Step 5: Clean the Pool Surfaces Thoroughly
Even with a cover on, fine silt, dust, and algae spores often find their way into the water, settling on the bottom and clinging to the walls of the liner. Now that your filtration system is running, you need to physically dislodge this debris so the filter can capture it and the chemicals can work more effectively. Attach your pool brush to the telescoping pole and give the entire pool a vigorous scrubbing, paying special attention to the waterline, behind the ladder, and around the skimmer faceplate where algae loves to hide. Brushing disturbs the algae layer, making it easier for chlorine to kill it later, and lifts fine dust into suspension so the filter can remove it.
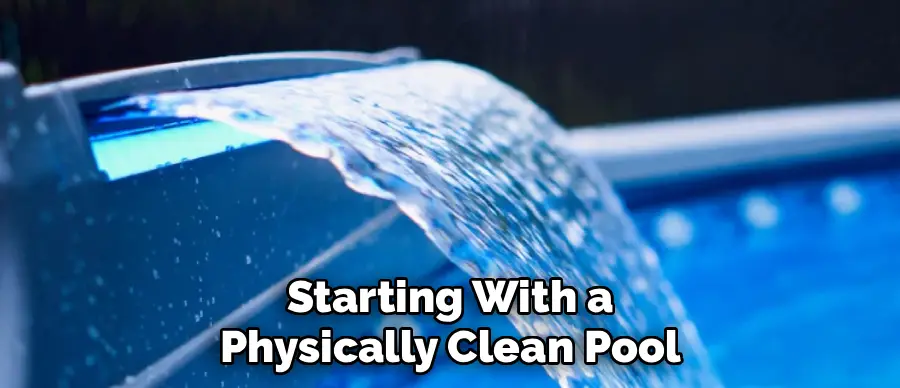
After scrubbing, hook up your vacuum head and hose to the skimmer to remove the settled debris from the pool floor. If there is a significant amount of heavy waste, such as piles of leaves or thick sludge, bypass the filter and vacuum directly to “waste” if your multi-port valve allows it. This prevents your filter from clogging up immediately and saves you from having to clean the cartridge or backwash the sand multiple times in one hour. Move the vacuum slowly across the bottom to avoid stirring up the dirt before you can suck it up. This step might be time-consuming, but starting with a physically clean pool allows your chemicals to focus on sanitizing the water rather than fighting organic debris.
Step 6: Test and Balance the Water Chemistry
With the water circulating and the debris removed, it is time to address the invisible but crucial aspect of pool care: water chemistry. Using a reliable liquid test kit or high-quality test strips, measure the current levels of alkalinity, pH, and calcium hardness in that order. It is essential to adjust Total Alkalinity first, aiming for a range of 80 to 120 ppm, because alkalinity acts as a buffer for your pH; if it is off, your pH readings will fluctuate wildly and be impossible to stabilize. Add the necessary alkalinity increaser or decreaser according to the package directions, and let the water circulate for a few hours before testing again.
Once the alkalinity is stable, move on to adjusting the pH, aiming for a sweet spot between 7.4 and 7.6, which is comfortable for human skin and eyes and allows chlorine to work efficiently. If the pH is too low, the water is acidic and can corrode your equipment; if it is too high, chlorine becomes inactive and scale can form on the liner. Finally, check the calcium hardness (aim for 175-225 ppm for vinyl liners) to prevent the water from becoming aggressive and sucking plasticizers out of your liner, causing it to wrinkle. Balancing the water is not a guessing game; precise measurements and gradual adjustments prevent cloudy water and ensure that the shock treatment in the next step is fully effective.
Step 7: Shock the Pool to Eliminate Contaminants
After a long winter of stagnation, your pool water is likely teeming with bacteria, chloramines, and potential algae spores that need to be obliterated before swimming is safe. This requires “shocking” the pool, which means adding a high dose of chlorine or non-chlorine oxidizer to raise the free chlorine level drastically and break down organic waste. For an opening shock, it is best to double the normal maintenance dose, dissolving the granular shock in a bucket of water before pouring it around the perimeter of the pool to avoid bleaching the liner. Do this step in the evening or at night, as the sun’s UV rays can burn off unstabilized chlorine very quickly, reducing the effectiveness of the treatment.
Allow the pump and filter to run continuously for 24 hours after adding the shock to ensure it is distributed evenly throughout the entire body of water. During this time, the water might turn a cloudy blue or gray color as the shock kills off algae and bacteria—this is normal and indicates the chemicals are working. Avoid swimming during this period, as the chlorine levels will be dangerously high and can irritate skin and bleach swimwear. If the water remains green or cloudy after 24 hours, you may need to add a second dose of shock or use a flocculant to clump fine particles together. The goal is to reach a point where your free chlorine level holds steady and the water begins to sparkle.
Step 8: Add Algaecide and Clarifier for Long-Term Health
The final step in the opening process acts as an insurance policy against future problems, ensuring your water stays crystal clear as the weather warms up. Once your chlorine levels have dropped back down to a safe range (usually below 5 ppm), add a dose of preventative algaecide to the water. This chemical works in tandem with chlorine to kill microscopic algae spores and prevent blooms from taking hold, which is especially important as the summer sun intensifies. Pour the algaecide around the edges of the pool, following the manufacturer’s dosage instructions based on your pool’s gallon capacity.
In addition to algaecide, adding a water clarifier or enzyme product can help polish the water by coagulating tiny particles that are too small for the filter to catch on its own. These particles clump together into larger sizes that get trapped in the filter media, giving your water that professional, polished look. Keep the pump running continuously for another 24 hours after adding these final chemicals to ensure thorough mixing. Afterward, backwash your filter or clean the cartridge one last time to remove the debris captured during the chemical cleanup. With these final touches, your pool is chemically balanced, sanitized, and physically clean, ready for the first cannonball of the season.
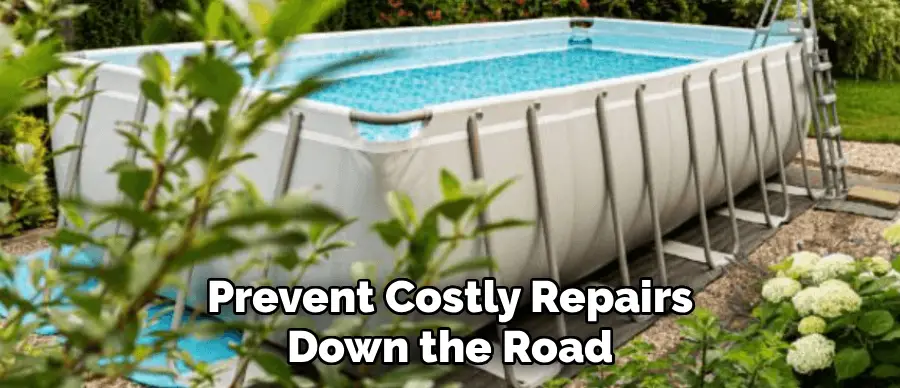
Following these steps on how to open my above ground pool in the spring will not only provide a clean and safe swimming environment, but it will also help maintain the longevity of your pool equipment. Regular maintenance and proper care can prevent costly repairs down the road.
Common Mistakes to Avoid
One of the biggest errors is removing the cover before draining the water off the top, which dumps dirty sludge into your clean pool water. Many owners also neglect to check the expiration dates on their test chemicals, leading to inaccurate readings and improper balancing.
Another frequent mistake is adding shock directly to the pool water without dissolving it first, which can bleach and damage the vinyl liner permanently. Finally, failing to run the filter 24/7 for the first few days prevents the water from clearing up properly.
Frequently Asked Questions
Q1: How Do I Remove the Pool Cover?
The best method is to use a submersible cover pump to remove all standing water from the top of the cover first. Once the water is gone, use a leaf net to scoop off any remaining wet leaves or debris. With the help of a friend, slowly peel the cover off the pool, folding it accordion-style to keep any remaining dirt contained inside the folds. Take it to a driveway to wash, dry, and store properly.
Q2: When Is the Best Time to Open My Pool?
You should aim to open your pool when the daytime temperatures consistently reach 70 degrees Fahrenheit (21 degrees Celsius). Opening early prevents algae from blooming, which happens rapidly once the water warms up under the cover. While it might be too cold to swim, getting the water circulating and chemically balanced early saves you money on chemicals and cleanup effort later in the season.
Q3: Why Is My Pool Water Cloudy After Shocking?
Cloudy water after shocking is actually a common reaction and usually indicates the chlorine is working to kill bacteria and algae. The dead organic matter turns gray or white and remains suspended in the water, causing that hazy look. To fix it, keep your filter running 24 hours a day and consider using a water clarifier to help the filter catch these fine particles more efficiently.
Q4: Do I Really Need to Brush the Pool if It Looks Clean?
Yes, brushing is absolutely necessary even if you cannot see visible dirt or algae on the walls or floor. A thin, invisible biofilm often forms on the vinyl liner during the winter, which protects algae and bacteria from your sanitizing chemicals. Scrubbing the walls breaks this film and puts the contaminants into suspension, allowing your chlorine to kill them and your filter to remove them permanently.
Conclusion
Opening your above-ground pool correctly sets the tone for the entire summer, saving you from battling cloudy water and algae blooms later on.
By gathering the right tools, patiently removing the cover, inspecting your equipment, and meticulously balancing the water chemistry, you ensure a safe and enjoyable swimming experience for you and your family.
Remember to regularly check and maintain proper chemical levels, clean and replace filters as needed, and monitor the water temperature to keep your pool in top condition.
With these steps on how to open my above ground pool, you can confidently open your above-ground pool each season, knowing that it will be ready for all the fun times ahead. Happy swimming! So, take care of your pool, because your happiness is dependent on it.
About
Outdoor Fixes is a distinguished figure in the world of Diy design, with a decade of expertise creating innovative and sustainable Diy solutions.
His professional focus lies in merging traditional craftsmanship with modern manufacturing techniques,
fostering designs that are both practical and environmentally conscious. As the author of diy,
outdoorfixes delves into the art and science of outdoorfixes-making, inspiring artisans and industry professionals alike.
Education RMIT University
(Melbourne, Australia) Associate Degree in Design (Outdoor Fixes) Focus on sustainable design, industry-driven projects,
and practical craftsmanship. Gained hands-on experience with traditional and digital manufacturing tools, such as CAD and CNC software.
Nottingham Trent University
(United Kingdom) Bachelor’s in outdoorfixes.com and Product Design (Honors) Specialized in product design with a focus on blending creativity with production
techniques. Participated in industry projects, working with companies like John Lewis and Vitsoe to gain real-world insights.
Publications and Impact
In diy, Outdoor Fixes his insights on indoor design processes, materials, and strategies for efficient production.
His writing bridges the gap between artisan knowledge and modern industry needs, making it a must-read for both budding designers and seasoned professionals.