There is a unique sense of pride that comes with maintaining a perfectly manicured lawn. The smell of fresh grass, the clean lines, and the hum of a powerful engine are the hallmarks of a productive Saturday morning.
However, that productivity can come to a screeching halt if you find yourself sitting in the driver’s seat, turning a key, and hearing absolutely nothing.
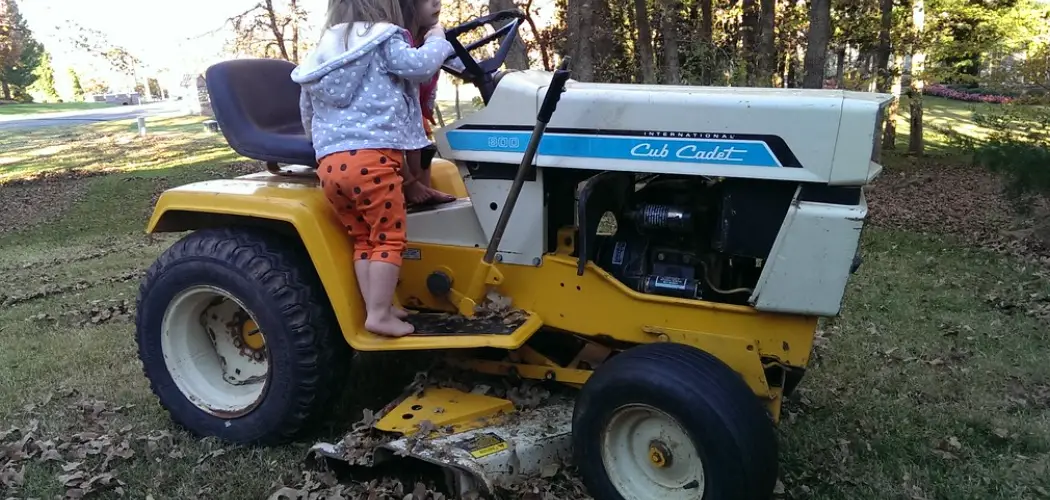
For new owners of a Cub Cadet riding mower or zero-turn, the initial operation can feel a bit like piloting a spaceship. There are levers to engage, pedals to press, and safety interlocks that must be satisfied before the engine will roar to life.
Don’t worry; you are not alone in this confusion. These machines are built with robust safety systems that require a specific sequence of actions to operate.
This comprehensive guide is designed to demystify that process entirely. We will walk you through every nuance of the startup procedure, ensuring you understand not just what to do, but why you are doing it.
By the end of this article, you will know exactly how to start cub cadet mower models of all types, transforming you from a novice operator into a confident master of your landscaping equipment.
Starting a cub cadet mower can seem like a daunting task, especially if you are new to operating this type of landscaping equipment. However, with the right knowledge and understanding of how these mowers work, you can easily become an expert in starting them.
In this comprehensive guide, we will walk you through every step of the startup process for cub cadet mowers. We will explain not just what to do, but also why you are doing it. By the end of this article, you will have a thorough understanding of how to start cub cadet mower models of all types.

Understanding the Safety Systems
Before we dive into the startup process, it is important to understand the safety systems that are in place on cub cadet mowers. These systems are designed to protect both you and the equipment while in use.
One of the key safety features of these mowers is the dead man’s switch. This is a lever or button that must be pressed or held down while starting and operating the mower. It acts as a fail-safe mechanism in case you lose control of the machine or if someone accidentally comes into contact with it.
Additionally, most cub cadet mowers come equipped with a blade control system. This allows you to engage and disengage the blades easily without having to reach under or near them.
This helps prevent accidents and injuries that can occur when trying to manually control the blades.Finally, regular maintenance and inspections are crucial for ensuring the safety of your cub cadet mower.
Step-by-Step Guide on How to Start Cub Cadet Mower
Step 1: Pre-Start Safety and Fluid Inspection
Before you even consider climbing into the operator’s seat, it is critical to perform a thorough walk-around inspection of the machine. This isn’t just a formality; it is essential for the longevity of your engine and your personal safety.
Start by lifting the hood to check the oil level using the dipstick.
The oil should be amber in color and sit comfortably between the “Full” and “Add” marks. Next, unscrew the fuel cap and visually verify that you have enough fresh, unleaded gasoline to complete your mowing task.
Stale fuel is a leading cause of starting issues, so ensure what is in the tank is less than thirty days old. While you are inspecting fluids, take a moment to look at the air intake screen on top of the engine.
Remove any grass clippings, leaves, or debris that might be blocking airflow, as this can cause the engine to overheat rapidly. Finally, check the tires for proper inflation. Starting a mower with a flat tire can damage the rim and lead to an uneven cut.
This pre-flight ritual sets the stage for a smooth, trouble-free operation every single time.
Step 2: Occupy the Operator’s Seat
Modern lawn tractors are equipped with a sensitive safety interlock system designed to prevent the machine from starting unless a human is safely positioned at the controls. You must sit firmly in the operator’s seat to engage the pressure sensor located underneath the cushion.
If you try to turn the key while standing next to the mower, the engine will likely not crank at all. Once you are seated comfortably, locate the brake pedal, which is typically found on the left side of the floorboard.
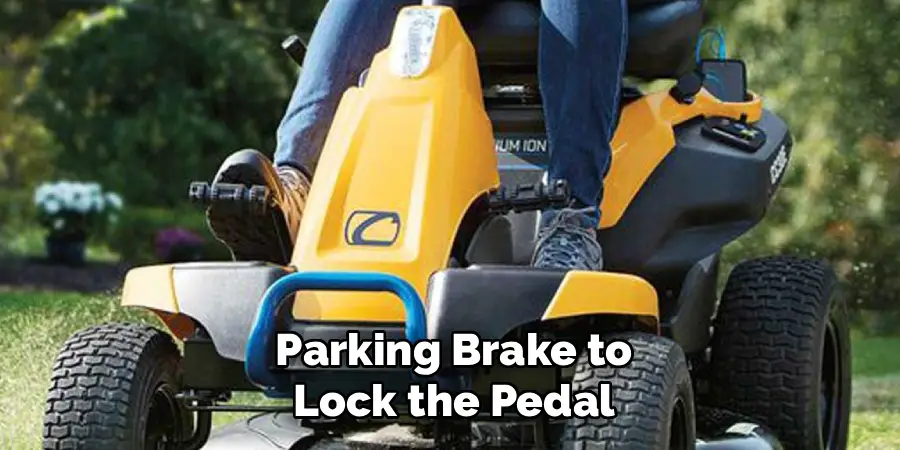
Depress this pedal fully down with your foot. While holding the brake pedal down, look for the parking brake lever or knob, usually located on the dashboard or near the steering column.
Engage the parking brake to lock the pedal in the depressed position. This is a non-negotiable step in the safety sequence. The electrical system will not send power to the starter motor unless it registers that the brake is fully engaged, preventing the mower from lurching forward unexpectedly upon ignition.
Step 3: Disengage the PTO (Power Take-Off) Blades
One of the most common reasons a perfectly functional mower refuses to start is that the blade engagement system is still active. The Power Take-Off, or PTO, is the mechanism that spins the cutting deck. Locate the PTO switch or lever, which is often a large yellow button on the dashboard or a lever on the fender to your right.
You must ensure this control is in the “OFF” or “Disengaged” position. If the PTO is engaged, the safety interlock system assumes the blades are spinning and will cut ignition power to prevent an accident.
Visually confirm that the lever is down or the knob is pushed in. It is easy to forget to disengage this after your last mowing session, especially if you shut the mower off in a hurry.
By verifying that the blades are stationary, you are satisfying another critical logic gate in the mower’s starting circuit. This step ensures that the engine doesn’t have to fight the resistance of the cutting deck while trying to turn over, allowing for a much easier start.
Step 4: Set the Throttle and Choke
Now that the safety interlocks are satisfied, you need to prepare the engine’s fuel system for ignition. Locate the throttle lever, which is usually found on the dashboard and marked with symbols of a turtle (slow) and a rabbit (fast).
Move the throttle lever up to a position roughly halfway between slow and fast, or slightly higher towards the “fast” setting. Next, identify the choke control.
On some Cub Cadet models, the choke is integrated into the throttle lever—you simply push the throttle past the “fast” detent into a dedicated “choke” position. On other models, there is a separate knob labeled with a choke symbol (a circle with a line through it). If you have a separate knob, pull it out fully.
The choke restricts airflow to the carburetor, creating a fuel-rich mixture that is essential for starting a cold engine. If the engine has been running recently and is already warm, you may not need to use the choke at all, but for a cold start, this step is absolutely vital for combustion.
Step 5: Insert the Key and Crank the Engine
With all systems go, insert your key into the ignition switch. Turn the key clockwise to the “Start” position and hold it there. You should hear the starter motor engage and the engine begin to turn over.
Do not hold the key in the “Start” position for more than five to ten seconds at a time. Cranking for longer periods can overheat the starter motor and drain your battery prematurely.
If the engine does not fire up within that ten-second window, release the key back to the “Run” position and wait roughly thirty seconds before trying again. This cool-down period is crucial for the starter’s longevity.
As you turn the key, listen for the sound of the engine catching. Once you hear the engine roar to life, immediately release the key.
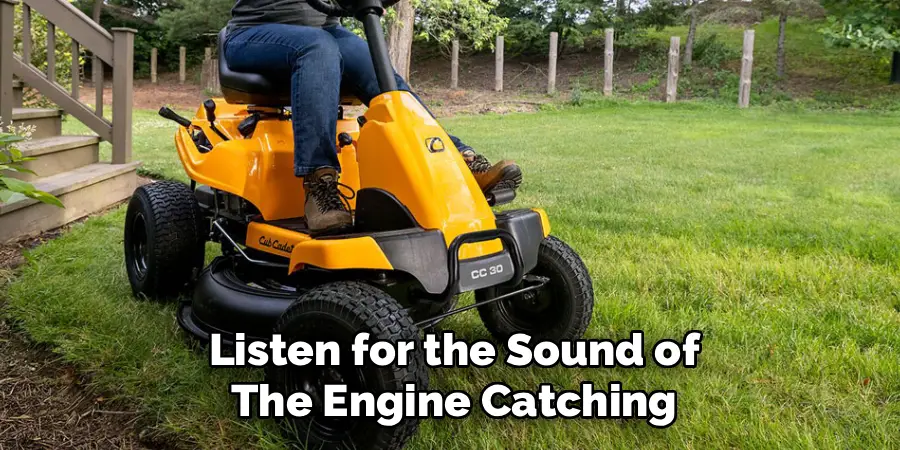
It will spring back automatically to the “Run” or “On” position. Do not force it back; let the spring mechanism do the work. If you hear a rapid clicking sound instead of the engine turning over, this usually indicates a dead battery or a loose electrical connection that needs addressing before you can proceed.
Step 6: Adjust Choke and Warm Up
The moment the engine starts, your job is not quite finished. A cold engine running on full choke will sound rough, sputtery, and produce black smoke because it is “drowning” in fuel. As soon as the engine fires, you need to gradually disengage the choke. If you have a separate choke knob, slowly push it back in.
If your choke is integrated into the throttle lever, pull the lever back slightly out of the choke position into the “Fast” idle range. Listen to the engine tone carefully during this process.
You want to find the sweet spot where the engine runs smoothly and consistently without sputtering. Allow the machine to idle for about one to two minutes before you attempt to drive or engage the blades.
This warm-up period allows the oil to circulate fully through the engine block, lubricating the pistons and valves. It also lets the metal components expand to their operating temperatures, ensuring peak performance and reducing wear and tear on the internal engine parts.
Step 7: Release the Parking Brake and Engage Blades
Once the engine is purring smoothly and has warmed up, you are ready to begin working. Place your foot firmly on the brake pedal to take the tension off the parking brake lock.
Disengage the parking brake lever or knob, then slowly release the foot pedal. The mower is now live and ready to move.
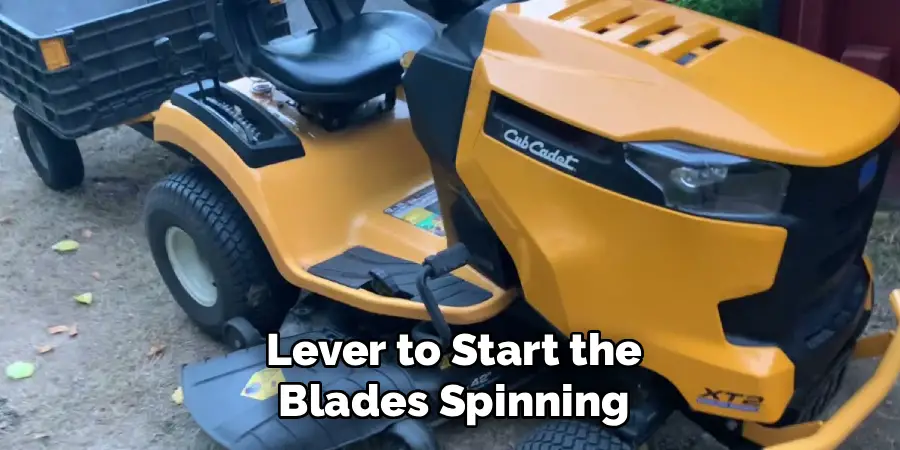
Adjust your throttle to the full “Fast” or “Rabbit” position. Cub Cadet engines are designed to operate the cutting deck at full throttle to ensure a clean cut and proper grass ejection.
With the engine at full RPM, you can now engage the PTO switch or lever to start the blades spinning. Always engage the PTO smoothly rather than jerking it, to save wear on the drive belt. You are now fully operational.
Remember that if you leave the seat at any point without setting the parking brake, the engine will automatically shut off for safety. Enjoy your mowing session, knowing you have started your machine correctly and safely.
Troubleshooting Common Issues
Even with proper operation, you may occasionally encounter issues with your lawn mower. Below are some common problems and their basic troubleshooting steps:
- Engine Won’t Start
- Check that the fuel tank has enough gasoline and that the fuel valve is open.
- Ensure the spark plug wire is securely connected. If the spark plug is dirty or damaged, clean or replace it.
- Verify that the parking brake is engaged and the PTO is disengaged, as most machines will not start otherwise.
- Uneven Cutting
- Inspect the mower deck to ensure it is level. Adjust the deck height if necessary.
- Check the blades for dullness or damage—sharpen or replace them if required.
- Make sure the tires are inflated evenly to avoid uneven cutting results.
- Loss of Power
- Clean or replace the air filter if it is clogged, as this can restrict airflow and reduce engine power.
- Check for obstructions in the fuel line or carburetor.
- Inspect the drive belt for wear or slippage, and replace it if needed.
- Excessive Vibration
- Examine the blades for bending or improper installation. Straighten or reinstall them as necessary.
- Ensure that all mounting bolts and hardware are tight, as loose components can cause vibration.
- Check for debris lodged in the mower deck or around the blades.
By addressing these common issues, you can maintain your lawn mower’s performance and ensure smooth operation. For more complex problems, always refer to the user manual or contact a professional service technician.
Frequently Asked Questions
Why Is My Cub Cadet Clicking When I Turn the Key?
A rapid clicking noise when you attempt to start the mower is the classic symptom of a battery or electrical issue. It usually means the starter solenoid is engaging, but there isn’t enough voltage to turn the starter motor itself.
- Check the Battery: The battery is likely dead or has a low charge. Try jumping it or charging it with a 12V charger.
- Inspect Connections: Loose or corroded terminals on the battery posts can prevent current flow. Clean them with a wire brush and tighten the bolts.
- Solenoid Failure: If the battery is fully charged and connections are tight, the starter solenoid itself may be defective and need replacement.
Where Is the Safety Interlock Switch Located?
There isn’t just one; Cub Cadet mowers have a system of several safety switches that must all be closed for the engine to start.
- Seat Switch: Located directly under the operator’s seat cushion. It detects your weight.
- Brake Switch: Located near the brake pedal linkage. It ensures the brake is pressed.
- PTO Switch: Located behind the dashboard PTO button or lever. It ensures blades are off.
- Reverse Switch: (On some models) Prevents mowing in reverse without a specific override.
If any one of these switches is faulty or disconnected, the starting circuit will be broken, and the mower will be unresponsive.
How Do I Start a Cub Cadet With a Dead Battery?
If your battery is dead, you generally cannot “push start” a hydrostatic lawn mower like you might a manual transmission car. You will need to introduce external power.
- Jump Start: You can jump-start the mower using a car battery (with the car engine OFF to avoid overloading the mower’s small electrical system) or a portable jump pack. Connect positive to positive (Red) and negative to negative (Black/Frame).
- Charge It: The best method is to remove the battery and place it on a trickle charger for several hours.
- Check the Stator: If the battery keeps dying, your mower’s alternator/stator might not be recharging it while you mow.
Does the Throttle Need to Be on Fast to Start?
Not necessarily “Fast,” but definitely not “Slow.”
- Choke Position: Most cold starts require the choke, which is often located past the “Fast” setting on the throttle lever.
- Mid-Range: If the engine is warm, starting at half-throttle is usually sufficient.
- Avoid Idle: Starting at the lowest idle setting can sometimes be difficult because the engine struggles to suck in enough fuel/air mix to sustain combustion initially. Always aim for at least 50% throttle power when cranking, then adjust once running.
What If the Engine Turns Over But Won’t Fire?
If the engine is cranking (making the chug-chug-chug sound) but never actually starts, you likely have a fuel or spark issue, not a battery issue.
- Fuel Supply: Is the fuel valve open? Is there gas in the tank? Is the gas old?
- Spark Plug: Remove the spark plug and check if it is fouled with oil or carbon. A dirty plug won’t ignite the fuel.
- Air Filter: A severely clogged air filter can choke the engine. Remove it and try starting; if it starts, buy a new filter immediately.
Conclusion
Operating a piece of heavy machinery like a riding mower can be intimidating at first, but knowledge is the ultimate confidence builder. By understanding the intricate “handshake” between the safety interlocks, the fuel system, and the ignition, you transform the starting process from a guessing game into a reliable routine.
Remember that these safety features—the seat sensor, the brake lock, the PTO check—are there to protect you, not to annoy you. Respecting the machine’s requirements ensures it will run reliably for years to come.
Whether you have a zero-turn for a sprawling estate or a compact tractor for a suburban yard, the principles remain the same.
Regular maintenance, fresh fuel, and a patient startup sequence are the keys to success.
Now that you have mastered how to start cub cadet mower models safely and efficiently, you can look forward to the mowing season with excitement rather than apprehension. Get out there, fire up that engine, and reclaim the beauty of your backyard.
About
Outdoor Fixes is a distinguished figure in the world of Diy design, with a decade of expertise creating innovative and sustainable Diy solutions.
His professional focus lies in merging traditional craftsmanship with modern manufacturing techniques,
fostering designs that are both practical and environmentally conscious. As the author of diy,
outdoorfixes delves into the art and science of outdoorfixes-making, inspiring artisans and industry professionals alike.
Education RMIT University
(Melbourne, Australia) Associate Degree in Design (Outdoor Fixes) Focus on sustainable design, industry-driven projects,
and practical craftsmanship. Gained hands-on experience with traditional and digital manufacturing tools, such as CAD and CNC software.
Nottingham Trent University
(United Kingdom) Bachelor’s in outdoorfixes.com and Product Design (Honors) Specialized in product design with a focus on blending creativity with production
techniques. Participated in industry projects, working with companies like John Lewis and Vitsoe to gain real-world insights.
Publications and Impact
In diy, Outdoor Fixes his insights on indoor design processes, materials, and strategies for efficient production.
His writing bridges the gap between artisan knowledge and modern industry needs, making it a must-read for both budding designers and seasoned professionals.