
Gardening is a source of joy and relaxation for many, but the physical demands can take a toll. Hours spent weeding, planting, and tending to beds often mean kneeling on hard, damp, or rocky ground, leaving you with sore knees and dirty clothes. While store-bought foam pads are an option, they can be flimsy or expensive.
A much more rewarding and sustainable solution is to create your own custom cushion. A homemade kneeling pad not only saves you money but also allows you to choose the perfect size, thickness, and material for your comfort. This guide is designed for gardeners of all skill levels, providing a simple, no-sew method. We will walk you through exactly how to make a garden kneeling pad that will protect your joints and make those long hours spent with your plants significantly more enjoyable.
Gardening can be a joyful and therapeutic activity, but it often involves spending considerable time on your knees. Without proper support, this can lead to discomfort and strain, making a rewarding experience less enjoyable. Luckily, with just a few simple materials and steps, you can create a kneeling pad that suits your specific needs, offering both comfort and durability. This easy project is perfect for anyone looking to enhance their gardening routine while adding a personal touch to their tools.
Materials Needed
The materials needed for this DIY garden kneeling pad are easily accessible and affordable. You may even have some of these items lying around your house! Here’s what you’ll need:
- Foam or sponge material: This will serve as the cushioning for your pad. You can use an old foam yoga mat, a piece of memory foam, or even sponges glued together.
- Fabric: Choose a sturdy fabric that can withstand outdoor use and is easy to clean. Canvas, denim, or vinyl work well.
- Scissors
- Ruler
- Pen/pencil
- Hot glue gun/glue sticks (optional)
- Velcro strips (optional)
7 Step-by-Step Guide on How to Make a Garden Kneeling Pad
Step 1: Gather Your Cushioning and Fabric
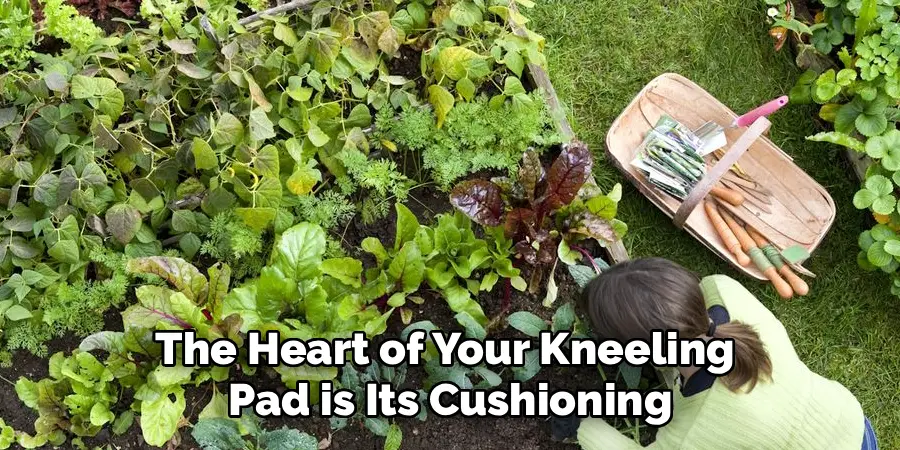
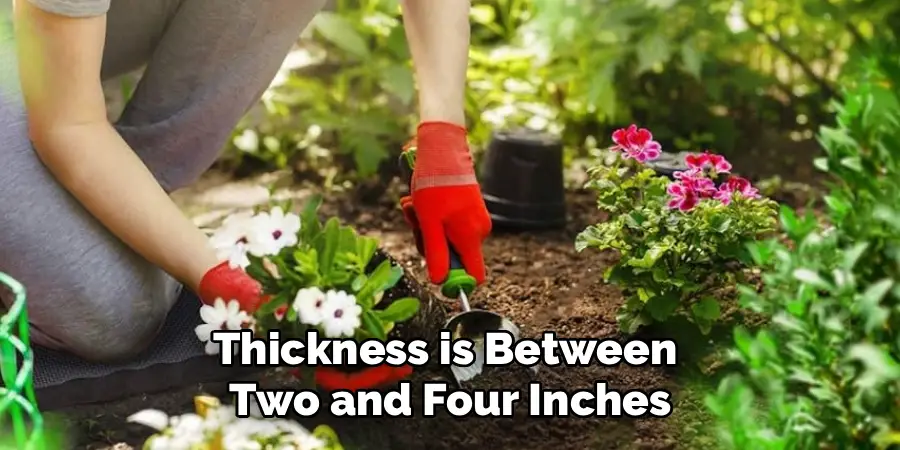
The heart of your kneeling pad is its cushioning. The goal is to find material that is thick, resilient, and comfortable. Look for high-density foam from an old cushion, a discarded yoga mat, or even layers of bubble wrap or packing foam. The ideal thickness is between two and four inches to provide adequate support.
For the outer cover, you need a durable, water-resistant fabric. An old vinyl tablecloth, a shower curtain, a heavy-duty canvas drop cloth, or even the leg from a pair of old jeans will work perfectly. Ensure the fabric piece is large enough to wrap completely around your chosen cushioning with several inches of overlap on all sides.
Step 2: Cut Your Materials to the Desired Size
Once you have your materials, it is time to decide on the dimensions of your pad. A good starting size is approximately 12 inches wide by 20 inches long, which provides ample room for both knees without being too bulky to carry. Use a tape measure and a marker to outline the desired size on your foam or cushioning material.
Cut it out using a sharp utility knife or a serrated bread knife for a clean edge. Next, lay your cushioning on top of your waterproof fabric. Cut the fabric so that you have at least six to eight inches of extra material on all four sides. This excess fabric will be used to create a secure, no-sew enclosure for your cushion.
Step 3: Wrap the Cushion
Place your cut fabric on a flat surface with the waterproof or “right” side facing down. Center your foam cushioning on top of it. The next step is to wrap the foam, much like you would wrap a gift box. Start with one of the longer sides. Pull the fabric snugly up and over the foam.
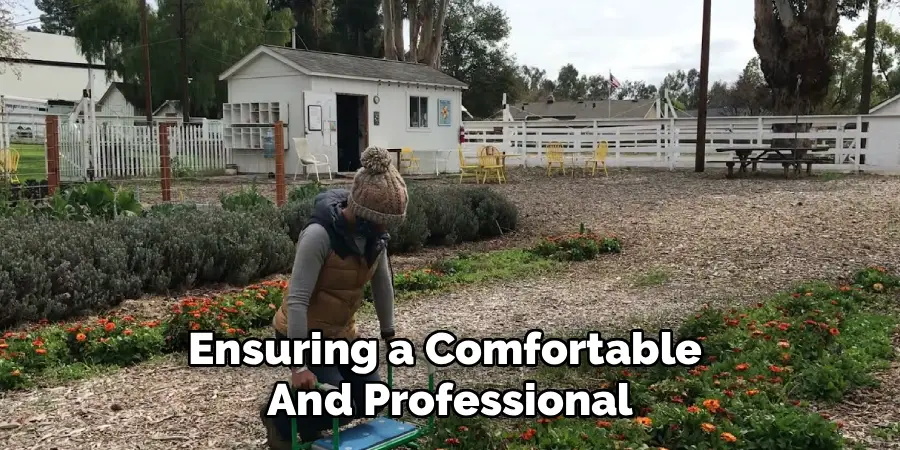
Secure it in place temporarily using a few pieces of duct tape. Repeat this process with the opposite long side, pulling the fabric taut to create a smooth, tight surface. The goal is to eliminate any slack or wrinkles on the top and bottom of the pad, ensuring a comfortable and professional-looking finish.
Step 4: Secure the Long Sides with Heavy-Duty Tape
Now you will permanently seal the main seam. Take a roll of strong, waterproof duct tape or Gorilla tape. Run a long, continuous strip of tape down the entire length of the seam where the two pieces of fabric overlap.
Press down firmly to ensure a strong bond that will withstand moisture and use. For extra durability, it is a good idea to apply a second layer of tape directly on top of the first. This central seam is the backbone of your kneeling pad’s structure, so making it as secure as possible is crucial for the longevity of your project.
Step 5: Fold and Seal the Ends
With the long sides secured, you will now close the open ends of your pad. This is done using a “gift wrap” fold. At one of the open ends, fold the top layer of fabric down and the bottom layer up, creating crisp corners. Then, fold the triangular side flaps inward, creating a neat, rectangular end.
Pull the final flap tightly over the folded ends and secure it in place with several pieces of heavy-duty tape. Repeat this entire process on the other open end. Ensure that every seam and corner is completely sealed with tape to prevent any moisture from seeping into the foam cushion inside.
Step 6: Reinforce All Seams and Corners
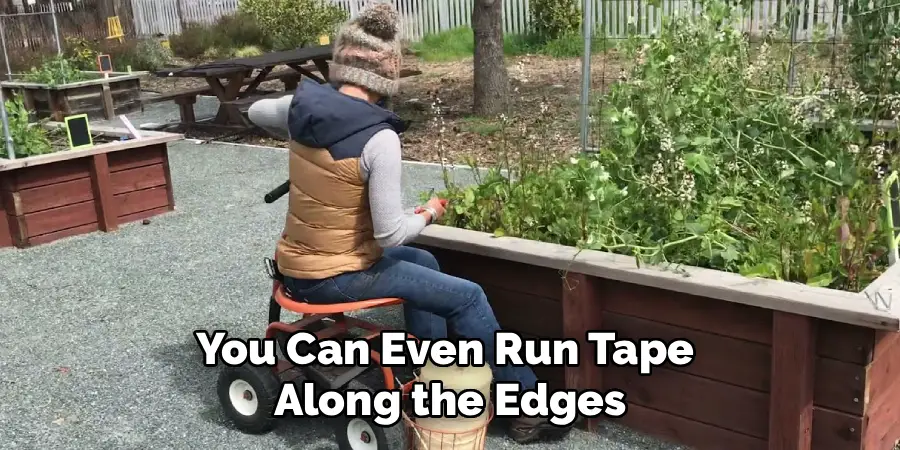
Your kneeling pad is now fully assembled, but the final step in construction is to reinforce it for battle in the garden. Go over every single seam and corner with additional strips of waterproof tape. Pay special attention to the corners where multiple folds meet, as these are potential weak points.
You can even run tape along the edges of the pad to protect them from scuffs and abrasions. While it might seem like a lot of tape, this reinforcement is what will make your DIY creation last for many seasons. This is a critical part of the process for anyone learning how to make a garden kneeling pad that is truly built to last.
Step 7: Add a Handle for Portability
A simple handle makes your new kneeling pad much easier to carry around the yard and hang up for storage. To create one, cut a strip of your leftover fabric or use a thick piece of rope about 12 inches long.
Form it into a loop and securely attach the ends to one of the shorter sides of your pad using, once again, your trusty heavy-duty tape. Apply multiple layers of tape over the handle ends in a crisscross pattern to ensure it can support the weight of the pad without tearing loose. This final touch adds a layer of convenience that you will appreciate every time you head out to the garden.
Frequently Asked Questions
What Is the Best Filling for a DIY Kneeling Pad?
The best filling provides a balance of comfort and support.
- High-Density Foam: This is the top choice. It is firm, supportive, and durable. You can find it at craft stores or upcycle it from old furniture cushions.
- Yoga Mat: An old yoga mat is excellent. It is designed to cushion joints, is water-resistant, and can be easily cut and layered.
- Packing Material: Layers of bubble wrap or closed-cell packing foam can also work well, especially for a lightweight, budget-friendly option.
Can I Make a Washable Kneeling Pad?
Yes, but it requires sewing. Instead of taping the seams, you would sew a removable cover with a zipper or a Velcro closure. Use a waterproof outdoor fabric like Sunbrella or treated canvas. This allows you to slip the foam cushion out and toss the cover in the washing machine whenever it gets dirty, keeping your pad fresh and clean all season long.
What Is a Good Waterproof Fabric to Use?
Upcycling is a great way to find waterproof fabric.
- Vinyl Tablecloth: An old vinyl tablecloth is perfect. It’s designed to repel spills and is easy to wipe clean.
- Shower Curtain: A discarded plastic or vinyl shower curtain offers a large, durable, and completely waterproof surface.
- Tarpaulin: A small piece of a lightweight tarp is another excellent, heavy-duty option.
How Thick Should My Garden Kneeler Be?
The ideal thickness is between two and four inches. Anything less than two inches may not provide enough cushioning to protect your knees from rocks or hard ground. Anything more than four inches can become unstable and difficult to balance on. Layering thinner materials, like several pieces of a yoga mat, is a great way to achieve the perfect custom thickness for your needs.
How Can I Make My Kneeling Pad More Comfortable?
To boost comfort, consider the core material. If you are using very firm foam, you could add a softer top layer before wrapping it. A piece of memory foam from an old pillow topper or a layer of fleece batting can be placed on top of the main foam cushion. This creates a dual-density pad with a firm, supportive base and a soft, comfortable top surface.
Conclusion
Creating your own garden kneeling pad is a simple, satisfying, and practical project that will make a real difference in your gardening experience. It is a fantastic way to upcycle materials that might otherwise end up in a landfill, transforming them into a tool that saves your knees from aches and pains. By choosing your own cushioning and durable fabric, you can create a custom pad that is far superior to many store-bought alternatives.
The no-sew method using heavy-duty tape makes this project accessible to everyone, regardless of your crafting skills. Now that you know how to make a garden kneeling pad, you are ready to create a comfortable foundation for all your future planting, weeding, and harvesting adventures.
About
Outdoor Fixes is a distinguished figure in the world of Diy design, with a decade of expertise creating innovative and sustainable Diy solutions.
His professional focus lies in merging traditional craftsmanship with modern manufacturing techniques,
fostering designs that are both practical and environmentally conscious. As the author of diy,
outdoorfixes delves into the art and science of outdoorfixes-making, inspiring artisans and industry professionals alike.
Education RMIT University
(Melbourne, Australia) Associate Degree in Design (Outdoor Fixes) Focus on sustainable design, industry-driven projects,
and practical craftsmanship. Gained hands-on experience with traditional and digital manufacturing tools, such as CAD and CNC software.
Nottingham Trent University
(United Kingdom) Bachelor’s in outdoorfixes.com and Product Design (Honors) Specialized in product design with a focus on blending creativity with production
techniques. Participated in industry projects, working with companies like John Lewis and Vitsoe to gain real-world insights.
Publications and Impact
In diy, Outdoor Fixes his insights on indoor design processes, materials, and strategies for efficient production.
His writing bridges the gap between artisan knowledge and modern industry needs, making it a must-read for both budding designers and seasoned professionals.