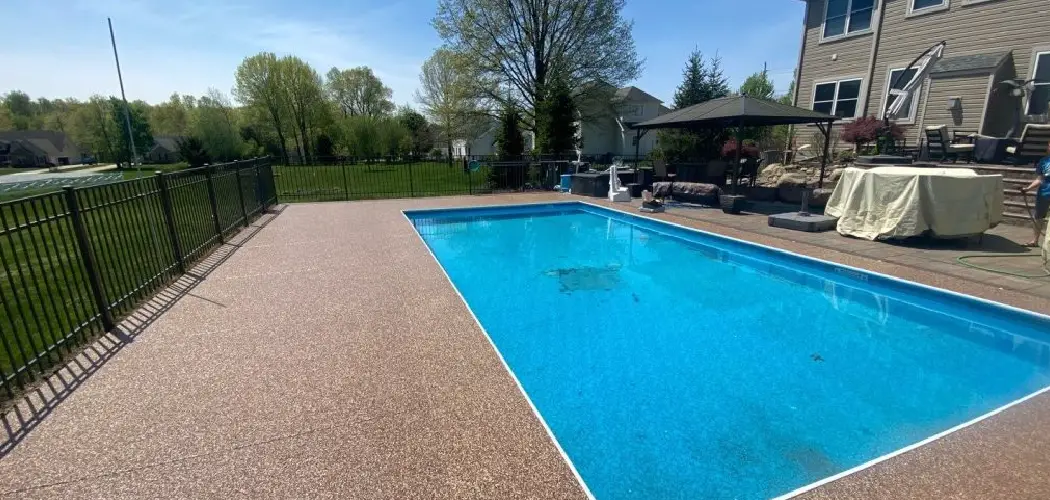
An inviting swimming pool is a wonderful feature for any home, offering a place for relaxation and fun. However, the concrete deck surrounding it can develop problems over time. Uneven, cracked, or sunken concrete slabs are not only unattractive but also pose a significant tripping hazard, especially in a high-traffic, wet area like a pool deck. Addressing these issues promptly is crucial for maintaining a safe and beautiful outdoor space.
Fixing uneven concrete might seem like a complex task, but with the right approach and information, it is a manageable project. This guide on how to fix uneven concrete around pool will walk you through understanding why your concrete is uneven, the tools you will need, and a detailed, step-by-step process to repair it. We will also cover when it is best to call in professionals and the potential costs involved, ensuring you have all the knowledge needed to restore your pool area to its former glory.

Understanding the Causes of Uneven Concrete
Before you can effectively fix your uneven pool deck, it is important to understand what caused the problem in the first place. Concrete is a durable material, but the ground beneath it is not always stable. Several factors can lead to the shifting and settling of concrete slabs around a pool.
One of the most common culprits is soil settlement. When the ground underneath the concrete was not properly compacted before the pool deck was poured, it can settle over time. This process creates voids beneath the slabs, causing them to sink and tilt. This is particularly common in newer constructions where the backfill around the excavated pool area has not had enough time to settle naturally.
Water is another major factor. Poor drainage around the pool can lead to water saturating the soil beneath the concrete. This can cause soil erosion, washing away the supportive base and leading to voids. In colder climates, the freeze-thaw cycle adds another layer of complexity. Water seeps into the soil, freezes, and expands, pushing the concrete slabs upward. When it thaws, the soil contracts, and the slabs can settle back down unevenly.
Tree roots from nearby landscaping can also grow underneath the concrete, exerting immense pressure that lifts and cracks the slabs. Finally, minor seismic activity or vibrations from heavy equipment can contribute to soil shifting over the years. Identifying the likely cause can help you take preventative measures to avoid future problems.
Tools and Materials You May Need:
- Shovel
- Level
- Concrete mix
- Trowel
- Rubber mallet
- Reinforcing mesh or rebar
- Pressure washer or scrub brush and detergent for cleaning the concrete surface
- Sealing compound (if desired)
- Landscaping fabric (if needed to prevent tree roots from growing under the concrete)
8 Simple Step-by-step Guidelines on How to Fix Uneven Concrete Around Pool:
This guide will focus on the polyurethane foam injection method, as it is a more modern, less invasive, and longer-lasting solution than traditional mudjacking. It is also more suitable for DIY-inclined homeowners who can rent the necessary equipment, though professional assistance is still highly recommended.
Step 1: Thoroughly Clean the Concrete Surface
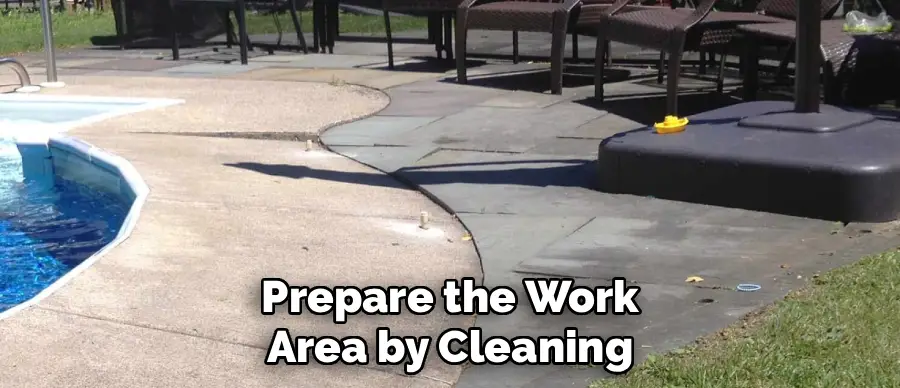
The first and most critical step is to prepare the work area by cleaning it completely. Any dirt, debris, mold, or loose material on the concrete surface can interfere with the repair process and compromise the final result.
A clean surface allows you to accurately assess the extent of the damage, identify all cracks and low spots, and ensure a strong bond for any sealants or patches you apply later. It also prevents contaminants from being forced into the subgrade during the injection process, which could create further issues down the line.
Start by using a stiff-bristled broom or a leaf blower to remove all loose debris, leaves, and dirt from the pool deck. Next, use a pressure washer to deep clean the concrete. Pay close attention to the cracks and joints between the slabs, as these areas tend to collect the most grime.
Using a degreaser solution can help remove any oil or chemical stains. Once you have thoroughly washed the entire area, allow the concrete to dry completely before moving on to the next step. This may take several hours or even a full day, depending on the weather conditions.
Step 2: Assess the Damage and Plan Your Injection Points
With a clean surface, you can now conduct a detailed assessment of the problem. Identify all the sunken or tilted slabs and determine the lowest points. Use a long level or a straight board to see how much each slab has settled. This will help you plan your repair strategy.
The goal is to lift the sunken slabs back to their original position, making them level with the adjacent, stable concrete. Understanding the scope of the problem allows you to estimate the amount of polyurethane foam you will need and plan the injection process effectively.
Based on your assessment, you will need to map out where you will drill the injection holes. For a standard-sized concrete slab, a strategic pattern of holes is necessary to ensure an even lift. Typically, you will drill holes approximately 18 to 24 inches apart.
Start near the highest point of the sunken slab and work your way toward the lowest point. This systematic approach allows you to control the lift gradually and avoid creating new pressure points that could cause the slab to crack. Mark the locations for each hole with chalk or a marker so you have a clear plan before you start drilling.
Step 3: Drill the Injection Holes
This step requires precision and the right equipment. You will need a powerful hammer drill equipped with a 5/8-inch masonry bit. This specific size is standard for most polyurethane foam injection nozzles. Make sure you are wearing your safety glasses and gloves before you begin drilling.
The process can create significant dust and flying debris, so protecting your eyes and hands is paramount. Also, a respirator is highly recommended to avoid inhaling the fine silica dust created from drilling into concrete, which can be harmful to your lungs.
Carefully drill holes at the locations you marked in the previous step. The holes should go completely through the concrete slab but not deep into the soil beneath. The goal is simply to create a port through which you can inject the foam.
Hold the drill steady and perpendicular to the concrete surface to ensure a clean, straight hole. Once a hole is drilled, use a shop vacuum to clear out any dust and debris from inside and around it. Clean holes are essential for a secure connection with the injection nozzle and to prevent any debris from clogging the equipment.
Step 4: Prepare and Set Up the Injection Equipment
Preparing the polyurethane foam system is a step that requires careful attention to the manufacturer’s instructions. The two-part polyurethane foam consists of a resin and an activator that, when mixed, undergo a chemical reaction that causes them to expand and harden.
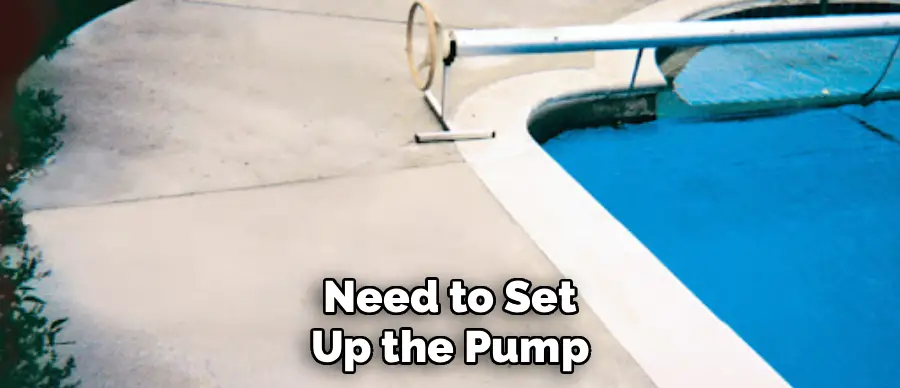
You will need to set up the pump, connect the hoses, and attach the injection gun. Ensure all connections are tight to prevent leaks, which can be messy and wasteful. This equipment is specialized, so if you have rented it, make sure you receive a thorough briefing on its operation from the rental company.
Before you start injecting the foam under the slabs, it is wise to perform a small test. Dispense a small amount of the mixed foam into a disposable container, like a cardboard box.
This allows you to verify that the two components are mixing correctly and to observe the foam’s expansion rate and final consistency. This test ensures that the equipment is functioning properly and gives you a feel for how quickly the foam reacts. Once you are confident that everything is working as it should, you are ready to begin the lifting process.
Step 5: Inject the Polyurethane Foam
This is the most dynamic part of the process, where you will see the concrete begin to lift. Insert the nozzle of the injection gun securely into the first drill hole, starting near the highest part of the sunken area. Inject the foam in short bursts of just a few seconds at a time.
Polyurethane foam expands with incredible force, so a controlled and gradual approach is crucial. Over-injecting can cause the slab to lift too quickly or unevenly, potentially cracking it or making it higher than the surrounding concrete.
Have a helper watch the slab closely with a level while you inject the foam. They can signal you to stop as soon as the slab starts to move. After each short injection, pause for a moment to allow the foam to fully expand and lift the slab. Move from one injection hole to the next in your planned sequence, gradually working your way towards the lowest point.
This methodical process allows you to gently “walk” the slab back up to its correct height, ensuring a stable and even lift across the entire surface. Continue this process until the slab is perfectly level with its neighboring sections.
Step 6: Monitor the Lift and Make Adjustments
Constant monitoring is key to achieving a perfectly level surface. As you inject the foam, you and your helper must keep a close eye on the slab’s movement. Use your long level frequently to check the progress.
Place it across the joint between the slab you are lifting and the adjacent stable slab. Your goal is to eliminate any gap under the level. It is better to slightly under-lift the slab on the first pass and then go back to add more foam if needed, rather than over-lifting it. Lowering a slab that has been lifted too high is a much more difficult and often impossible task.
Patience is vital during this stage. The foam needs time to react and expand, so do not rush the injections. If you notice one side of the slab lifting faster than another, stop injecting in that area and focus on the slower side to even things out.
You might need to move back and forth between different injection holes to achieve a uniform lift. By carefully controlling the amount of foam and constantly checking for level, you can achieve a precise and professional-looking repair that restores the integrity and appearance of your pool deck.
Step 7: Fill the Drilled Holes and Seal Cracks
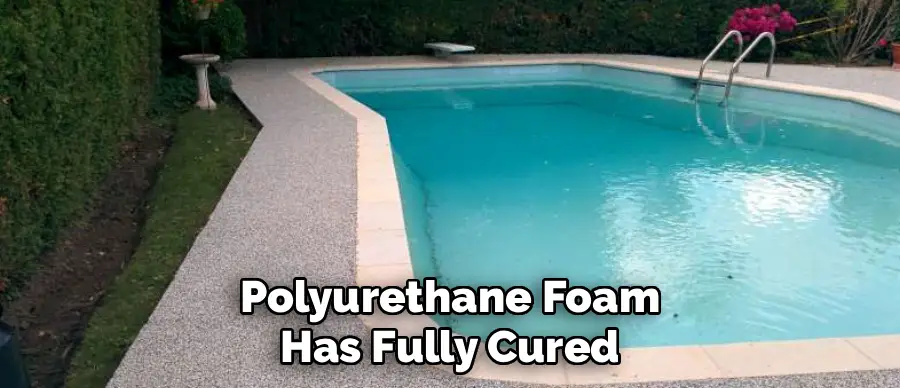
Once the concrete slabs are level and the polyurethane foam has fully cured (which usually happens very quickly), the next step is to patch the injection holes. You want the repair to be as invisible as possible. For this, you will use a non-shrinking grout or a concrete patching compound that closely matches the color and texture of your existing pool deck. Mix the patching material according to the manufacturer’s instructions to achieve a smooth, workable consistency.
Using a putty knife or a small trowel, fill each drill hole with the patching compound. Press the material firmly into the holes to ensure there are no air pockets. Scrape off any excess material from the surface, making the patch flush with the surrounding concrete.
You can use a damp sponge or a brush to blend the texture of the patch with the rest of the deck. While the patch is still wet is also a good time to fill any pre-existing surface cracks with a flexible concrete caulk to prevent water from seeping underneath the slabs in the future.
Step 8: Final Cleanup and Curing
After all the holes and cracks have been filled, the final step is to clean up the work area and allow the patches to cure properly. Sweep or vacuum any remaining dust or debris from the repair process. If necessary, you can lightly rinse the area, but avoid using a pressure washer on the fresh patches. Read the instructions for your patching compound to understand its specific curing time. Most modern compounds cure relatively quickly, but it is best to keep foot traffic off the repaired area for at least 24 to 72 hours.
This curing period is important to ensure the patches harden completely and bond securely with the concrete. Once cured, your pool deck is ready for use. The polyurethane foam itself is waterproof and extremely durable, providing a stable, long-lasting foundation for your concrete slabs. By following these steps carefully, you have not only fixed the immediate tripping hazard but also reinforced the ground beneath your deck, helping to prevent future settling and ensuring your pool area remains safe and beautiful for years to come.
Following these steps on how to fix uneven concrete around pool areas can also be applied to other outdoor spaces such as patios, walkways, and driveways. It is important to regularly maintain these areas to prevent potential hazards and ensure the longevity of your property.
Do You Need To Use Professionals?
While this guide outlines the steps for a DIY repair, it is important to seriously consider whether this is a project you should tackle yourself. Leveling concrete with polyurethane foam or mudjacking involves specialized, expensive equipment and a significant amount of skill and experience to get right. Mistakes can be costly, potentially leading to cracked slabs or an uneven finish that is worse than the original problem.
If you lack experience with this type of work, hiring a professional concrete leveling company is often the wisest choice. They have the right tools, high-quality materials, and the expertise to do the job quickly and effectively, often completing the work in just a few hours. Professionals can also accurately diagnose the underlying cause of the settling and may offer a warranty on their work, giving you peace of mind.
How Much Will It Cost?
The cost of fixing uneven concrete around your pool can vary widely based on several factors. The primary determinants are the extent of the damage, the method used for the repair, and your geographic location. Polyurethane foam jacking is generally more expensive than traditional mudjacking due to the higher material costs, but it is often faster and longer-lasting. On average, you can expect to pay anywhere from $5 to $25 per square foot for professional concrete leveling.
A smaller job, like leveling a single sunken slab, might have a minimum project fee, typically ranging from $900 to $2,000. For a larger pool deck with multiple problem areas, the total cost could be several thousand dollars. Obtaining quotes from a few reputable local contractors is the best way to get an accurate estimate for your specific situation.
Frequently Asked Questions
Q1: How Long Does Polyurethane Foam Last?
A1: Polyurethane foam used for concrete leveling is an incredibly durable and inert material. Once injected and cured, it is waterproof and will not break down or erode over time. The structural integrity of the foam is expected to last indefinitely, effectively providing a permanent support base for the concrete slab. The lifespan of the repair is more likely to be determined by the stability of the surrounding soil rather than the foam itself.
Q2: Is It Better to Replace the Concrete Instead of Repairing It?
A2: In most cases, repairing uneven concrete is far more cost-effective and less disruptive than replacing it. Tearing out and re-pouring concrete is a major project that is expensive, time-consuming, and messy. Repair methods like foam jacking or mudjacking can often be completed in a single day with minimal mess and at a fraction of the cost of replacement. Replacement should only be considered if the concrete is severely cracked, crumbled, or has widespread structural failure.
Q3: Can I Walk on the Concrete Immediately After the Repair?
A3: One of the significant advantages of polyurethane foam injection is the rapid curing time. The foam typically hardens and becomes fully supportive within about 30 minutes of being injected. This means you can walk on the repaired concrete slabs almost immediately after the job is completed. However, the patches used to fill the drill holes will need a longer time to cure, so it is best to avoid heavy foot traffic for at least 24 hours.
Q4: Will This Repair Fix the Cracks in My Concrete?
A4: The process of lifting and leveling the concrete will not magically fix existing cracks. However, stabilizing the slab prevents the cracks from widening or becoming uneven. After the leveling is complete, it is a standard part of the process for the contractor (or you) to fill the surface cracks with a flexible, waterproof sealant. This prevents water intrusion and improves the appearance of the deck, giving you a comprehensive and finished repair.
Conclusion
An uneven pool deck is a common problem, but it is one that can be solved effectively. By understanding the root causes of soil settlement and choosing the right repair method, you can restore the safety, function, and aesthetic appeal of your outdoor oasis.
Whether you choose to take on the challenge as an ambitious DIY project or entrust it to the skilled hands of professionals, lifting your sunken concrete is a worthwhile investment. It eliminates dangerous tripping hazards and protects the long-term value of your property. With a level and stable deck, you can go back to enjoying your pool with confidence and peace of mind. Thanks for reading this guide on how to fix uneven concrete around pool.
About
Outdoor Fixes is a distinguished figure in the world of Diy design, with a decade of expertise creating innovative and sustainable Diy solutions.
His professional focus lies in merging traditional craftsmanship with modern manufacturing techniques,
fostering designs that are both practical and environmentally conscious. As the author of diy,
outdoorfixes delves into the art and science of outdoorfixes-making, inspiring artisans and industry professionals alike.
Education RMIT University
(Melbourne, Australia) Associate Degree in Design (Outdoor Fixes) Focus on sustainable design, industry-driven projects,
and practical craftsmanship. Gained hands-on experience with traditional and digital manufacturing tools, such as CAD and CNC software.
Nottingham Trent University
(United Kingdom) Bachelor’s in outdoorfixes.com and Product Design (Honors) Specialized in product design with a focus on blending creativity with production
techniques. Participated in industry projects, working with companies like John Lewis and Vitsoe to gain real-world insights.
Publications and Impact
In diy, Outdoor Fixes his insights on indoor design processes, materials, and strategies for efficient production.
His writing bridges the gap between artisan knowledge and modern industry needs, making it a must-read for both budding designers and seasoned professionals.