
Maintaining a swimming pool can sometimes be a challenging task, especially when the water becomes cloudy or dirty despite regular cleaning. One effective method for restoring crystal-clear water is flocculation, often referred to as “floccing.” Floccing is a process that helps to bind small particles and debris together, making them easier to remove from the pool.
This guide on how to floc a pool will provide an overview of what flocculation is, when to use it, and the steps you need to follow to successfully floc your pool and enjoy sparkling clean water once again.

Tools and Materials You May Need
Before you can begin the process of floccing your pool, it’s important to gather all the necessary tools and materials. Here are some items that you may need:
- Pool brush
- Pool vacuum or skimmer
- Flocculant (powder or liquid)
- Water testing kit
- Pool shock (optional)
8 Simple Step-by-step Guidelines on How to Floc a Pool
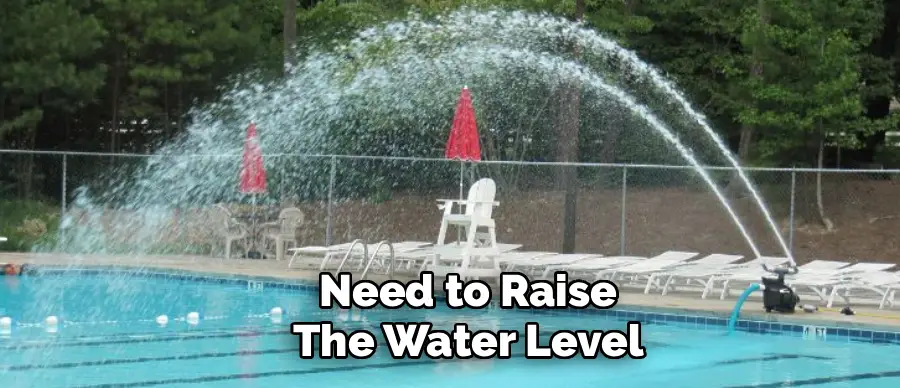
Step 1: Raise The Water Level
Before you even touch the chemicals, the very first step in a successful flocculation process is preparing your pool’s water volume for the heavy water loss that will occur later. You need to raise the water level in your pool to its maximum capacity, typically filling it until it reaches the very top of the skimmer mouth or even slightly higher.
This is a critical preparation step because vacuuming the flocculant out later requires using the “Waste” setting on your filter, which pumps water directly out of the pool rather than returning it. If you start with a normal water level, you will likely run out of water before you have finished vacuuming up the sludge, forcing you to stop, refill, and potentially disturb the settled debris you worked so hard to sink.
Adding this extra water buffer ensures you can complete the vacuuming process in one continuous, uninterrupted session, which yields the best results. Connect your garden hose and let it run until the water level is sufficiently high, keeping a close eye on it to prevent overfilling to the point of flooding your deck. While the water is filling, take this time to inspect your equipment, ensuring your vacuum hose has no leaks and your multi-port valve is functioning correctly.
This proactive measure saves you immense frustration later on. When the water level drops too low during vacuuming, you risk sucking air into the pump, which can cause it to lose prime and potentially damage the system, so starting with a “full tank” is the smartest way to begin this labor-intensive process.
Step 2: Balance Your Water Chemistry
Flocculants are highly sensitive chemicals that require specific water conditions to activate and work effectively, making water balancing a non-negotiable prerequisite. You must test your pool water and adjust the pH to be between 7.4 and 7.6, and ensure your Total Alkalinity is within the proper range of 80 to 120 ppm.
If the pH is too low or too high, the flocculant may fail to clump the particles together, leaving you with the same cloudy water you started with, but now filled with wasted chemicals. Use a reliable liquid test kit or test strips to get an accurate reading, and add pH increaser (soda ash) or pH decreaser (sodium bisulfate) as needed to hit that sweet spot where the chemical reaction is most potent.
In addition to pH and alkalinity, check your sanitizer levels, although they are less critical for the physical action of the floc than the pH balance is. It is often recommended to have a neutral pH because highly acidic or basic water can actually keep particles suspended rather than allowing them to settle.
Once you have added the necessary balancing chemicals, allow the pool pump to run for at least an hour or two to circulate these adjustments evenly throughout the water. Skipping this step is one of the primary reasons pool owners claim that “floc didn’t work” for them. By creating the perfect chemical environment, you are setting the stage for the flocculant to grab onto debris with maximum efficiency, ensuring that every ounce of product you pour in contributes to clearing up your swimming pool.
Step 3: Clean The Filter And Prepare The Pump
With your water levels high and your chemistry balanced, the next phase involves preparing your filtration system to handle the chemical circulation without actually filtering the water. First, you need to clean your filter thoroughly; backwash a sand or DE filter or rinse off cartridge elements to ensure the system is flowing at optimal pressure. Once clean, you must switch your multi-port valve to the “Recirculate” setting.
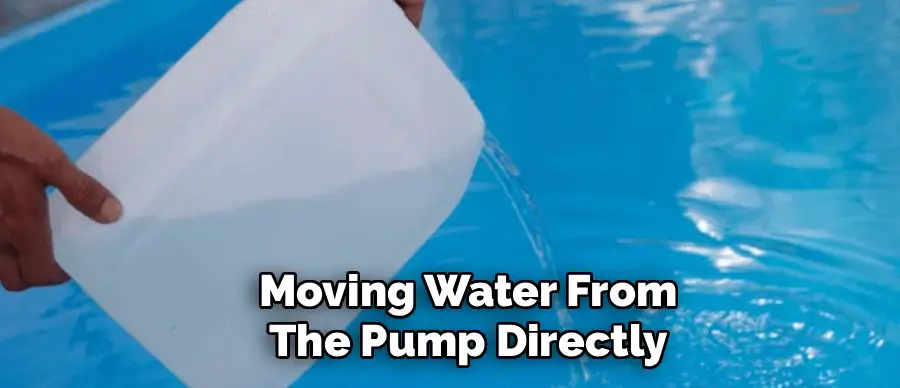
This is perhaps the most important mechanical setting in the entire process because “Recirculate” bypasses the filter media entirely, moving water from the pump directly back into the pool jets. If you leave the valve on “Filter,” the flocculant will get trapped in your sand or DE grid, clogging it almost instantly and potentially ruining the media, which leads to expensive repairs.
If you have a cartridge filter that does not have a multi-port valve, you will need to remove the cartridge element entirely from the housing and reassemble the tank so the water flows through the empty canister. This achieves the same effect as the “Recirculate” setting. Once the system is configured correctly, turn the pump on and check the jets to ensure you have a strong water flow.
This vigorous circulation is necessary to mix the thick flocculant chemical into the main body of water. Without this setup, the chemical would just sit on the surface or sink to one spot on the bottom without treating the entire volume of the pool. Double-checking your valve setting here prevents catastrophic pressure buildup in your filter tank and ensures the floc is distributed evenly to attack cloudiness in every corner.
Step 4: Add The Flocculant To The Pool
Now comes the moment of action where you introduce the clearing agent into the water, following the manufacturer’s dosage instructions precisely. Read the label on your bottle of flocculant carefully, as the concentration varies between brands; usually, the dosage is based on your pool’s volume (e.g., 8 ounces per 10,000 gallons).
Pour the calculated amount of liquid flocculant slowly into the pool while walking around the perimeter to help distribute it evenly. Pouring it all in one spot is less effective because it takes longer to mix, so spread it out as you walk the deck. Some granular forms of floc may need to be pre-dissolved in a bucket of water before being added, so always verify the specific application method required for the product you purchased.
After the chemical is in the water, keep the pump running on the “Recirculate” setting for about two hours to ensure full distribution. This two-hour window allows the water to churn and mix the flocculant thoroughly with the suspended particles, initiating the binding process without letting the mixture settle just yet.
Do not let the pump run for significantly longer than this, as you want to avoid breaking up the clumps that are starting to form. The goal during this agitation period is simply to ensure every gallon of water in the pool has been exposed to the flocculant. Once the time is up, the water might actually look cloudier than before—this is a good sign, indicating that the particles are beginning to bond and form larger, visible clusters that will soon fall out of suspension.
Step 5: Turn Off The Pump And Wait
After the two-hour circulation period is complete, it is time to shut down the entire system and let gravity take over the work. Turn off your pool pump completely and remove any automatic timers that might accidentally turn it back on during the night.
The water must become absolutely still for the flocculation process to work; any movement from jets or swimmers will disturb the forming clumps and prevent them from sinking to the floor. This “settling phase” is a test of patience, as you must leave the pool undisturbed for anywhere from 12 to 24 hours, depending on the severity of the cloudiness and the specific product used.
During this waiting period, the heavy clumps of debris, algae, and bacteria created by the flocculant will slowly drift down and settle on the pool floor, forming a thick, visible layer of sludge or “cloud” at the bottom.
The water above this layer should become noticeably clearer as the debris falls out of suspension. It is crucial not to disturb the water at all during this time—no swimming, no brushing, and no testing the water. If you wake up the next morning and the water is crystal clear but the bottom looks like a disaster zone covered in white or grey dust, you know the process has been successful. If the water is still cloudy, you may need to wait longer, but usually, an overnight sit is sufficient to separate the clean water from the unwanted contaminants.
Step 6: Vacuum The Pool To Waste
This is the most labor-intensive and critical step of the entire operation: removing the settled debris from the pool without sending it through your filter. You must set your multi-port valve to the “Waste” setting (or “Drain”). Do not vacuum on the “Filter” setting, as the thick sludge will instantly clog your filter, causing pressure to skyrocket and potentially forcing dirty water back into the pool.
Connect your manual vacuum head and hose, fill the hose with water to prime it, and begin vacuuming the floor. You must move very slowly—much slower than a regular maintenance vacuum—to avoid stirring up the light, fluffy layer of debris sitting on the bottom.
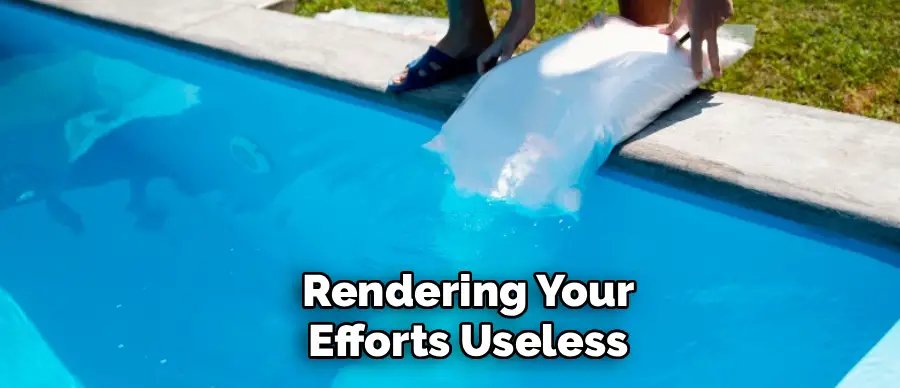
If you move the vacuum head too fast, the sediment will billow up like a dust cloud and re-suspend in the water, rendering your efforts useless and forcing you to wait for it to settle again. Focus on the areas with the thickest accumulation first. As you vacuum, the water level in your pool will drop rapidly because the “Waste” setting pumps water directly out of the discharge line. This is why we overfilled the pool in Step 1.
Keep a garden hose running into the pool while you vacuum to help offset the loss, but be prepared to stop if the water level gets too close to the bottom of the skimmer. If you have to stop to refill, turn off the pump gently and wait for the water to rise before resuming. This step removes the contaminants permanently from your pool system.
Step 7: Backwash And Rinse The Filter
Once you have successfully vacuumed all the sediment from the pool floor, your filter system needs to be reset to normal operation, but first, it requires a little maintenance. Even though you vacuumed to waste, some residual flocculant or debris may have entered the system, or the lateral pipes may just need clearing from the bypass operation.
If you have a sand filter, perform a thorough “Backwash” cycle followed by a “Rinse” cycle to clear out any potential contaminants from the valve and lines. This ensures that when you finally turn the system back to “Filter,” you aren’t blowing any dirty water or remaining chemicals back into your pristine pool.
For DE filters, you may need to add fresh DE powder if any was lost during the process (though usually, waste bypassing saves the grid), and cartridge filter owners should double-check that their element is reinstalled correctly and clean. After the maintenance check, turn your multi-port valve back to the “Filter” setting.
This returns the pool to its normal circulation cycle. Turn the pump on and observe the pressure gauge to ensure it is running at a normal baseline level. This step marks the transition from “emergency cleaning mode” back to “standard maintenance mode,” signaling that the heavy lifting is done and your pool is ready to resume its daily filtration duties.
Step 8: Re-Balance The Water Chemistry
The flocculation process, combined with the significant water replacement from vacuuming to waste, will likely have thrown your water chemistry off balance again. You have removed a large volume of treated water and replaced it with fresh hose water, which alters the pH, alkalinity, calcium hardness, and stabilizer levels.
Use your test kit immediately to analyze the current state of the water. It is common to find that the pH has shifted and chlorine levels have dropped significantly due to the dilution. You must now bring everything back into the ideal ranges: pH between 7.4-7.6, Alkalinity 80-120 ppm, and Calcium Hardness 200-400 ppm.
Following these steps on how to floc a pool, you can effectively treat your pool water and maintain a healthy and clean swimming environment. However, it is important to note that regular maintenance of your pool is necessary in order to prevent the need for drastic measures like floc treatment.
Common Mistakes to Avoid
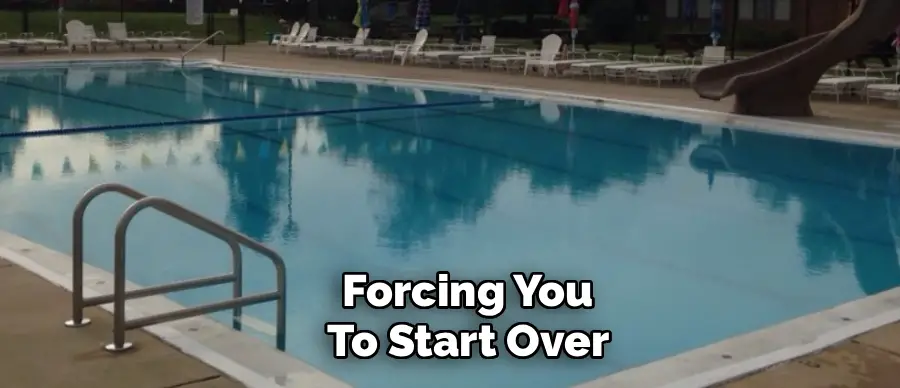
One of the biggest mistakes is vacuuming through the “Filter” setting, which will clog your sand or cartridge immediately and ruin the media. Another error is moving the vacuum head too quickly, which disturbs the settled debris and remixes it into the water, forcing you to start over.
Failing to balance the pH before adding floc can result in the chemical failing to activate. Lastly, running the pump or allowing swimmers during the settling phase prevents the particles from sinking effectively.
Safety Precautions and Considerations
Handling pool chemicals always requires caution to prevent injury and damage. Always wear protective gear, including gloves and safety goggles, when measuring and pouring flocculants, as they can be skin and eye irritants in concentrated forms. Never mix different types of pool chemicals together in the same bucket or measuring cup; adding floc to a container with chlorine residue can cause dangerous reactions. Ensure the area is well-ventilated if you are working in an enclosed pump house.
Furthermore, keep all chemicals securely locked away from children and pets. Be mindful of where you are discharging the wastewater; the chemically treated sludge should be directed to a storm drain or appropriate drainage area, not onto your lawn or garden, where it could harm plants or local wildlife.
Frequently Asked Questions
Q1: How Long Does It Take To Floc A Pool?
The entire flocculation process generally takes between 24 and 48 hours to complete from start to finish. This includes the time needed to balance the water, circulate the chemical for two hours, allow the debris to settle undisturbed (usually overnight or up to 24 hours), and then the time spent vacuuming and refilling the water. While it is not an instant fix, it is significantly faster than relying on filtration alone for severely cloudy water.
Q2: Can I Swim With Flocculant In The Pool?
No, you should strictly avoid swimming while the flocculant is active in the water and during the settling phase. Swimming agitates the water, which prevents the particles from clumping and sinking, effectively ruining the treatment process. Additionally, while most flocculants are non-toxic once diluted, swimming in concentrated chemicals or the thick sludge layer at the bottom is unpleasant and can cause skin or eye irritation.
Q3: Why Did The Flocculant Not Work?
If the flocculant failed to clear your pool, the most common culprit is improper water balance, specifically pH that was too high or too low at the time of application. Another reason could be that the pump was left running during the settling phase, keeping debris in suspension, or the water temperature was too cold for the chemical to react properly. Lastly, using an insufficient dosage for the volume of your pool can lead to poor results.
Q4: Is Flocculant The Same As Clarifier?
No, while both improve water clarity, they function differently and are used for different situations. A clarifier is a milder chemical that clumps particles into smaller groups that the filter can catch, making it good for mild cloudiness; you leave the filter running with a clarifier. Flocculant creates heavy, large clumps that sink to the floor and must be vacuumed out manually, making it the better choice for severe algae aftermath or “swampy” pools.
Conclusion
Understanding pool flocculation is an essential skill for any pool owner facing stubborn cloudiness or severe algae blooms. It serves as a potent “reset button” for your water quality, rapidly transforming a murky mess into a pristine swimming environment when standard filtration falls short.
While the process is labor-intensive—requiring careful water balancing, manual vacuuming, and significant water replacement—the results are unmatched in speed and clarity. By following the steps on how to floc a pool outlined above and avoiding common pitfalls like filtering the floc or rushing the vacuuming process
About
Outdoor Fixes is a distinguished figure in the world of Diy design, with a decade of expertise creating innovative and sustainable Diy solutions.
His professional focus lies in merging traditional craftsmanship with modern manufacturing techniques,
fostering designs that are both practical and environmentally conscious. As the author of diy,
outdoorfixes delves into the art and science of outdoorfixes-making, inspiring artisans and industry professionals alike.
Education RMIT University
(Melbourne, Australia) Associate Degree in Design (Outdoor Fixes) Focus on sustainable design, industry-driven projects,
and practical craftsmanship. Gained hands-on experience with traditional and digital manufacturing tools, such as CAD and CNC software.
Nottingham Trent University
(United Kingdom) Bachelor’s in outdoorfixes.com and Product Design (Honors) Specialized in product design with a focus on blending creativity with production
techniques. Participated in industry projects, working with companies like John Lewis and Vitsoe to gain real-world insights.
Publications and Impact
In diy, Outdoor Fixes his insights on indoor design processes, materials, and strategies for efficient production.
His writing bridges the gap between artisan knowledge and modern industry needs, making it a must-read for both budding designers and seasoned professionals.