
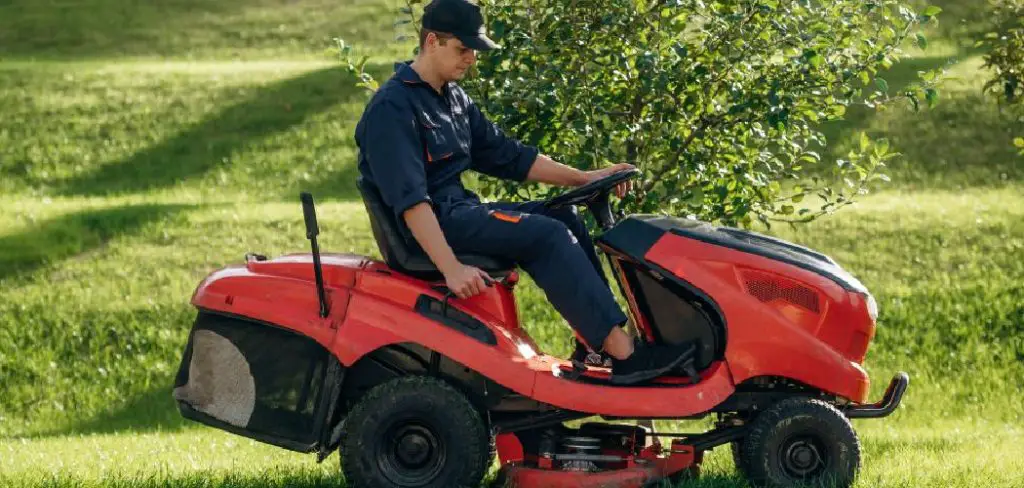
Everyone has seen those pristine baseball fields with perfectly straight, alternating light and dark green stripes. It looks incredibly professional, difficult, and expensive. But here is the secret: it is actually just a trick of the light, and you can absolutely achieve the same look at home.
Lawn striping is not about painting grass or cutting it at wildly different heights. It is simply about bending the blades of grass in specific directions. When grass bends away from you, the sunlight reflects off the wide part of the blade, making it look lighter. When it bends toward you, you see the shadows under the blades, making it appear darker.
This guide on how to stripe a lawn with a zero turn mower will walk you through exactly how to turn your backyard into a major league masterpiece.
What Will You Need?
Before you fire up the engine, you need to make sure your rig is ready.
- A Zero-Turn Mower: While you can stripe with a push mower, a zero-turn is ideal for larger yards and precise turns.
- A Lawn Striping Kit: This is the most crucial component. It is usually a weighted roller or a rubber flap attached behind the mower deck. It physically pushes the grass down after it is cut.
- High-Lift Mower Blades: These blades create a strong vacuum effect that stands the grass up straight before cutting it, ensuring a clean cut and a better bend afterward.
- A Plan: You need to know what pattern you are mowing (straight lines, checkerboard, diamonds) before you start driving.
10 Easy Steps on How to Stripe a Lawn with a Zero Turn Mower
Achieving those perfect lines requires technique, patience, and a bit of practice. Here is exactly how to execute the perfect stripe.
Step 1: Prepare the Perimeter
Before you worry about the stripes in the middle of the yard, you need to establish your boundaries. This is often called the “header” or “perimeter” pass. Drive your zero-turn mower around the extreme outer edge of your lawn.
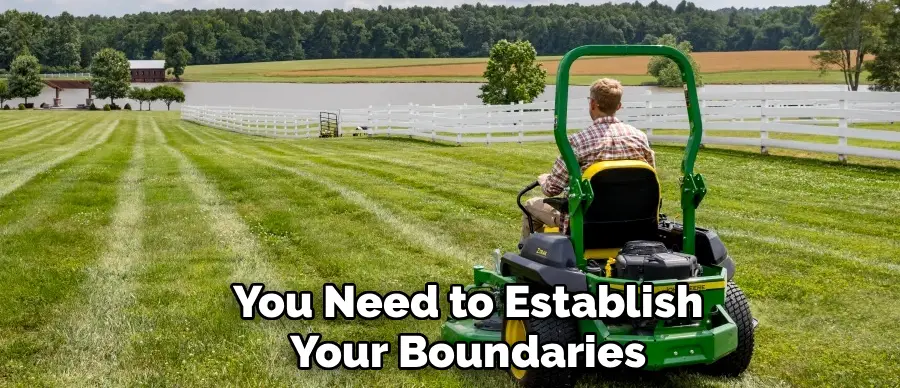
You should complete two full laps around the perimeter. This serves a vital function: it gives you room to turn around. When you are mowing stripes, you need to make 180-degree turns at the end of each row. If you try to do this right at the edge of a flowerbed or a fence, you will likely tear up the turf or miss spots. A two-lap buffer allows you to execute a smooth, three-point turn without ruining the grass or backing into a hazard. It also frames the stripes nicely, acting like a picture frame for your work.
Step 2: Choose Your Line of Sight
The biggest mistake beginners make is looking at the front of the mower deck. If you look at your front wheels, you will drive in a wiggle. To drive straight, you need to look far ahead.
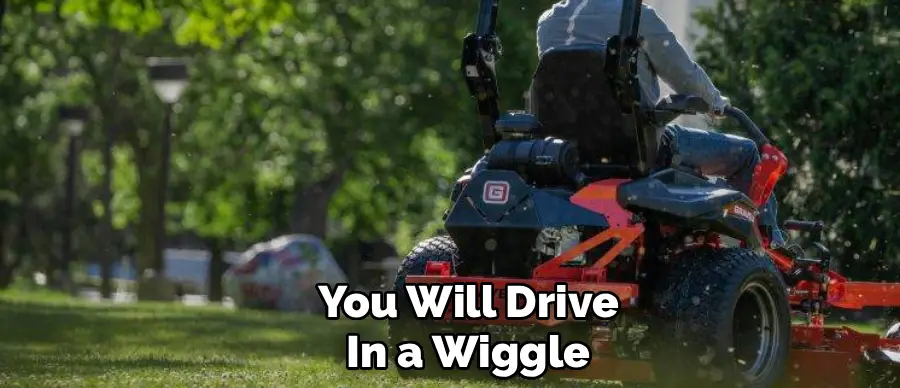
Pick a permanent object in the distance that is on the opposite side of the yard. This could be a large tree, a fence post, a birdbath, or even a specific window on your house. Keep your eyes locked on that target as you drive toward it. Your hands will naturally steer the mower toward where your eyes are focused. Do not look down at the grass you are cutting; trust the machine and keep your focus on the destination. This is the only way to get that laser-straight first line, which sets the standard for the rest of the lawn.
Step 3: Mow the First Stripe
Now it is time to lay down the first stripe. This is the most critical pass of the entire process. If this line is crooked, every subsequent line will be crooked because you use the previous line as a guide.
Engage your blades and drive toward your target object at a steady, consistent speed. Do not rush. With a zero-turn mower, jerky movements on the steering bars can cause the wheels to dig in or the mower to veer off course. Keep a smooth, forward momentum. As you drive, the striping kit behind your mower is rolling the grass down in the direction of travel. This pass will appear light-colored when viewed from where you started because the grass is bending away from you.
Step 4: Execute the Turn
Once you reach the end of your first pass and enter the perimeter buffer zone you created in Step 1, you need to turn around. This is where zero-turn mowers can be tricky. If you just spin one wheel forward and one backward (a true zero turn) on the spot, the inside tire will pivot aggressively and tear up the grass, leaving a nasty “divot” mark.
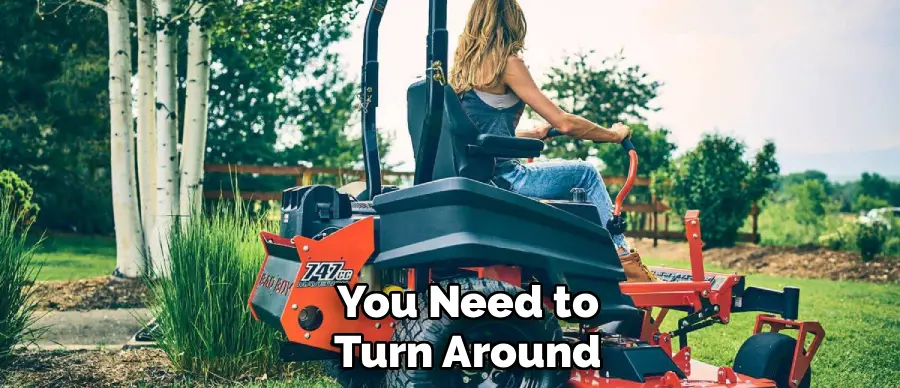
Instead, execute a “Y-turn” or a three-point turn. Drive slightly past the end of the cut, turn slightly into the direction of your next row, back up to align yourself with the new path, and then drive forward. This keeps both rear tires rolling and prevents them from grinding into the turf. This maneuver preserves the lawn and keeps your perimeter looking clean.
Step 5: Mow the Return Stripe
You are now facing the opposite direction, ready to mow parallel to your first line. This return pass creates the contrast. Since you are driving back toward your starting point, you are bending the grass in the opposite direction. This stripe will appear dark.
Overlap your previous pass slightly—by just a few inches. This ensures you do not leave a thin strip of uncut grass (a “mohawk”) between the rows. Use the edge of your first stripe as your guide. Keep your mower deck aligned with that edge, but remember to keep looking forward periodically to ensure you aren’t drifting. The contrast between the light stripe you just cut and the dark stripe you are cutting now should be immediately visible.
Step 6: Maintain Consistent Speed
Consistency is key to uniform striping. If you drive fast in some sections and slow in others, the quality of the cut will vary, and the striping roller may bounce or apply uneven pressure.
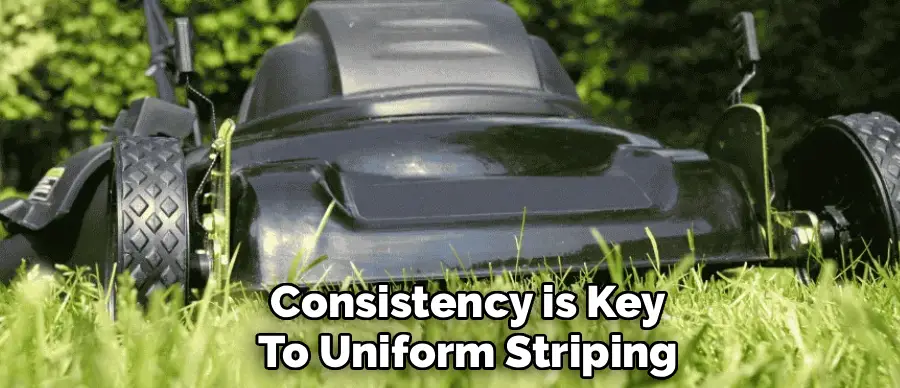
Find a comfortable mowing speed and stick to it. On a zero-turn, this usually means finding a steady position for the lap bars. If the ground is bumpy, slow down to prevent the deck from bouncing, which results in an uneven cut height (scalloping). A smooth ride allows the deck to float properly and the roller to maintain constant contact with the ground, ensuring the grass is bent over uniformly across the entire length of the stripe.
Step 7: Correcting Curved Lines
Even with the best focus, lines can sometimes start to bow or curve, especially on uneven terrain or around obstacles. If you notice your stripe is bending, do not try to fix it all at once with a sharp jerk of the steering bars.
Correct the curve gradually over the next two or three passes. On the next pass, steer slightly against the curve to straighten it out a tiny bit. Repeat this on the following pass. If you try to straighten a bowed line instantly, you will end up with an obvious zigzag or a patch of uncut grass. Subtle adjustments blend in; sharp corrections stand out.
Step 8: Navigating Obstacles
Most lawns are not perfect rectangles; they have trees, playsets, or garden beds. When you approach an obstacle like a tree, do not try to strike right up against it and stop.
Mow a “perimeter” ring around the obstacle first, just like you did for the main lawn perimeter. When your stripe path intersects with the tree, mow up to the ring, turn around carefully, and pick up the stripe on the other side of the tree. Do not try to weave the stripe through the obstacle. It is cleaner to stop the stripe at the obstacle’s border and restart it on the other side. This maintains the visual integrity of the lines across the whole yard.
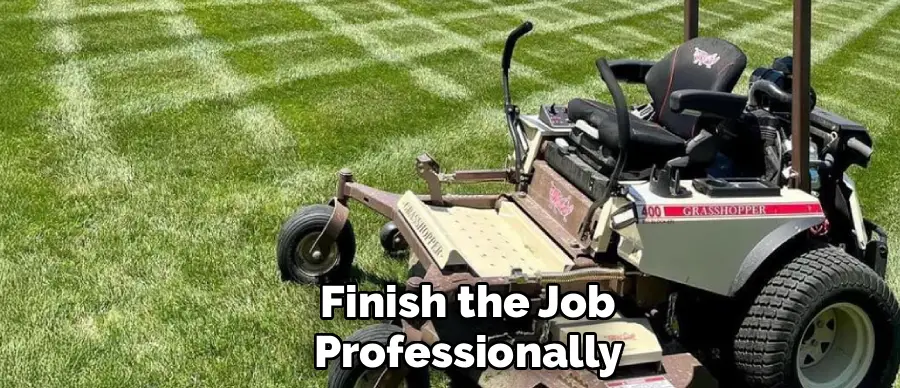
Step 9: The Final Perimeter Pass
After you have striped the entire main section of the lawn, the edges where you turned around might look a little messy. You likely drove over your original perimeter passes while making your turns.
To finish the job professionally, do one final “cleanup” lap around the perimeter. This erases all your tire marks from the turns and creates a clean, uniform border that encases your stripes. It acts as the final frame for your masterpiece, hiding the “work” of your turnarounds and leaving only the perfect stripes in the center visible.
Step 10: Cross-Striping (Optional Advanced Step)
If you want to take it to the next level—creating a checkerboard pattern—you aren’t done yet. A checkerboard is simply two sets of stripes perpendicular to each other.
Once you finish your first set of stripes (Step 9), find a line of sight that is 90 degrees to your original direction. Repeat the entire process (Steps 2 through 6), going across your original lines. The intersection of the light and dark rows creates the checkerboard effect. This takes twice as much time since you are double-cutting the lawn, but the visual impact is stunning, and the cut quality is usually superior because any missed blades are caught on the second pass.
5 Things You Should Avoid
- Cutting the Grass Too Short: This is the most common error. Short grass cannot bend; it just stands up stiff. For defined stripes, you need blade length. Aim for a cutting height of 3 to 4 inches. The taller the grass, the better the stripe intensity.
- Mowing When the Grass is Wet: Wet grass clumps together and sticks to the underside of the deck, clogging the discharge chute. Heavy wet grass also mats down poorly rather than bending cleanly, resulting in a muddy, messy finish rather than crisp lines.
- Turning Too Sharply: Zero-turn mowers are powerful. If you spin a 180-degree turn on a dime, the rear tires will tear the turf out by the roots. Always execute a three-point turn at the end of a row to protect your lawn’s health.
- Ignoring Tire Pressure: Uneven tire pressure creates a tilted deck. If one side of your mower is lower than the other, you will get an uneven cut, where one side of the stripe is scalped, and the other is too tall. Check your pressure regularly.
- Using Dull Blades: Dull blades tear the grass rather than slicing it cleanly. Tattered grass tips turn brown and jagged, which dulls the overall color of the lawn and makes the stripes look fuzzy rather than sharp. Sharpen blades every 20-25 hours of use.
Conclusion
Stripping your lawn with a zero-turn mower transforms a mundane chore into an art form. It requires the right equipment—specifically a striping kit and a reliable mower—but the technique is easy to master.
By focusing on your line of sight, maintaining a consistent speed, and avoiding sharp turns, you can achieve that major-league look in your own backyard. Remember to keep your blades sharp and your grass tall for the best results.
Hopefully, with this guide on how to stripe a lawn with a zero turn mower, you can now create professional-looking stripes on your lawn and impress your neighbors. So go ahead, grab your zero-turn mower, and get to striping! Happy mowing!
About
Outdoor Fixes is a distinguished figure in the world of Diy design, with a decade of expertise creating innovative and sustainable Diy solutions.
His professional focus lies in merging traditional craftsmanship with modern manufacturing techniques,
fostering designs that are both practical and environmentally conscious. As the author of diy,
outdoorfixes delves into the art and science of outdoorfixes-making, inspiring artisans and industry professionals alike.
Education RMIT University
(Melbourne, Australia) Associate Degree in Design (Outdoor Fixes) Focus on sustainable design, industry-driven projects,
and practical craftsmanship. Gained hands-on experience with traditional and digital manufacturing tools, such as CAD and CNC software.
Nottingham Trent University
(United Kingdom) Bachelor’s in outdoorfixes.com and Product Design (Honors) Specialized in product design with a focus on blending creativity with production
techniques. Participated in industry projects, working with companies like John Lewis and Vitsoe to gain real-world insights.
Publications and Impact
In diy, Outdoor Fixes his insights on indoor design processes, materials, and strategies for efficient production.
His writing bridges the gap between artisan knowledge and modern industry needs, making it a must-read for both budding designers and seasoned professionals.