If you were stranded on a desert island and could only bring one gardening tool, many seasoned horticulturists would skip the trowel and leave the pruning shears behind. Instead, they would choose the hori hori.
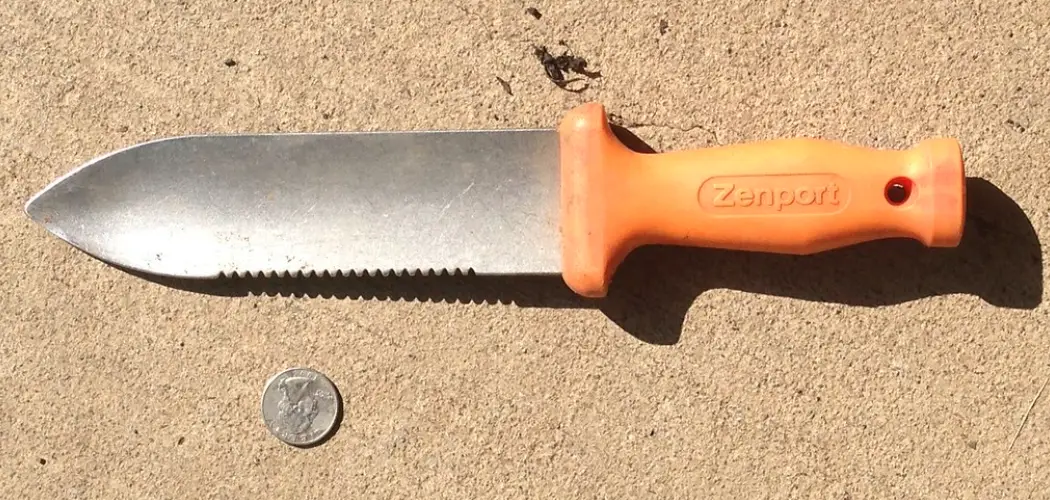
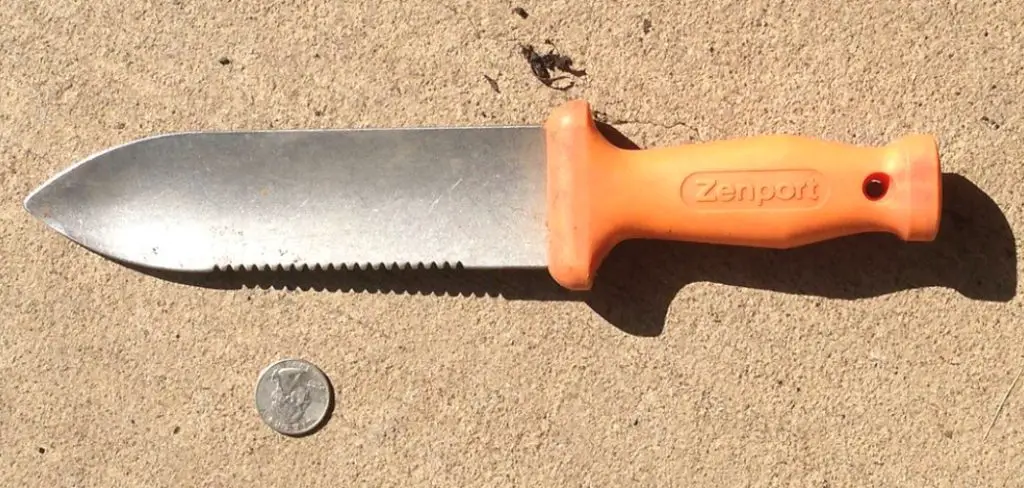
Originating from Japan, this versatile implement—sometimes called a “soil knife” or “weeding knife”—translates roughly to “dig-dig.” It is a rugged, multi-purpose marvel that combines the functions of a knife, a saw, a measuring stick, and a trowel into a single, indispensable blade.
Yet, for many beginners, its serrated edge and concave shape can look a bit intimidating. Unlike a standard shovel, its uses aren’t immediately obvious just by looking at it. That is why understanding the proper techniques is essential to unlocking its full potential.
Once you learn the specific grips and motions, you will find yourself reaching for it constantly, whether you are dividing perennials or battling stubborn dandelions. In this comprehensive guide, we will walk you through exactly how to use a hori hori knife safely and effectively, transforming the way you approach almost every task in your garden beds.
A hori hori knife is more than just a tool—it’s a gardener’s best friend. With its sharp, versatile blade and durable design, it can handle a wide range of tasks, from digging and cutting to measuring and weeding. Whether you’re a seasoned horticulturist or a weekend hobbyist, mastering this tool will make your gardening experience more efficient and enjoyable.
In this guide, we’ll cover the basics of using a hori hori knife, as well as some advanced techniques and tips to help you get the most out of this versatile tool.
Basic Techniques
To start off, let’s go over some basic techniques for using a hori hori knife. First and foremost, it’s important to always hold the handle firmly with one hand while using the blade with your other hand. This will ensure that you have maximum control and precision when using the knife.
Next, when digging or cutting with the blade, always use a sawing motion rather than trying to forcefully stab into the ground or plant material. This will not only make it easier on your wrists and hands, but also help prevent any accidental injuries.
Another important tip is to always clean your hori hori knife after each use. This will help prevent the buildup of dirt and debris that can make it difficult to use the blade effectively. Simply wipe down the blade with a damp cloth, dry it off, and apply a light layer of oil or WD-40 to keep it from rusting.
Sharp Edge Allows
The unique shape of the hori hori knife makes it perfect for digging in soil. The sharp edge allows you to easily cut through roots and tough soil, while the pointed tip helps you get into tight spaces. When using the knife for digging, be sure to angle the blade downwards and use a scooping motion to avoid damaging the blade.
In addition to digging, the hori hori knife is also great for weeding. Its sharp edge can easily cut through weeds at their roots, making it an efficient and effective tool for maintaining your garden. You can also use the pointed tip to get into hard-to-reach areas and remove stubborn weeds.
Step-by-Step Guide on How to Use a Hori Hori Knife
Step 1: Grip and Safety Basics
Before you start digging into the earth, establishing a safe and secure grip is the most critical aspect of handling this sharp tool. The hori hori typically features a wooden or rubberized handle with a guard to prevent your hand from slipping onto the blade.
Hold the handle firmly with your dominant hand, keeping your thumb wrapped around the grip rather than resting on the back of the blade. Because the tool has two sharp edges—one straight and one serrated—you must always be conscious of where the blade is facing.
When you are not actively using the tool, place it back in its sheath immediately.
Never leave it lying hidden in the grass where you or someone else might accidentally step on it. Treat it with the same respect you would give a kitchen knife. Practicing this mindful handling ensures that your gardening experience remains productive and injury-free.

Step 2: Extracting Deep-Rooted Weeds
One of the primary reasons gardeners purchase this tool is for its exceptional ability to remove stubborn weeds. Unlike a flat hoe that just chops off the top growth, the hori hori is designed to plunge deep into the soil. To tackle a dandelion or thistle, insert the pointed tip of the blade into the soil directly next to the base of the weed.
Push the blade down vertically, parallel to the taproot. Because the blade is concave, you can use it to leverage the soil slightly away from the root. Once the blade is deep enough, twist the handle slightly to loosen the earth surrounding the root system.
Then, grasp the weed with your other hand and pull gently while using the knife to sever any stubborn lateral roots. This technique ensures you remove the entire plant, preventing it from growing back a few weeks later.
Step 3: Digging Planting Holes for Bulbs and Starts
The concave shape of the blade makes it an excellent substitute for a traditional hand trowel, especially for smaller planting tasks. When you need to plant seedlings or bulbs, you can use the blade to scoop out soil efficiently.
Most high-quality hori hori knives come with measurement markings engraved directly onto the metal surface, usually in inches or millimeters. This feature is incredibly useful for planting bulbs that require specific depths. Plunge the knife into the soil until the surface level matches the desired depth mark on the blade.
Then, simply pull the soil back or carve out a circular hole by rotating the knife. This eliminates the need for a separate ruler or guesswork. You can drop your tulip or daffodil bulb right into the perfectly measured hole, cover it up, and move on to the next one with speed and precision.
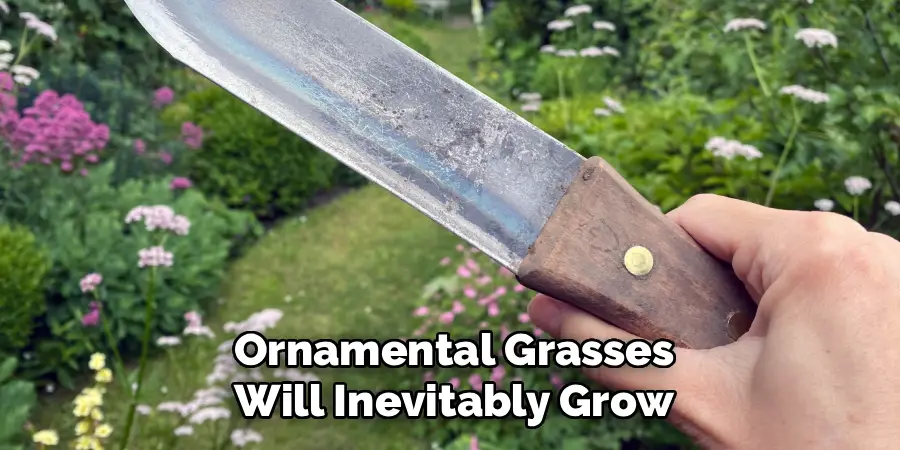
Step 4: Using the Serrated Edge for Dividing Perennials
As your garden matures, perennials like hostas, daylilies, and ornamental grasses will inevitably grow too large and need to be divided. This is often a tough job that requires cutting through a dense, tangled mat of roots. This is where learning how to use a hori hori knife becomes a game-changer.
The serrated edge of the tool acts like a saw, easily slicing through fibrous root balls that would bend a standard trowel. To divide a plant, dig up the entire clump first. Then, position the serrated edge of your hori hori directly over the center of the root mass.
Apply downward pressure and use a sawing motion to cut straight through the crown and roots. The sharp teeth will tear through the tough material cleanly, leaving you with two healthy plant sections ready to be replanted elsewhere in your landscape.
Step 5: Opening Bags of Soil and Mulch
It might seem like a minor task, but opening heavy bags of potting mix, mulch, or fertilizer can be a hassle if you are constantly searching for a box cutter or using your house keys.
The straight, razor-sharp edge of the hori hori knife is perfect for this job. Simply lay the heavy bag flat on the ground or on your potting bench. Hold the knife securely and slice across the top of the plastic packaging using the smooth, non-serrated side of the blade. The tool glides through thick plastic effortlessly.
Having this capability right at your hip saves you time and keeps your workflow smooth. You do not have to stop what you are doing, take off your gloves, and hunt for scissors. It is just another way this multi-functional tool streamlines your gardening day, proving its worth as an all-in-one solution.
Step 6: Harvesting Root Vegetables and Cutting Sods
When harvest time arrives, the hori hori proves its worth once again, particularly for root vegetables like carrots, potatoes, and onions. You can gently loosen the soil around the vegetables to lift them out without damaging the produce, much like a narrow spade.
Additionally, if you are laying new turf or repairing a patch of lawn, the knife is incredibly effective at cutting sod. The sharp blade can slice through the thick layer of grass and roots with surgical precision. To cut sod, simply plunge the knife into the turf and drag it along your desired line.
It cuts cleaner than a shovel and offers more control than a large spade. Whether you are harvesting delicate radishes or reshaping a garden bed edge, the tool provides the tactile control necessary to do the job without causing collateral damage to the surrounding area.

Step 7: Cleaning and Maintaining Your Tool
The final step in mastering this tool is ensuring it remains in peak condition for years to come. After every gardening session, it is imperative to clean the blade thoroughly. The hori hori is often made of carbon steel or stainless steel; while stainless is resistant to rust, carbon steel requires more care.
Wipe off all mud, sap, and moisture using a stiff brush or a damp cloth. If you have been cutting diseased plants, disinfect the blade with rubbing alcohol to preventing spreading pathogens. Once dry, apply a light coat of camellia oil or mineral oil to the metal to protect it from oxidation. If the wooden handle gets dry, rub it with linseed oil.
Keeping the blade sharp is also vital; use a whetstone or a diamond file to touch up both the serrated and straight edges periodically. Proper maintenance guarantees that your knife remains a reliable partner in the garden. You can also consider investing in a high-quality, sturdy knife for long-term use.
Additional Tips for Choosing the Right Gardening Knife
Aside from considering the blade material and maintenance of your gardening knife, there are other factors to keep in mind when selecting the right one for your needs. Here are some additional tips to help you make an informed decision:
- Consider the size and weight: Depending on the type of gardening tasks you usually do, you may want to choose a lighter or heavier knife. A lightweight knife is ideal for delicate tasks such as pruning flowers, while a heavier one would be better suited for cutting through tougher branches and roots.
- Look for ergonomic features: Some gardening knives come with ergonomic handles that provide a comfortable and secure grip. This can prevent hand fatigue and improve your overall gardening experience.
- Check the blade material: The most common materials for gardening knife blades are stainless steel and carbon steel. Stainless steel is rust-resistant and easy to clean, while carbon steel is known for its durability and ability to hold a sharp edge.
- Consider the blade shape: There are different types of blade shapes available for gardening knives, such as straight, serrated, or curved. Each has its own advantages depending on the task at hand.
- For example, a serrated blade is great for sawing through tough stems and branches, while a straight blade is better suited for precise cuts on softer plants. Choose a blade shape that best suits your gardening needs.
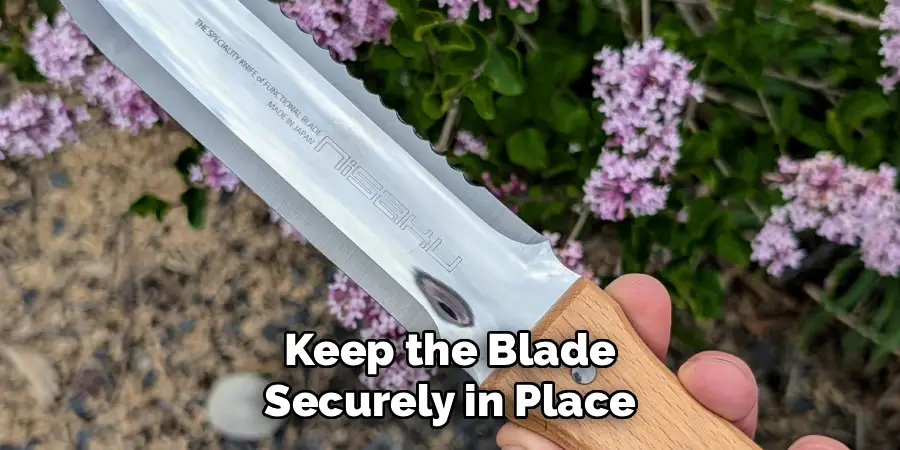
- Look for additional features: Some gardening knives come with extra features that can make them more versatile and practical. For example, some may have a bottle opener or screwdriver built into the handle, which can come in handy for outdoor activities or emergencies.
- Others may have a locking mechanism to keep the blade securely in place while in use. Consider these additional features when making your decision.
Frequently Asked Questions
What Is the Difference Between Carbon Steel and Stainless Steel Hori Hori Knives?
The main differences lie in sharpness and maintenance. Carbon steel blades are generally harder, meaning they can hold a sharper edge for longer, which is great for cutting tough roots. However, they are prone to rust if not oiled and dried religiously.
Stainless steel is much more resistant to corrosion and rust, making it lower maintenance, but it may require more frequent sharpening to maintain that razor edge.
Is a Hori Hori Knife Dangerous for Beginners?
Like any sharp tool, it poses a risk if mishandled, but it is not inherently more dangerous than other bladed garden implements. The key is mindfulness.
Because it lacks the long handle of a hoe or shovel, your hands are closer to the action. Always cut away from your body, wear thick gardening gloves to protect your hands from slips, and keep the tool sheathed when walking.
Can I Use a Hori Hori to Prune Branches?
While the serrated edge can saw through small, woody roots, it is not a replacement for bypass pruners or a pruning saw for tree branches. It is excellent for cutting down herbaceous perennials or soft green stems.
However, trying to saw through a thick, dry tree branch above ground can be awkward and dangerous due to the lack of leverage and the straight handle design.
How Deep Can a Hori Hori Knife Dig?
Most standard hori hori knives have a blade length between 6 and 7 inches. This allows you to dig effectively to that depth, which is sufficient for most bulbs, vegetable starts, and weed taproots.
If you need to dig deeper post-holes or move large volumes of soil, you should switch to a full-sized shovel or spade to avoid straining your wrist and the tool.
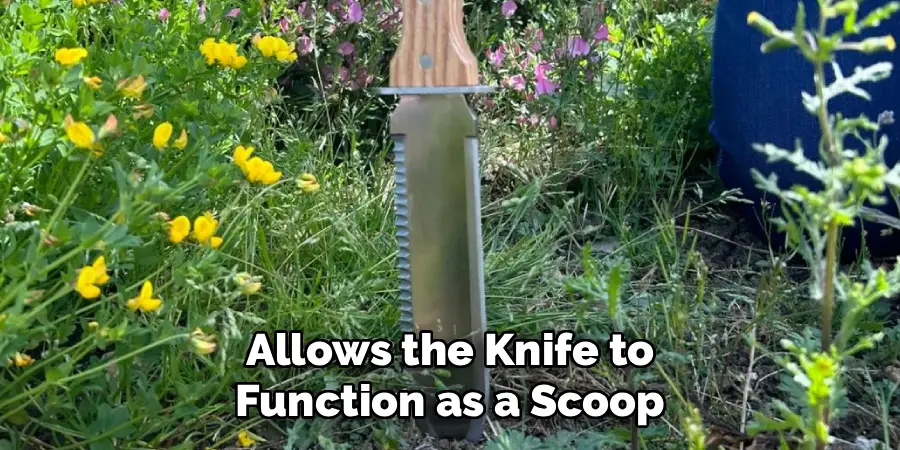
Why Is the Blade Concave or Scoop-Shaped?
The concave shape is a brilliant design feature that adds structural strength to the blade, preventing it from bending when prying against rocks or tough soil.
Furthermore, this curvature allows the knife to function as a scoop or trowel. It lets you lift out soil, transport fertilizer, or remove loose dirt from a planting hole, making it truly a dual-purpose digging and cutting instrument.
Conclusion
The hori hori knife is more than just a novelty item; it is a serious agricultural implement that has stood the test of time for good reason. Its ability to transition seamlessly from a weeding tool to a planter, a saw, and a harvester makes it invaluable for reducing the clutter in your garden shed.
By mastering the grips and techniques outlined above, you can work more efficiently, save strain on your wrists, and tackle garden challenges with a single piece of equipment. Remember that like any relationship, your bond with this tool will grow stronger with care and maintenance.
Keep it sharp, keep it clean, and respect its edge. Now that you understand how to use a hori hori knife, you are ready to step out into the soil and experience the satisfaction of gardening with true precision and power.
About
Outdoor Fixes is a distinguished figure in the world of Diy design, with a decade of expertise creating innovative and sustainable Diy solutions.
His professional focus lies in merging traditional craftsmanship with modern manufacturing techniques,
fostering designs that are both practical and environmentally conscious. As the author of diy,
outdoorfixes delves into the art and science of outdoorfixes-making, inspiring artisans and industry professionals alike.
Education RMIT University
(Melbourne, Australia) Associate Degree in Design (Outdoor Fixes) Focus on sustainable design, industry-driven projects,
and practical craftsmanship. Gained hands-on experience with traditional and digital manufacturing tools, such as CAD and CNC software.
Nottingham Trent University
(United Kingdom) Bachelor’s in outdoorfixes.com and Product Design (Honors) Specialized in product design with a focus on blending creativity with production
techniques. Participated in industry projects, working with companies like John Lewis and Vitsoe to gain real-world insights.
Publications and Impact
In diy, Outdoor Fixes his insights on indoor design processes, materials, and strategies for efficient production.
His writing bridges the gap between artisan knowledge and modern industry needs, making it a must-read for both budding designers and seasoned professionals.