
There is a gap beneath most decks that nobody talks about. You build this lovely platform, you furnish it, you string up lights, and then you glance down one day and notice the dark, cluttered space underneath where leaves, stray tools, and the occasional curious cat seem to gather.
Mine collected a rusted rake, three tennis balls, and what I can only assume was a raccoon’s social calendar.
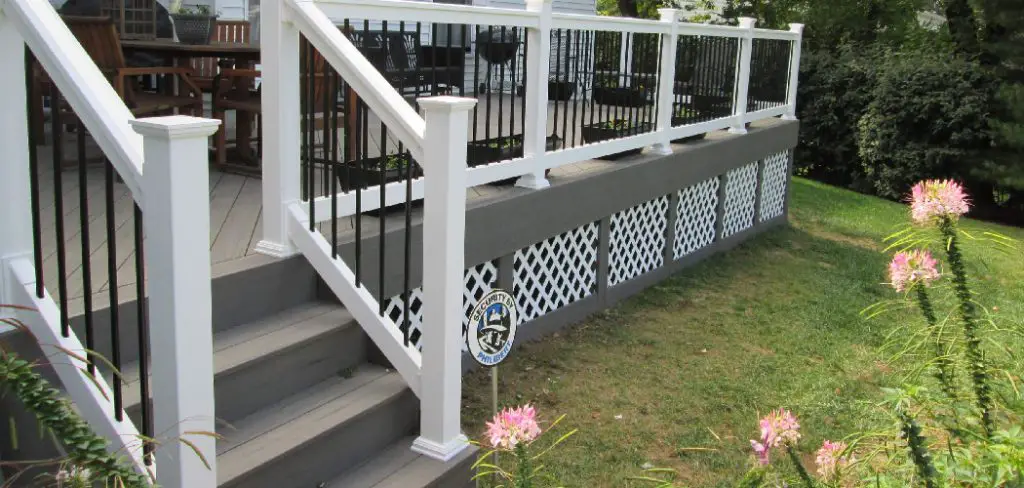
If you have been wondering how to install lattice under deck spaces without hiring anyone or buying specialty gear, you are in a good spot. The work is far more approachable than it looks from across the yard.
This guide walks you through the whole thing. What lattice is, how to choose it, what to gather, and the steady, step-by-step way to close that gap up neatly.
Why Installing Lattice Under a Deck Matters
A lattice is simply a panel of crisscrossing strips, usually wood or vinyl, that covers the open space between your deck and the ground. It turns a shadowy gap into something that looks intentional rather than forgotten.
Picture it as the trim on a finished room. The deck works fine without it, sure, but the whole structure reads as complete once it is there.
Most people overlook how much that small change does. A bit of lattice can shift a deck from “almost done” to genuinely finished.
Improving Appearance and Curb Appeal
The visual upgrade is the obvious draw. Lattice hides the posts, the framing, and those gloomy gaps behind a crisp, decorative pattern that pleasantly catches the eye.
Suddenly, the deck looks cared for, top to bottom. That kind of detail tends to register even when people cannot quite name what changed.
I would argue that small finishing touches matter more than the big ones here. A grand deck with an exposed underside still looks unfinished, somehow.
Keeping Pests and Debris Out
There is a practical side too, and it may be the part you appreciate most. Lattice discourages animals from nesting underneath and blocks windblown leaves and debris from piling up out of reach.
It manages this while still letting air move through, which matters more than you might guess. Trapped moisture is hard on deck framing, so a little airflow protects the wood.
A well-installed panel strikes that balance. It keeps unwanted guests out without sealing the space into a damp, stagnant box.
Choosing the Right Type of Lattice
Before you buy anything, decide which kind of lattice suits your style, your budget, and how much upkeep you are willing to take on. There is no single correct answer, only the one that fits your deck and your patience.
Take a little time with this. The choice shapes both the look and the work ahead.
Wood Versus Vinyl Lattice
Wood lattice offers a warm, classic look, and you can stain or paint it to match the deck exactly. It does ask for occasional maintenance, though, since moisture and sun wear on it over the years.
Vinyl lattice flips that trade-off. It resists rot, fading, and weather with almost no upkeep, but it tends to look a touch less natural up close.
Think about how you actually live. If staining a panel every couple of seasons sounds tolerable, wood rewards you. If not, vinyl quietly does its job and asks for nothing.
Privacy Versus Standard Patterns
Then there is the pattern itself. Standard diagonal lattice has an open, airy crisscross that lets you see through it and keeps air flowing freely.
Privacy lattice uses tighter spacing, hiding more of what sits behind it. You give up a little airflow and visibility, but you gain concealment.
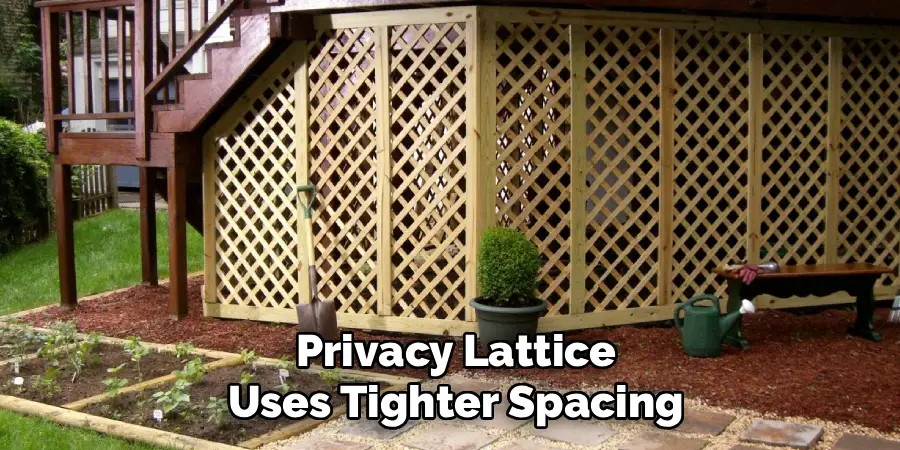
Ask yourself how much you want to see or hide. Both patterns frame the space neatly, so it really comes down to whether that under-deck area holds anything you would rather keep out of sight.
Gathering Your Tools and Materials
With a plan settled, pull your supplies together before you start cutting. Having everything ready turns the project into a smooth afternoon rather than a series of trips to the hardware store.
There is a small satisfaction in laying out fresh panels and a row of hardware, the whole thing waiting to take shape.
Lattice Panels and Framing Materials
Start with the lattice sheets themselves, plus framing strips or furring lumber to hold them in place. You will also want weather-resistant screws or nails, since this all lives outdoors year-round.
A sturdy frame is what keeps the panels straight and secure. Skimp here and the lattice tends to sag or bow over time.
Choose materials rated for outdoor use. Quality framing keeps the whole thing crisp through many seasons of sun, rain, and the slow shifting that weather brings.
Essential Tools for the Job
For tools, the basics cover most of it. A tape measure, a circular saw or handsaw, a drill, a level, and a decent pair of work gloves will see you through.
The right tools make cutting and fastening far easier and a good deal safer. A wandering cut on the lattice is frustrating to fix.
Most homeowners already own a fair share of this. Anything missing can usually be rented for a weekend without straining the budget.
Measuring and Planning Your Layout
This is the unglamorous stage that quietly decides whether your project goes smoothly. Skip it, and you pay later in awkward gaps and panels that refuse to sit right.
Kneel beside the deck with your tape measure and actually picture how the finished panels will look. That mental image saves you real grief.
Measuring the Space Accurately
Measure the height and length of each open section beneath the deck, and note any uneven ground or sloping areas as you go. Decks rarely sit on perfectly flat earth.
Careful measurements help you cut panels that fit snugly rather than leaving gaps or forcing awkward trims. Measure twice, cut once is a tired phrase, but it earns its keep here.
A little patience now spares you wasted material and the particular annoyance of a panel that is a half-inch short. That gap always shows.
Planning for Access and Airflow
Think ahead about getting back under there. Leaving one removable panel, or a discreet access point, makes future storage and repairs far simpler.
You will thank yourself the day a pipe needs checking, or you want to stash the patio cushions for winter. Without access, you would be prying panels off and reattaching them.
Plan for airflow, too, so moisture does not build up against the framing. A bit of forethought here keeps the space practical rather than sealed shut.
Preparing the Area for Installation
A little prep work before installing makes the rest of the job easier and tidier. This step is easy to rush, and rushing it is usually where the mess starts.
Take it slowly. The space is not going anywhere, and a few extra minutes pay off once the panels go up.
Clearing and Cleaning the Space
Start by hauling out whatever has accumulated under there. Stored items, weeds, leaves, the lot. Then sweep out the loose debris, so you have a clean surface to work against.
A clear, open area makes installing the frame and panels far simpler. You are not fighting clutter while balancing a saw.
This quick first step sets a tidy foundation. The finished lattice sits better against a clean, well-prepared surface, and the work feels less like wrestling.
Treating and Sealing Materials First
Here is a tip I learned the hard way. If you are using wood, stain, paint, or seal the lattice and framing before you install it, while the pieces are still easy to reach.
Pre-treating protects the wood from moisture and sun right from the start. Trying to paint a fixed panel later, crouched in a tight space, is genuinely miserable work.
A little prep painting now saves a great deal of awkward effort down the line. The finished panels look cleaner for it, too.
How to Install Lattice Under Deck: Your Step-by-Step Guide
This is the heart of it. I will walk you through each step like a friend kneeling beside you, holding the panel and offering the occasional nudge. Work safely, take your time, and trust that steady progress gets you there.
Step 1: Build the Frame
Attach framing strips around the open space to create a sturdy border for the lattice to rest against. This frame is what gives the panels something solid to grip.

Check each piece with a level as you go. A frame that is even from the start makes everything that follows far simpler.
A few minutes of care here sets a confident foundation. Crooked framing haunts every step after it, so get this part honest.
Step 2: Measure and Mark Each Panel
Now measure each opening and mark the lattice for cutting, leaving a small margin to allow for fitting. Tight tolerances are nice, but a hair of breathing room saves headaches.
Precise marking prevents wasted material and those awkward gaps that catch the eye. Rush this and you may find yourself short a panel.
Take an unhurried moment with the pencil and tape. Clean, accurate marks give you panels that slot into place looking deliberate rather than improvised.
Step 3: Cut the Lattice to Size
Cut along your marked lines with a circular saw or handsaw, supporting the lattice firmly so it does not wobble or splinter. Lattice is thin, and it can chatter under a blade.
Wear your safety gear and aim for steady, even cuts. There is no prize for speed here.
Test-fit each panel against its frame before committing it. Minor trims are completely normal, and a little patience now produces a finish that looks properly done.
Step 4: Attach the Lattice to the Frame
Fasten each panel to the frame with weather-resistant screws or nails, spacing the fasteners evenly for a secure hold. Work from one corner outward so the panel stays aligned and flat.
Press the lattice snugly against the frame as you fasten. This keeps it from warping or bowing once it is fixed in place.
An even hand here gives the whole project a crisp, clean appearance. Uneven fastening tends to leave panels that ripple slightly, which you will notice every time you walk past.
Step 5: Install a Removable Access Panel
Remember that access point you planned for. Fit at least one panel with simple hardware or a small hinged frame so it can open later without a fight.
This preserves easy entry to the under-deck space for storage or repairs. It is the kind of detail you barely think about until you desperately need it.
A removable section adds genuine convenience. You can reach what you need without ever undoing your careful work, which feels like a quiet win.
Step 6: Inspect and Secure Everything
Finally, check that every panel sits flush, all fasteners are tight, and nothing wobbles or gaps awkwardly. Give each section a gentle test for stability.
A loose panel now is a quick fix. The same panel working free in a windstorm is not, so confirm it all holds.
This last inspection guarantees a sturdy, polished result. Then step back and admire the finished enclosure, because you have earned that look.
Adding Finishing Touches and Personal Style
With the panels up, the satisfying part begins. This is where the lattice stops being a functional cover and starts feeling like a considered piece of your outdoor space.
There is a particular pleasure in standing back and seeing the deck look complete, framed neatly from top to bottom.
Painting, Staining, and Trim Details
A fresh coat of paint or stain that complements the deck pulls everything together. Adding decorative trim along the edges gives the panels a clean, finished frame rather than a raw cut line.
These touches turn a practical panel into a real design feature. The difference is more noticeable than the effort suggests.
Small, affordable additions tend to matter most here. A bit of trim and the right color help the lattice blend in as though it was always meant to be there.
Landscaping and Decorative Accents
You can soften the look further with greenery. Climbing plants, a few potted shrubs, or low plantings along the base help the enclosure settle into the yard.
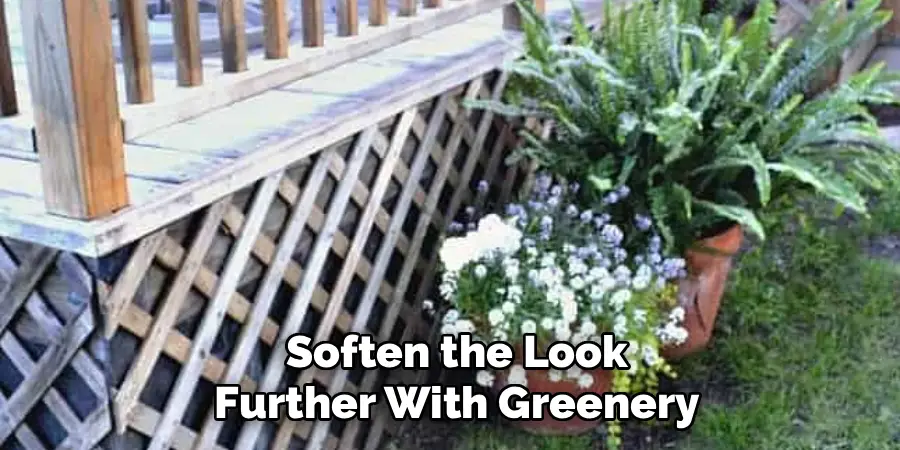
Natural touches make the whole thing feel integrated rather than tacked on. The lattice becomes part of the garden, not just a barrier.
A few thoughtful plantings go a long way. It is a low-cost way to tie the deck into its surroundings with very little extra work.
Maintaining Your Deck Lattice
A little regular attention keeps the lattice looking sharp and performing well. None of this is demanding. It mostly comes down to noticing.
Think of it as light upkeep rather than a chore on the list. A few minutes now and then is all it really asks.
Routine Cleaning and Seasonal Care
Rinse the lattice gently now and then, and clear out any leaves or debris that gather in the openings. Those little gaps do tend to catch things.
Occasional cleaning keeps the pattern crisp and stops grime from dulling the finish. It is far easier to maintain than to revive.
Quick, occasional care keeps the panels looking close to how they did the day you installed them. A few minutes across the seasons is genuinely enough.
Checking for Damage and Repairs
Every so often, especially after a storm, inspect the panels and fasteners for cracks, warping, or anything that has worked loose. Weather and time do their slow work.
Catching small issues early prevents them from growing into bigger repairs. A loose screw is a thirty-second fix; an ignored one becomes a sagging panel.
Swapping a damaged section or tightening a few fasteners is quick and simple. A brief, regular check keeps the whole enclosure sturdy and attractive for years.
Common Mistakes and Easy Fixes
A few missteps trip up nearly everyone the first time. Crooked panels, gaps along the edges, fasteners that loosen over time. These are normal, and each has a straightforward fix.
A mistake here is just information about what to adjust next. Try not to read it as failure.
When Panels Sag or Sit Crooked
Sagging usually traces back to a frame that is not level or panels lacking enough support. The line of the lattice starts to droop, and the eye catches it immediately.
The fix is rarely dramatic. Add extra framing strips for support, or reposition a few fasteners for a snugger, more even fit.
A small adjustment often solves the whole problem. The enclosure snaps back to looking polished and intentional, which is a relief after the worry.
Fixing Gaps and Loose Fasteners
Gaps tend to come from uneven cuts or fasteners that have worked loose with weather and time. They look untidy, though they are easy enough to handle.
Add a strip of trim to close a stubborn gap, or replace loose screws with slightly longer ones for a firmer grip. Either approach usually does the trick.
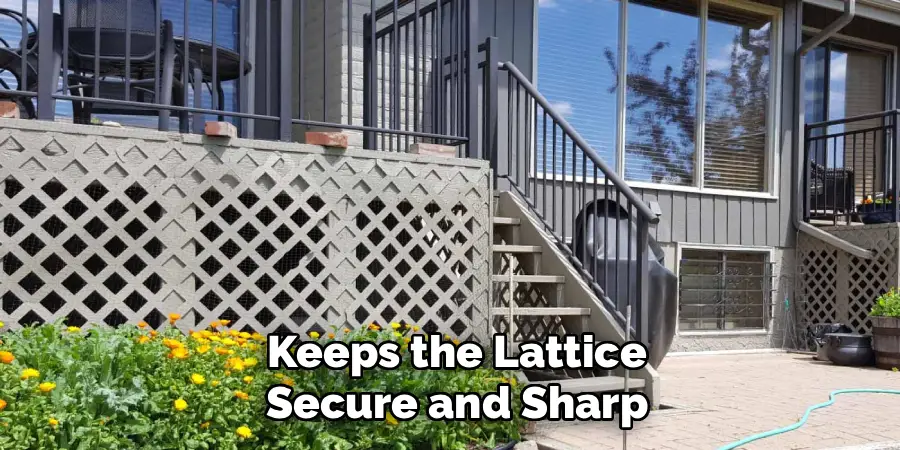
A quick fix early keeps the lattice secure and sharp-looking. Leave it, and a small gap tends to invite the debris and pests you installed the panels to keep out.
Conclusion
Look how far you have come. You now understand how to install lattice under deck spaces, from choosing the right material to measuring, prepping, and fastening each panel securely.
The real takeaway is a simple one. Anyone with a little patience and decent preparation can turn a cluttered gap into a clean, attractive feature with their own two hands.
There is a quiet pride in looking at a deck that finally feels complete, finished neatly from top to bottom. It changes how the whole structure reads.
So gather your materials, picture the polished space you want, and simply begin. That dark, forgotten gap beneath the deck may just become the detail you are quietly proud of.

About
Outdoor Fixes is a distinguished figure in the world of Diy design, with a decade of expertise creating innovative and sustainable Diy solutions.
His professional focus lies in merging traditional craftsmanship with modern manufacturing techniques,
fostering designs that are both practical and environmentally conscious. As the author of diy,
outdoorfixes delves into the art and science of outdoorfixes-making, inspiring artisans and industry professionals alike.
Education RMIT University
(Melbourne, Australia) Associate Degree in Design (Outdoor Fixes) Focus on sustainable design, industry-driven projects,
and practical craftsmanship. Gained hands-on experience with traditional and digital manufacturing tools, such as CAD and CNC software.
Nottingham Trent University
(United Kingdom) Bachelor’s in outdoorfixes.com and Product Design (Honors) Specialized in product design with a focus on blending creativity with production
techniques. Participated in industry projects, working with companies like John Lewis and Vitsoe to gain real-world insights.
Publications and Impact
In diy, Outdoor Fixes his insights on indoor design processes, materials, and strategies for efficient production.
His writing bridges the gap between artisan knowledge and modern industry needs, making it a must-read for both budding designers and seasoned professionals.