
Your front porch is the welcoming face of your home, and the pillars are its defining feature. Over time, exposure to the elements can cause wooden columns to rot, warp, or weaken, compromising both the aesthetic appeal and the structural integrity of your roof overhang. Replacing these pillars might seem like a monumental task reserved for professional contractors, but with the right preparation, tools, and a strong emphasis on safety, it is a highly rewarding DIY project.
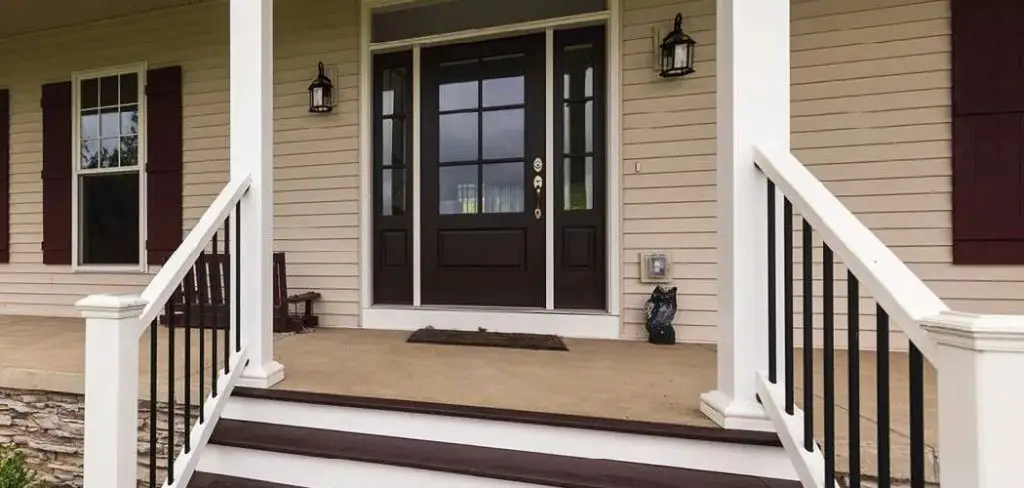
Taking on this project allows you to breathe new life into your home’s exterior while ensuring the roof above your head remains securely supported. Structural safety is the ultimate priority here, so you must approach this task with patience and precision.
This comprehensive guide on how to replace front porch pillars will walk you through every phase of the project, equipping you with the knowledge and confidence needed to transform your front porch.
What Will You Need?
Before you begin dismantling your porch, you must gather all the necessary tools and materials. Having everything on hand prevents dangerous delays once the roof is temporarily supported.
Materials:
- New porch pillars (wood, fiberglass, or aluminum)
- Column base and capital kits
- Temporary adjustable steel support jacks (lally columns)
- Scrap wood blocks (2×4 or 4×4) for load distribution
- Galvanized or stainless steel screws and masonry anchors
- Exterior-grade construction adhesive and caulk
- Paint or stain (if applicable)
Tools:
- Heavy-duty tape measure
- A plumb bob and a long carpenter’s level
- Circular saw, or fine-tooth hand saw
- Power drill with various bit sizes
- Hammer and pry bar
- Safety glasses, a hard hat, and heavy-duty work gloves
10 Easy Steps on How to Replace Front Porch Pillars
Step 1: Evaluate and Measure the Current Space
Before buying any materials or lifting a single tool, you need to conduct a thorough evaluation of your existing porch structure. Take a close look at how the current pillars are attached to the porch floor and the roof beam. Use your heavy-duty tape measure to determine the exact height from the porch floor to the underside of the roof beam. Measure in multiple spots around the existing pillar, as porches often slope slightly away from the house for water drainage. Record the shortest and longest measurements to ensure you purchase a replacement column that is tall enough to be trimmed to the perfect custom fit. Accurate measurements here prevent costly mistakes later.

Step 2: Select and Purchase Your New Pillars
With your precise measurements in hand, select your replacement pillars. You have several excellent materials to choose from, including classic wood, durable fiberglass, and sturdy aluminum.
Fiberglass is incredibly popular for DIY projects because it is lightweight, load-bearing, and highly resistant to rot and insect damage. Ensure that the specific columns you purchase are rated for structural load-bearing use, as some decorative columns are hollow and only meant to wrap around existing structural posts. Purchase the matching base and capital (the top trim piece) for your columns. Buy pillars that are at least an inch or two taller than your maximum height measurement so you have room to cut them down to the exact size needed.
Step 3: Set Up Temporary Roof Supports
This is the most critical step for your safety and the structural integrity of your home. You cannot remove a load-bearing pillar without first supporting the weight of the porch roof. Position adjustable steel support jacks (often called lally columns or jack posts) near the pillar you intend to remove.
Place a sturdy block of scrap wood on the porch floor and another between the top of the jack and the roof beam to distribute the immense weight and prevent damage to your porch surfaces. Slowly crank the temporary jacks upward until they are holding the weight of the roof firmly. You only need to lift the roof a fraction of an inch—just enough to relieve the pressure resting on the old pillar.
Step 4: Carefully Remove the Old Pillar
Once the temporary jacks are securely bearing the weight of the porch roof, you can safely extract the old column. Start by removing any decorative molding, trim, or capitals at the top and base of the pillar using a hammer and a pry bar. Check for any hidden screws, nails, or brackets holding the pillar to the floor or the overhead beam.
Remove these fasteners with your power drill or pry bar. If the old pillar is deeply rotted or stuck, you may need to use a hand saw or a reciprocating saw to carefully cut it in half horizontally. This makes it much easier to pull the top and bottom sections away without violently jarring the delicate roof structure above.

Step 5: Prepare the Base and Overhead Areas
With the old pillar completely out of the way, take a moment to thoroughly inspect and clean the areas where the new column will sit. Sweep away all debris, dirt, and old caulk from the porch floor. Inspect the overhead wooden beam and the floorboards for any signs of hidden water damage, severe rot, or termite activity.
If you find structural damage in the floor or the beam, you must repair or replace those specific sections before installing the new pillar. Scrape away any lingering paint or adhesive to ensure you have a perfectly flat, solid, and clean surface for the new column base to rest upon securely.
Step 6: Measure and Cut the New Pillar
Carry your new pillar to the porch and re-measure the exact opening distance from the floor to the overhead beam right where the center of the column will rest. Transfer this exact measurement to your new pillar. If your porch floor slopes, you may need to cut the bottom of the pillar at a slight angle to match that slope, ensuring the column stands perfectly plumb. Wrap a piece of painter’s tape around the pillar where you intend to cut; this helps guide your saw and prevents the fiberglass or wood from splintering. Use a circular saw with a fine-toothed blade to make a slow, even, and highly accurate cut along your marked line.
Step 7: Slide on the Base and Capital
Before you lift the freshly cut pillar into its final vertical position, you must slide the decorative base and capital onto the column shaft. Slide the capital on first, pushing it all the way toward the top of the pillar. Then, slide the base onto the bottom end.
Once the heavy pillar is standing upright and wedged between the floor and the ceiling, it will be impossible to slip these solid rings over the ends. Use a small piece of painter’s tape to temporarily hold the base and capital securely out of the way in the middle of the shaft while you maneuver the heavy pillar into its final resting place.
Step 8: Position and Plumb the New Pillar
Carefully lift the new pillar into position. Slide the top of the column under the overhead beam and swing the bottom into place directly over your marked center spot on the floor. Use your carpenter’s level on multiple sides of the pillar, or hang a plumb bob, to ensure the column is standing perfectly straight and vertical. A pillar that is even slightly out of plumb will not bear weight correctly and could eventually fail. Tap the base gently with a rubber mallet to make micro-adjustments to its position. Take your time with this step, constantly checking the level until the pillar is perfectly aligned and perfectly vertical on all sides.

Step 9: Secure the Pillar in Place
Once the pillar is perfectly plumb, it is time to secure it permanently. Secure the base of the pillar to the porch floor using heavy-duty galvanized screws or masonry anchors, depending on whether your floor is wood or concrete. Many modern columns come with specific L-brackets or installation rings—follow the manufacturer’s exact instructions for these brackets. Next, secure the top of the pillar to the overhead roof beam. Apply a generous bead of exterior-grade construction adhesive between the top of the column and the beam for added stability. Slide the decorative base and capital down and up, respectively, and screw them securely into place to hide your structural brackets and fasteners.
Step 10: Remove Supports and Apply Finishing Touches
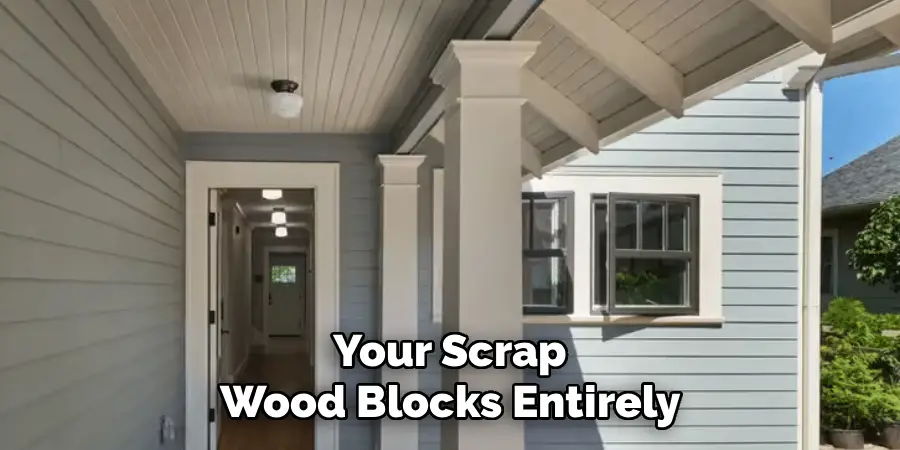
With the new pillar securely fastened at both the top and the bottom, you can now safely remove the temporary roof supports. Slowly and carefully lower the adjustable steel jacks, allowing the immense weight of the porch roof to settle naturally and gently onto your brand-new pillar. Remove the jacks and your scrap wood blocks entirely. To finish the project, apply a neat bead of high-quality, paintable exterior caulk around the joints where the capital meets the roof and where the base meets the floor to keep moisture out. Finally, apply a coat of exterior primer and paint to your new columns, ensuring they match your home’s aesthetic beautifully.
5 Things You Should Avoid
- Avoid Skipping Temporary Supports: Never attempt to remove a structural pillar without first bracing the roof with heavy-duty temporary jacks. The roof could collapse instantly, causing severe injury or catastrophic damage to your home.
- Avoid Ignoring Underlying Rot: Do not install a brand-new pillar over a rotting porch floor or a decaying overhead beam. The new pillar will lack structural support and will quickly fail; always fix the underlying wood rot first.
- Avoid Using Interior Materials: Never use interior-grade wood or standard indoor fasteners for an exterior porch project. Always use weather-resistant materials like fiberglass, pressure-treated wood, and galvanized or stainless steel screws to prevent rapid rusting and decay.
- Avoid Rushing the Leveling Process: Do not eyeball the straightness of your pillar. Failing to use a level and plumbing the column properly will result in uneven weight distribution, which can cause the column to crack or bow over time.
- Avoid Forgetting Building Codes: Do not start a major structural project without checking your local building codes. Some municipalities require permits for replacing load-bearing elements on the front of a house, and non-compliance can lead to fines.
Conclusion
How to replace front porch pillars is a significant home improvement project that greatly enhances both the safety and the beauty of your home exterior. While the thought of supporting your roof and swapping out load-bearing columns may seem intimidating at first, following a structured, step-by-step approach makes it entirely manageable for a dedicated DIY enthusiast.
By taking the time to properly brace the structure, carefully measure your cuts, and ensure everything is perfectly level, you guarantee a professional-grade result. Not only will you save a substantial amount of money on contractor labor, but you will also gain immense satisfaction every time you walk up your front steps.
Prioritize safety, take your time, and enjoy the structural peace of mind and the fantastic curb appeal that your new porch pillars will bring to your home.

About
Outdoor Fixes is a distinguished figure in the world of Diy design, with a decade of expertise creating innovative and sustainable Diy solutions.
His professional focus lies in merging traditional craftsmanship with modern manufacturing techniques,
fostering designs that are both practical and environmentally conscious. As the author of diy,
outdoorfixes delves into the art and science of outdoorfixes-making, inspiring artisans and industry professionals alike.
Education RMIT University
(Melbourne, Australia) Associate Degree in Design (Outdoor Fixes) Focus on sustainable design, industry-driven projects,
and practical craftsmanship. Gained hands-on experience with traditional and digital manufacturing tools, such as CAD and CNC software.
Nottingham Trent University
(United Kingdom) Bachelor’s in outdoorfixes.com and Product Design (Honors) Specialized in product design with a focus on blending creativity with production
techniques. Participated in industry projects, working with companies like John Lewis and Vitsoe to gain real-world insights.
Publications and Impact
In diy, Outdoor Fixes his insights on indoor design processes, materials, and strategies for efficient production.
His writing bridges the gap between artisan knowledge and modern industry needs, making it a must-read for both budding designers and seasoned professionals.