
A scuffle hoe is a push-pull weeding tool that cuts weeds just below the soil surface. Stand upright, hold the handle loosely, and glide the hinged blade back and forth through the top layer of dirt. This motion slices weed roots while minimizing back strain and soil disruption.
Weeding often feels like an entirely Sisyphean task. You pull one dandelion, and two more seem to sprout in its place. For decades, gardeners have accepted aching knees and tight hamstrings as the unavoidable tax paid for a tidy vegetable bed.
Hand-weeding, while perhaps meditative for a select few, generally leads to physical fatigue. The traditional chopping hoe offers little relief. It demands a harsh, downward hacking motion that may actually bring buried weed seeds to the surface. It chops rather than slices.
Enter the scuffle hoe. Also known as a stirrup hoe, this long-handled garden tool could completely change your approach to bed maintenance. By relying on a sliding horizontal action rather than vertical force, it severs root systems with minimal physical effort. This guide on how to use a scuffle hoe explores the underlying mechanics of the scuffle hoe, offering a detailed methodology to help keep your garden beds reasonably clear of unwanted growth.
What Is The Anatomy Of A Scuffle Hoe?
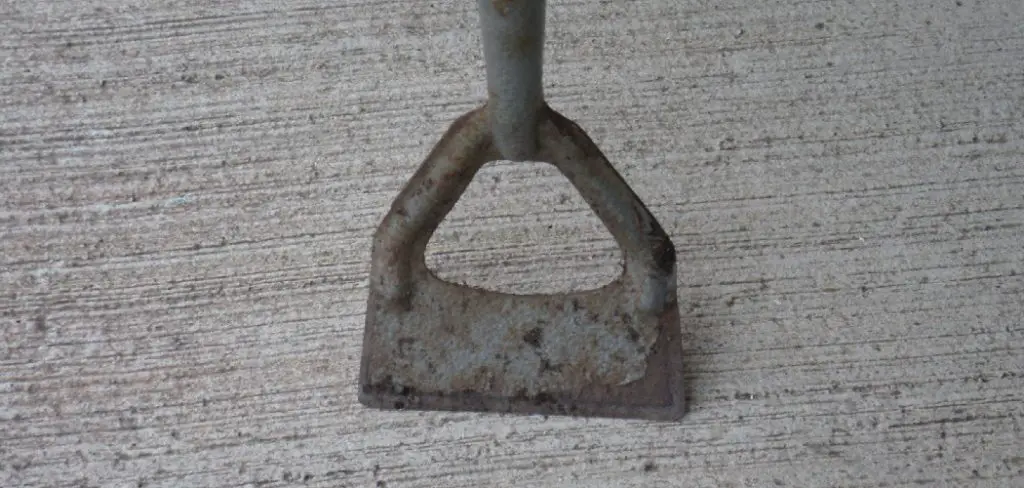
Before you step into the dirt, it might be useful to examine the physical construction of the tool in your hands. A standard scuffle hoe features a long shaft. This handle is usually carved from ash wood or formed from lightweight aluminum.
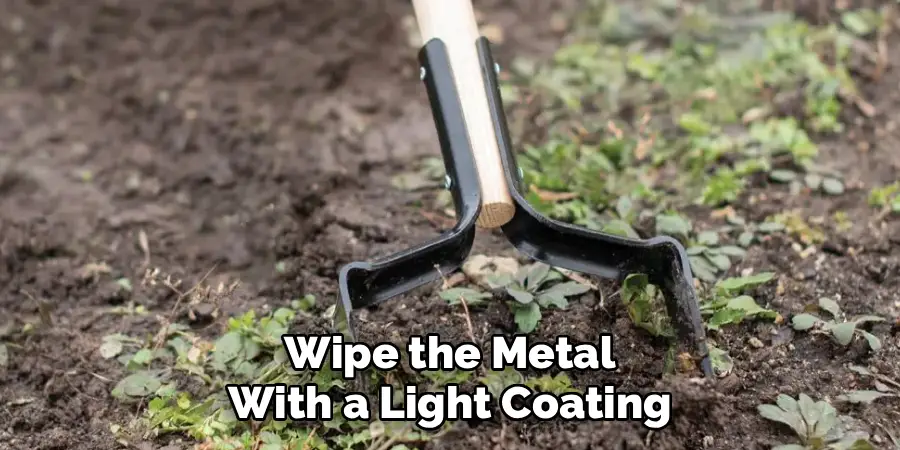
At the base sits a metal bracket holding the cutting blade. It resembles a saddle stirrup. This particular shape is exactly why the tool frequently goes by the alternative name “stirrup hoe.”
The blade itself is a double-edged loop of carbon steel. It incorporates a subtle pivot mechanism. As you push forward, the blade angles downward slightly to slide under the dirt crust. Pulling backward reverses this angle. Since both edges are sharp, the tool cuts continuously in both directions. This bidirectional action appears to halve the time required to clear a standard row of crops.
8 Simple Step-By-Step Guidelines On How To Use A Scuffle Hoe
Step 1: Select The Ideal Weather And Soil Conditions
Tool performance depends heavily on moisture levels. Weeding in saturated mud will likely frustrate you. Heavy, wet dirt clumps around the metal stirrup, severely limiting its cutting power and making the hoe incredibly heavy to swing. Conversely, dry soil resists penetration. It forces you to exert unnecessary physical effort.
Aim for soil that is lightly moist. Perhaps two days after a moderate rain shower. The dampness allows the steel loop to glide through the top crust without excessive friction. This severs the taproots of young weeds before they can establish a permanent foothold.

Step 2: Establish A Proper Ergonomic Stance
Hand-weeding forces you to crouch. The long handle of the scuffle hoe suggests a more upright, forgiving posture. Stand tall. Place your feet roughly shoulder-width apart, with your dominant foot slightly forward. This provides a stable foundation that lets you shift your body weight smoothly.
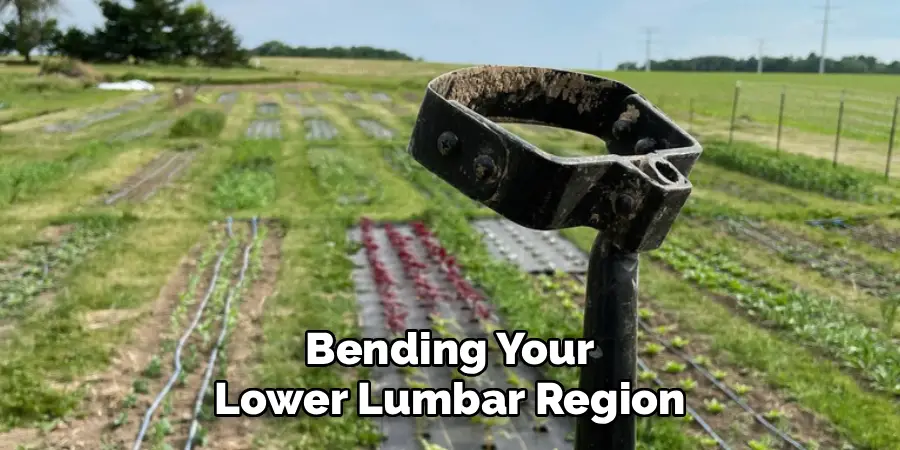
Grip the handle lightly. A white-knuckled grasp will tire your forearms rapidly. Keep your back straight. Let your arms and hips generate the momentum, rather than bending your lower lumbar region.
Step 3: Position The Cutting Blade Correctly
Precision matters heavily here. Rest the metal loop flat on the dirt, a few inches ahead of your target weed. The bottom edge should sit parallel to the ground surface.
Do not chop downward. The scuffle hoe functions as a surface glider. Keep a safe distance from your prized heirlooms. The sharp edges could easily sever a delicate pepper stem if your attention wanders during the push-pull cycle.
Step 4: Initiate The Push-Pull Cutting Motion
Push the handle forward gently. The oscillating head tilts to slip a half-inch beneath the surface. It cleanly slices the stems of young weeds from their roots, leaving the disconnected foliage resting on top of the soil.
After moving a foot or two, pull the handle back along the exact same track. The hinge rocks backward, engaging the rear edge to catch any stragglers you might have missed. Maintain a rhythmic, sweeping cadence.
Step 5: Adjust Your Depth Based On Weed Size
Shallow cultivation is usually sufficient. For newly germinated seeds, skimming just below the surface works best. Digging deeper might expose dormant seeds to sunlight, inadvertently triggering a new crop of weeds to germinate.
Larger plants may require slightly more downward pressure. You might need to sink the blade a full inch to detach the crown from the root. Note that massive, deeply entrenched taproots usually resist the scuffle hoe. A specialized hand trowel may be required for mature thistles.
Step 6: Navigate Carefully Around Desirable Plants
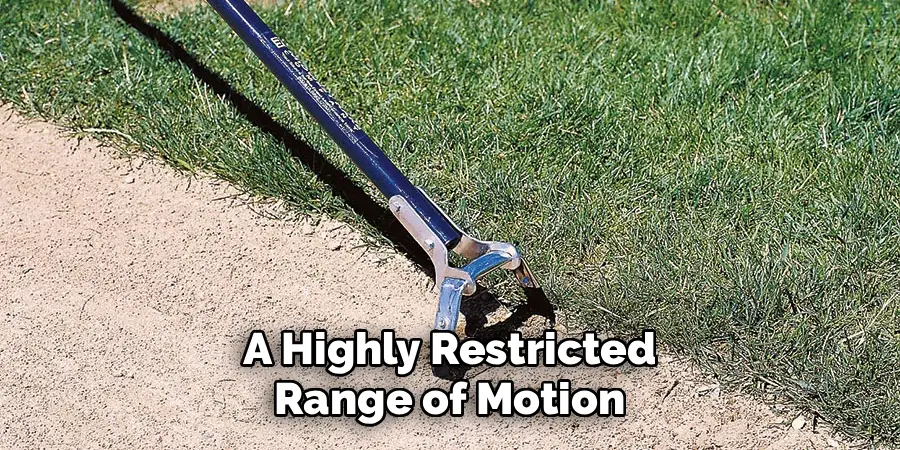
Wide rows invite long, sweeping strokes. Dense plantings demand a highly restricted range of motion. Shrink your stroke length as you approach delicate seedlings, shifting to short nudges.
Use the outer corners of the stirrup to pick off weeds near the base of your vegetables. Watch the leading edge closely. A momentary lapse in focus could result in accidental crop damage. By maintaining highly controlled movements, you can safely eliminate competition without disturbing vital feeder roots.
Step 7: Leave The Severed Weeds As Mulch
Many gardeners instinctively rake up every piece of garden debris. This aesthetic preference might actually deprive your soil of organic matter. It also creates extra labor.
Consider leaving the sliced weeds where they fall. Assuming you severed them before they went to seed, the hot sun will dehydrate the foliage quickly. They shrivel into a sparse, harmless mulch. This decomposing matter eventually feeds local soil microbes while helping to shade the dirt.
Step 8: Clean And Maintain Your Tool After Use
Neglect destroys gardening equipment quickly. Once you finish your rows, brush the dirt off the metal head. A quick blast from the garden hose works well, provided you dry the steel thoroughly afterward.
Moisture trapped in the pivot points invites rust. After drying, run a flat metal file over both cutting edges. A sharp blade reduces the physical effort required to push through the dirt. Wipe the metal with a light coating of mineral oil before hanging the tool in a dry shed.
Following these steps on how to use a scuffle hoe will ensure that your gardening tasks are completed efficiently and effectively.
How Do You Troubleshoot Common Scuffle Hoe Issues?
Even premium garden tools occasionally falter. If pushing the hoe feels like pushing a heavy plow, the blade has likely lost its edge. Five minutes with a metal file usually resolves this drag.
Sometimes the hinge seizes up entirely. Packed dirt or tiny pebbles can lodge in the pivot pins. Scrub the joints clean and apply a drop of lubricating oil to restore fluid movement.
If the blade digs too deeply on the pull stroke, check your handle angle. Holding the shaft too high forces the blade downward. Drop your hands closer to your waist to flatten the cutting angle against the earth.
Frequently Asked Questions
Q1: What Is The Best Soil Type For A Scuffle Hoe?
Loamy or sandy soils respond beautifully to this tool. Raised garden beds, which generally remain aerated, are ideal environments. Compacted clay poses a significant challenge. The blade tends to bounce off dense soil rather than slicing cleanly through the root zone.
Q2: How Often Should I Sharpen My Scuffle Hoe Blade?
You might consider filing the edges after every three to four sessions. If you notice the tool tearing stems rather than cutting them cleanly, it is time to sharpen. Highly abrasive or rocky soils dull the steel much faster, requiring more frequent maintenance.
Q3: Can A Scuffle Hoe Remove Deeply Rooted Weeds?
This tool excels primarily at shallow surface cultivation. It struggles with established perennial weeds. Attempting to chop out a massive dandelion root could bend the metal stirrup or snap the wooden handle. Use a dedicated weeding fork for those stubborn specimens.
Reclaiming Your Garden Time
The scuffle hoe fundamentally shifts the mechanics of garden maintenance. By transitioning from a vertical hacking motion to a horizontal glide, you spare your lower back and complete the chore faster.
Consistent, shallow cultivation prevents weeds from gaining a permanent foothold. Instead of spending your entire Saturday on your hands and knees, you can manage a large vegetable plot in minutes. Grab your tool, watch the weather for ideal soil moisture, and begin reclaiming your weekend. Thanks for reading this guide on how to use a scuffle hoe.

About
Outdoor Fixes is a distinguished figure in the world of Diy design, with a decade of expertise creating innovative and sustainable Diy solutions.
His professional focus lies in merging traditional craftsmanship with modern manufacturing techniques,
fostering designs that are both practical and environmentally conscious. As the author of diy,
outdoorfixes delves into the art and science of outdoorfixes-making, inspiring artisans and industry professionals alike.
Education RMIT University
(Melbourne, Australia) Associate Degree in Design (Outdoor Fixes) Focus on sustainable design, industry-driven projects,
and practical craftsmanship. Gained hands-on experience with traditional and digital manufacturing tools, such as CAD and CNC software.
Nottingham Trent University
(United Kingdom) Bachelor’s in outdoorfixes.com and Product Design (Honors) Specialized in product design with a focus on blending creativity with production
techniques. Participated in industry projects, working with companies like John Lewis and Vitsoe to gain real-world insights.
Publications and Impact
In diy, Outdoor Fixes his insights on indoor design processes, materials, and strategies for efficient production.
His writing bridges the gap between artisan knowledge and modern industry needs, making it a must-read for both budding designers and seasoned professionals.