
Got a tired, cracked concrete patio that has seen better days? You don’t have to rip it all out and start from scratch. Laying pavers right over your existing concrete is one of the smartest ways to upgrade your outdoor space without the mess, cost, and labor of full demolition. The result is a fresh, beautiful surface that looks like you spent a fortune, even though you saved both time and money.

This approach has become a favorite among homeowners and DIY enthusiasts for good reason. Concrete makes a solid, stable base, and pavers add color, texture, and serious curb appeal.
In this guide on how to install pavers over concrete patio, we’ll walk you through everything you need to know. Let’s dig in.
What Are the Benefits?
Installing pavers over concrete comes with plenty of perks. Here’s why so many people choose this route instead of starting from nothing.
- You save on demolition costs. Tearing out old concrete is hard, dirty, and expensive. You often need heavy equipment and have to pay to haul away the debris. By laying pavers on top, you skip all of that and put your budget toward the materials that matter.
- It’s faster than a full rebuild. Removing concrete, prepping the ground, and pouring a new base can take weeks. Covering your existing slab with pavers can often be done in a weekend or two, depending on the size of your patio.
- You get a custom look. Pavers come in countless colors, shapes, and patterns. You can create a herringbone design, a simple running bond, or a bold contrast border. The design freedom lets you match your home’s style perfectly.
- The surface becomes safer and more durable. Cracked or uneven concrete can be a tripping hazard. Pavers create a smooth, even walking surface. Plus, individual pavers are easy to replace if one ever gets damaged, unlike a solid slab.
- It boosts your home’s value. A well-designed paver patio adds instant curb appeal and can increase your property value. Buyers love outdoor living spaces, and a quality patio makes a strong impression.
- Better drainage and slip resistance. Many paver styles offer textured surfaces that handle wet weather well, reducing the chance of slipping after rain.
What Will You Need?
Before you start, gather your tools and materials. Having everything ready makes the project go smoothly and keeps you from running back and forth to the store.
Tools:
- Tape measure
- Chalk line or string line
- Rubber mallet
- Level (a long one works best)
- Broom
- Push broom for sweeping sand
- Plate compactor (rentable)
- Wet saw or paver splitter for cutting
- Trowel
- Safety glasses, gloves, and knee pads
- Wheelbarrow
Materials:
- Pavers of your choice
- Bedding sand or polymeric sand
- Edge restraints (plastic or metal)
- Concrete adhesive or bonding agent
- Landscape fabric (optional)
- Pressure washer or hose
- Concrete patch or filler for cracks
- Stakes and spikes for edging
Make sure you measure your patio carefully so you order enough pavers. It’s smart to buy about 10% extra to cover cuts, breaks, and future repairs.
10 Easy Steps on How to Install Pavers Over Concrete Patio
Step 1: Inspect and Clean the Concrete
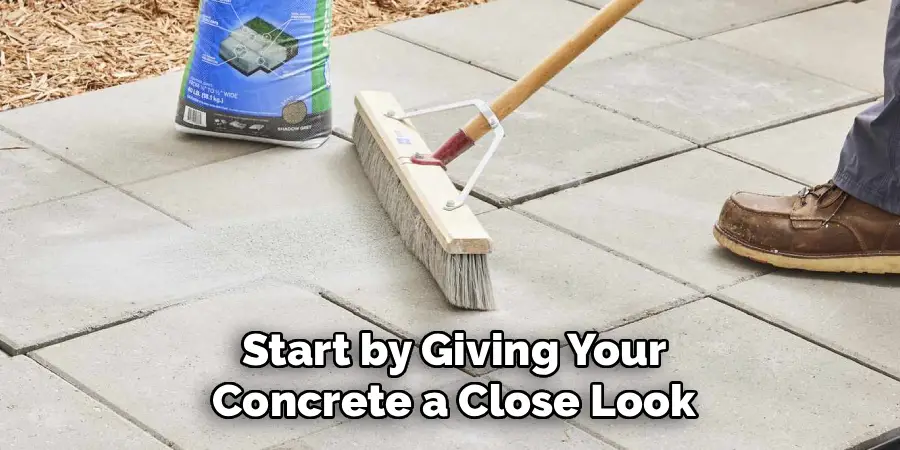
Start by giving your concrete a close look. Check for cracks, chips, and uneven spots. Small cracks are fine, but large ones may need attention. Once you’ve inspected the surface, clean it thoroughly. Use a pressure washer to blast away dirt, grime, moss, and old stains. A clean surface helps everything bond and sit properly. Let the concrete dry completely before moving on, which may take a full day depending on the weather.
Step 2: Repair Cracks and Damage
Address any damage before you lay pavers. Fill cracks with a concrete patch or filler and smooth them out with a trowel. For larger gaps or crumbling areas, use a stronger repair compound. The goal is a stable, mostly even base. You don’t need perfection, but you want to prevent future shifting. Allow all repairs to cure fully according to the product instructions before continuing.
Step 3: Check the Slope and Drainage
Water needs somewhere to go. Your concrete should slope slightly away from your house, usually about a quarter inch per foot. Use your level to check the existing slope. If water pools in certain areas, you’ll want to plan your bedding layer to correct it. Proper drainage protects your home’s foundation and keeps your new patio from collecting puddles. Note any low spots so you can address them in the next steps.
Step 4: Plan Your Layout
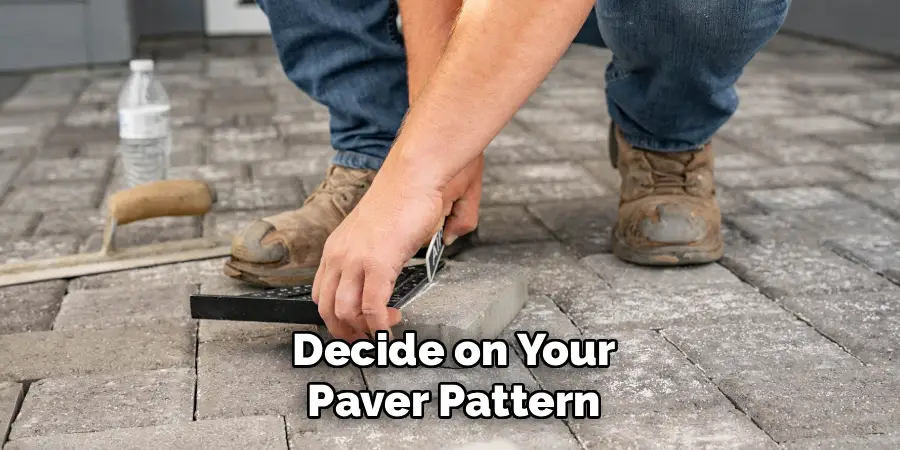
Now comes the fun part. Decide on your paver pattern and lay a few out to see how they look. Common patterns include running bond, herringbone, and basket weave. Use a chalk line or string line to mark your starting point and guide lines. Starting from a straight, square edge gives you the cleanest results. Take your time here, because a good plan prevents wasted material and frustration later.
Step 5: Install Edge Restraints
Edge restraints keep your pavers from shifting and spreading over time. Attach them around the perimeter of your concrete using concrete adhesive or masonry screws. Metal or rigid plastic edging both work well. Make sure the restraints sit flush and secure. This step is essential because pavers without proper edging will slowly drift apart, ruining your hard work. Press them firmly and let any adhesive set before adding sand.
Step 6: Add the Bedding Layer
Spread a thin layer of bedding sand over the concrete, usually about one inch thick. This layer levels out minor imperfections and gives the pavers a stable surface to rest on. Use a screed board, like a straight piece of lumber, to smooth the sand to an even depth. Drag it across the surface to create a flat, consistent base. Avoid walking on the sand once it’s leveled, since footprints create uneven spots.
Step 7: Lay the Pavers
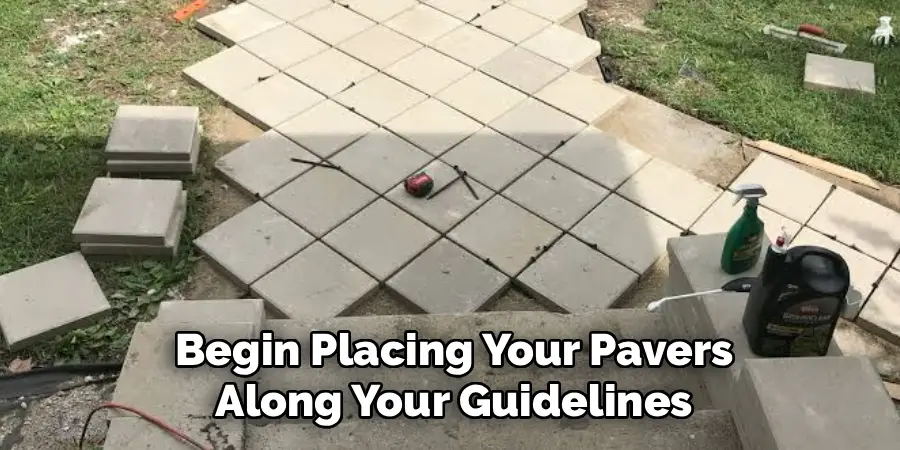
Begin placing your pavers along your guidelines, working from one corner outward. Set each paver down gently and keep them snug against each other. Follow your chosen pattern carefully. Leave small, consistent gaps between pavers for the joint sand. Check your alignment often with the string line. Tap each paver lightly with a rubber mallet to seat it into the sand. Patience here pays off with a professional-looking finish.
Step 8: Cut Pavers to Fit
You’ll inevitably reach edges and corners where full pavers don’t fit. Measure the space and mark your cut line on the paver. Use a wet saw or paver splitter to make clean cuts. Always wear safety glasses and gloves during this step. Test-fit each cut piece before setting it in place. Take your time with cuts around obstacles like drains or posts, since neat edges make a big difference in the final look.
Step 9: Compact the Pavers
Once all your pavers are in place, it’s time to lock them in. Run a plate compactor over the entire surface. This presses the pavers firmly into the bedding sand and creates a tight, even layout. Make a couple of passes in different directions for the best results. If you don’t have a compactor, you can rent one from a hardware store. Keep the surface clean during this step to avoid scratching your pavers.
Step 10: Fill the Joints and Seal
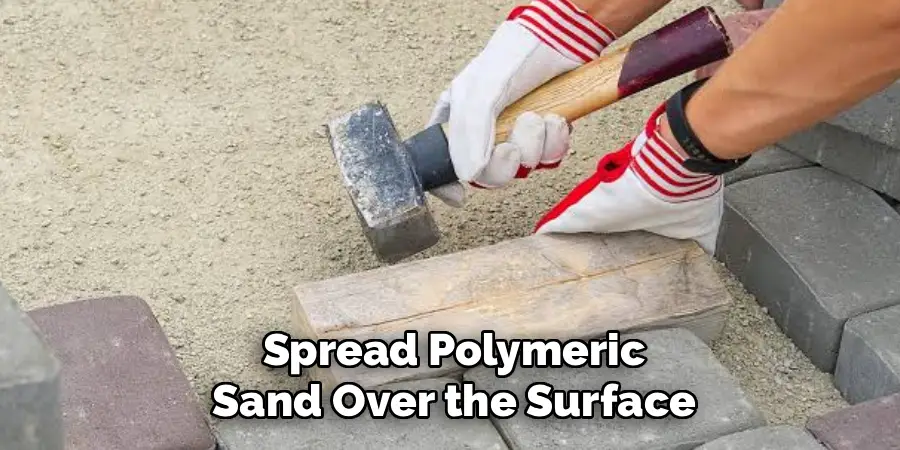
Spread polymeric sand over the surface and sweep it into the joints with a push broom. Polymeric sand hardens when wet, locking everything together and stopping weeds. Once the joints are full, lightly mist the area with water to activate the sand. Follow the product directions for the exact amount. Finally, you can apply a paver sealer for extra protection and a polished look. Let everything cure, and your patio is ready to enjoy.
5 Things You Should Avoid
Even a straightforward project can go sideways if you skip key details. Watch out for these common mistakes.
- Skipping the cleaning step. Laying pavers over a dirty surface leads to poor bonding and shifting. Always clean and dry your concrete first. A little extra effort here saves big headaches later.
- Ignoring drainage. If you don’t account for slope, water can pool on your patio or run toward your house. Always plan your bedding layer to keep water flowing away from your foundation.
- Forgetting edge restraints. Without solid edging, your pavers will spread and shift over time. This is one of the most overlooked steps, and it’s one of the most important for a long-lasting result.
- Using the wrong sand. Regular sand washes away and lets weeds grow. Use polymeric sand for the joints, since it hardens and keeps everything locked tightly in place.
- Rushing the layout. Poor planning leads to crooked rows, awkward cuts, and wasted material. Take your time with your pattern and guidelines before you commit to placing pavers permanently.
Frequently Asked Questions
- Do I Need to Remove My Old Concrete Patio First?
No, you don’t. That’s the whole point of this method. As long as your concrete is structurally sound, you can lay pavers directly on top. Just clean it well, repair any major cracks, and check that water drains properly. This saves you the time and cost of demolition while still giving you a beautiful new surface. - Will Pavers Over Concrete Last a Long Time?
Yes, they can last for decades with proper installation. The key is solid edge restraints, a good bedding layer, and polymeric sand in the joints. These elements keep your pavers stable and prevent shifting. With occasional maintenance like resealing and sweeping in fresh joint sand, your patio will stay looking great for many years. - How Long Does This Project Take?
It depends on the size of your patio and your experience level. A small to medium patio often takes a weekend or two for a DIYer. Larger areas may need more time. Prep work, like cleaning and repairs, adds a day. Don’t rush the process, since careful work leads to better, longer-lasting results.
Conclusion
Transforming a dull concrete slab into a stunning paver patio is one of the most rewarding home projects you can tackle. You don’t need to deal with expensive demolition or weeks of construction. By laying pavers directly over your existing concrete, you get a fresh, custom look while saving time and money.
The secret to success lies in the prep work and the details. Clean your surface well, repair any damage, plan your drainage, and never skip the edge restraints. Take your time with the layout, make clean cuts, and finish strong with polymeric sand and a quality sealer. Each step builds on the last, and careful work pays off with a patio that lasts for years.
Hopefully, this guide on how to install pavers over concrete patio has given you the confidence and knowledge to tackle your own DIY paver patio project.

About
Outdoor Fixes is a distinguished figure in the world of Diy design, with a decade of expertise creating innovative and sustainable Diy solutions.
His professional focus lies in merging traditional craftsmanship with modern manufacturing techniques,
fostering designs that are both practical and environmentally conscious. As the author of diy,
outdoorfixes delves into the art and science of outdoorfixes-making, inspiring artisans and industry professionals alike.
Education RMIT University
(Melbourne, Australia) Associate Degree in Design (Outdoor Fixes) Focus on sustainable design, industry-driven projects,
and practical craftsmanship. Gained hands-on experience with traditional and digital manufacturing tools, such as CAD and CNC software.
Nottingham Trent University
(United Kingdom) Bachelor’s in outdoorfixes.com and Product Design (Honors) Specialized in product design with a focus on blending creativity with production
techniques. Participated in industry projects, working with companies like John Lewis and Vitsoe to gain real-world insights.
Publications and Impact
In diy, Outdoor Fixes his insights on indoor design processes, materials, and strategies for efficient production.
His writing bridges the gap between artisan knowledge and modern industry needs, making it a must-read for both budding designers and seasoned professionals.