
Are you tired of sitting out on your patio and getting burnt by the sun? Or maybe you love hosting outdoor parties but can’t because you don’t have enough shade.
A 20×20 patio cover transforms your backyard into a comfortable oasis. Whether you want to host family dinners or relax with a good book, a solid cover protects you from the elements. Building it yourself saves money and gives you a deep sense of pride. Taking on a project of this size might feel intimidating at first, but breaking it down into manageable chunks makes it entirely achievable.
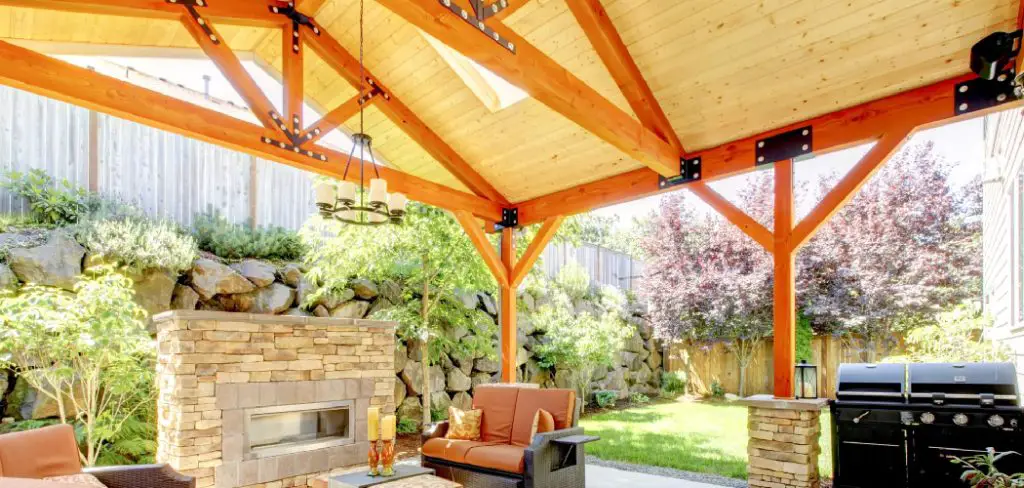
This guide on how to build a 20×20 patio cover walks you through the entire construction process, from gathering your materials to putting on the finishing touches.
What are the Benefits?
Adding a 20×20 patio cover brings several major advantages to your home. First, it provides massive shade, keeping your outdoor area cool during hot summer days. You can comfortably sit outside without the harsh sun beating down on you. Second, it protects your patio furniture from rain, sun damage, and falling debris, saving you money on replacements. Third, a well-built wooden structure adds tangible financial value to your property and increases curb appeal. Finally, it seamlessly extends your living space, giving you a functional outdoor room to enjoy year-round with family and friends.
What Will You Need?
Before you dig a single hole, you must gather the proper tools and materials. Having everything on hand makes the workflow smooth and prevents frustrating delays.
Tools:
- Circular saw and miter saw
- Heavy-duty power drill and impact driver
- Tape measure and carpenter’s square
- Post hole digger or power auger
- Two tall stepladders
- Four-foot level and a string line
- Safety glasses and work gloves
Materials:
- Six 6×6 pressure-treated wooden posts
- 2×10 pressure-treated boards for the main beams and ledger
- 2×6 pressure-treated boards for the rafters
- Roofing panels (polycarbonate, metal, or asphalt shingles)
- Fast-setting concrete mix and gravel
- Galvanized post bases and joist hangers
- Heavy-duty structural screws and lag bolts
- Roofing screws with rubber washers
10 Easy Steps on How to Build a 20×20 Patio Cover
Step 1: Make a Roadmap
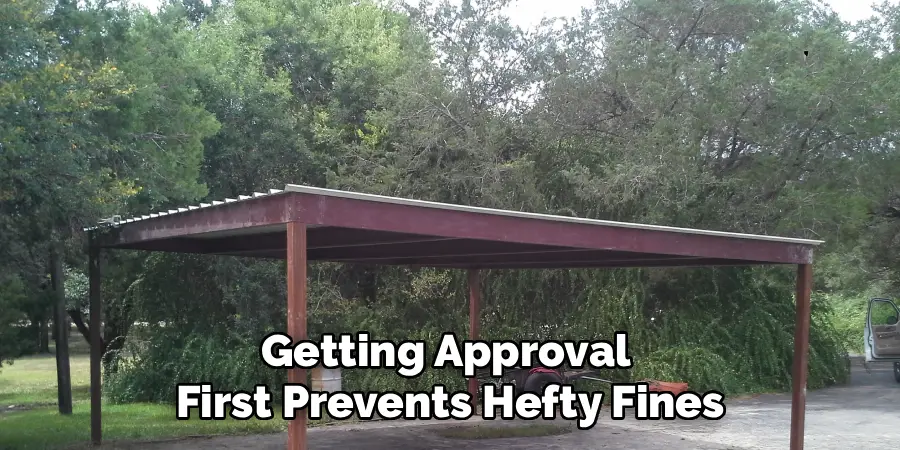
Always check with your local building department before starting construction. A 20×20 structure is large and almost certainly requires a building permit. Draw a simple blueprint showing the dimensions, property lines, and connection points. Getting approval first prevents hefty fines and ensures your design meets local safety codes. If you have any doubts about the structural stability of your design, consult with a professional.
Step 2: Measure and Mark the Area
Use your tape measure and string line to outline the exact 20×20 footprint on the ground. Make sure your corners are perfectly square by measuring diagonally from corner to corner; the two diagonal measurements must match perfectly. Mark your post locations with bright spray paint or wooden stakes. If you are using wooden stakes, make sure they are securely anchored into the ground.
Next, use your string line to create a level guideline for your posts. This will ensure that all of your posts are installed at the same height and level with each other. Use a post hole digger to dig holes for each post along the marked outline. The depth of the hole should be at least one-third of the length of your post plus an additional 6 inches.
Step 3: Dig the Post Holes
Use a post hole digger or rent a power auger to dig your holes at the marked locations. You generally need to dig below the local frost line to prevent the ground from heaving during winter. Add a few inches of gravel to the bottom of each hole to promote proper water drainage away from the concrete. Try to keep the holes as straight and level as possible, using a level or plumb line to check your progress.
Step 4: Pour Concrete and Set Bases
Mix your fast-setting concrete according to the package directions. Pour the concrete into the holes, stopping slightly below ground level. While the concrete remains wet, carefully insert your galvanized post bases into the center. Double-check that they perfectly align with your string line before the concrete hardens. Don’t worry if the bases are not completely level at this point, as they can be adjusted later.

Once the concrete has set, use a level or plumb line to make sure your post bases are perfectly vertical. If necessary, adjust the bases by tapping them gently with a rubber mallet. Once everything is perfectly aligned and level, leave the concrete to fully cure for at least 24 hours before moving on to the next step.
Step 5: Install the Ledger Board
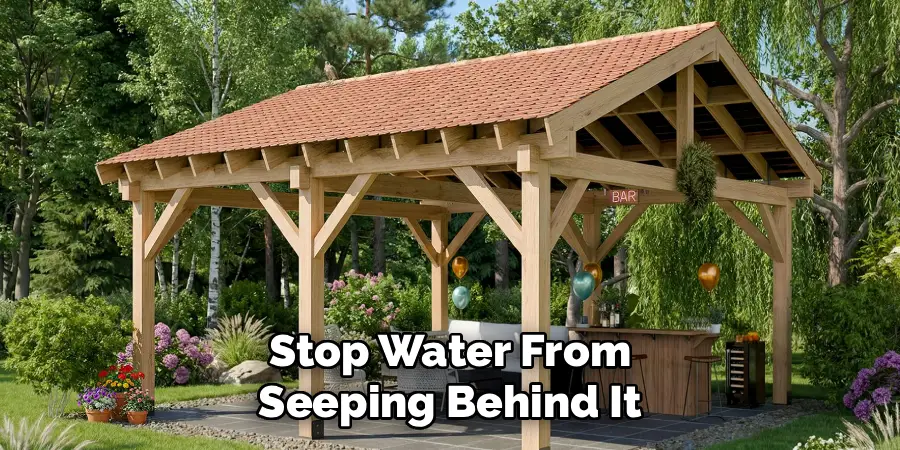
If attaching the cover to your house, secure a 20-foot 2×10 ledger board directly to your home’s framing. Use heavy-duty lag bolts and ensure the board sits perfectly level. You must install metal flashing over the top edge of the ledger board to stop water from seeping behind it and rotting your home.
Step 6: Erect the Posts
Cut your 6×6 posts to the desired height, factoring in the necessary roof slope for water runoff. Place the posts into the metal bases and brace them temporarily with scrap wood. Use a level on two adjacent sides of every post to guarantee they stand completely plumb before securing them with heavy structural screws.
Step 7: Attach the Main Beams
Lift your 2×10 main beams into place across the top of your vertical posts. This step requires at least two people and sturdy ladders for safety. Secure the beams to the posts using heavy-duty structural brackets and lag bolts. Ensure these beams sit perfectly level from end to end.
Step 8: Install the Rafters
Cut your 2×6 rafters to length and space them evenly, usually 16 or 24 inches apart, across the main beams and the ledger board. Secure the rafters using galvanized joist hangers on the ledger side and structural screws on the beam side. Keep the spacing consistent to properly support the roof panels later. Remember to leave a slight overhang on the edges, usually around 6 inches.
Once all the rafters are in place, add braces between them for extra support and stability. These can be made from scrap wood or purchased metal braces. Use structural screws or nails to secure the braces to the rafters.
Step 9: Add Blocking for Stability
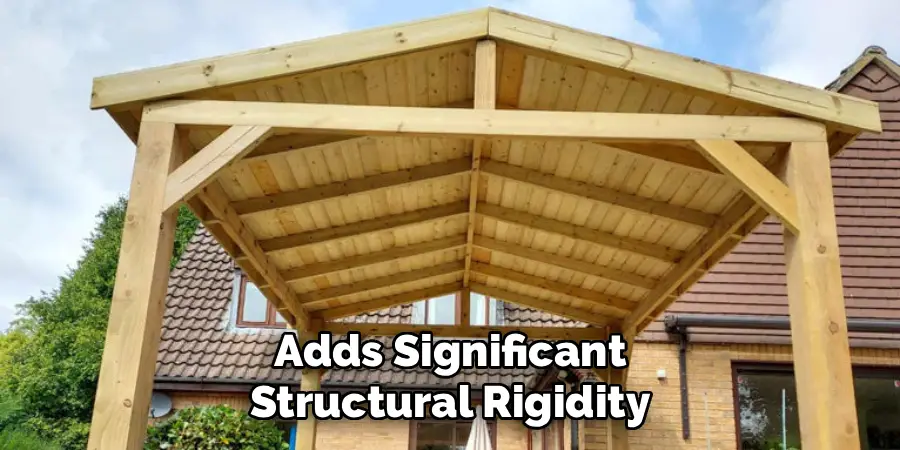
Cut short pieces of 2×6 wood to fit snugly between your installed rafters. Place these blocks in a staggered pattern across the middle span of the roof frame. This blocking technique prevents the long rafters from twisting over time and adds significant structural rigidity to the entire patio frame.
Step 10: Attach the Roof Panels
Lift your chosen roofing panels onto the rafter frame. Start at the lowest edge and work your way up to the top so the panels overlap correctly for water runoff. Secure the panels directly to the rafters using specialized roofing screws with rubber washers to prevent water leaks.
By following these steps, you can successfully build a sturdy and functional patio roof that will protect your outdoor space for years to come.
5 Things You Should Avoid
- Skipping the Permit Process: Building without a permit can force you to tear down the entire structure later.
- Eyeballing Measurements: Small measurement errors compound quickly, resulting in a crooked roof that fails to drain water.
- Using Untreated Wood: Standard indoor wood rots quickly when exposed to rain, completely compromising the safety of your heavy cover.
- Ignoring Roof Pitch: A completely flat roof collects standing water, which inevitably causes leaks and structural damage over time.
- Working Alone: A 20×20 structure requires lifting heavy beams; working alone drastically increases your risk of serious injury.
Frequently Asked Questions
- Do I Need a Permit to Build a 20×20 Patio Cover?
Yes, you almost always need a building permit for a structure of this size. Local municipalities regulate structures to ensure they can withstand local wind and snow loads. Failing to secure a permit might result in expensive fines or forced demolition. Obtaining the proper paperwork ensures your project remains legal. It also keeps your property insurance valid in case of damage. - How Deep Should I Dig My Post Holes?
The required depth depends entirely on your specific climate and local building codes. You must dig the hole so the bottom sits below your region’s frost line. This prevents the freezing ground from pushing the concrete footings upward during winter. In warmer climates, a depth of 24 to 36 inches usually provides enough stability. Always consult your local building department for the exact depth requirements. - Can One Person Build This Structure Alone?
You should never attempt to build a patio cover of this scale by yourself. Lifting heavy 2×10 beams and 6×6 posts requires at least two capable adults. Trying to balance large materials on ladders alone creates a massive safety hazard. Ask friends or family members to help you during the heavy lifting phases. Safety must always remain your top priority throughout the build.
Conclusion
How to build a 20×20 patio cover requires careful planning, basic carpentry skills, and hard work.
By taking your time and following these steps systematically, you can create a beautiful outdoor space that lasts for decades. Remember to prioritize safety, measure twice, and enjoy the rewarding process of improving your own backyard.
Hopefully, this guide has provided you with the necessary information and guidance to successfully build a 20×20 patio cover. If you encounter any challenges, don’t hesitate to seek help from professionals or friends who have experience in construction. Enjoy your new outdoor space and make lasting memories with your loved ones! Happy building!

About
Outdoor Fixes is a distinguished figure in the world of Diy design, with a decade of expertise creating innovative and sustainable Diy solutions.
His professional focus lies in merging traditional craftsmanship with modern manufacturing techniques,
fostering designs that are both practical and environmentally conscious. As the author of diy,
outdoorfixes delves into the art and science of outdoorfixes-making, inspiring artisans and industry professionals alike.
Education RMIT University
(Melbourne, Australia) Associate Degree in Design (Outdoor Fixes) Focus on sustainable design, industry-driven projects,
and practical craftsmanship. Gained hands-on experience with traditional and digital manufacturing tools, such as CAD and CNC software.
Nottingham Trent University
(United Kingdom) Bachelor’s in outdoorfixes.com and Product Design (Honors) Specialized in product design with a focus on blending creativity with production
techniques. Participated in industry projects, working with companies like John Lewis and Vitsoe to gain real-world insights.
Publications and Impact
In diy, Outdoor Fixes his insights on indoor design processes, materials, and strategies for efficient production.
His writing bridges the gap between artisan knowledge and modern industry needs, making it a must-read for both budding designers and seasoned professionals.