
Soaker hoses are a gardener’s best friend, delivering water directly to the soil to nourish plant roots with incredible efficiency. This method minimizes evaporation and keeps foliage dry, reducing the risk of fungal diseases. However, leaving these porous black hoses on the surface can create an unsightly mess and a tripping hazard in your beautiful garden beds. The solution is to take this efficient system one step further by hiding it just beneath the surface.
By installing your irrigation system underground, you not only improve the aesthetics of your garden but also enhance water delivery and protect the hose from UV damage. This guide is designed for gardeners of all skill levels. We will walk you through exactly how to bury soaker hose properly, transforming your irrigation routine into a discreet, “set it and forget it” system that promotes healthier plants and conserves precious water.
Burying a soaker hose might seem like a daunting task at first, but with the right steps, it can be a straightforward and rewarding process. Not only does it help maintain a tidy garden space, but it also ensures consistent and efficient water delivery directly to the root zone of your plants.
This simple yet effective upgrade to your gardening routine can lead to thriving plants and reduced water waste. Whether you’re a beginner or a seasoned gardener, getting started is easier than you think.
Materials Needed
Before you begin burying your soaker hose, it’s important to have all the necessary materials on hand. Here’s a list of what you’ll need:
- Soaker hose (length depends on the size of your garden)
- Landscape staples or pins
- Hand trowel or shovel
- Water timer (optional but recommended)
- Garden hose (if using a water timer)
Prepare Your Soil
The first step in burying a soaker hose is to prepare your soil. This involves removing any debris, rocks, and weeds from the area where you plan to lay your soaker hose. You want to ensure that the area is level and free of any potential obstructions that could impede water flow.
Next, use a hand trowel or shovel to loosen the top layer of soil. This will help the water from your soaker hose to seep deeper into the ground and reach plant roots.
If you have particularly compacted or clay-like soil, you may want to consider adding a layer of compost or other organic material before burying your soaker hose. This can help improve drainage and add beneficial nutrients to your plants.
Lay Your Soaker Hose
Once your soil is prepared, it’s time to lay your soaker hose. Start at one end of your garden and unroll the hose along the perimeter, making sure it is placed close to the base of your plants. You can also snake the hose back and forth between plants for more coverage.
Secure the hose in place with garden staples or stakes, making sure it is not twisted or kinked. This will ensure that water flows evenly throughout the entire length of the hose.

Step-by-Step Guide on How to Bury Soaker Hose
Step 1: Design Your Soaker Hose Layout
Before you pick up a shovel, you need a plan. Walk through your garden and map out the path your soaker hose will take. The goal is to snake the hose around your plants, ensuring it runs within a few inches of the base of each one to deliver water directly to the root zone. For row crops, a straight line on either side of the row is effective.
For more scattered plantings, you will need to create gentle curves and loops. Use a garden hose or a piece of rope to physically lay out your intended path on the ground. This visual guide helps you accurately measure the total length of soaker hose and the number of connectors you will need. Planning this layout carefully ensures you purchase the right amount of materials and avoid sharp bends that could kink the hose and restrict water flow.
Step 2: Unroll and Straighten the Hose
Soaker hoses are typically sold in tight coils, and if you try to lay them out straight from the package, they will twist and fight you every step of the way. To make the installation process much easier, unroll the entire length of the hose and lay it out in a straight line on a flat, sunny surface like a driveway or lawn.
Allow it to rest in the warm sun for at least an hour. The heat will soften the material, making it much more pliable and easier to work with. This simple step helps remove the “memory” from the coiled hose, preventing frustrating kinks and allowing you to create the smooth, gentle curves your layout requires. A straight, relaxed hose is far simpler to position and bury correctly.
Step 3: Dig a Shallow Trench for Installation
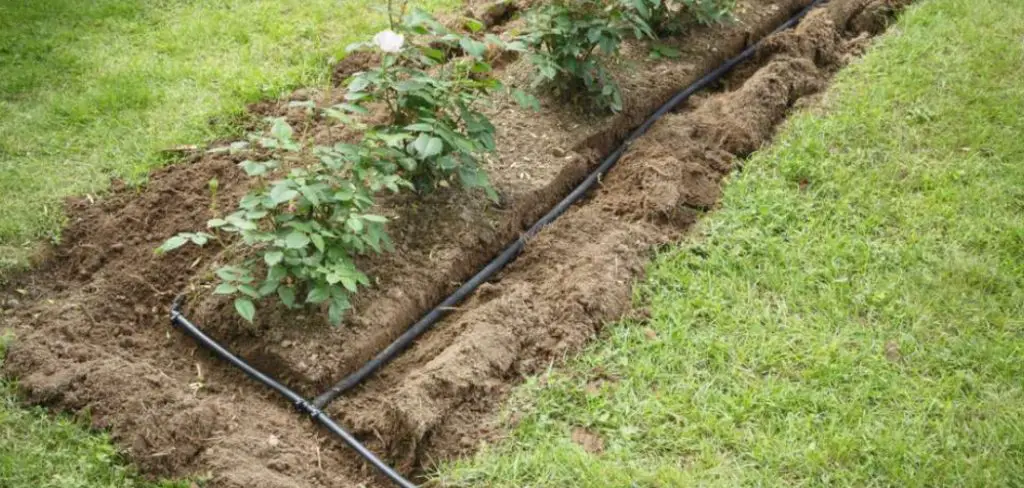
With your layout planned and your hose straightened, it is time to prepare the ground. You do not need to dig a deep, complex trench. Using a garden trowel, a hand cultivator, or a trenching shovel, dig a shallow channel that is only about 2 to 4 inches deep along the path you mapped out earlier.
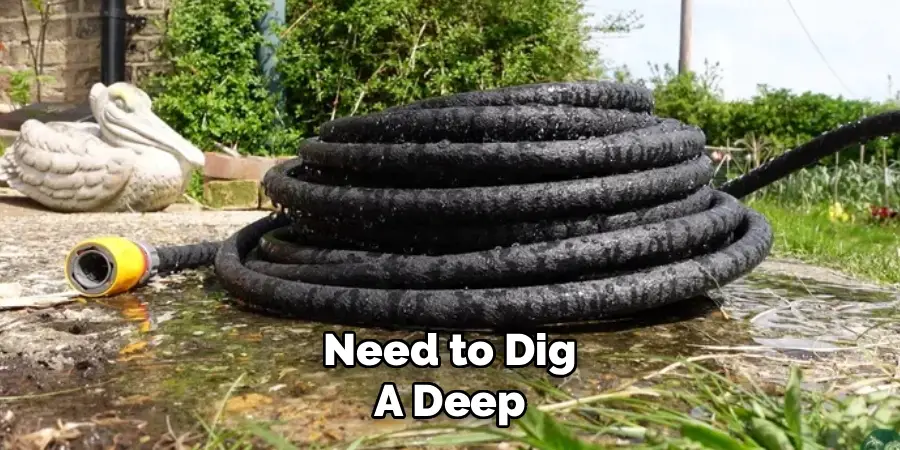
The trench just needs to be deep enough to conceal the hose completely. As you dig, place the excavated soil alongside the trench so you can easily use it to backfill later. Take care to work around the root systems of your existing plants to avoid causing them any damage.
A shallow trench is all that is required for effective subsurface irrigation and is a key part of learning how to bury soaker hose without a major excavation project.
Step 4: Position the Hose and Install Fittings
Carefully place the straightened soaker hose into the shallow trench you have prepared. Ensure the hose is lying flat at the bottom of the channel and follows the contours of your garden bed.
This is the stage where you will connect any separate pieces of hose using barbed plastic connectors if your layout requires it. Make sure all connections are pushed on tightly to prevent leaks. The beginning of your soaker hose line will connect to a solid, non-porous leader hose.
This leader hose is what connects to your outdoor spigot, ensuring that water is not being seeped out right next to your home’s foundation. Positioning the hose correctly now will guarantee that water is delivered precisely where your plants need it most.
Step 5: Secure the Hose in Place
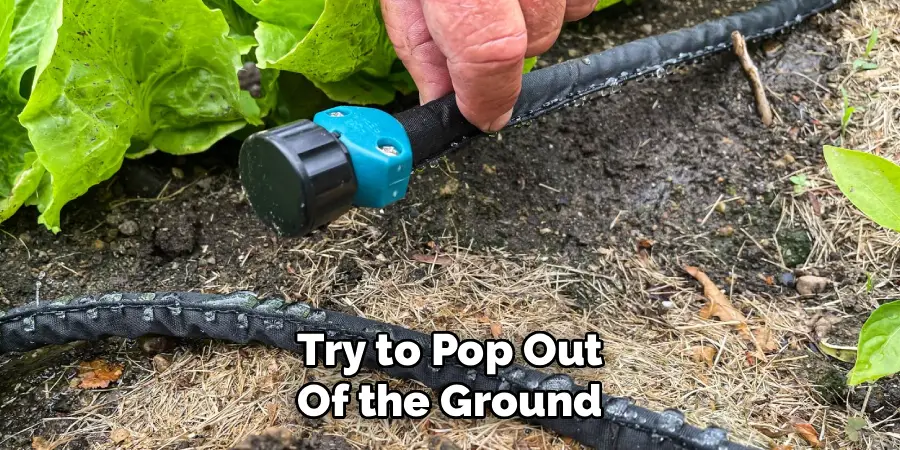
Even when buried, a soaker hose can shift or try to pop out of the ground, especially at curves, if not properly secured.
To prevent this, use garden staples or landscape fabric pins to anchor the hose firmly in place. Push a staple over the hose and deep into the soil every few feet along the entire length of your layout. Pay special attention to securing the hose tightly at every curve and around each connection point.
This step is critical for maintaining the integrity of your design and ensuring the hose stays at the intended depth. Anchoring it securely guarantees that it will not surface over time due to soil movement or water pressure, keeping your irrigation system invisible and effective.
Step 6: Test the System for Leaks and Coverage
Before you backfill the trench, you must test your entire setup. Connect the leader hose to your spigot and turn the water on at a low pressure. Walk the entire length of the soaker hose, visually inspecting it for proper function. Look for an even “sweating” or weeping of water all along its surface.
Check every connector and the end cap for any signs of spraying or significant leaks, which indicate a poor seal. Let the system run for about 15 to 20 minutes and then check the soil. You should see a consistent band of moisture spreading out from the hose.
This test confirms your layout is providing adequate coverage and allows you to fix any issues while the hose is still exposed. This is an essential quality check in the process of how to bury soaker hose.
Step 7: Backfill the Trench and Apply Mulch
Once you have confirmed that your system is working perfectly, it is time to cover it up. Gently push the soil you excavated earlier back into the trench, covering the soaker hose completely.
Lightly tamp the soil down with your hands or the back of a rake to remove any large air pockets, but avoid compacting it too tightly, as this can restrict water flow out of the hose. After the trench is filled and the ground is level, apply a 2 to 3-inch layer of organic mulch, such as wood chips, straw, or shredded leaves, over the entire garden bed.
This final layer of mulch further conceals the location of the hose, helps retain soil moisture, and suppresses weed growth, maximizing the benefits of your new underground irrigation system.
Common Troubleshooting Issues
Even with a well-installed underground irrigation system, you may encounter some common troubleshooting issues. One frequent problem is uneven water distribution, which can occur if the hose has clogs caused by dirt or debris.
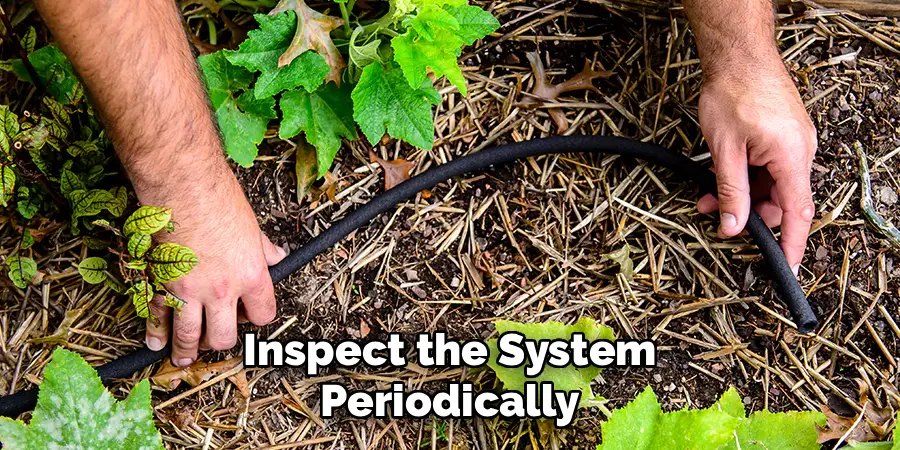
Regularly flushing the system and installing a filter at the water source can help prevent this. Another issue is leakage, often due to cracks or wear in the hose. Inspect the system periodically for visible damage and replace any compromised sections promptly. Additionally, low water pressure might reduce the system’s efficiency.
This can stem from blockages, overly long hose runs, or a weak water source. Addressing these concerns quickly ensures your irrigation system continues to function effectively, keeping your garden healthy and thriving.
Gardening Tips for a Thriving Garden
- Mulch Your Garden Beds
Applying a layer of mulch around your plants helps retain soil moisture, suppress weeds, and regulate soil temperature. Organic mulches, like bark or straw, also add nutrients to the soil as they decompose. - Choose the Right Plants for Your Climate
Select plants that are well-suited to your region’s climate and soil conditions. Native plants often require less water and maintenance, making them a sustainable choice for your garden. - Water Early in the Morning
Watering your garden during the early morning reduces water loss from evaporation and gives plants time to dry before evening, minimizing the risk of fungal diseases. - Rotate Your Crops
If you’re growing vegetables, practice crop rotation each season to prevent soil depletion and reduce the risk of pests and diseases targeting a specific plant family. - Use Companion Planting
Pair plants that benefit each other together. For example, marigolds can repel certain pests, and beans can fix nitrogen in the soil, benefiting nearby plants like tomatoes. - Prune Regularly
Regular pruning promotes healthy growth by removing dead or overcrowded branches, allowing more sunlight and airflow to reach your plants.
These simple tips, combined with proper care and maintenance of your irrigation system, will help keep your garden lush, healthy, and productive year-round.
Frequently Asked Questions
How Deep Should a Soaker Hose Be Buried?
You should bury a soaker hose at a very shallow depth, typically only 2 to 4 inches below the soil surface.
Burying it too deep can make it difficult for the water to reach the root zones of smaller plants and can increase the risk of the pores getting clogged by fine soil particles.
The goal is simply to get the hose out of sight and just under the surface, not to perform a major excavation. After backfilling, a layer of mulch on top is ideal.
Can You Bury Any Type of Soaker Hose?
Most soaker hoses made from recycled rubber or flexible PVC can be safely buried. However, it is always best to check the manufacturer’s recommendations. Some flat, vinyl soaker hoses are designed only for surface use and may degrade or collapse under the weight of soil.
High-quality, round soaker hoses are generally the most durable option for subsurface installation, as their structure is less likely to be compromised when buried.
Will Burying a Soaker Hose Clog It?
Burying a soaker hose does slightly increase the risk of clogging over time, as fine silt can work its way into the pores. You can minimize this risk by:
- Using a filter at the spigot to catch sediment before it enters the hose.
- Burying the hose at a shallow depth.
- Flushing the system periodically by removing the end cap and running water through at high pressure for a few minutes.
How Do I Winterize a Buried Soaker Hose?
Proper winterization is crucial to prevent damage from freezing. Before the first hard frost, disconnect the hose system from the spigot. If possible, use an air compressor set to a very low pressure (PSI) to blow all the remaining water out of the lines.
If you do not have a compressor, simply leave the end caps off and allow the system to drain naturally for a few days. Ensuring the hose is empty of water prevents ice expansion that can crack and ruin the hose.
How Long Should I Run a Buried Soaker Hose?
The ideal run time depends on your soil type, climate, and plant needs. Sandy soils drain quickly and may need watering more often for shorter durations, while clay soils hold moisture longer and benefit from slow, deep watering sessions less frequently.
A good starting point is to run the system for 30 to 60 minutes, two to three times a week. After a session, dig down a few inches near a plant to see how far the water has penetrated. Adjust your run time until the water is reaching a depth of about 6 to 8 inches.
Conclusion
By investing a little time and effort upfront, you can create a highly efficient, discreet, and low-maintenance watering system that will benefit your garden for years to come. Burying your soaker hose protects it from the elements, delivers water directly where it is needed most, and eliminates unsightly clutter from your garden beds.
The process is straightforward, requiring no special skills or expensive equipment—just a solid plan and a bit of manual labor. Remember to test your system thoroughly before covering it up, and your plants will reward you with lush, healthy growth.
Now that you understand how to bury soaker hose, you are ready to take your garden’s irrigation to the next level, saving water, time, and effort all season long.

About
Outdoor Fixes is a distinguished figure in the world of Diy design, with a decade of expertise creating innovative and sustainable Diy solutions.
His professional focus lies in merging traditional craftsmanship with modern manufacturing techniques,
fostering designs that are both practical and environmentally conscious. As the author of diy,
outdoorfixes delves into the art and science of outdoorfixes-making, inspiring artisans and industry professionals alike.
Education RMIT University
(Melbourne, Australia) Associate Degree in Design (Outdoor Fixes) Focus on sustainable design, industry-driven projects,
and practical craftsmanship. Gained hands-on experience with traditional and digital manufacturing tools, such as CAD and CNC software.
Nottingham Trent University
(United Kingdom) Bachelor’s in outdoorfixes.com and Product Design (Honors) Specialized in product design with a focus on blending creativity with production
techniques. Participated in industry projects, working with companies like John Lewis and Vitsoe to gain real-world insights.
Publications and Impact
In diy, Outdoor Fixes his insights on indoor design processes, materials, and strategies for efficient production.
His writing bridges the gap between artisan knowledge and modern industry needs, making it a must-read for both budding designers and seasoned professionals.