
To shorten a garden hose, measure and mark your desired length, cut cleanly with a utility knife or hose cutter, then reattach a hose mender or new end fitting. The whole job takes under 30 minutes and needs only basic tools—an easy DIY fix for almost any gardener.
A hose that’s too long causes more trouble than it’s worth. It tangles. It kinks. It snags on the corner of a raised bed right when you’ve got the sprinkler going. In a smaller yard, all that extra length just gets underfoot, and you end up wrestling the thing every time you want to water the tomatoes.
Here’s the part that surprises people: trimming a hose down is genuinely simple. You don’t need a plumber, and you don’t need fancy equipment. With a sharp blade and the right fitting, most folks can resize a hose in under half an hour. This guide on how to shorten a garden hose walks through the whole thing, step by step, and points out the small mistakes that tend to trip people up along the way.
First, Decide Whether the Hose Actually Needs Shortening
Before you grab a knife, pause for a second. Is cutting really the fix here? Sometimes a hose only seems too long because it’s coiled badly or shoved in a corner. A decent reel or a wall hook might solve the whole problem—no blade required.
But there are clear cases where shortening makes sense. Maybe the hose drags across your flower beds no matter how you route it. Maybe the extra length is bleeding off water pressure at the nozzle. Or maybe the far end just sits there, unused, month after month. If you’re cutting because of a leak or a damaged stretch, look over the entire length first. There could be more than one weak spot, and you’d hate to cut once only to discover another problem six feet down. Measure twice, cut once—the old rule still earns its keep.
Tools and Materials You’ll Need
Pulling your supplies together first keeps the job moving. Here’s the short list:
- Hose cutter or utility knife – a sharp, clean blade gives you a straight edge
- Tape measure – for getting the length right
- Permanent marker – to mark a clear-cut line
- Hose mender or coupling kit – to reattach a working connector
- Hose clamps – to lock the new fitting in place
- Screwdriver or pliers – for tightening those clamps
- Bucket or towel – to catch leftover water
Nearly all of this is sitting on a shelf at your local hardware store. Repair kits tend to run cheap, often under $10, so this isn’t a project that’ll dent your wallet.
7 Simple Steps on How to Shorten a Garden Hose
Step 1: Measure the Length You Actually Need
Lay the hose out flat across the space where you’ll use it. This gives you an honest picture of how much length the job really calls for. Run your tape measure from the spigot to the farthest point you want to reach, then tack on a few extra inches for the fitting.
Don’t eyeball it. A cut can’t be undone, and guessing by sight is how people end up with a hose that won’t quite stretch to the back fence. Once you’re sure, draw a line all the way around the hose with your marker so the cut stays square.
Step 2: Drain the Hose Completely
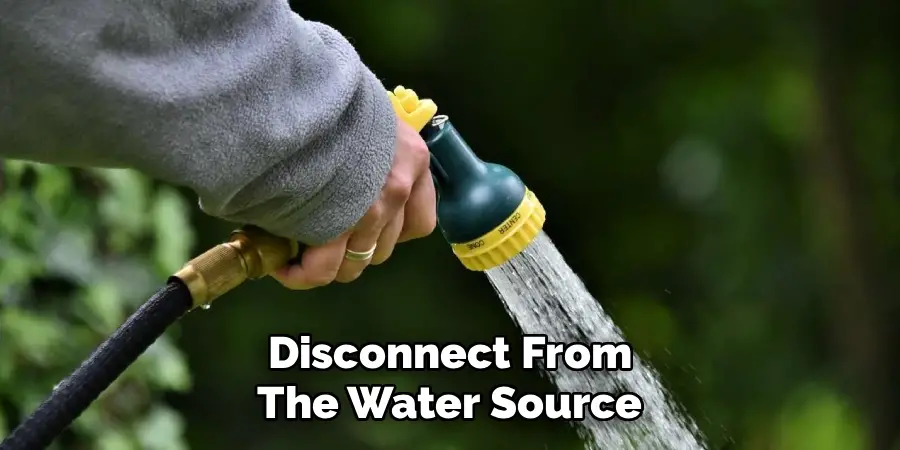
Disconnect from the water source and let everything drain out. Lift one end and walk it toward the other to push the water along, or just lay the hose on a slope and let gravity handle it.
Cutting into a water-filled hose is a wet, messy business. Draining it first leaves you with a cleaner, lighter line that’s far easier to handle. Keep a bucket or an old towel close by for the dribbles that always seem to appear once you make the first cut.
Step 3: Steady the Hose Before You Cut
A hose that rolls or shifts mid-cut tends to leave a crooked edge, and a crooked edge fights you later when you’re fitting the connector. Set the hose on something flat and solid—a workbench works, so does a scrap of plywood.
You could also clamp it down or ask someone to hold it still. The point is simply to stop the section from twisting away from the blade. That extra minute spent stabilizing pays off in a cleaner cut and a tighter seal.
Step 4: Cut at the Marked Line
With a sharp hose cutter or utility knife, push straight through at your line. Use firm, even pressure and aim to finish in a single motion rather than sawing back and forth.
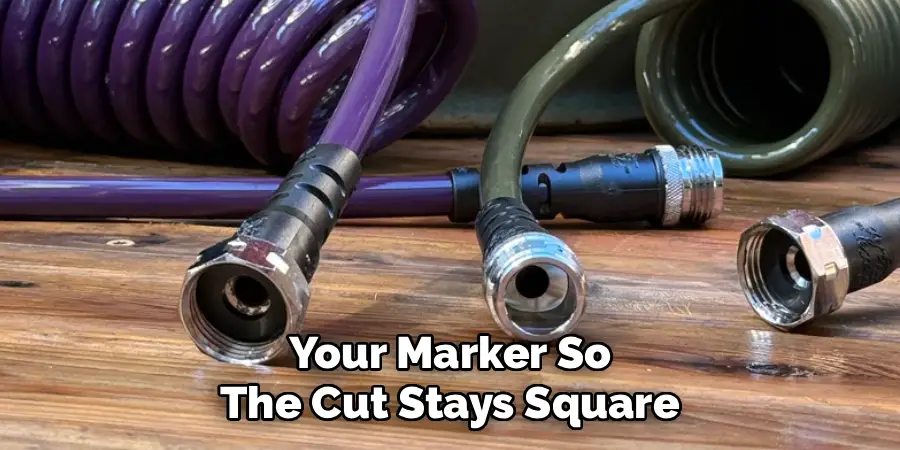
A ragged or angled cut makes the mender hard to insert and may invite leaks down the road. If you’re working with a utility knife, a straight-edge laid alongside the line helps keep the blade honest. Once you’re through, check the end—it should look flat. If it doesn’t, shave off a sliver until it does.
Step 5: Prep the Cut End for the Fitting
Hose ends sometimes come out a little oval or squashed after cutting. When that happens, coax the opening back to round by hand, or slip something like a screwdriver handle inside to reshape it.
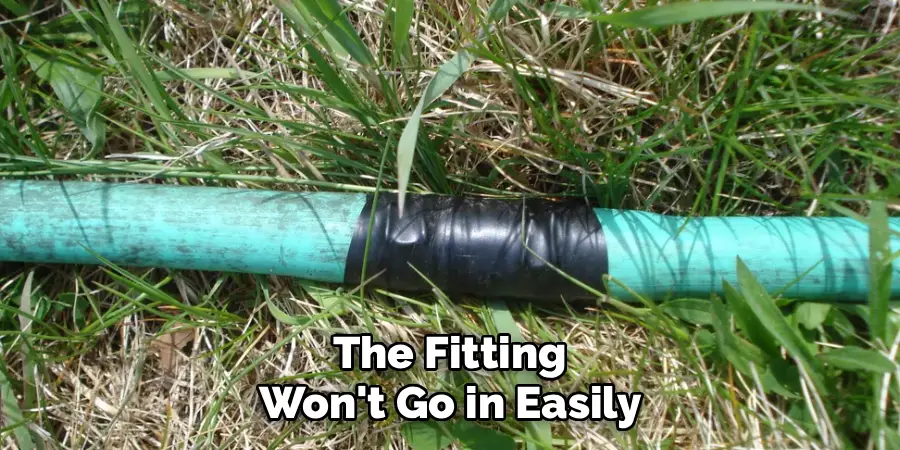
If the hose feels stiff and the fitting won’t go in easily, run a little warm water over the end. The warmth softens the material and the fitting slides home with less of a fight. Resist the urge to jam it in with brute force—older hoses can crack under that kind of pressure. A bit of patience here saves grief in the next step.
Step 6: Insert the Hose Mender
Slide the clamps onto the hose before you push in the mender. This is the step almost everyone forgets, and forgetting it means pulling the whole thing apart to start over. With the clamps in place, press the barbed end of the mender firmly into the cut end.
The barbs should disappear fully inside the hose, with none of the ridges peeking out. That’s what gives you a watertight grip once the clamp goes tight. Replacing a male or female end fitting instead of joining two pieces? Same routine—just swap the mender for the right replacement fitting.
Step 7: Tighten the Clamps and Test for Leaks
Slide the clamps over the barbed section and tighten with a screwdriver or pliers. Snug is the target, not crushing. Crank too hard and you risk cracking the hose around the fitting.
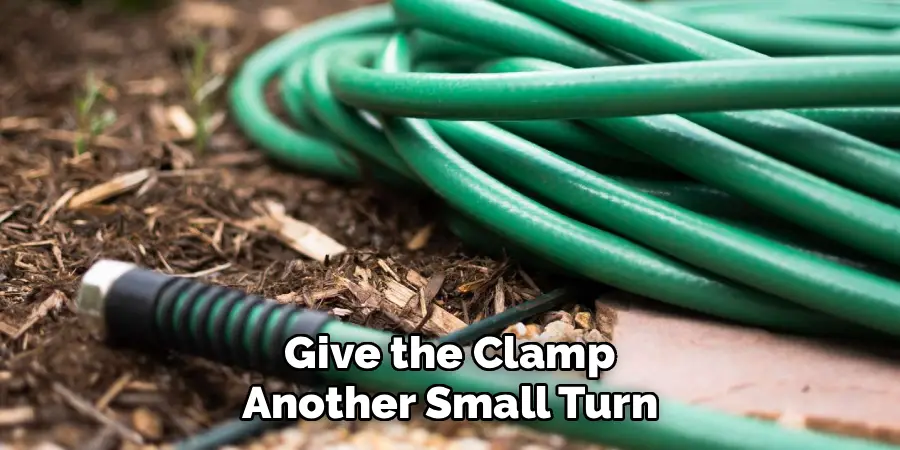
With everything secure, reconnect to the water and turn it on slowly. Run your fingers around the joint, feeling for any moisture. Spot a drip? Shut off the water, dry the area, and give the clamp another small turn. A fitting done right usually seals clean on the very first test.
Following these steps on how to shorten a garden hose, you can now confidently adjust your hose to the perfect length for whatever task you need it for.
How to Care for Your Hose After Shortening
A little upkeep keeps that newly trimmed hose going for years:
- Store it coiled on a reel or wall hook to keep kinks from forming
- Drain it fully after each use, particularly in cold climates where freezing water can split the hose
- Check the fittings now and then for rust, corrosion, or a clamp that’s worked loose
- Swap out the rubber washers inside the connectors when you notice dripping at the joints
- Keep it out of direct sun when it’s not in use, since UV exposure slowly breaks down the material
Frequently Asked Questions
Can I Shorten Any Type of Garden Hose Using This Method?
For most standard rubber, vinyl, and reinforced hoses, this method works fine. Specialty hoses are another matter. Coil hoses, or those with built-in fittings you can’t remove, may call for a different kit or technique altogether. It’s worth checking the material and construction before you cut—very thin or rigid hoses sometimes won’t grip the mender barbs tightly enough to hold a reliable seal.
What Size Hose Mender Do I Need After Cutting the Hose?
The mender has to match your hose’s inner diameter, which is usually ½ inch, ⅝ inch, or ¾ inch. Look at the packaging the hose came in, or measure the inner diameter of the cut end with a ruler. The wrong size leaves you with a loose, leaky connection. If you’re not certain of the measurement, a multi-size repair kit from the hardware store covers your bases.
How Do I Know If My Repaired Hose Connection Is Watertight?
Turn the water on at low pressure and slowly run your fingers around the whole fitting. A good connection feels completely dry after 30 to 60 seconds of flow. If you find any moisture, shut off the water, dry the joint, and tighten the clamp in small increments. A leak that won’t quit usually means the mender isn’t seated all the way, or the clamp is sitting in the wrong spot.
A Shorter Hose Makes for an Easier Garden
Shortening a garden hose is one of those quiet little chores that keeps paying you back. A hose cut to the right length moves easily, kinks less, and frankly makes watering more pleasant. Follow these seven steps and you’ll end up with a clean, secure result that holds up just as well as the original—maybe better.
Take your time with the measuring and the fitting, and whatever you do, don’t skip the leak test. Do it once and the whole thing becomes second nature. Thanks for reading this guide on how to shorten a garden hose.

About
Outdoor Fixes is a distinguished figure in the world of Diy design, with a decade of expertise creating innovative and sustainable Diy solutions.
His professional focus lies in merging traditional craftsmanship with modern manufacturing techniques,
fostering designs that are both practical and environmentally conscious. As the author of diy,
outdoorfixes delves into the art and science of outdoorfixes-making, inspiring artisans and industry professionals alike.
Education RMIT University
(Melbourne, Australia) Associate Degree in Design (Outdoor Fixes) Focus on sustainable design, industry-driven projects,
and practical craftsmanship. Gained hands-on experience with traditional and digital manufacturing tools, such as CAD and CNC software.
Nottingham Trent University
(United Kingdom) Bachelor’s in outdoorfixes.com and Product Design (Honors) Specialized in product design with a focus on blending creativity with production
techniques. Participated in industry projects, working with companies like John Lewis and Vitsoe to gain real-world insights.
Publications and Impact
In diy, Outdoor Fixes his insights on indoor design processes, materials, and strategies for efficient production.
His writing bridges the gap between artisan knowledge and modern industry needs, making it a must-read for both budding designers and seasoned professionals.