
To check your lawn mower oil, park the machine on a flat surface, let the engine cool completely, and disconnect the spark plug. Remove the oil dipstick, wipe it with a clean rag, reinsert it fully, and pull it out again to read the level. If the oil falls below the “add” mark, pour in the manufacturer-recommended oil slowly using a funnel.
Engines rarely die without warning. They usually drop hints. A sputter here, a subtle burning smell there. Keeping a lawn mower running properly often boils down to one remarkably basic habit: checking the oil.
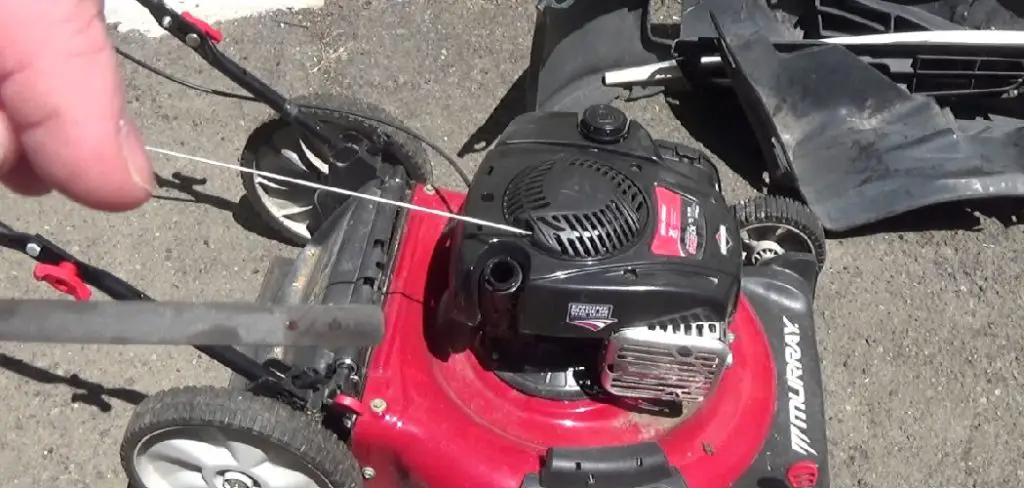
Much like the engine in your car, the small motor sitting on your mower deck relies entirely on clean, correctly leveled oil to manage friction. Ignore this tiny reservoir, and you might find yourself dragging a seized machine to the curb halfway through July. Replacing a mower is expensive. Taking three minutes to check a dipstick is free.
You certainly don’t need a mechanic’s background to handle this. Most home care routines only require a bit of patience and a clear understanding of what you are looking at. By walking through a few practical steps on how to check lawn mower oil, you can read the signs your engine gives you and keep your grass looking sharp all summer.
Safety Precautions Before Starting
Putting safety first might feel like an irritating delay when you just want to finish the lawn. It is actually the smartest way to approach small engine maintenance. A hot engine block could easily leave you with severe burns.
First, kill the engine and step away. Wait at least 10 to 15 minutes. This allows the internal components to cool and lets the oil settle back into the bottom of the pan.
Next, pull the spark plug wire. Disconnecting the spark plug appears to be a minor detail, but it physically prevents the mower from firing up while your fingers are near the moving parts.
Park the machine on flat concrete. A level surface gives you a reading you can actually trust. Pull on some disposable gloves to keep the harsh chemicals off your skin, and you are ready to begin.
Identify the Type of Lawn Mower
Not every lawn mower operates the same way. Understanding your specific machine helps you service it correctly.
Walk-behind mowers generally rely on small four-stroke engines. These typically feature a straightforward oil fill cap right on top of the block. Riding tractors, on the other hand, carry much larger power plants. They often require more oil and utilize a screw-on oil filter similar to a passenger vehicle.
The most important distinction lies between four-stroke and two-stroke designs. A four-stroke engine holds its oil in a dedicated sump. Two-stroke engines require you to mix specialized oil directly into the gasoline tank. Most contemporary residential mowers run on four-stroke engines, which may suggest a shift away from the smoky two-strokes of the past. Always check the physical manual to be sure.
Gather Basic Tools and Materials
To perform regular maintenance on your lawn mower, you will need some basic tools and materials. These may vary depending on the make and model of your specific machine, so it is always important to consult the manual first. However, here are some general tools and materials that are commonly used for lawn mower maintenance:
- Socket set
- Screwdrivers (both Phillips-head and flat-head)
- Pliers
- Oil filter wrench (if applicable)
- Spark plug socket
- Air filter replacement
- Engine oil (specific type recommended by the manufacturer)
- Gasoline can/container
- Fuel stabilizer (optional but recommended)
7 Simple Step-by-Step Guidelines on How to Check Lawn Mower Oil
Once your tools sit within arm’s reach, the actual process takes less time than reading about it. Follow these steps carefully to gauge exactly what is happening inside your engine.
Step 1: Position the Mower Correctly
Roll the mower onto a flat driveway. If the machine tilts even slightly, the oil pools against one wall of the reservoir. This inevitably leads to a false dipstick reading. Giving the oil time to cool also means it stops expanding. Hot oil registers artificially high on the stick.
Step 2: Locate the Oil Fill Cap and Dipstick
Search the top of the engine block for a cap marked with an oil can icon. On standard push mowers, this cap is frequently bright yellow. Riding models occasionally hide this cap behind a side panel. Take a dry rag and brush away any loose grass clippings resting near the cap. You absolutely do not want yard debris falling into the exposed engine block.
Step 3: Remove and Wipe the Dipstick
Twist the cap counterclockwise and pull it free. The stick attached to it will be covered in splashed oil from the engine’s last run. This initial view tells you nothing useful.
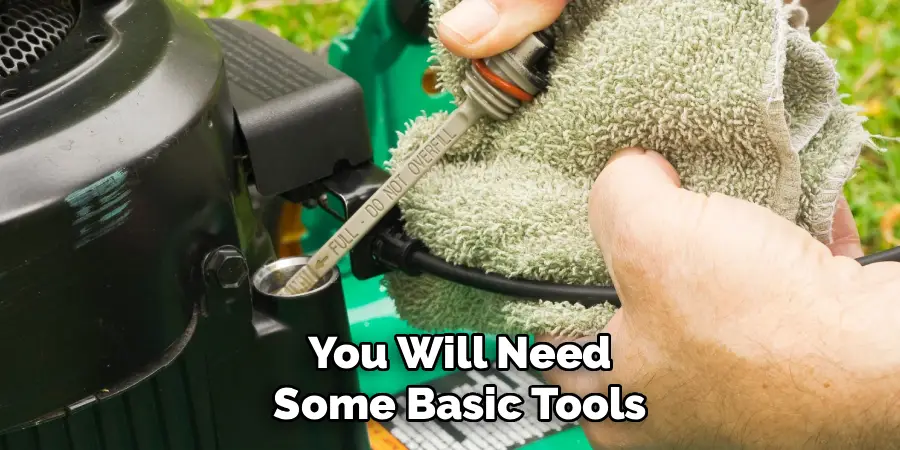
Pinch the rag around the metal or plastic stick and pull downward. You need the dipstick bone dry to get an accurate measurement. Look closely at the bottom edge. You will see a “full” line and an “add” notch.
Step 4: Reinsert the Dipstick Fully
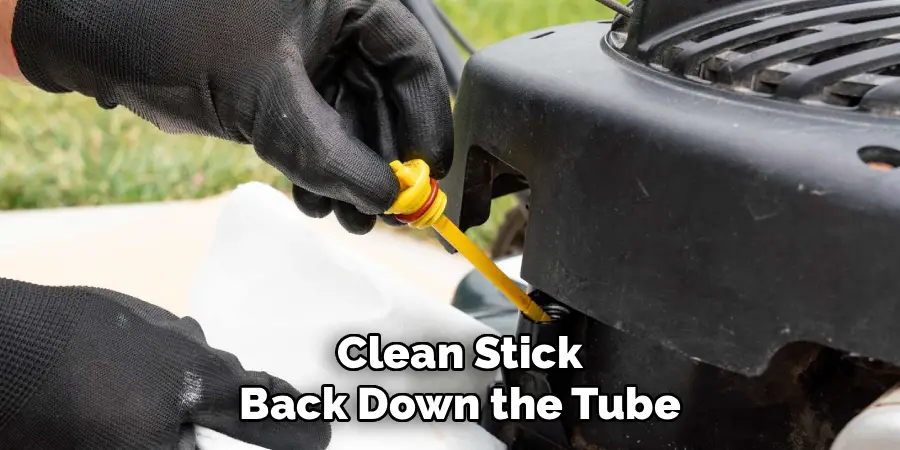
Slide the clean stick back down the tube. If your cap screws on, thread it down completely until it stops. If it uses a push-and-lock mechanism, press it firmly into its final resting position. Stopping halfway provides a low reading, which could trick you into adding oil that the engine does not actually need.
Step 5: Check the Oil Level
Unscrew the cap and pull it out a second time. Keep your hand steady and hold the stick horizontally so the liquid does not run. The highest point of the wet oil film indicates your current level. It should sit comfortably between the two markings.
If the film stops near the top line, put the cap back on. You are done. If it barely registers on the bottom edge, you need to intervene.
Step 6: Inspect the Oil Condition
Volume is only half the story. The texture and color matter just as much. Fresh oil looks like clear amber honey.
When oil turns dark black and feels slightly gritty, it has lost its protective qualities. A milky appearance may indicate water contamination. If you notice a metallic shimmer, it could suggest internal parts are grinding against each other. Catching these warning signs early often prevents a complete engine replacement.
Step 7: Add Oil If Needed
Place your funnel into the open tube. Pour a tiny splash of oil down the neck. Wait thirty seconds for the thick liquid to travel into the sump, then repeat the dipping process.
Engines hold surprisingly little oil. It takes almost no time to go from “low” to “overflowing.” Overfilling causes white smoke and blows out rubber seals. Stop adding liquid the moment you hit the upper line. Reconnect your spark plug.
Following these steps on how to check lawn mower oil and refill if needed should be all you need to get your mower running again.
Common Mistakes to Avoid
Rushing the job causes problems. Checking the level on a steep hill guarantees a bad reading. Skipping the wipe-down step leaves you guessing.
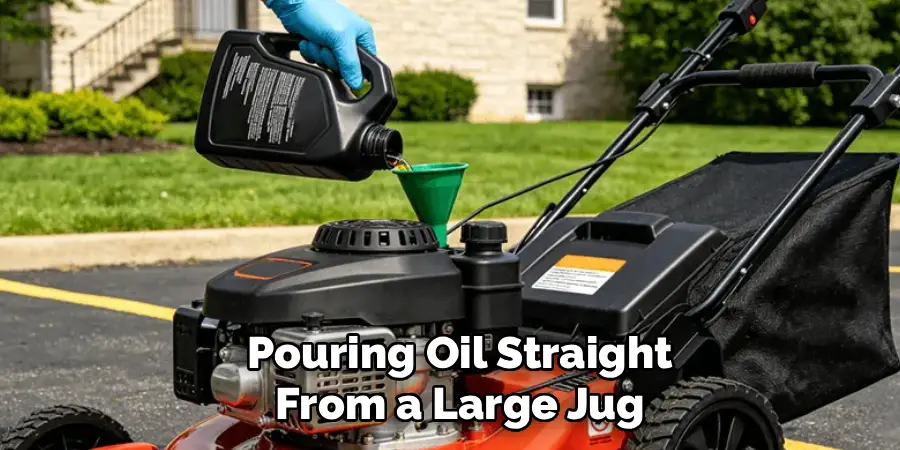
Pouring oil straight from a large jug without a funnel invites a smoky, burning mess the next time the muffler gets hot. Using a heavy winter oil in the middle of July might compromise internal lubrication.
Maintenance Schedule Tips
Consistency protects your investment. Check the stick every single time you pull the mower out of the shed.
Brand-new engines shed microscopic metal shavings during their break-in period. Plan to drain and replace the original oil after the first five hours of mowing. Following that, swap the oil completely every 25 to 50 hours of run time. Writing the date on a piece of masking tape under the hood helps you remember. Always drain the old fluid before packing the mower away for the winter.
Troubleshooting Oil-Related Issues
Your engine speaks through its exhaust pipe. Thick white smoke billowing across the yard usually means you overfilled the crankcase. The engine is burning off the excess. Black smoke, however, appears to indicate a fuel mixture issue rather than an oil problem.
If your dipstick reads empty after only three mows, you likely have a failing gasket. Puddles on the garage floor confirm this. A strong, burning scent might suggest a slow drip onto the exhaust manifold. When basic top-offs stop solving the issue, taking the machine to a local small engine shop becomes necessary.
Frequently Asked Questions
How Often Should I Check My Lawn Mower Oil?
Check the oil level before every single mowing session. Taking sixty seconds to pull the dipstick protects the engine from running dry. Small engines burn a tiny amount of oil naturally, so regular checks catch low levels before catastrophic failure occurs.
What Type of Oil Does My Lawn Mower Need?
Standard walk-behind mowers generally use SAE 30 or 10W-30 motor oil. Your owner’s manual dictates the exact requirement based on the engine’s internal clearances. Using multi-grade oil like 10W-30 often works well in shifting seasonal temperatures.
Can I Overfill My Lawn Mower With Oil?
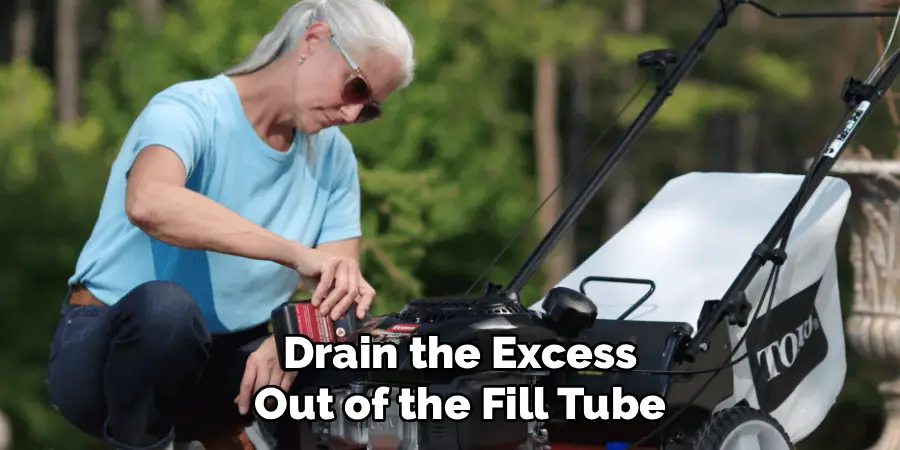
Yes. Pouring too much oil into the engine forces liquid past internal seals and into the combustion chamber. This results in heavy white smoke and poor running conditions. If you overfill it, tilt the mower carefully to drain the excess out of the fill tube until the level sits properly on the dipstick.
Keep Your Equipment Running Strong
Taking care of small engines does not require an engineering degree. It simply demands a bit of routine observation. Keeping an eye on your oil levels prevents heat and friction from destroying expensive metal components.
Establish the habit now, and your mower will reliably cut grass for years to come. Thanks for reading this guide on how to check lawn mower oil.

About
Outdoor Fixes is a distinguished figure in the world of Diy design, with a decade of expertise creating innovative and sustainable Diy solutions.
His professional focus lies in merging traditional craftsmanship with modern manufacturing techniques,
fostering designs that are both practical and environmentally conscious. As the author of diy,
outdoorfixes delves into the art and science of outdoorfixes-making, inspiring artisans and industry professionals alike.
Education RMIT University
(Melbourne, Australia) Associate Degree in Design (Outdoor Fixes) Focus on sustainable design, industry-driven projects,
and practical craftsmanship. Gained hands-on experience with traditional and digital manufacturing tools, such as CAD and CNC software.
Nottingham Trent University
(United Kingdom) Bachelor’s in outdoorfixes.com and Product Design (Honors) Specialized in product design with a focus on blending creativity with production
techniques. Participated in industry projects, working with companies like John Lewis and Vitsoe to gain real-world insights.
Publications and Impact
In diy, Outdoor Fixes his insights on indoor design processes, materials, and strategies for efficient production.
His writing bridges the gap between artisan knowledge and modern industry needs, making it a must-read for both budding designers and seasoned professionals.