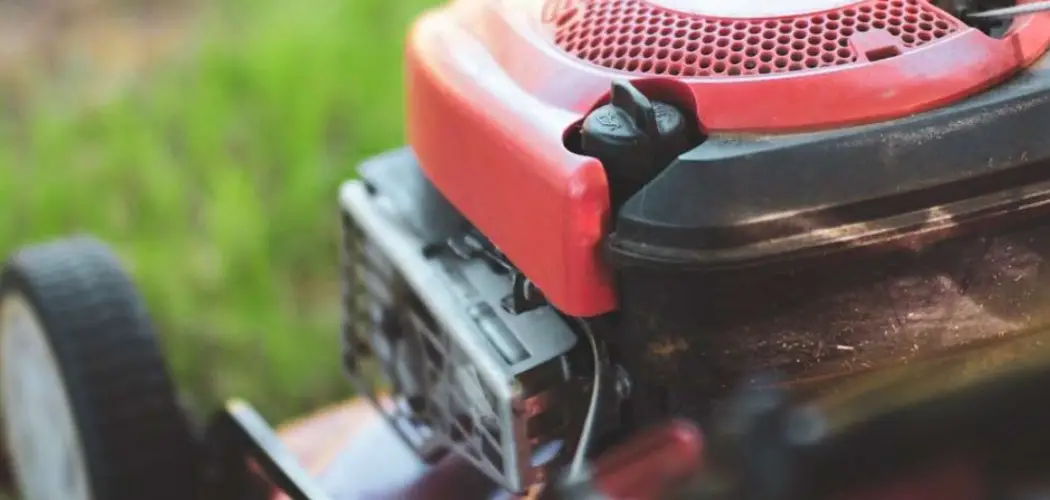
Discovering that gasoline has mixed with your lawn mower’s oil can be an alarming realization for any homeowner. You might notice a strong smell of fuel on the dipstick, see that the oil level is suspiciously high, or observe thin, runny fluid instead of thick lubricant. This issue is not just a nuisance; it is a critical warning sign that your small engine is in distress. When gas dilutes oil, it destroys the oil’s ability to lubricate moving parts, potentially leading to catastrophic engine seizure if you try to run it.
While the situation sounds dire, it is often caused by a few common, fixable culprits like a stuck carburetor float or a failing fuel solenoid. You do not necessarily need to rush to a repair shop or buy a new machine immediately. With some patience and the right approach, you can resolve this yourself.
This guide serves as your mechanic’s handbook, walking you through the safe, methodical process of identifying the leak and restoring your engine’s health. We will show you exactly how to fix gas in oil lawn mower problems effectively, saving your equipment and your wallet.
Gas mixing with oil in your lawn mower can seem like a serious issue, but it’s a common problem that many mower owners face. Understanding the reasons behind this can help prevent long-term damage to your equipment and keep it running efficiently.
Whether it’s a minor issue or something more complex, taking the time to diagnose and address the problem properly can save you from costly repairs down the line. This guide will provide clear, step-by-step instructions to help you troubleshoot and fix the issue with confidence.

Identifying the Source of the Problem
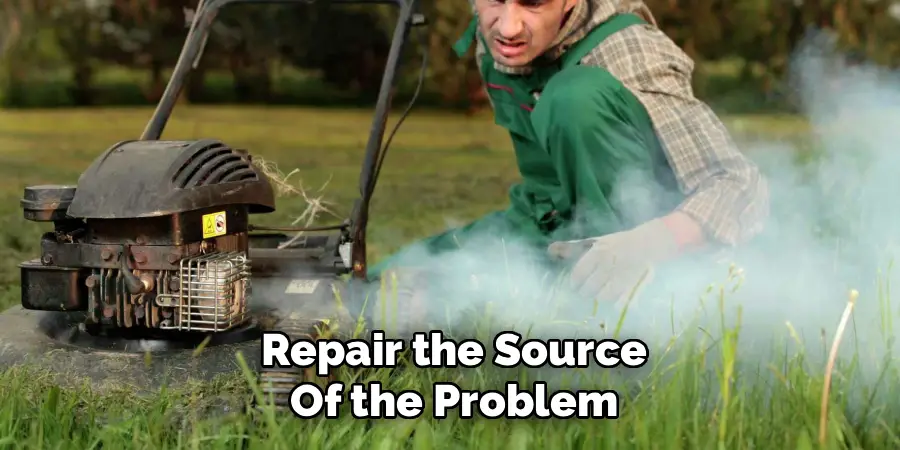
Before diving into the actual steps of fixing gas in oil lawn mower issues, it is important to first identify the source of the problem. There are a few common reasons why you may be experiencing this issue:
- Overfilling the fuel tank: This is one of the most common causes of gas in oil lawn mower problems. If you accidentally overfill your fuel tank, it can cause gasoline to leak into the oil.
- Carburetor float or needle valve issues: The carburetor float is responsible for controlling how much fuel enters the engine. A stuck float or faulty needle valve can result in excess gasoline entering the engine and mixing with the oil.
- Worn piston rings: Over time, the piston rings in your lawn mower engine can wear down and become less effective at sealing the combustion chamber. This can allow gasoline to enter the oil during the combustion process.
- Cracked or damaged fuel lines: If there is a crack or damage in the fuel line, it can cause gasoline to leak into the oil as it is being pumped from the fuel tank to the carburetor.
Step-by-Step Guide on How to Fix Gas in Oil Lawn Mower
Step 1: Immediate Safety and Fluid Assessment
Before you grab a wrench or even think about starting the engine, you must prioritize safety and confirm the diagnosis. A mower with gas in the crankcase is a fire hazard.
Move the machine to a well-ventilated outdoor area away from pilot lights, sparks, or open flames. Disconnect the spark plug wire to prevent accidental ignition while you work. Next, check the oil dipstick. If the level is way above the “Full” mark and the fluid smells strongly of gasoline, you have confirmed the issue.
Do not attempt to run the mower. Running an engine with diluted oil causes immediate, irreversible friction damage to the piston and cylinder walls. Acknowledging the severity right now prevents a simple repair job from turning into a total engine replacement. Securing the scene ensures you can work without risking injury or further mechanical failure.
Step 2: Drain the Contaminated Oil and Fuel
You cannot repair the source of the problem while the engine is full of hazardous fluids. You need to purge the system completely. Place a suitable oil drain pan under the mower and remove the oil drain plug or tip the mower (carburetor side up) to drain the oil fill tube.
Let every drop of the gas-oil mixture drain out. This fluid is toxic and flammable, so handle it with extreme care and dispose of it at a certified recycling center. While the oil drains, you should also clamp the fuel line and drain the gas tank into a separate approved fuel container.
Emptying the tank stops the flow of gasoline that is causing the flooding. This blank slate approach is essential because you cannot test your repairs if the crankcase remains contaminated with thin, useless fluid.
Step 3: Inspect and Clean the Carburetor Float Bowl
The most frequent cause of this issue is a stuck float in the carburetor. The float bowl is a small reservoir at the bottom of the carburetor that holds fuel. Inside, a plastic float rises with the fuel level, pushing a needle into a seat to shut off the flow when full.
If this needle gets stuck open due to dirt or varnish, gas flows endlessly, overflowing into the cylinder and down into the oil. Locate the carburetor and remove the bowl nut to drop the bowl. Clean out any gum, debris, or old fuel varnish you find inside. Spray carburetor cleaner generously on the float and the needle valve.
Ensure the float moves up and down freely without binding. A simple cleaning here often resolves the entire issue of how to fix gas in oil lawn mower leaks without buying new parts.
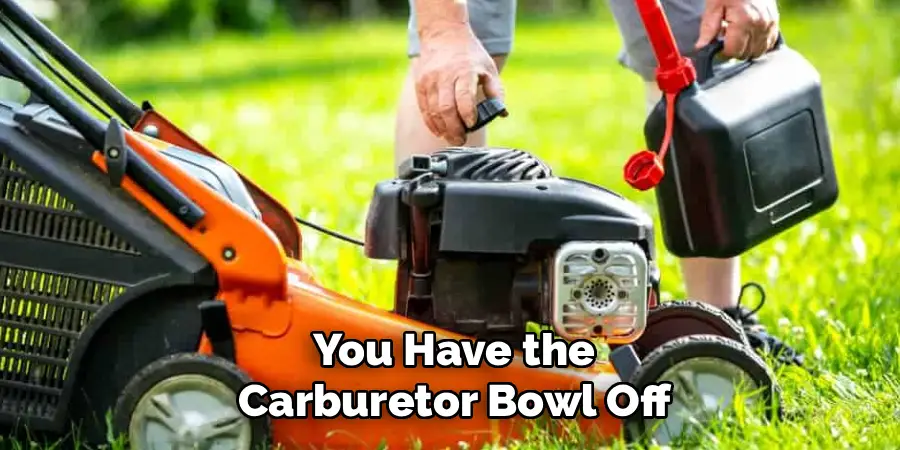
Step 4: Check the Needle and Seat for Damage
While you have the carburetor bowl off, you need to look closer at the needle valve itself. This tiny component is the gatekeeper of your fuel system. Even a microscopic scratch or a bit of corrosion on the needle’s tip or the seat it presses against can prevent a tight seal.
Remove the pin holding the float and carefully extract the needle. Inspect the rubber tip—it should be a perfect cone shape. If it looks deformed, cracked, or hardened, it cannot stop the gas flow effectively. Similarly, use a flashlight to look up into the seat where the needle rests.
If you see dirt or pitting, the seal will fail. If cleaning doesn’t restore a perfect seal, you will need to purchase a carburetor rebuild kit, which is inexpensive and includes a fresh needle and seat.
Step 5: Test the Fuel Solenoid Functionality
Many modern riding mowers and some push mowers are equipped with an anti-afterfire solenoid attached to the bottom of the carburetor bowl.
This electrical component is designed to shut off fuel flow immediately when the ignition key is turned off. If this solenoid fails or gets stuck in the open position, fuel can bypass it and seep into the engine while the mower sits in your garage. To test it, remove the solenoid and connect it to a 9-volt battery.
You should see the plunger retract and hear a distinct “click.” If the plunger does not move or moves sluggishly, the part is defective. A faulty solenoid is a silent culprit that allows gravity to drain your gas tank into your oil supply overnight. Replacing a bad solenoid is crucial for preventing future contamination events.
Step 6: Install an Inline Fuel Shut-Off Valve
Even after fixing the carburetor, adding a secondary layer of defense is a wise strategy for long-term prevention. An inline fuel shut-off valve is a manual switch you install in the fuel line between the gas tank and the carburetor.
This simple, cheap plastic valve allows you to physically cut off the fuel supply whenever you finish mowing. By closing this valve, you isolate the gas in the tank, making it impossible for fuel to push past the carburetor needle and into the engine while the mower is stored.
To install it, simply cut the rubber fuel line, insert the valve, and secure it with hose clamps. This manual override is the ultimate insurance policy when learning how to fix gas in oil lawn mower problems permanently, as it removes the reliance on delicate internal carburetor parts.
Step 7: Refill with Fresh Fluids and Test Run
Once you have cleaned the carburetor, replaced any bad needles or solenoids, and perhaps installed a shut-off valve, it is time to bring the machine back to life. Reassemble the carburetor and reconnect the spark plug wire.
Fill the engine with the manufacturer-specified amount of fresh, high-quality motor oil. Double-check the dipstick to ensure the level is perfect. Next, add a small amount of fresh gasoline to the tank—just enough for a test run. Open your new fuel valve (if installed) and start the engine.
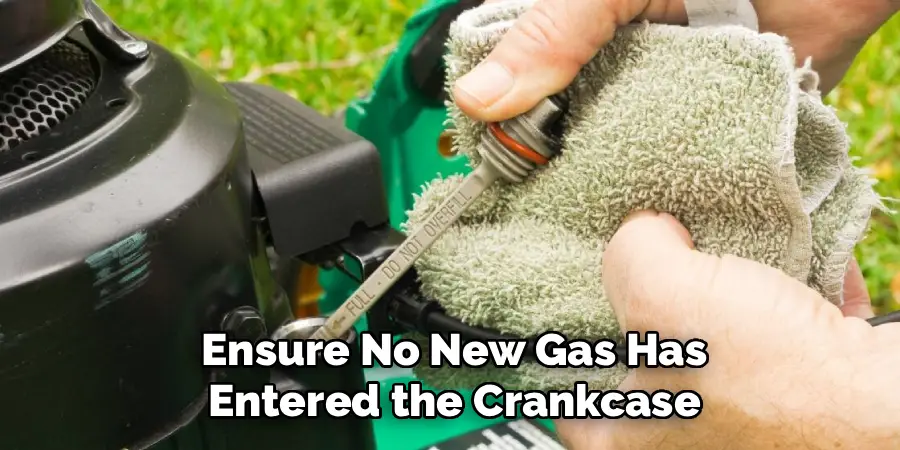
It might smoke heavily white or blue smoke for the first few minutes; this is normal as the engine burns off the residual gas and oil in the cylinder and muffler. Let it run for 5-10 minutes. Shut it off, wait for it to cool, and check the oil level and smell again to ensure no new gas has entered the crankcase.
Lawn Mower Maintenance Tips
To keep your lawn mower running smoothly and extend its lifespan, regular maintenance is essential. Here are some key tips:
- Clean the Mower Deck – After each use, remove any grass clippings or debris from the deck to prevent buildup, which can lead to corrosion or hinder performance. A garden hose or a scraper tool works well for this task.
- Replace or Clean the Air Filter – A clogged air filter can reduce efficiency and strain the engine. Check the air filter regularly and either clean or replace it as needed, usually once per mowing season.
- Sharpen the Blade – Dull blades tear grass rather than cutting it, causing stress to your lawn. Sharpen the blades at least once a season or whenever you notice uneven cutting.
- Check and Replace Spark Plugs – Worn or dirty spark plugs can make starting the mower difficult. Inspect them annually and replace if the electrodes appear damaged or corroded.
- Change the Oil Regularly – Just like a car, your mower’s engine needs clean oil to function properly. Follow the manufacturer’s guidelines for oil type and schedule regular oil changes for consistent performance.
- Inspect the Fuel – Always use fresh fuel and avoid leaving gas sitting in the tank for extended periods. Consider using a fuel stabilizer to keep the gasoline fresh if the mower will be stored for a while.
- Store Properly – During the offseason, store your mower in a dry, sheltered location. To prevent rusting or damage, clean the mower thoroughly before storing and consider covering it with a protective tarp.
By staying diligent with these maintenance practices, your lawn mower will perform efficiently year after year, keeping your yard looking pristine. Regular care not only prevents costly repairs but also ensures smoother operation during every mowing session.
Additional Tips for Properly Storing Your Small Engine
- Keep your small engine in a dry and cool place, away from direct sunlight or extreme temperatures.
- Drain all the fuel from your small engine before storing it for an extended period of time. This will prevent any fuel from going stale and clogging the engine.
- For longer storage periods, consider adding a fuel stabilizer to the remaining gasoline in your tank to keep it fresh for when you need to use it again.
- Store your small engine with a full tank of gas to minimize moisture build-up, which can lead to rust and corrosion.
- Check your manufacturer’s manual for specific recommendations on proper storage procedures and follow them closely for best results.
- In addition to fuel, it’s important to properly store your small engine’s battery if it has one. This will help extend its lifespan and ensure it is ready for use when you need it.
- Disconnect the battery from your small engine and remove it from the machine before storing it. This will prevent any draining or damage during storage.
- Clean the battery terminals with a mixture of baking soda and water to remove any corrosion before storing it.
- Store the battery in a cool, dry place away from direct sunlight or extreme temperatures. You can also use a trickle charger or maintainer to keep the battery charged while in storage.

Frequently Asked Questions
Why Does Gas Getting into the Oil Matter?
Gasoline is a solvent, not a lubricant. When it mixes with motor oil, it breaks down the oil’s viscosity (thickness). Thin oil cannot create the protective film needed between high-speed metal parts like the piston and the cylinder wall.
Running an engine with gas-contaminated oil leads to rapid overheating, excessive friction, and eventually, the engine will seize up or throw a rod, effectively destroying the lawn mower.
Can I Just Change the Oil and Keep Mowing?
No, changing the oil treats the symptom, not the disease. If you do not fix the source of the leak (usually the carburetor float or needle), the new oil will become contaminated with gasoline almost immediately, often within minutes or hours. You will waste money on oil and risk destroying your engine. You must repair the carburetor issue first before a fresh oil change will be effective.
How Do I Clean a Carburetor Needle and Seat?
Use a dedicated aerosol carburetor cleaner. Remove the float and needle, then spray the cleaner directly into the seat passage and onto the needle tip. You can use a cotton swab soaked in cleaner to gently wipe the seat cavity.
Do not use metal tools like needles or wires to scrape the seat, as this can scratch the soft metal and ruin the seal permanently. If the rubber tip of the needle is hard or cracked, replace it.
What Is the Purpose of a Fuel Solenoid?
The fuel solenoid is primarily an anti-backfire device. When you turn off the ignition, the solenoid cuts off fuel to the main jet to prevent the engine from sucking in raw gas as it spins down, which could cause a loud bang (backfire). Secondarily, it helps prevent fuel from flowing into the engine when the mower is off, acting as a backup to the carburetor float, though it is not a watertight seal.
Does Ethanol Gas Cause This Problem?
Yes, ethanol-blended fuel is a major contributor to this issue. Ethanol attracts moisture, which can corrode metal parts in the carburetor. Furthermore, ethanol can degrade rubber and plastic components, such as fuel lines and the tip of the float needle.
Over time, this degradation causes the needle to seal improperly, allowing gas to leak past. Using ethanol-free fuel or a fuel stabilizer can help prevent these problems.
Conclusion
Dealing with a lawn mower that has a crankcase full of gasoline can be intimidating, but it is rarely a death sentence for your machine. It is almost always a symptom of a dirty or worn carburetor component rather than a major internal engine failure.
By following the steps to diagnose the float, inspect the needle valve, and clear out the contaminated fluids, you can reverse the damage and prevent it from happening again. The addition of a manual fuel shut-off valve is a particularly powerful tip that puts control back in your hands. Regular maintenance, such as using fresh fuel and winterizing your mower correctly, will go a long way in keeping these fuel system gremlins at bay.
Remember that patience is key; rushing to restart the engine without a thorough cleanup is risky. Now that you understand how to fix gas in oil lawn mower issues, you can confidently tackle this repair, ensuring your mower runs smoothly and safely for many seasons to come.
About
Outdoor Fixes is a distinguished figure in the world of Diy design, with a decade of expertise creating innovative and sustainable Diy solutions.
His professional focus lies in merging traditional craftsmanship with modern manufacturing techniques,
fostering designs that are both practical and environmentally conscious. As the author of diy,
outdoorfixes delves into the art and science of outdoorfixes-making, inspiring artisans and industry professionals alike.
Education RMIT University
(Melbourne, Australia) Associate Degree in Design (Outdoor Fixes) Focus on sustainable design, industry-driven projects,
and practical craftsmanship. Gained hands-on experience with traditional and digital manufacturing tools, such as CAD and CNC software.
Nottingham Trent University
(United Kingdom) Bachelor’s in outdoorfixes.com and Product Design (Honors) Specialized in product design with a focus on blending creativity with production
techniques. Participated in industry projects, working with companies like John Lewis and Vitsoe to gain real-world insights.
Publications and Impact
In diy, Outdoor Fixes his insights on indoor design processes, materials, and strategies for efficient production.
His writing bridges the gap between artisan knowledge and modern industry needs, making it a must-read for both budding designers and seasoned professionals.