
Quick answer: If you want hanging plants to actually last on a porch—not just look good for a weekend—you need to match the plants to the light you have, fasten hooks into solid ceiling joists, and use pots that drain well. After that, most of the work is ongoing: watering often enough, watching how much sun the plants really get, and making sure the hardware can handle the weight of wet soil.
A few hanging plants can change the feel of a porch almost immediately. The space looks softer. More lived in. Even a small entry can seem fuller once greenery is lifted off the floor and into the air.
Still, a good porch display rarely happens by accident. It usually takes a little forethought: what can handle the heat, what will survive shade, where the joists are, how high the basket should hang, and whether you are setting yourself up for easy care or daily irritation. This guide on how to hang hanging plants on porch walks through those decisions in a practical way so your plants stay up and stay healthy.

Choose the Right Hanging Plants
The best hanging plant for a porch depends less on what looks pretty at the garden center and more on the conditions of your specific porch. Light matters most. So does heat reflecting off siding, the amount of wind that moves through the space, and whether the porch stays damp or dries out by noon.
If your porch gets strong afternoon sun, look for plants that can take real exposure rather than just “bright light” in theory. Petunias, calibrachoa, and portulaca are common choices for a reason: they generally hold up well in hot, sunny conditions and tend to flower reliably. South-facing porches, especially in summer, can be harsher than people expect, so it is worth reading the plant tag closely before buying.
Shadier porches call for a different approach. Ferns, fuchsias, and trailing pothos often do well where light is softer—morning sun, filtered light, or consistent shade through the hottest part of the day. These plants usually prefer cooler conditions and more even moisture. When the plant suits the porch, maintenance becomes much easier. When it does not, you end up compensating constantly with water, moving pots around, or replacing stressed plants halfway through the season.
6 Simple Step-By-Step Guidelines on How to Hang Hanging Plants on Porch
Step 1: Locate the Ceiling Joists
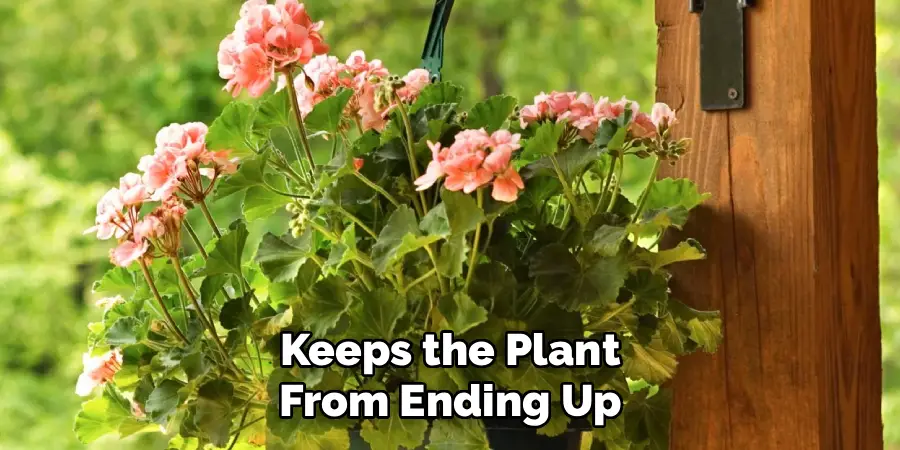
Before drilling anything, find out what is actually above the porch ceiling. This step is not exciting, but it is the one that keeps the plant from ending up on the floor.
Thin ceiling panels, beadboard, or decorative trim may look solid, yet they are not meant to carry the weight of a hanging basket filled with wet potting mix. And that weight adds up quickly. A watered pot can easily reach ten to fifteen pounds, sometimes more, depending on the container size and plant growth. A stud finder can help you locate the wooden joists hidden above the finished ceiling. Those joists are what you want.
Once you find one, mark the center with a pencil. That extra minute matters. Hitting the middle of the joist gives the hook threads more wood to grip, which may improve stability over time. If your porch has exposed framing, the process is simpler—you can choose a solid beam directly and mark the spot there.
Step 2: Choose the Appropriate Hardware
The hardware should be stronger than you think you need. People often underestimate how heavy a hanging planter becomes after watering, especially if the pot is ceramic or the soil stays moisture-retentive.
Use heavy-duty screw-in ceiling hooks—sometimes sold as plant hooks or swag hooks—and check the load rating before buying. A rating of at least 30 pounds is a sensible baseline for most porch planters. For outdoor use, galvanized steel or another rust-resistant finish is usually the safer bet, since porch ceilings are exposed to humidity and changing weather even when they are covered.
If the ceiling is high, you may also want an extension chain or an S-hook so the plant hangs at a height you can actually reach. That sounds obvious, but many porch displays are installed for appearance first and maintenance second. Carabiners can help, too, particularly if you expect to take plants down during storms. One thing to avoid altogether: adhesive hooks. Outdoors, under weight, they are unreliable.
Step 3: Drill the Pilot Holes
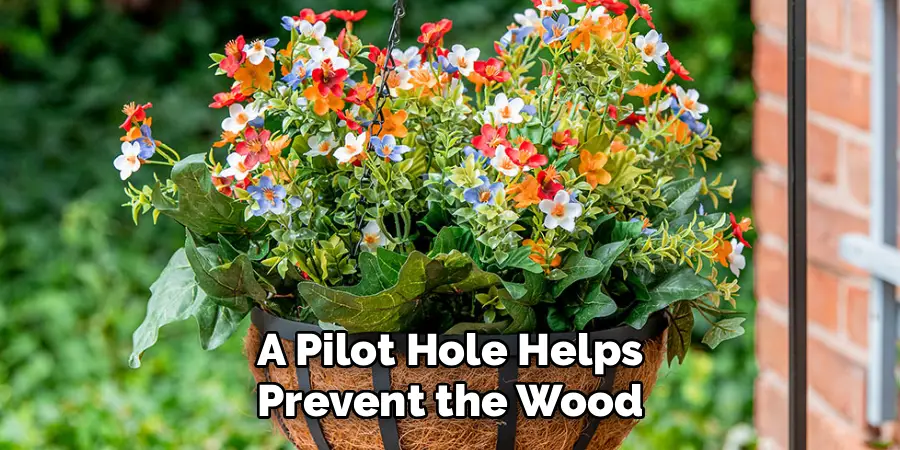
A pilot hole helps prevent the wood from splitting and makes the hook easier to install straight. Skip this step, and you may end up fighting the hardware—or worse, damaging the joist.
Choose a drill bit slightly smaller than the threaded part of the hook. Then drill straight into the marked spot, keeping the bit as vertical as you can. A crooked pilot hole can leave the hook sitting at an angle, which does not look great and may reduce how securely it sits against the ceiling.
It also helps to drill a little deeper than the threaded length of the hook. Wear safety goggles while you do it; sawdust falls fast when you are drilling overhead. This is not a complicated step, though it does require patience.
Step 4: Install the Ceiling Hooks
Once the pilot hole is ready, thread the hook in by hand. At first, it should turn fairly easily. Then the resistance increases as the threads bite into the wood, which is exactly what you want.
A snug fit matters more than speed here. The hook needs to seat firmly so the weight of the planter is supported by the wood, not by a loose connection. If hand strength becomes an issue, use pliers for more grip or slide a screwdriver through the curve of the hook and use it as a lever. Keep turning until the base of the hook sits flush against the ceiling.
It is worth pausing here to check the fit before adding any weight. If the hook seems loose, back it out and reassess rather than hoping it will hold.
Step 5: Prepare the Hanging Planters
Before you lift anything overhead, make sure the planter itself is ready. A surprising number of decorative pots are sold without drainage, which may be fine for indoor cachepots but is a problem outside.
Check for drainage holes at the bottom. If there are none and the material allows it, drill two or three small holes so excess water can escape. Without drainage, water collects at the base of the pot, roots stay soggy, and rot becomes much more likely.
After that, inspect the hanger. Plastic supports can weaken in the sun. Rope can fray. Metal chains sometimes rust where links meet. Look closely at clips and attachment points around the rim of the pot, since those are the places most likely to fail first. It is also easier to water the plant thoroughly while it is still on the ground, let it drain, and then hang it up. Doing that first saves you from an immediate mess overhead.

Step 6: Hang and Adjust the Plants
Now you can hang the planter on the installed hook and step back to see how it sits. Height matters. The plant should be out of the way of heads and shoulders, but still low enough that watering does not become a balancing act.
If it hangs too high, add a short length of chain and an S-hook to lower it. That small adjustment often makes regular care much more manageable. Once the plant is in place, turn the fuller side outward if one side looks better than the other.
Over time, remember to rotate the pot every week or two. Plants lean toward available light, especially on porches where the sun often comes from one direction. A quarter-turn now and then may help them grow more evenly instead of becoming lopsided. Following these steps on how to hang hanging plants on porch will ensure a beautiful and thriving display.
Creative Porch Hanging Ideas
Standard plastic baskets are practical, but they are not your only option. If you want the porch to feel a little more personal, the container and hanging method can do some of the design work.
Macramé hangers, for example, bring texture and work especially well with trailing plants such as ivy or string of pearls. Older household items can sometimes be repurposed, too—metal colanders, for instance, already have drainage built in. Wooden crates can be adapted as decorative holders, though you would want to think carefully about weight and moisture before hanging anything too heavy. Another useful visual trick is to stagger plants at different heights. That tends to create more depth and draws the eye upward instead of leaving everything on one flat line.
Common Mistakes to Avoid
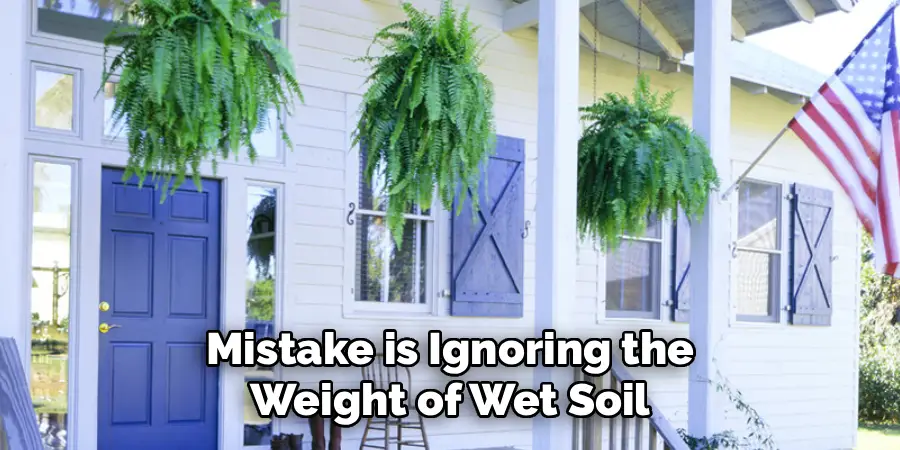
One common mistake is ignoring the weight of wet soil. Dry pots can seem manageable; watered ones are another story. Hardware should be chosen with that heavier load in mind.
Poor drainage is another issue that causes trouble quickly. A plant may look stressed from heat when the real problem is roots sitting in trapped water. Sun exposure is also misjudged all the time. A porch that feels shaded at breakfast may be blazing by late afternoon, and shade-loving plants often show that mismatch fast. Then there is height. If the basket is too high to water comfortably, care becomes inconsistent, and the plant usually pays for that.
Seasonal Hanging Plant Care
Hanging plants need different care as the weather shifts. Summer is usually the hardest season because containers dry out quickly in the heat and wind. On very hot days, some plants may need water once in the morning and again later on, especially if the baskets are small.
Spring and fall are usually less demanding, though not always predictable. Sudden cold snaps can catch porch plants off guard. If frost is forecast, it may be worth taking the plants down and bringing them inside overnight. A slow-release fertilizer applied in early spring can help support growth through the main season, particularly for flowering plants that are expected to keep producing over several months.
DIY vs Store-Bought Hanging Systems
Store-bought hanging systems are convenient. Everything generally matches; the pieces are designed to work together, and the setup is often straightforward. For people who want a quick solution, simplicity has real value.
DIY setups offer more control. You can choose your own chain, hooks, and containers, which makes it easier to match the porch rather than settling for whatever came preassembled. In some cases, DIY systems may also hold up better—provided you buy solid, weather-resistant parts from a hardware store and do not cut corners on weight ratings. The tradeoff is that you have to make more decisions, and not everyone wants that.
Budget-Friendly Hanging Plant Ideas
A porch full of plants does not have to cost much. One lower-cost route is to start with seeds or rooted cuttings instead of buying fully grown hanging baskets, which are often expensive for what you get.
You can also improve plain plastic pots rather than replacing them. Paint helps. So do simple wraps of twine or burlap, assuming they are kept from staying constantly wet. Homemade macramé hangers are another affordable option if you are willing to spend a little time rather than more money. Cotton rope is inexpensive, and the result can look better than many store versions.
Frequently Asked Questions
Q1: How Often Should I Water Hanging Plants On A Porch?
Usually more often than you expect. Because hanging baskets are exposed to moving air on all sides, they tend to dry out faster than plants in the ground or in large patio pots. In hot summer weather, daily watering is often necessary, and during a heatwave some may need water twice a day. The simplest check is still the best one: push a finger about an inch into the soil. If it feels dry, water thoroughly until excess drains out.
Q2: What Are The Best Plants For A Deeply Shaded Porch?
For very shady porches, plants that naturally tolerate low light are your safest choice. Boston ferns are a classic option and usually give that full, draping look people want in a hanging basket. English ivy, creeping fig, and trailing pothos can also work well in shade. They offer movement and spill over the edge nicely without needing intense direct sun.
Q3: How Do I Stop Hanging Plants From Dripping On The Floor?
If water dripping onto the porch is the problem, a deep plastic drip tray can help, though it needs to be secured properly and emptied as needed. Some hanging planters include a built-in reservoir, which may reduce runoff. Another practical fix is to take the plant down for watering, let it drain on the lawn or driveway for fifteen to twenty minutes, and then hang it back up. That approach is less elegant, perhaps, but often cleaner.
Conclusion
Hanging plants on a porch is not especially difficult, though it does ask for a bit more care than the finished look might suggest. The main things are straightforward: install hardware into solid wood, choose plants that fit the light you actually have, and keep up with watering before the baskets dry out completely.
Do that, and your porch can become a greener, more inviting space without much guesswork. Start by looking at the sunlight, checking the ceiling structure, and planning from there. Thanks for reading this guide on how to hang hanging plants on porch.
About
Outdoor Fixes is a distinguished figure in the world of Diy design, with a decade of expertise creating innovative and sustainable Diy solutions.
His professional focus lies in merging traditional craftsmanship with modern manufacturing techniques,
fostering designs that are both practical and environmentally conscious. As the author of diy,
outdoorfixes delves into the art and science of outdoorfixes-making, inspiring artisans and industry professionals alike.
Education RMIT University
(Melbourne, Australia) Associate Degree in Design (Outdoor Fixes) Focus on sustainable design, industry-driven projects,
and practical craftsmanship. Gained hands-on experience with traditional and digital manufacturing tools, such as CAD and CNC software.
Nottingham Trent University
(United Kingdom) Bachelor’s in outdoorfixes.com and Product Design (Honors) Specialized in product design with a focus on blending creativity with production
techniques. Participated in industry projects, working with companies like John Lewis and Vitsoe to gain real-world insights.
Publications and Impact
In diy, Outdoor Fixes his insights on indoor design processes, materials, and strategies for efficient production.
His writing bridges the gap between artisan knowledge and modern industry needs, making it a must-read for both budding designers and seasoned professionals.