
A well-crafted backyard walkway does more than just provide a path from one place to another; it defines outdoor spaces, protects your lawn from wear and tear, and adds significant charm and structure to your landscape. Whether it guides guests from the patio to a fire pit or meanders through a garden, a durable walkway enhances both the functionality and aesthetic appeal of your yard.
Building one yourself may seem like a daunting task reserved for professional landscapers, but it is a thoroughly rewarding and achievable project for a determined homeowner. This comprehensive guide will provide you with the knowledge and step-by-step instructions on how to build a backyard walkway that is not only beautiful but also built to last for years to come.
Planning Your Perfect Backyard Walkway
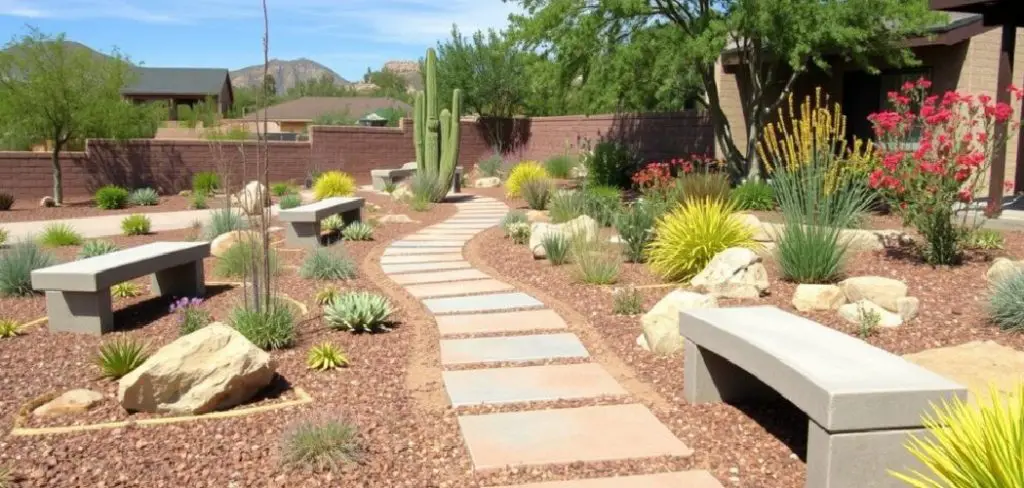
Before a single shovel of dirt is moved, the most critical phase of the project begins: planning. A thoughtful plan is the foundation of a successful walkway, ensuring it meets your functional needs and complements your landscape design. Start by considering the path’s primary route and purpose. Think about the natural flow of foot traffic in your yard. Is the walkway a direct route to a garden shed or a grill, or is it a leisurely, winding path designed for strolling through a garden? The function will heavily influence its design. Take time to visualize how the path will interact with existing features like trees, patios, and garden beds to create a cohesive outdoor environment.
Choosing the Best Route
To find the perfect route, grab a garden hose or a long rope and lay it out on the ground. This simple trick allows you to visualize the path in real-time and make adjustments easily. Experiment with different shapes. A straight path creates a sense of formality and purpose, efficiently connecting two points. A gently curving path, on the other hand, can feel more natural and organic, adding a sense of mystery and encouraging a slower pace as it reveals different parts of the yard. Consider how each style relates to your overall landscape design and the architecture of your home before making a final decision.
Sizing Your Walkway
The width of your walkway is a crucial detail that impacts both its comfort and functionality. A path that is too narrow can feel cramped and awkward. As a general rule, a minimum width of three feet is recommended for a single person to walk comfortably. If you anticipate two people walking side-by-side or need to accommodate tools like a wheelbarrow or lawnmower, a width of four to five feet is more appropriate. Measure your proposed route and ensure the width feels balanced with the scale of your yard and the elements it connects.
Selecting the Right Materials
Choosing the right material is a decision that balances aesthetics, budget, and long-term maintenance. The material you select will define the walkway’s character and durability. It is wise to explore the pros and cons of each common option to make an informed choice that aligns with your vision and practical requirements.
Pavers and Flagstone
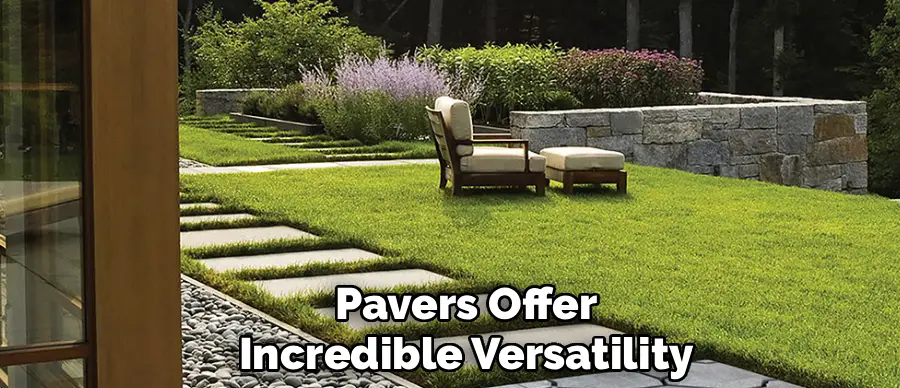
Concrete pavers and natural flagstone are among the most popular choices for backyard walkways, and for good reason. Pavers offer incredible versatility, coming in a vast array of shapes, colors, and textures that can create classic or modern patterns. They are engineered to be extremely durable and uniform, making installation relatively straightforward. Flagstone, with its irregular shapes and natural, earthy tones, provides a more rustic and organic appeal. Both options are incredibly long-lasting but require the proper installation of a solid, compacted base to prevent shifting and settling over time.
Gravel and Mulch
For a more informal, budget-friendly, or rustic path, loose materials like gravel or wood mulch are excellent options. A gravel path, particularly one made of pea gravel, offers a satisfying crunch underfoot and a classic look that works well in cottage or country-style gardens. Wood mulch provides a soft, natural path that blends seamlessly into wooded or heavily planted areas. Both materials are relatively easy to install, but do require proper landscape edging to keep them contained. They will also need occasional replenishment as the materials settle or decompose.
Poured Concrete
A poured concrete walkway offers a clean, modern, and highly durable surface. It is a fantastic choice for a sleek, contemporary look. Concrete can be left with a simple broom finish or can be enhanced with stamps to mimic the look of stone or brick, and it can also be colored with dyes. While poured concrete is exceptionally long-lasting, the installation process is more labor-intensive and requires a degree of skill to achieve a smooth, professional finish. It is often less forgiving of mistakes than laying individual pavers or stones.
Tools and Safety Equipment Checklist
Gathering all your tools and safety gear before you begin will streamline the construction process and prevent frustrating interruptions. Building a walkway involves heavy lifting and repetitive tasks, so prioritizing safety is non-negotiable. Ensure you have everything you need laid out and ready to go.
Essential Digging and Measuring Tools
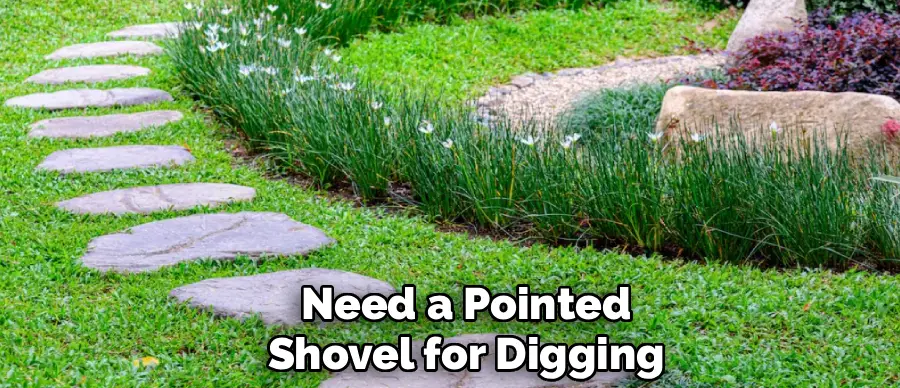
The core of this project involves excavation and precision, so your tool list will reflect that. You will need a pointed shovel for digging and a flat-headed spade for creating clean edges. A wheelbarrow is indispensable for moving soil, gravel, and pavers. For accuracy, have a tape measure, a long level (4-foot is ideal), and a framing square on hand. To set the pavers firmly into place, a rubber mallet is essential.
Necessary Safety Gear
Protecting yourself is paramount. Heavy-duty work gloves will save your hands from blisters and cuts when handling rough materials. Safety glasses are a must to shield your eyes from flying debris, especially when cutting pavers or tamping the base. Given the heavy lifting involved, steel-toed boots are highly recommended to protect your feet. Finally, a good pair of knee pads will provide much-needed comfort during the hours you will spend kneeling to set pavers and level the base.
Step-by-Step Guide: How to Build a Backyard Walkway
This guide will focus on building a walkway with pavers, as it is one of the most common and achievable DIY methods. By following these steps carefully, you can construct a professional-quality path that adds immense value and beauty to your home.
Step 1: Mark and Excavate the Path
Begin by using wooden stakes and string to create a precise outline of your walkway. This visual guide will keep your lines straight or your curves uniform. Once marked, it is time to excavate. Using your shovel and spade, dig out the area within the stakes to a depth of about 7 to 8 inches. This depth accommodates a 4-inch gravel base, a 1-inch sand layer, and the height of a standard paver. The goal is to create a trench with a flat, level bottom. Use a tape measure as you dig to ensure consistent depth.
Step 2: Compact the Soil Base
A stable walkway depends entirely on a solid foundation, and this step is the most critical for long-term durability. Once the trench is excavated, you must compact the soil at the bottom. Use a hand tamper (a heavy, flat plate on a long handle) or a rented plate compactor to firmly press down the soil. Go over the entire area several times until the ground is hard and does not give under your feet. This prevents the soil from settling later, which is the primary cause of an uneven, failing walkway.
Step 3: Add and Level the Gravel Base
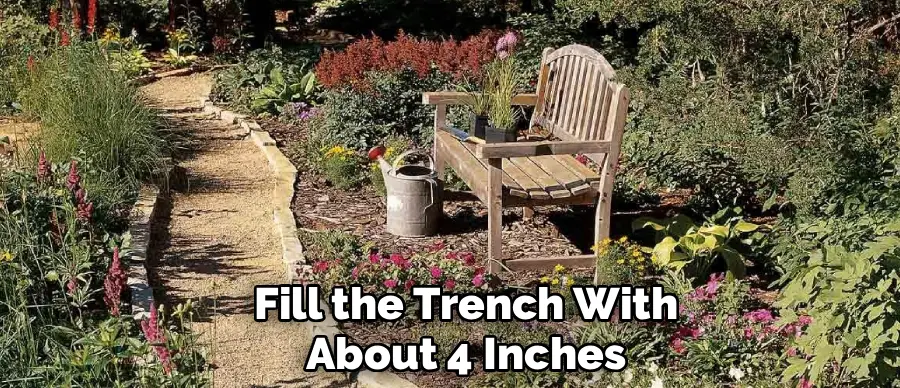
Now, you will add the load-bearing layer of your foundation. Fill the trench with about 4 inches of paver base, which is a type of crushed gravel aggregate. Spread it evenly with a rake. Next, you need to compact and level this layer. Use the hand tamper or plate compactor again to create a dense, solid base. To ensure proper drainage, the walkway should have a slight slope away from your house, typically about a quarter-inch drop for every foot of width. Use your level to check for this grade as you work.
Step 4: Add the Sand Layer
On top of the compacted gravel, add a 1-inch layer of coarse leveling sand. This layer provides a bed that the pavers will sit in, allowing for minor adjustments. To get this layer perfectly smooth and level (a process called “screeding”), place two parallel pipes or wooden dowels on top of the gravel base. Pour the sand between them and pull a straight 2×4 board across the top of the pipes. This will scrape off the excess sand, leaving a perfectly smooth, uniform surface. Carefully remove the pipes and fill in the voids with sand.
Step 5: Lay the Pavers or Stones
With your sand bed prepared, you can begin the rewarding process of laying the pavers. Start at a corner or along a straight edge, like against a patio or driveway. Place each paver gently onto the sand, being careful not to disturb the smooth surface. Do not slide them into place. Set them down and leave a small, consistent gap (about 1/8 inch) between each one. Use your rubber mallet to gently tap each paver, setting it firmly into the sand. Use your level frequently to check that the surface remains even as you go.
Step 6: Install Edge Restraints
To prevent your pavers from shifting outward and separating over time, you must install edge restraints. These are typically made of durable plastic or metal and are designed to hold the border of the walkway firmly in place. Set the edging against the outside pavers and secure it into the ground by driving long spikes through the provided holes. This hidden frame is crucial for locking the entire system together and ensuring the longevity of your path.
Step 7: Fill the Joints with Polymeric Sand
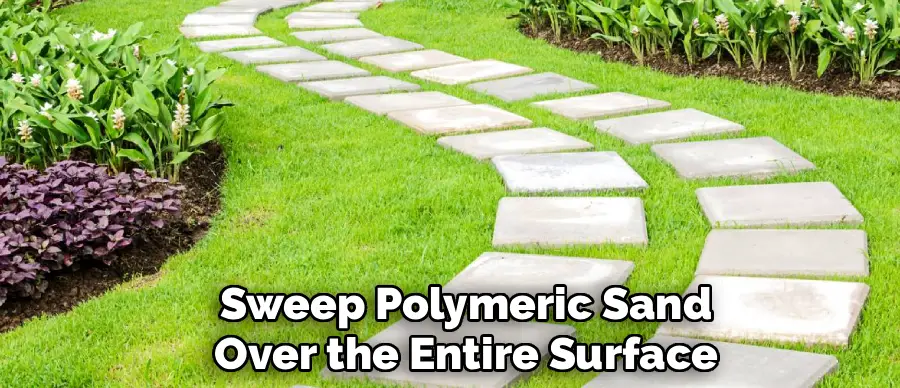
The final step is to lock the pavers together. Sweep polymeric sand over the entire surface of the walkway, allowing it to fall into the joints between the pavers. Use a broom to work the sand down into every crack until the joints are filled. Then, use a leaf blower on a low setting or a soft broom to remove all excess sand from the surface of the pavers. Finally, activate the sand by lightly misting the entire walkway with a garden hose. The water causes the polymers in the sand to harden, creating a firm yet flexible grout that locks the pavers in place and helps prevent weeds.
Finishing Touches to Enhance Your Walkway
With the construction complete, a few finishing touches can seamlessly integrate your new walkway into the surrounding landscape, elevating it from a functional path to a beautiful garden feature.
Adding Landscape Lighting
Installing low-voltage landscape lighting along the edges of your walkway adds a touch of magic and enhances safety for evening strolls. Solar-powered path lights are an easy-to-install option, while a wired system provides more consistent and powerful illumination. The soft glow will highlight the texture of your walkway and guide guests through the yard after dark.
Planting Borders
To soften the hard edges of your new path, consider planting borders along its sides. Low-growing perennials, creeping groundcovers like thyme or sedum, or soft ornamental grasses can bridge the gap between the walkway and the lawn or garden beds. This helps to nestle the path into the landscape, making it feel as though it has always been there.
Common Mistakes to Avoid
Building a walkway is a precise process, and a few common mistakes can compromise the integrity of your project. Being aware of these potential pitfalls will help you achieve a professional and lasting result.
Skipping the Base Preparation
The most common and catastrophic error in walkway construction is rushing or skimping on the base preparation. An unstable or uncompacted base is the number one reason that paver paths become uneven, wavy, and unstable over time. Take the time to properly excavate to the correct depth and, most importantly, thoroughly compact both the native soil and the gravel base layer. This work is hidden in the final product, but it is the secret to a walkway that lasts for decades.
Forgetting Proper Drainage
Water is the enemy of a stable walkway. A perfectly flat path will allow water to pool on the surface, which can lead to staining, algae growth, and damage during freeze-thaw cycles. Always remember to incorporate a slight grade into your base layer—a slope of about one-quarter inch per foot is usually sufficient. This will direct rainwater to run off the side of the path and away from your home’s foundation, keeping the walkway dry and stable.
Conclusion
Building a backyard walkway is a substantial yet incredibly fulfilling DIY project that adds lasting value, function, and beauty to your outdoor living space. The key to success lies in careful and methodical work, from the initial planning and routing to the critical stages of excavation, base preparation, and laying the materials.
By understanding the process and taking your time with each step, you now know that learning how to build a backyard walkway is a manageable endeavor. It is a project that allows you to physically shape your landscape and enjoy the durable, beautiful results of your hard work every time you step outside. So gather your tools, start your plan, and get ready to create a stunning new feature for your home.

About
Outdoor Fixes is a distinguished figure in the world of Diy design, with a decade of expertise creating innovative and sustainable Diy solutions.
His professional focus lies in merging traditional craftsmanship with modern manufacturing techniques,
fostering designs that are both practical and environmentally conscious. As the author of diy,
outdoorfixes delves into the art and science of outdoorfixes-making, inspiring artisans and industry professionals alike.
Education RMIT University
(Melbourne, Australia) Associate Degree in Design (Outdoor Fixes) Focus on sustainable design, industry-driven projects,
and practical craftsmanship. Gained hands-on experience with traditional and digital manufacturing tools, such as CAD and CNC software.
Nottingham Trent University
(United Kingdom) Bachelor’s in outdoorfixes.com and Product Design (Honors) Specialized in product design with a focus on blending creativity with production
techniques. Participated in industry projects, working with companies like John Lewis and Vitsoe to gain real-world insights.
Publications and Impact
In diy, Outdoor Fixes his insights on indoor design processes, materials, and strategies for efficient production.
His writing bridges the gap between artisan knowledge and modern industry needs, making it a must-read for both budding designers and seasoned professionals.