
A pond can be the heart of any backyard, offering a peaceful spot to relax, fish, or simply enjoy nature. But without a proper dock, you miss out on so much of what your pond has to offer. Learning how to make a dock for a pond opens up a world of possibilities, from quiet morning coffee by the water to launching a small boat or casting a fishing line.
The good news is that building one yourself is far more achievable than you might think.
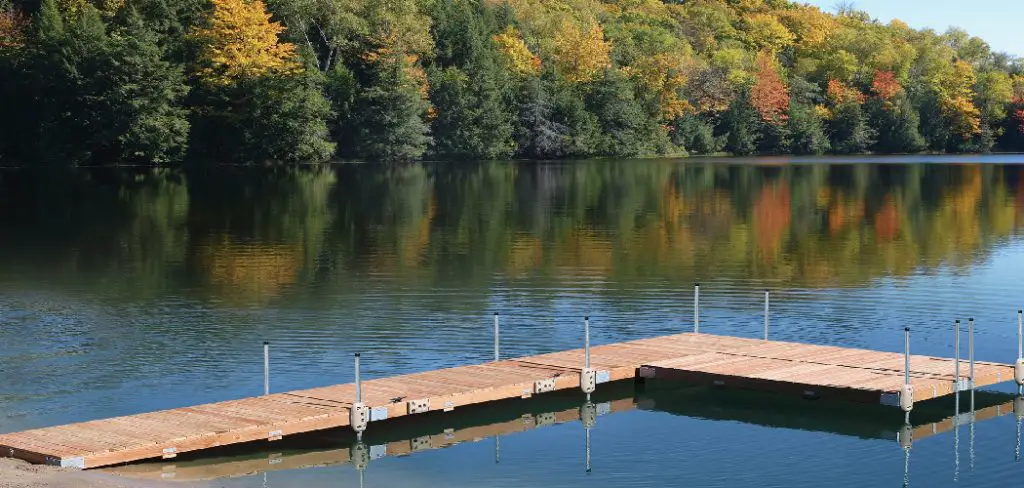
You don’t need to be a master carpenter to get started. With the right plan, some basic tools, and a bit of patience, you can create a sturdy, beautiful dock that lasts for years. This guide walks you through everything step by step, in plain language, so you feel confident at every stage. Whether your pond is large or small, we’ll help you build a structure that’s safe, functional, and something you’ll be proud of for seasons to come.
Why Building a Dock for Your Pond Matters
A dock does more than just look nice. It gives you safe, easy access to deeper water, which means you can fish, swim, or paddle without slipping on muddy banks. It also protects the shoreline from erosion by reducing foot traffic on fragile soil.
Beyond function, a dock adds real value to your property. It creates a gathering space for family and friends, turning an ordinary pond into a true outdoor destination. You can use it to launch kayaks, anchor a small boat, or set up chairs for an evening by the water. A well-built dock also makes pond maintenance easier, giving you a stable platform to reach plants, check water quality, or clean debris. In short, it transforms how you enjoy and care for your pond.
Step-by-Step Guide to How To Make a Dock for a Pond
Step 1: Plan Your Dock Design and Size
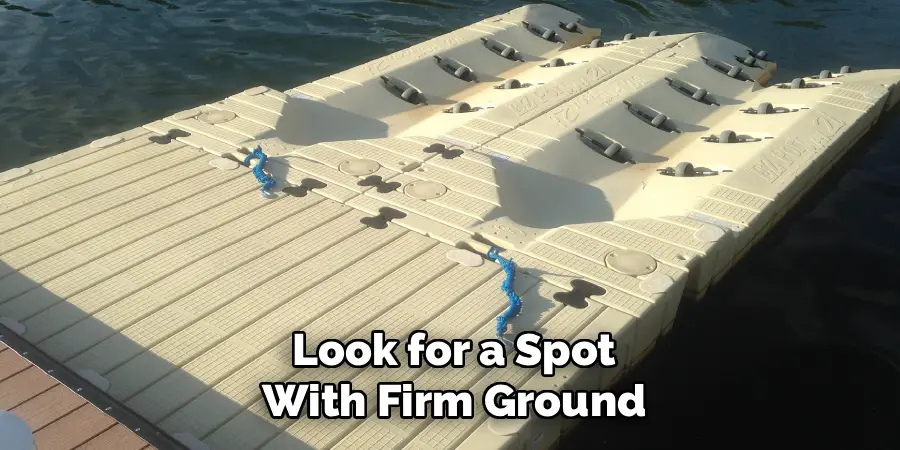
Before you pick up a single tool, take time to plan. Walk around your pond and decide where the dock will go. Look for a spot with firm ground, easy access, and a nice view. Think about how you’ll use the dock, whether for fishing, swimming, or relaxing, since this shapes the size and shape you’ll need.
Sketch a simple design on paper and note the measurements. A common starting size is around 8 feet by 10 feet, but adjust based on your space. Check local rules too, as some areas require permits for waterside structures. A clear plan now saves you headaches later.
Step 2: Gather Your Materials and Tools
Once your design is set, make a list of everything you’ll need. For a basic dock, you’ll want pressure-treated lumber or composite boards, galvanized screws and bolts, support posts, and decking material. Pressure-treated wood resists rot and works well for budgets, while composite costs more but lasts longer with less upkeep.
For tools, gather a drill, circular saw, level, measuring tape, post-hole digger, and a hammer. Don’t forget safety gear like gloves and eye protection. Buying quality materials upfront pays off, since cheap wood warps and weakens fast in water. Lay everything out before you begin so you’re not scrambling mid-project.
Step 3: Choose Between a Floating or Fixed Dock
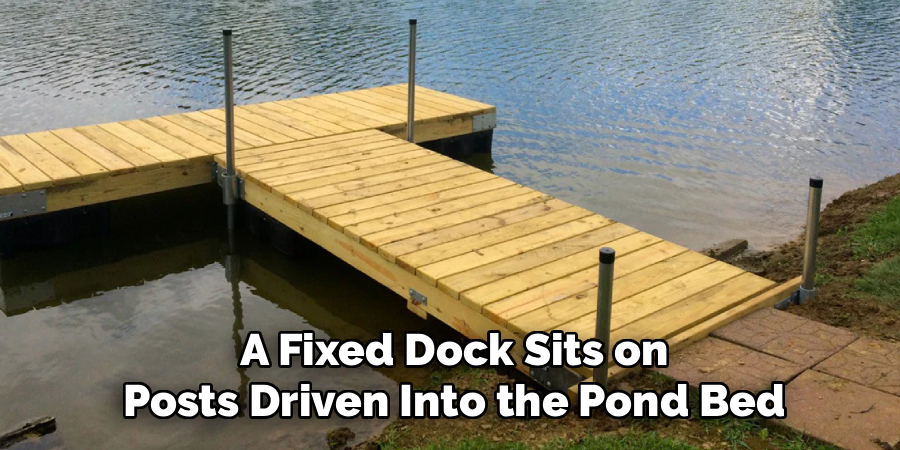
Now decide which type of dock fits your pond. A fixed dock sits on posts driven into the pond bed and works best in shallow water with a firm bottom. It feels solid and sturdy, making it great for fishing or seating. However, it’s harder to install if your pond bed is soft or muddy.
A floating dock rests on buoyant barrels or foam blocks and rises with the water level. This option suits ponds with changing depths or soft bottoms. Each style has its strengths, so think about your pond’s depth, bottom condition, and how much movement you’re comfortable with before committing.
Step 4: Make a Pond Frame
Building the frame is where your dock starts to take shape. Cut your lumber to match the dimensions from your plan. Lay out the outer boards to form a rectangle, then add cross supports, or joists, every 16 inches for strength. Use galvanized screws and bolts to hold everything together, since regular hardware rusts quickly near water.
Check that every corner sits at a true 90-degree angle and use your level often. A square, level frame is the backbone of a safe dock. Take your time here because a solid frame prevents wobbling and keeps your finished dock stable for years of enjoyment.
Step 5: Install the Support Posts or Floats
With your frame ready, it’s time to give it support. For a fixed dock, use a post-hole digger to set posts into the pond bed at each corner and along the sides. Drive them deep enough to feel firm, then attach the frame securely with brackets and bolts. Make sure the frame sits level above the waterline.
For a floating dock, attach barrels or foam billets evenly under the frame. Space them so the weight stays balanced, which keeps the dock from tipping. Test the float by gently pressing on the corners. Even support is the key to a steady, reliable platform.

Step 6: Add the Decking Boards
This is the satisfying part where your dock truly comes together. Lay your decking boards across the frame, leaving a small gap of about a quarter inch between each one. These gaps let water drain and allow the wood to expand without buckling. Start at one end and work your way across for a clean, even look.
Secure each board with two screws at every joist, driving them flush so no sharp edges stick up. Trim any overhanging ends with your saw for a tidy finish. Walk across the deck once it’s done to check for loose boards or soft spots before moving on.
Step 7: Dock Safe and Finished
The final step is all about safety and the finishing touches. Sand down any rough edges or splinters so the surface feels smooth underfoot. If you used pressure-treated wood, apply a water-resistant sealant to protect it from rot and weathering. Consider adding railings or a ladder if children or older family members will use the dock.

Anti-slip strips are a smart addition, especially in spots that stay wet. Finally, inspect every connection, screw, and post one last time. Once you’re confident it’s solid, your dock is ready. Step back, admire your work, and enjoy your new waterside retreat.
Frequently Asked Questions
What Is the Best Material for a Pond Dock?
Pressure-treated lumber is the most popular choice because it resists rot, handles moisture well, and fits most budgets. Composite decking costs more but lasts longer and needs little maintenance, making it ideal if you want a low-effort option. Cedar offers natural beauty and decent durability too. Your best pick depends on your budget, how much upkeep you’re willing to do, and the look you want.
Do I Need a Permit to Build a Dock?
In many areas, yes. Local governments often regulate structures built over water to protect the environment and ensure safety. Rules vary widely depending on your location, pond size, and whether the water connects to public waterways. Before you start, contact your local planning office or zoning department to ask about permits. Checking first saves you from fines or having to remove your dock later.
How Long Does It Take to Build a Pond Dock?
For a basic dock, most beginners can finish in one to three days, depending on the size and design. Planning and gathering materials might take an extra day or two. Fixed docks often take longer because setting posts requires more effort, while floating docks can go faster. Weather, your experience level, and whether you have help all affect the timeline. Patience leads to better results.
How Do I Keep My Dock From Rotting?
Use rot-resistant materials like pressure-treated wood or composite from the start. Apply a quality water sealant every year or two to protect the surface, and make sure water drains properly through the gaps between boards. Inspect your dock each season for damage, loose hardware, or soft spots. Catching small problems early stops them from spreading. Good materials plus regular care will keep your dock strong for many years.
Can I Build a Dock by Myself?
Absolutely. Many people build simple docks solo with basic tools and a clear plan. That said, having a helper makes the job safer and faster, especially when lifting heavy frames or setting posts. If you’re new to building, start with a small, straightforward design. Take your time, follow each step carefully, and don’t rush. With patience and preparation, even first-timers can create a sturdy, reliable dock.
Conclusion
Building your own dock is a rewarding project that pays off every time you step onto the water. From planning your design and choosing the right materials to framing, supporting, and finishing, each step brings you closer to a space you’ll love for years. The process of how to make a dock for a pond may seem big at first, but breaking it into clear stages makes it completely manageable, even for beginners.
Remember to plan carefully, use quality materials, and never skip the safety checks. A little patience now creates a dock that’s both beautiful and built to last. So gather your tools, follow this guide, and start building. Your perfect waterside retreat is closer than you think, and soon you’ll be enjoying every moment by your pond.

About
Outdoor Fixes is a distinguished figure in the world of Diy design, with a decade of expertise creating innovative and sustainable Diy solutions.
His professional focus lies in merging traditional craftsmanship with modern manufacturing techniques,
fostering designs that are both practical and environmentally conscious. As the author of diy,
outdoorfixes delves into the art and science of outdoorfixes-making, inspiring artisans and industry professionals alike.
Education RMIT University
(Melbourne, Australia) Associate Degree in Design (Outdoor Fixes) Focus on sustainable design, industry-driven projects,
and practical craftsmanship. Gained hands-on experience with traditional and digital manufacturing tools, such as CAD and CNC software.
Nottingham Trent University
(United Kingdom) Bachelor’s in outdoorfixes.com and Product Design (Honors) Specialized in product design with a focus on blending creativity with production
techniques. Participated in industry projects, working with companies like John Lewis and Vitsoe to gain real-world insights.
Publications and Impact
In diy, Outdoor Fixes his insights on indoor design processes, materials, and strategies for efficient production.
His writing bridges the gap between artisan knowledge and modern industry needs, making it a must-read for both budding designers and seasoned professionals.