
Dreaming of a backyard koi pond but worried about the price tag? You are not alone. Many people picture thousands of dollars in equipment, contractors, and fancy stonework before they even begin. The good news is that building a beautiful, healthy pond does not have to drain your savings.
This guide shows you how to make a koi pond cheap without sacrificing quality or the well-being of your fish. You will learn smart material swaps, simple digging techniques, and filtration tricks that keep costs low and results high. Whether you have a tiny corner of grass or a wide open yard, there is a budget-friendly approach that fits your space.

A koi pond adds calm, beauty, and a touch of nature to any home. It can become your favorite spot to relax after a long day. With a little planning and some hands-on effort, you can create one for a fraction of what most people spend. Let us walk through everything step by step, in plain language that anyone can follow.
Why Build A Budget-Friendly Koi Pond
A budget pond proves that you do not need deep pockets to enjoy a stunning water feature. By choosing affordable materials and doing the labor yourself, you can save hundreds or even thousands of dollars. That money stays in your wallet for the things that truly matter, like quality fish and good food.
Beyond the savings, a DIY approach gives you full control over the design. You decide the shape, size, and look, so the pond fits your yard perfectly. You also gain useful skills along the way, from digging and leveling to setting up filtration. Best of all, a well-planned cheap pond can be just as healthy and long-lasting as an expensive one. Your koi will thrive, and your guests will never guess how little you spent.
Step-By-Step Guide To How To Make A Koi Pond Cheap
Step 1: Plan Your Pond Size And Location
Start by choosing the right spot in your yard. Look for a level area that gets a mix of sun and shade, since too much direct sunlight can cause algae problems. Avoid spots directly under trees, because falling leaves create extra cleaning work and can harm water quality.
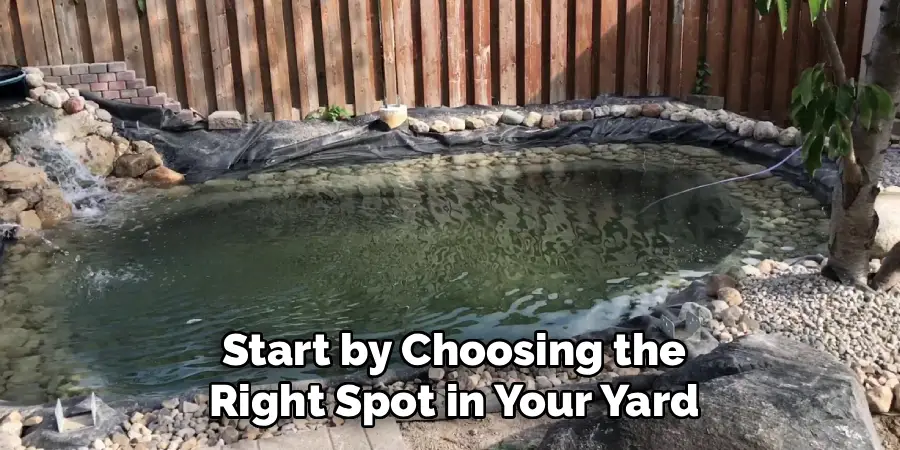
Next, sketch a simple shape and decide on the size. For koi, aim for a depth of at least three feet so the fish stay safe in hot and cold weather. Planning carefully now saves money later by preventing wasted materials and costly mistakes during the build.
Step 2: Gather Affordable Materials
You can keep this project budget-friendly by shopping smart. Instead of a pricey pre-formed shell, use a durable pond liner made from EPDM rubber, which costs far less and lasts for years. Check local hardware stores, online marketplaces, and even recycling centers for deals on rocks, bricks, and edging.
Many people find free or cheap stones from construction sites or landscaping projects nearby. Repurpose what you already own when possible. A little hunting around your area can cut your material costs dramatically while still giving you everything you need for a strong, lasting pond.
Step 3: Dig The Hole Yourself
Doing the digging by hand is the single biggest way to make a koi pond cheap, since hiring labor eats up a huge part of any budget. Grab a sturdy shovel, invite a friend or two, and take your time. Mark the outline with a rope or garden hose so you know exactly where to dig.
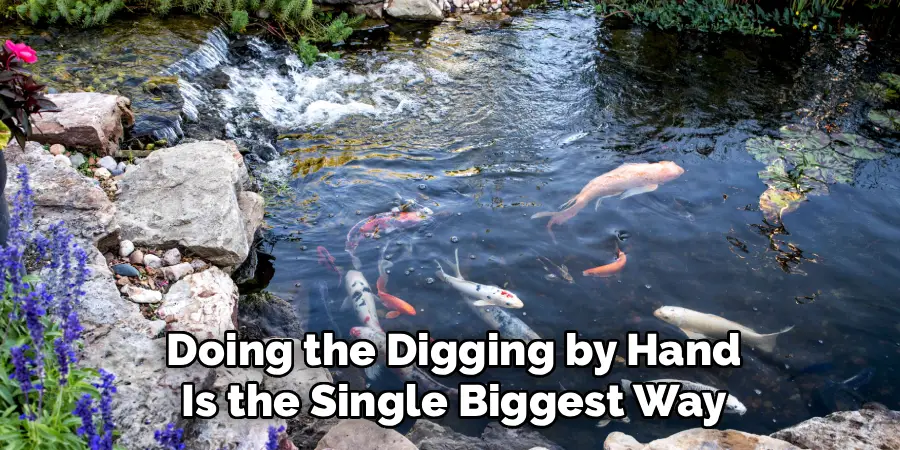
Create shelves at different depths as you go, with shallow ledges for plants and a deep center for the fish. Remove rocks and roots, then smooth the walls. The work is tiring, but every hour you put in keeps more cash in your pocket.
Step 4: Install The Liner And Underlayment
Before laying the liner, add a protective underlayment to guard against sharp objects that could cause leaks. You can use old carpet, sand, or even thick newspaper as a cheap alternative to store-bought padding. This simple step protects your investment and prevents expensive repairs down the road.
Lay the EPDM liner gently into the hole, pressing it into the shelves and corners. Leave extra material around the edges so you can secure it later. Avoid stretching the liner too tight, and smooth out big wrinkles. Take it slow here, because a careful fit means a watertight pond.
Step 5: Build A Cheap Filtration System
Clean water keeps your koi healthy, but you do not need an expensive commercial filter to get there. Many hobbyists make a homemade filter using a plastic storage tote, filter media, and a basic submersible pump. This DIY setup works well and costs a fraction of store-bought units.
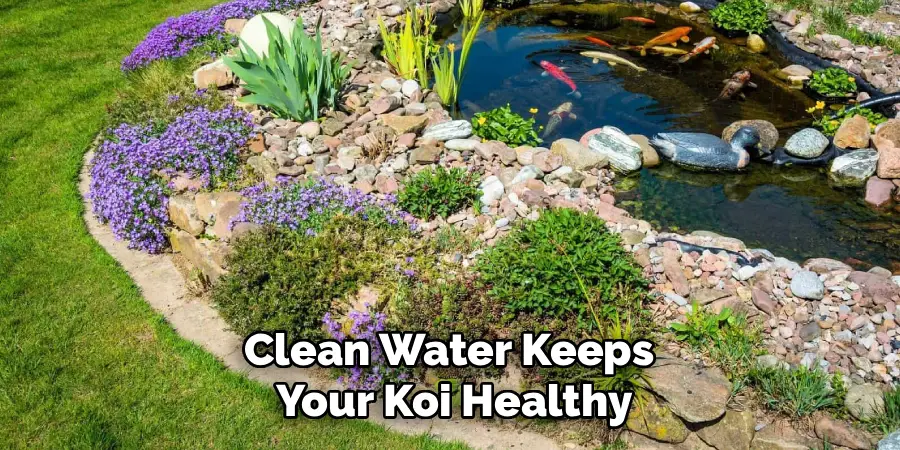
Add layers of filter material like sponges, lava rock, or bio-balls inside the tote to trap debris and grow helpful bacteria. Connect your pump to circulate the water through the filter and back into the pond. With a little research, you can build a reliable system that keeps the water crystal clear.
Step 6: Add Water, Plants, And Edging
Fill your pond slowly with a garden hose, adjusting the liner as the water settles into place. If you use tap water, add a dechlorinator to make it safe for fish. Then trim the excess liner and secure the edges with your stones, bricks, or other affordable materials.
Place aquatic plants like water lilies and oxygenators to add beauty and help balance the ecosystem naturally. Plants also provide shade and reduce algae, cutting down on maintenance. Arrange your edging stones to hide the liner and give the pond a clean, finished look that you will be proud of.
Step 7: Introduce Your Koi Safely
Patience is key in this final stage. Let your pond run for a week or two so the water settles and good bacteria begin to grow. Test the water for proper pH and ammonia levels using an inexpensive home test kit before adding any fish.
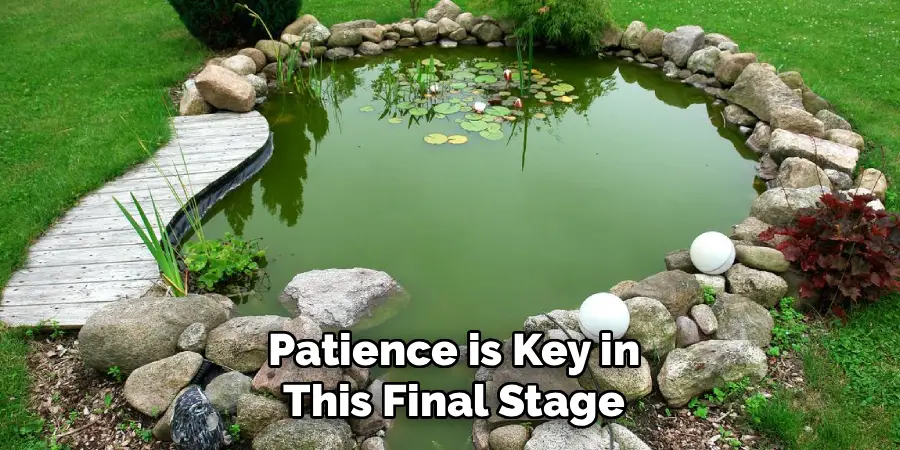
When you bring your koi home, float their bag on the surface for fifteen minutes so the temperatures match. Then gently release them into their new home. Start with just a few fish to avoid overloading the system, and add more slowly over time. This careful approach protects your koi and your hard work.
Frequently Asked Questions
How Much Does It Cost To Build A Budget Koi Pond?
A simple DIY pond can cost as little as 200 to 500 dollars when you handle the labor yourself and shop for affordable materials. The biggest savings come from hand-digging the hole and building your own filter. Costs rise with size, fish quality, and extra features, but careful planning keeps even larger ponds well within a modest budget.
What Is The Cheapest Pond Liner For Koi?
EPDM rubber liner offers the best value for most beginners. It resists punctures, handles temperature swings, and lasts for decades, which makes it a smart long-term choice. Some people use cheaper pool liners or even heavy-duty tarps, but these often fail quickly and risk harming your fish, so they rarely save money in the end.
How Deep Should A Cheap Koi Pond Be?
Aim for at least three feet of depth for a healthy koi pond. This gives your fish room to swim and protects them from extreme heat in summer and freezing in winter. Deeper sections also help stabilize water temperature and oxygen levels. A shallow pond may cost less upfront, but it puts your koi at serious risk.
Can I Build A Koi Pond Without A Pump?
Building a pond without a pump is possible, but it is not ideal for koi. These fish need oxygen-rich, moving water to stay healthy, and a pump keeps the filtration working properly. If you want to save money, choose an energy-efficient submersible pump rather than skipping one entirely. Your fish will be far healthier for it.
How Do I Keep My Budget Pond Water Clean?
Regular maintenance and a working filter are your best tools. Remove leaves and debris often, avoid overfeeding your fish, and add aquatic plants to balance the water naturally. A homemade biological filter with sponges and lava rock traps waste and grows helpful bacteria. Test the water regularly with a cheap kit so you can catch problems early.
Conclusion
Building a stunning water feature for your backyard is far more achievable than most people think. By planning your space, sourcing affordable materials, and putting in your own effort, you can learn how to make a koi pond cheap and still create a healthy, beautiful home for your fish. Each step, from digging the hole to building a DIY filter, gives you a chance to save money while gaining new skills.
The key takeaways are simple. Do the labor yourself, shop smart for materials, and never cut corners on depth or filtration where your koi’s health is concerned. With patience and a clear plan, your dream pond is within reach. So grab a shovel, gather your supplies, and start building. Your peaceful backyard retreat is waiting, and your wallet will thank you.

About
Outdoor Fixes is a distinguished figure in the world of Diy design, with a decade of expertise creating innovative and sustainable Diy solutions.
His professional focus lies in merging traditional craftsmanship with modern manufacturing techniques,
fostering designs that are both practical and environmentally conscious. As the author of diy,
outdoorfixes delves into the art and science of outdoorfixes-making, inspiring artisans and industry professionals alike.
Education RMIT University
(Melbourne, Australia) Associate Degree in Design (Outdoor Fixes) Focus on sustainable design, industry-driven projects,
and practical craftsmanship. Gained hands-on experience with traditional and digital manufacturing tools, such as CAD and CNC software.
Nottingham Trent University
(United Kingdom) Bachelor’s in outdoorfixes.com and Product Design (Honors) Specialized in product design with a focus on blending creativity with production
techniques. Participated in industry projects, working with companies like John Lewis and Vitsoe to gain real-world insights.
Publications and Impact
In diy, Outdoor Fixes his insights on indoor design processes, materials, and strategies for efficient production.
His writing bridges the gap between artisan knowledge and modern industry needs, making it a must-read for both budding designers and seasoned professionals.