
A wooden fence does more than mark your property line. It adds charm, privacy, and value to your home. But wood is a natural material, which means it slowly reacts to sun, rain, insects, and time. Without a little care, that beautiful fence can fade, crack, or rot within a few short years. The good news is that protecting it does not require expert skills or expensive tools.
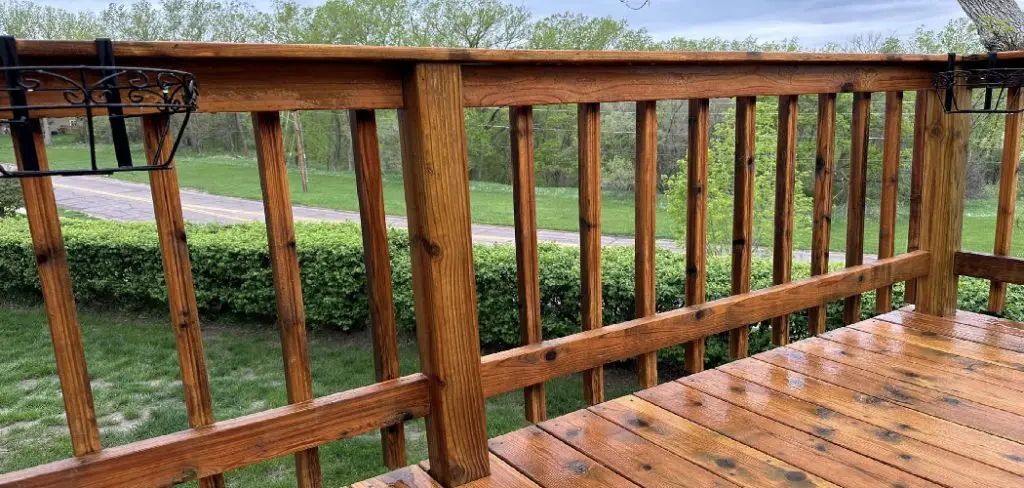
Learning how to preserve a wooden fence is one of the smartest things you can do as a homeowner. With the right approach, you can stretch the life of your fence by years, save money on costly repairs, and keep your yard looking sharp. This guide walks you through everything in plain, friendly language. Whether you just installed new panels or you are reviving an old, weathered fence, you will find clear steps you can follow at your own pace. Let us dig in and give your fence the protection it deserves.
Why Preserving A Wooden Fence Matters
Wood is constantly fighting against the elements. Moisture leads to rot and mold, sunlight bleaches and weakens the surface, and insects like termites can eat away at the structure from the inside. A neglected fence often needs full replacement, which can cost hundreds or even thousands of dollars.
By taking care of your fence, you protect that investment and keep it standing strong for a decade or more. A well-maintained fence also boosts curb appeal and can increase your home’s resale value. Regular upkeep means fewer surprise repairs, less wasted money, and a barrier that keeps doing its job, season after season. Simply put, a small effort today saves you a big headache tomorrow.
Step-By-Step Guide To How To Preserve A Wooden Fence
Step 1: Inspect Your Fence Thoroughly
Before you grab any tools, take a slow walk along the entire length of your fence. Look closely for soft spots, splinters, cracks, loose nails, and signs of rot or mold. Push gently on the posts to check whether they feel sturdy or wobbly.
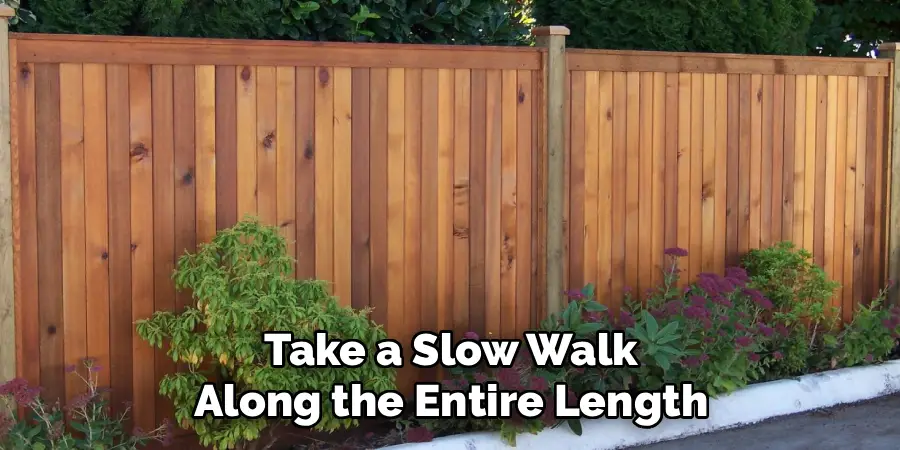
Pay special attention to areas near the ground, since they hold moisture the longest. Make a quick note of any boards that need replacing or repairs that come first. A careful inspection helps you understand the current condition of the wood. This way, you avoid sealing in damage and you build a clear plan before any real work begins.
Step 2: Clean The Surface Properly
A clean fence is the foundation of good protection. Dirt, mildew, and old flaking finish stop sealants from sticking the way they should. Start by sweeping away loose debris, then wash the wood using a garden hose, a stiff brush, and a mild wood cleaner or a mix of water and oxygen bleach.
For stubborn grime, a pressure washer works well, but keep the nozzle moving and use a low setting so you do not gouge the soft wood. Rinse everything thoroughly and let it dry completely. Knowing how to preserve a wooden fence starts with a surface that is clean, smooth, and ready to accept your chosen finish.
Step 3: Repair And Replace Damaged Boards
Once the fence is clean and dry, deal with the damage you spotted earlier. Hammer in any loose nails or swap them for galvanized screws, which resist rust far better. Replace cracked or rotted boards completely, since a finish cannot rescue wood that is already failing.
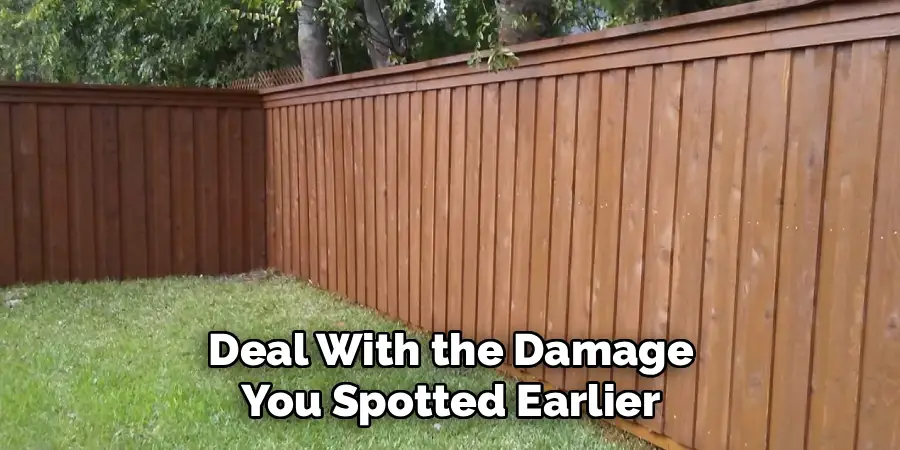
Fill small holes and minor cracks with a quality exterior wood filler, then sand those areas smooth once the filler sets. Tighten wobbly posts and reset them if needed. Handling repairs now means your protective coating goes onto solid, reliable wood. Skipping this step often leads to trapped moisture and faster decay down the line.
Step 4: Let The Wood Dry Completely
Patience pays off here. Applying a sealant or stain to damp wood is one of the most common mistakes people make. Trapped moisture prevents the finish from bonding and can cause peeling, bubbling, or even encourage rot underneath the surface.
After cleaning and any repairs, give your fence at least 24 to 48 hours of dry weather. New wood may need even longer, sometimes several weeks, so it can release its excess moisture. A simple test is to sprinkle a few drops of water on the surface. If the water soaks in rather than beading up, the wood is dry and thirsty enough to absorb your protective product.
Step 5: Choose The Right Sealant Or Stain
Picking the right product makes a huge difference in results. You generally have three options to consider. A clear sealer protects against moisture while showing off the natural grain, a semi-transparent stain adds color and some sun protection, and a solid stain offers the most coverage and the strongest defense against fading.
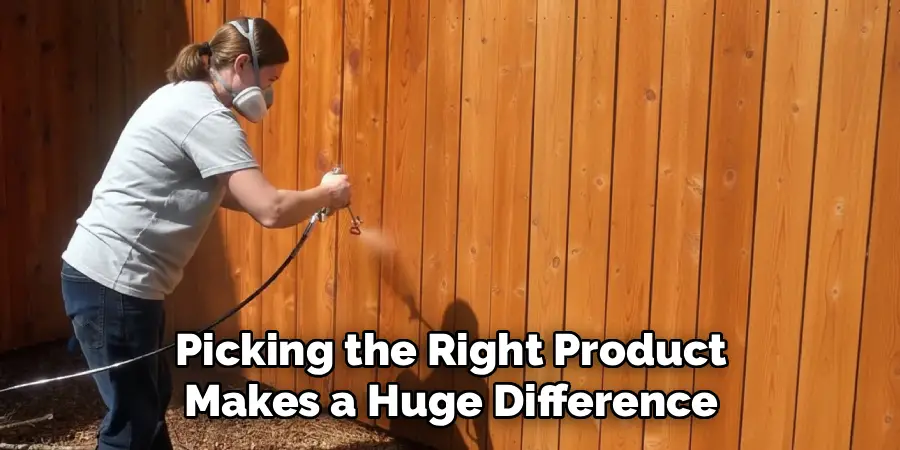
Think about your climate, your fence’s age, and the look you want. If you live somewhere with harsh sun, lean toward products with UV blockers. Always read the label to confirm the product suits exterior wood. The right choice in how to preserve a wooden fence balances protection, appearance, and how often you want to reapply.
Step 6: Apply The Protective Coating Evenly
Now comes the satisfying part. Choose a dry, mild day with no rain in the forecast and avoid working in direct, blazing sunlight, which can dry the finish too fast. Use a brush, roller, or sprayer, though many people find a brush gives the most even, controlled finish on fence boards.
Work in small sections and apply thin, consistent coats rather than one heavy layer. Follow the wood grain and feather out any drips as you go. Cover every surface, including the tops and bottoms of boards where water tends to gather. Let each coat dry fully before adding a second one for extra durability.
Step 7: Maintain Your Fence Regularly
Protection is not a one-time event. To keep your fence looking great, build a simple maintenance routine into your year. Rinse off dirt and debris every few months, trim back plants that press against the wood, and watch for early signs of wear after harsh weather.
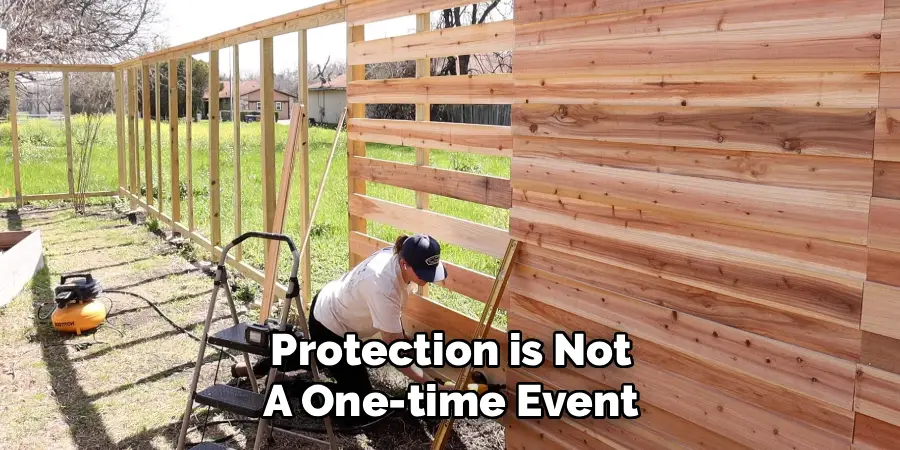
Most fences need a fresh coat of sealant or stain every two to three years, though this varies by product and climate. A quick yearly inspection helps you catch small problems before they grow expensive. Think of it like brushing your teeth for your fence. Small, steady habits keep everything healthy and save you from major work later on.
Frequently Asked Questions
How Often Should I Seal My Wooden Fence?
Most wooden fences benefit from a fresh coat of sealant or stain every two to three years. The exact timing depends on your climate, the product you used, and how much sun and rain your fence faces. A good test is to splash water on the wood. If it soaks in instead of beading up, your fence is ready for another protective coat.
Can I Apply Stain Over An Old Finish?
You can, but only if the old finish is in good shape and fully bonded to the wood. If the previous coating is peeling, cracking, or flaking, you should strip or sand it off first. Applying new stain over a failing finish traps problems underneath and leads to uneven results. Always clean the surface and let it dry before recoating.
Is A Pressure Washer Safe For Wood Fences?
A pressure washer can be safe and effective when used carefully. Choose a low-pressure setting, keep the nozzle moving, and hold it about a foot away from the boards. Too much force can gouge soft wood, raise the grain, or strip away healthy fibers. If you feel unsure, a stiff brush and wood cleaner offer a gentler, reliable alternative.
What Is The Best Time Of Year To Treat A Fence?
Spring and fall are usually ideal because temperatures are mild and humidity stays moderate. You want a stretch of dry weather with no rain expected for a couple of days before and after the job. Avoid extreme heat, freezing temperatures, and direct midday sun, since these conditions can cause the finish to dry too quickly or bond poorly.
Does Sealing Really Prevent Rot And Insects?
Yes, a quality sealant creates a barrier that blocks moisture, which is the main cause of rot and mold. Many products also resist UV damage and discourage wood-boring insects. While no finish makes wood completely indestructible, regular sealing dramatically slows decay. Pairing it with good drainage and routine inspections gives your fence the strongest possible defense against damage.
Conclusion
Caring for your fence does not have to feel overwhelming. When you break the job into clear, manageable steps, knowing how to preserve a wooden fence becomes a simple weekend project rather than a daunting chore. You inspect, clean, repair, dry, choose the right product, apply it evenly, and then keep up with light maintenance over time.
The payoff is well worth the effort. A protected fence stays beautiful, resists rot and fading, and saves you from expensive replacements down the road. Best of all, you gain the confidence that comes from doing the work yourself. So grab your tools, pick a dry day, and give your fence the attention it deserves. Your future self, and your wallet, will thank you for it.

About
Outdoor Fixes is a distinguished figure in the world of Diy design, with a decade of expertise creating innovative and sustainable Diy solutions.
His professional focus lies in merging traditional craftsmanship with modern manufacturing techniques,
fostering designs that are both practical and environmentally conscious. As the author of diy,
outdoorfixes delves into the art and science of outdoorfixes-making, inspiring artisans and industry professionals alike.
Education RMIT University
(Melbourne, Australia) Associate Degree in Design (Outdoor Fixes) Focus on sustainable design, industry-driven projects,
and practical craftsmanship. Gained hands-on experience with traditional and digital manufacturing tools, such as CAD and CNC software.
Nottingham Trent University
(United Kingdom) Bachelor’s in outdoorfixes.com and Product Design (Honors) Specialized in product design with a focus on blending creativity with production
techniques. Participated in industry projects, working with companies like John Lewis and Vitsoe to gain real-world insights.
Publications and Impact
In diy, Outdoor Fixes his insights on indoor design processes, materials, and strategies for efficient production.
His writing bridges the gap between artisan knowledge and modern industry needs, making it a must-read for both budding designers and seasoned professionals.