
Vinyl fences are popular because they look clean, resist weather, and need very little upkeep. But there comes a time when you need to move one, replace a damaged section, or clear space for a new project. Knowing how to take vinyl fence apart the right way saves you time, protects your panels, and keeps you from snapping any pieces you might want to reuse later.
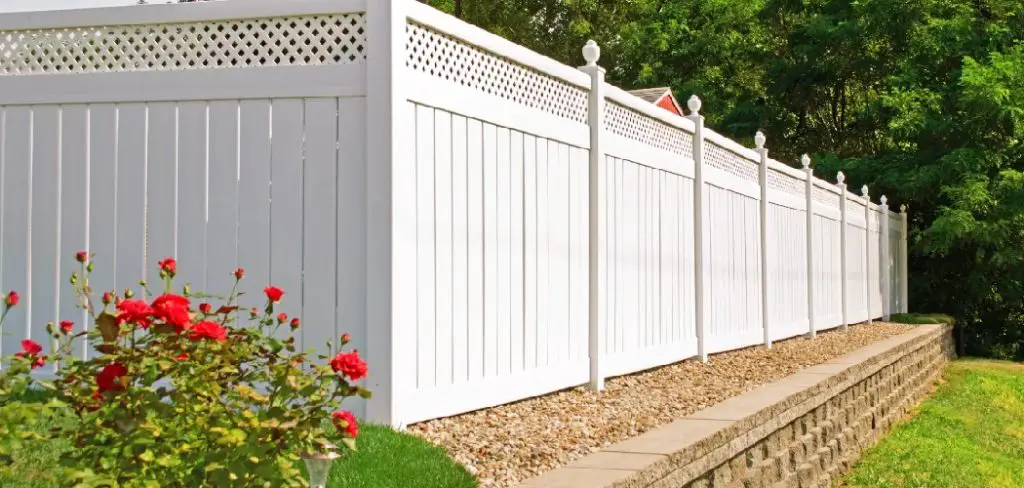
The good news is that vinyl fences are designed to fit together in a fairly simple way. Most parts connect through brackets, pins, or slots rather than permanent fasteners, which makes careful removal very doable for beginners. You do not need to be a contractor to handle this job. With a few basic tools, a steady pace, and the right approach, you can dismantle your fence smoothly and avoid common mistakes. This guide walks you through everything from start to finish in plain, easy steps that anyone can follow with confidence.
Why Removing A Vinyl Fence Properly Matters
Taking the time to dismantle your fence carefully pays off in real ways. Vinyl panels and rails can crack if you force them, and replacement pieces are not always cheap or easy to match. A patient, organized approach protects your investment and keeps reusable parts in good shape.
Proper removal also keeps you safe. Posts set in concrete can be heavy and awkward, and rushing the job can lead to strained backs or pinched fingers. When you work step by step, you reduce errors and stay in control. Whether you plan to reinstall the fence elsewhere, store it, or recycle it, a clean disassembly gives you more options. It also makes the next stage of your project faster, easier, and far less stressful.
Step-By-Step Guide On How To Take Vinyl Fence Apart
Step 1: Gather Your Tools And Inspect The Fence
Start by collecting everything you need before you touch a single panel. A rubber mallet, screwdriver, pliers, a utility knife, work gloves, and safety glasses cover most situations. Have a wheelbarrow or wagon nearby to move heavy pieces.
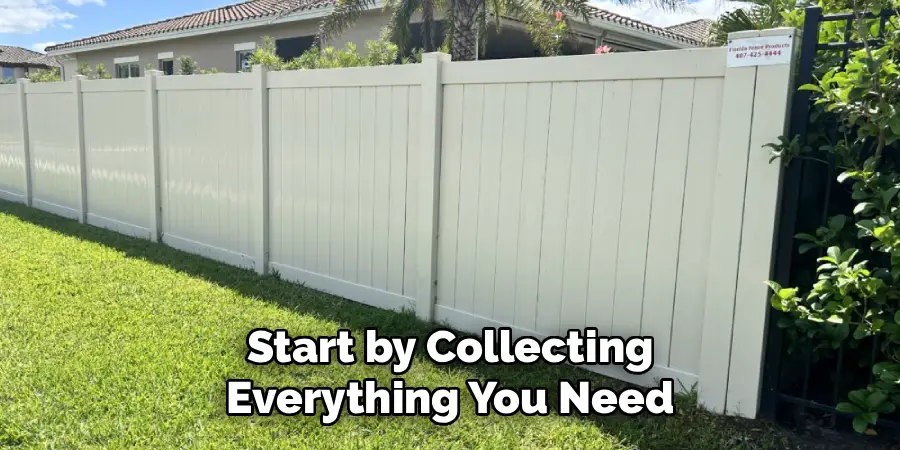
Walk the length of your fence and look closely at how it was built. Some sections are held with screws hidden under caps, while others rely on tension and snug brackets. Note any spots that look damaged or weak, since those areas may behave unexpectedly. A quick inspection now helps you plan your order of work and prevents surprises once you begin removing parts.
Step 2: Remove The Post Caps
Begin the hands-on work at the top, where the post caps sit. These caps protect the hollow posts and are usually attached with a small dab of adhesive, a snap fit, or a couple of screws hidden underneath.
Gently pry up one edge of a cap with your fingers or a flat tool. If it resists, slide a utility knife around the seam to break any glue. Twist slowly rather than yanking, because vinyl can crack in cold weather. Set each cap aside in a labeled bag or bin so you can match them to their posts later. Taking caps off first gives you clear access to the rails and pins underneath.
Step 3: Detach The Rails From The Posts
The horizontal rails carry the most weight, so handle them with care. Most vinyl rails slot into routed holes in the posts and may be secured by screws, locking tabs, or small metal pins.
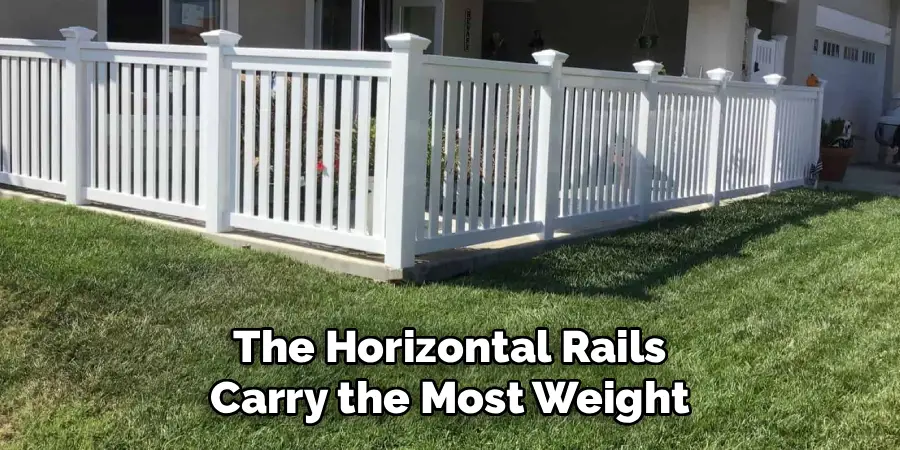
Look inside the post opening for any fastener and remove it first. Then tap the rail end gently with a rubber mallet to ease it out of the slot. Support the rail with your free hand so it does not drop and crack. Work one rail at a time, starting from the top rail and moving down. Keeping a slow, steady rhythm here protects both the rails and the post edges from chipping.
Step 4: Vinyl Apart Panel By Panel
With the rails loosened, you can free the panels or pickets. Many vinyl fences use tongue-and-groove pickets that slide into the rails, while others snap into place along a track.
Lift each picket straight up or slide it sideways, depending on the design you noted earlier. Avoid twisting, since that motion is what usually causes splits. If a picket feels stuck, double-check for a hidden tab or screw before applying more force. Stack the pickets flat as you remove them, and keep matching sets together. Going panel by panel keeps your workspace tidy and makes reassembly far simpler down the road.
Step 5: Fence Apart At The Posts
Once the rails and pickets are out, you are left with the posts. These are often the toughest part because many are set in concrete footings below the ground.
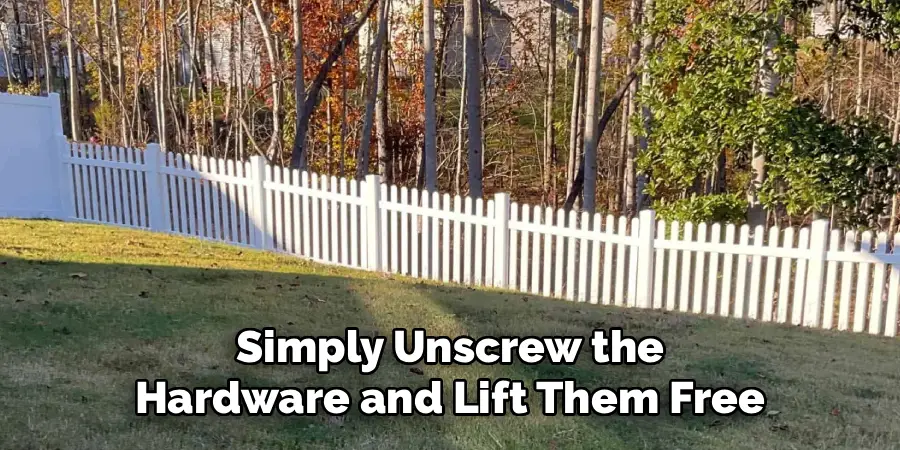
For posts held only by brackets or surface mounts, simply unscrew the hardware and lift them free. For concrete-set posts, dig around the base to expose the footing, then rock the post gently to loosen it. You can dig out the entire concrete block or cut the post off at ground level if you do not plan to reuse it. Work slowly and lift with your legs, since these pieces can be heavier than they look.
Step 6: Clean And Sort The Components
After everything is down, take a moment to organize what you have removed. This step feels minor, but it makes a huge difference if you plan to reuse or sell the fence later.
Wipe dirt and grime off each piece with a damp cloth, and check for cracks or warping as you go. Group caps, rails, pickets, and posts into separate piles, and bundle hardware in labeled bags. Snap a few photos of how parts fit together if you want a reference for reassembly. A little sorting now turns a messy pile into an organized kit that is ready for storage, transport, or a fresh installation.
Step 7: Decide What To Do With The Materials
Finally, plan the next home for your fence pieces. Vinyl is durable, so most components remain perfectly usable even after years outdoors.

If you intend to reinstall the fence, store the parts somewhere dry and flat to prevent bowing. Damaged pieces can often be recycled, since many facilities accept rigid PVC vinyl. You might also sell good sections online, as gently used fencing is in steady demand. Whatever you choose, dispose of broken bits responsibly rather than tossing them in general waste. Closing out the project this way leaves your yard clean and your materials ready for their next purpose.
Frequently Asked Questions
Do I Need Special Tools To Remove A Vinyl Fence?
Not really. A rubber mallet, screwdriver, pliers, utility knife, and a shovel cover most jobs. The mallet helps loosen rails without cracking them, while the shovel comes in handy for concrete-set posts. Safety glasses and gloves are smart additions too. Most homeowners already own these basic tools, which makes vinyl fence removal an accessible weekend project for almost any skill level.
Can I Reuse The Fence Panels After Taking Them Down?
Yes, in most cases. Vinyl is built to last and resists rot, rust, and fading, so panels often stay in great shape for years. The key is removing them gently to avoid cracks. Slide pickets straight out rather than twisting, support rails as you free them, and store everything flat in a dry spot. Handled with care, your panels will be ready for a fresh installation.
How Do I Remove Posts Set In Concrete?
Concrete-set posts take a bit more effort. Dig around the base to expose the footing, then rock the post back and forth to loosen the soil’s grip. You can lift out the whole concrete block, or cut the post at ground level if you will not reuse it. Take your time, lift with your legs, and ask a friend to help with heavier footings to stay safe.
Will The Vinyl Crack During Removal?
It can, but careful technique prevents most damage. Vinyl turns brittle in cold weather, so try to work on a mild day if possible. Avoid forcing stuck pieces, since hidden screws or tabs are usually the real cause. Tap gently with a rubber mallet instead of pulling hard, and support each part as it comes free. Slow, steady movements keep your panels intact.
How Long Does The Whole Process Take?
Timing depends on the fence length and how the posts are anchored. A short bracket-mounted section might take an hour, while a long run with concrete footings could fill a full day. Inspecting the fence first helps you estimate better. Working at a relaxed pace and sorting parts as you go actually saves time overall, since organized materials make any reassembly much smoother.
Conclusion
Dismantling a vinyl fence is far less intimidating once you break it into clear, manageable steps. By gathering the right tools, removing caps and rails before the pickets, and handling the posts with patience, you protect both your materials and yourself. Sorting and storing the pieces afterward turns a simple teardown into a smart, reusable kit for your next project.
Now that you know how to take vinyl fence apart with confidence, you can tackle the job at your own pace and skill level. Take it slow, work safely, and keep your components organized along the way. Whether you are moving the fence, replacing a section, or recycling old materials, this approach sets you up for success. Grab your tools, follow these steps, and get started today.

About
Outdoor Fixes is a distinguished figure in the world of Diy design, with a decade of expertise creating innovative and sustainable Diy solutions.
His professional focus lies in merging traditional craftsmanship with modern manufacturing techniques,
fostering designs that are both practical and environmentally conscious. As the author of diy,
outdoorfixes delves into the art and science of outdoorfixes-making, inspiring artisans and industry professionals alike.
Education RMIT University
(Melbourne, Australia) Associate Degree in Design (Outdoor Fixes) Focus on sustainable design, industry-driven projects,
and practical craftsmanship. Gained hands-on experience with traditional and digital manufacturing tools, such as CAD and CNC software.
Nottingham Trent University
(United Kingdom) Bachelor’s in outdoorfixes.com and Product Design (Honors) Specialized in product design with a focus on blending creativity with production
techniques. Participated in industry projects, working with companies like John Lewis and Vitsoe to gain real-world insights.
Publications and Impact
In diy, Outdoor Fixes his insights on indoor design processes, materials, and strategies for efficient production.
His writing bridges the gap between artisan knowledge and modern industry needs, making it a must-read for both budding designers and seasoned professionals.