
A garden pond holds quiet beauty, yet many homeowners dream of something more inviting on warm summer days. Learning how to turn a pond into a natural swimming pool lets you swim in clean, chemical-free water surrounded by plants, wildlife, and a landscape that feels truly alive. Instead of relying on chlorine and pumps that fight against nature, this approach works with it, using living plants to filter and clean the water. The result is a swimming space that looks like a slice of wild scenery while staying safe and refreshing for the whole family.
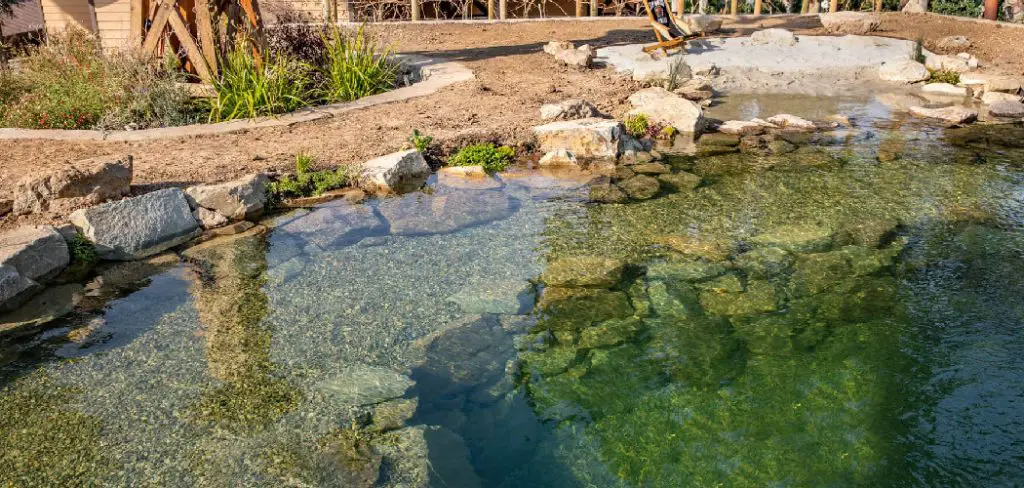
This topic matters because natural pools cost less to maintain over time and offer a healthier swimming experience. You skip the harsh chemicals, reduce your environmental footprint, and create a habitat that supports frogs, dragonflies, and beneficial bacteria. Whether you have a small backyard pond or a larger feature, the conversion is achievable with careful planning. This guide breaks the process into clear, manageable steps so beginners and seasoned gardeners alike can follow along with confidence and enjoy lasting results.
Why Converting Your Pond Into a Natural Swimming Pool Matters
Converting an existing pond into a swimming space saves you the cost and effort of digging from scratch. You already have the basic shape, the water, and often the surrounding landscape, which gives you a strong head start. Natural pools also eliminate chlorine, meaning no stinging eyes, no faded swimwear, and no chemical smell. The water stays fresh through plant filtration, making it gentler on your skin and friendlier to local wildlife.
Beyond comfort, these pools add real value to your property and your daily life. They blend seamlessly into a garden setting and create a peaceful retreat for relaxing or exercising. Maintenance becomes simpler once the ecosystem balances itself, lowering your long-term workload and energy bills. For anyone who loves nature and wants a sustainable alternative to traditional pools, this transformation delivers beauty, function, and lasting enjoyment all in one rewarding project.
Step-by-Step Guide to How To Turn a Pond Into a Natural Swimming Pool
Step 1: Assess Your Existing Pond
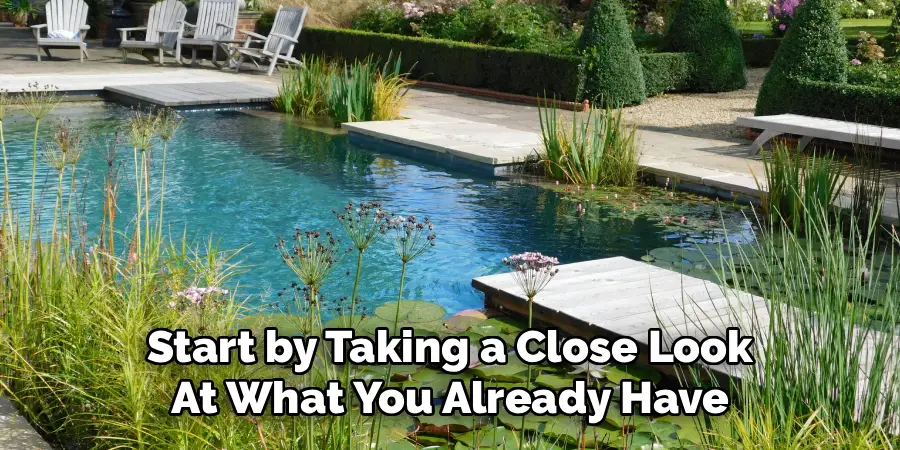
Start by taking a close look at what you already have. Measure the depth, width, and overall shape of your pond to understand its potential. A good swimming zone needs at least 6 to 7 feet of depth, so note whether yours reaches that mark or needs digging out. Check the soil type, the surrounding slope, and any existing wildlife living in the water.
This early review helps you plan smartly and avoid costly surprises later. Look for leaks, cracked liners, or areas where water drains too quickly. Knowing how to turn a pond into a natural swimming pool begins with honest assessment, so write down every detail you find and use it to shape your design decisions moving forward with confidence.
Step 2: Design Your Swimming and Regeneration Zones
Every natural pool needs two clear areas that work together. The swimming zone is the deep, open space where you actually swim, while the regeneration zone holds the plants that clean your water. A common rule is to split the surface area roughly in half, giving plants enough room to filter effectively without crowding your swimming space.
Sketch your layout on paper before any digging begins. Picture where the deep zone meets the shallow planted shelf, and how water will circulate between them. You can keep the design organic and curved to match a natural look, or define cleaner edges for a modern feel. Thoughtful planning here sets the foundation for clear, balanced water that stays healthy for years.
Step 3: Excavate and Shape the Pool
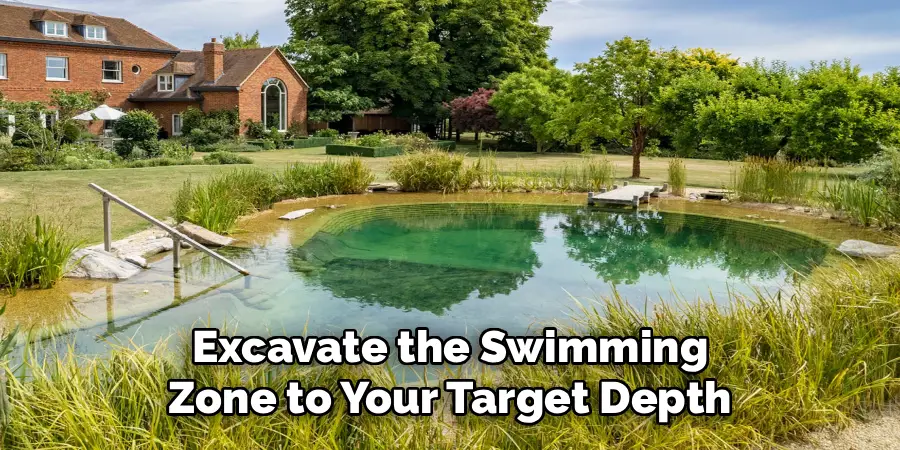
With your design ready, it is time to dig. Excavate the swimming zone to your target depth and carve out the shallow shelf for the regeneration area, usually around 12 to 18 inches deep. Keep the walls sloped slightly to prevent soil collapse and to make the structure stable. Remove rocks, roots, and debris that could puncture your liner later.
Take your time shaping smooth, even surfaces, since these create a clean base for the next stages. Build a clear divider, often a low underwater wall, between the swimming and planting zones to guide water flow. Good excavation work makes everything that follows easier, so aim for precision and patience rather than rushing through this physically demanding but vital part of the project.
Step 4: Install the Liner and Base Layer
A reliable liner keeps your water where it belongs. Lay down a protective underlayment first, such as old carpet or geotextile fabric, to cushion the liner against sharp objects. Then spread a high-quality EPDM or pond-grade liner across the entire structure, smoothing out wrinkles as you go and leaving extra material around the edges to secure later.
Press the liner gently into corners and along the shelf so it follows your shaped contours. Once it sits properly, you can add a thin layer of washed gravel or sand over the regeneration zone to anchor plants. This watertight foundation is essential when figuring out how to turn a pond into a natural swimming pool, since it protects your investment and keeps the water level steady through every season.
Step 5: Add Plants to the Regeneration Zone
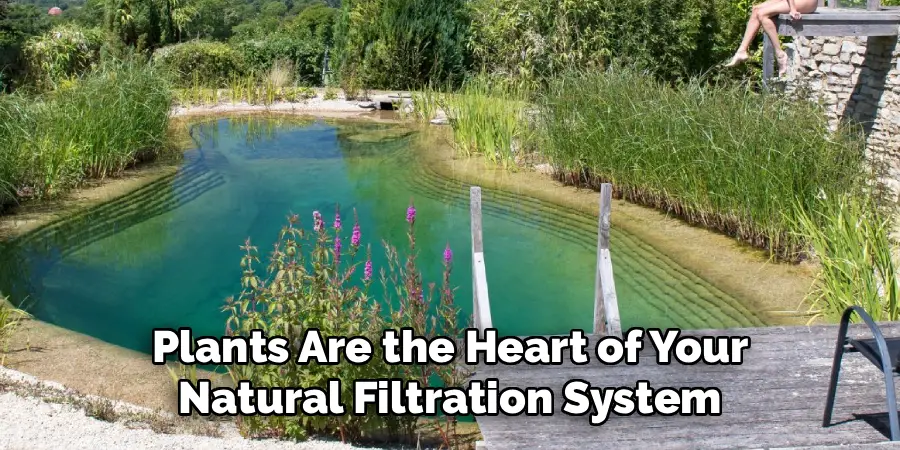
Plants are the heart of your natural filtration system. Choose a mix of submerged oxygenators, marginal plants, and floating species to clean the water and add oxygen. Submerged plants like hornwort absorb nutrients, while reeds and rushes along the edges filter impurities and provide habitat for helpful creatures. Space them according to their growth needs.
Plant gradually and water in your new additions carefully, placing them on the shallow shelf where their roots can spread. Over the coming weeks, these plants establish themselves and begin doing the cleaning work that replaces chemicals. A diverse planting scheme creates a resilient ecosystem, so include several varieties to keep your water clear, balanced, and naturally beautiful throughout the changing seasons of the year.
Step 6: Set Up Water Circulation
Even a natural pool benefits from gentle water movement. Install a small, energy-efficient pump to circulate water between the swimming and regeneration zones. This flow carries nutrients to the plants and keeps the water from stagnating. Position the pump intake in the swimming zone and direct the cleaned output back through the planted area for steady filtration.
Add a skimmer to catch leaves and surface debris before they sink and decay. Choose equipment sized correctly for your pool volume to avoid wasting energy. Solar-powered options work well for eco-conscious owners who want to keep running costs low. Once your circulation system runs smoothly, the water stays fresh and the whole ecosystem settles into a healthy, self-sustaining rhythm.
Step 7: Balance and Maintain Your Pool
After everything is in place, allow your pool a few weeks to find its natural balance. The water may look cloudy at first as beneficial bacteria establish themselves, but it usually clears as the ecosystem matures. Test the water occasionally to monitor nutrient levels, and resist the urge to add chemicals that could disrupt the delicate balance you have built.
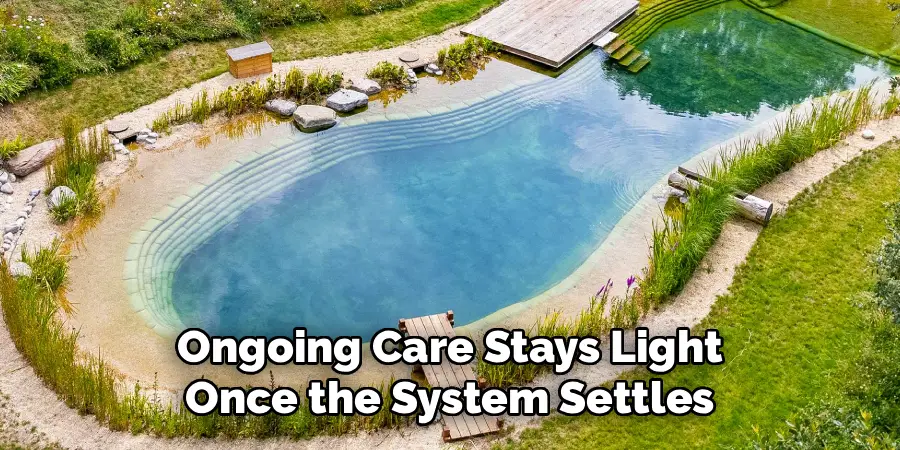
Ongoing care stays light once the system settles. Skim away fallen leaves, trim back overgrown plants each season, and remove excess algae by hand if needed. Keep an eye on the pump and clear the skimmer regularly. With consistent, simple attention, your natural swimming pool rewards you with clear water, thriving wildlife, and countless hours of refreshing enjoyment year after year.
Frequently Asked Questions
Is a Natural Swimming Pool Safe to Swim In?
Yes, natural swimming pools are completely safe when designed and maintained properly. The plant filtration and beneficial bacteria keep the water clean without harsh chemicals. Many people find the chemical-free water gentler on skin and eyes. As long as you balance the regeneration zone with the swimming area and maintain good circulation, the water stays clear, fresh, and pleasant for swimmers of all ages.
How Much Does the Conversion Typically Cost?
Costs vary widely based on size, materials, and how much work you do yourself. A modest backyard project handled mostly on your own might run a few thousand dollars, while larger professional builds cost considerably more. The main expenses include the liner, plants, pump, and excavation. Doing the labor yourself saves significantly, and the long-term savings on chemicals and energy often offset the initial investment over time.
How Long Does the Water Take to Clear?
Patience is key during the establishment phase. After filling and planting, expect the water to look cloudy or greenish for several weeks while beneficial bacteria and plants settle in. Most natural pools clear within four to eight weeks as the ecosystem balances itself. Warmer weather speeds the process, while cooler conditions slow it down. Avoid adding chemicals, since they disrupt the natural cleaning cycle you are building.
Can I Convert a Very Small Pond?
Small ponds can become charming natural pools, though space limits how much swimming room you get. You still need roughly half the area dedicated to plants for filtration, so a tiny pond may only allow for a cooling dip rather than full laps. If swimming space matters most, consider enlarging the pond during excavation to create a more usable and balanced final result.
What Maintenance Is Required Year-Round?
Maintenance stays refreshingly light once your ecosystem matures. In spring and summer, skim debris, trim plants, and monitor water levels regularly. Autumn calls for clearing fallen leaves before they sink and decay. Winter usually requires little beyond checking equipment. Unlike traditional pools, you skip chemical testing and balancing, which saves time and money. A few minutes of simple care each week keeps everything healthy and clear.
Conclusion
Transforming a tired garden pond into a living, swimmable oasis is one of the most rewarding projects you can take on. By assessing your space, designing balanced zones, and letting plants do the filtering, you create a beautiful, chemical-free retreat that supports wildlife and lowers your maintenance costs. Each step builds on the last, so working through the process carefully ensures clear water and lasting results you can enjoy for many summers to come.
Now that you understand how to turn a pond into a natural swimming pool, you have everything you need to begin planning your own conversion with confidence. Start small if you feel unsure, gather your materials, and take that first step toward a healthier, greener way to swim. Your perfect natural pool is closer than you think, and the peaceful, refreshing reward will make every bit of effort worthwhile.

About
Outdoor Fixes is a distinguished figure in the world of Diy design, with a decade of expertise creating innovative and sustainable Diy solutions.
His professional focus lies in merging traditional craftsmanship with modern manufacturing techniques,
fostering designs that are both practical and environmentally conscious. As the author of diy,
outdoorfixes delves into the art and science of outdoorfixes-making, inspiring artisans and industry professionals alike.
Education RMIT University
(Melbourne, Australia) Associate Degree in Design (Outdoor Fixes) Focus on sustainable design, industry-driven projects,
and practical craftsmanship. Gained hands-on experience with traditional and digital manufacturing tools, such as CAD and CNC software.
Nottingham Trent University
(United Kingdom) Bachelor’s in outdoorfixes.com and Product Design (Honors) Specialized in product design with a focus on blending creativity with production
techniques. Participated in industry projects, working with companies like John Lewis and Vitsoe to gain real-world insights.
Publications and Impact
In diy, Outdoor Fixes his insights on indoor design processes, materials, and strategies for efficient production.
His writing bridges the gap between artisan knowledge and modern industry needs, making it a must-read for both budding designers and seasoned professionals.