
The dream of a perpetually green, perfectly manicured lawn is a common one for many homeowners. However, the reality of constant mowing, watering, fertilizing, and weeding can turn that dream into a chore. This is why artificial grass has surged in popularity, offering a low-maintenance, water-wise, and aesthetically pleasing alternative to a natural lawn. Imagine a backyard that stays lush and vibrant through every season without the endless upkeep. This guide is your definitive resource, designed to show you exactly how to install artificial grass in a backyard with professional, long-lasting results. With careful planning and attention to detail, this project is well within the reach of a dedicated DIYer.
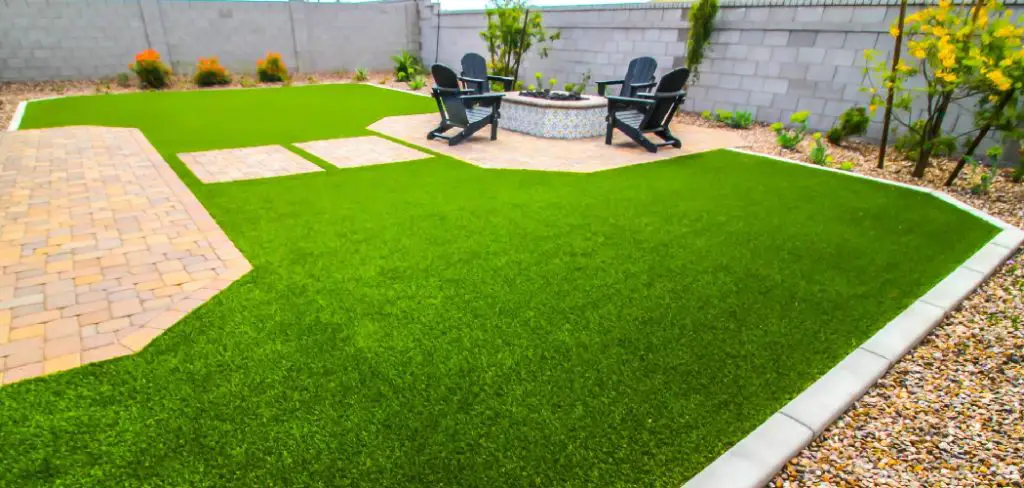
Planning and Measuring Your Artificial Grass Project
Before you can enjoy your new lawn, a crucial planning phase is required. This initial stage is all about precision and preparation, ensuring you purchase the right amount of materials and create a layout that minimizes waste and maximizes visual appeal. The first task is to accurately measure your backyard area to determine the square footage of turf and base material you will need.
Calculating Square Footage
To begin, create a simple sketch of the area you plan to cover. For square or rectangular yards, calculating the area is as simple as multiplying the length by the width. If your yard has an irregular shape, break it down into smaller, manageable geometric shapes (rectangles, squares, triangles), calculate the area of each one, and then add them together for a total. It is a wise practice to add an extra 5-10% to your final turf order. This surplus accounts for any cutting errors and ensures you have enough material for trimming around curves and obstacles.
Understanding Turf Grain Direction
A detail that is often overlooked by beginners is that artificial grass has a distinct “grain” or pile direction, much like a carpet. For a seamless and uniform appearance, all pieces of turf must be installed with the grain facing the same way. When planning your layout, consider the primary viewing angle of your lawn—usually from a patio or a main window—and orient the grain direction toward that viewpoint for the most natural look. Planning your cuts and seams with this in mind will also help you minimize waste.
Gathering Your Tools and Materials
A successful artificial grass installation depends on having the right tools and materials on hand before you start. This prevents delays and ensures each step is completed correctly. It can be helpful to organize your shopping and preparation by categorizing the items you will need for ground preparation, turf installation, and the final finishing touches.
Ground Preparation Tools
The bulk of the labor in this project is in the site preparation. You will need a sturdy shovel and wheelbarrow for excavating the existing lawn and soil. For larger areas, renting a sod cutter can save a significant amount of time and effort. To create a solid foundation, you will need either a hand tamper for small areas or a plate compactor (available at rental yards) for larger ones. A heavy-duty landscape rake and a measuring tape will also be essential during this phase.
Turf Installation Supplies
The core materials include the artificial grass itself, a geotextile weed barrier, and the base materials. Your base will consist of a crushed stone aggregate (like Class II road base) and a layer of leveling sand. To join pieces of turf together, you will need seam tape and a specialized turf adhesive. The entire installation is secured around the perimeter and at the seams with 6-inch turf staples or nails. Finally, you will need infill, such as silica sand or a specialty product, to weigh down the turf and help the blades stand upright.
Cutting and Finishing Tools
For trimming and fitting the turf, a sharp utility knife with plenty of extra blades is essential; turf backing is tough and will dull blades quickly. A carpet cutter, while optional, can also make long, straight cuts easier. To apply the final layer of infill, a broadcast or drop spreader will ensure even distribution. The last tool you will need is a stiff-bristled push broom to work the infill down into the fibers and groom the lawn.
Preparing the Site for Installation
The long-term performance and appearance of your artificial lawn depend almost entirely on the quality of the base beneath it. This preparatory phase is labor-intensive but non-negotiable. It involves creating a stable, well-draining foundation that will support your new lawn for years to come.
Removing Existing Lawn and Soil
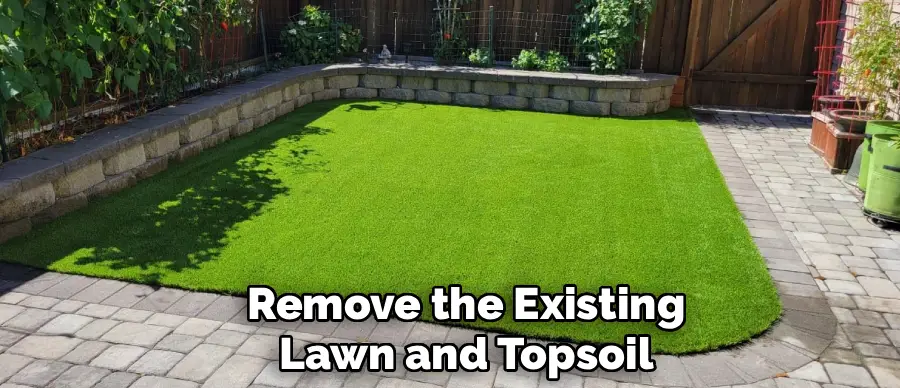
The first physical step is to completely remove the existing lawn and topsoil. You will need to excavate the entire area to a depth of 3 to 4 inches. This depth accommodates the layers of aggregate base and leveling sand that will form your new foundation. Ensure you remove all grass, weeds, roots, and large rocks from the area to create a clean slate for the new installation.
Installing a Weed Barrier
Once the area is excavated, the next step is to lay down a geotextile weed barrier. This fabric is a crucial component that prevents weeds from growing up through your new lawn while still allowing water to drain through. Roll out the fabric across the entire excavated area, making sure to overlap any seams by at least 6 inches. Secure the barrier with a few staples to hold it in place while you work on the next stage.
Step-by-Step Guide: How to Install Artificial Grass in a Backyard
With the site prepared, you are ready to begin the core installation process. This guide will walk you through each stage, from building the base to laying the turf, ensuring a professional and durable finish.
Step 1: Install and Compact the Aggregate Base
This step creates the structural foundation of your new lawn. Begin by filling the excavated area with a 2 to 3-inch layer of your crushed aggregate base material. Spread it evenly throughout the area with your rake. Now, using a plate compactor or hand tamper, compact this layer until it is firm and stable. You will need to make multiple passes over the entire area to achieve proper compaction. A well-compacted base is critical for preventing dips and hollows from forming under your turf over time.
Step 2: Add and Screed the Leveling Layer
On top of the compacted aggregate, you will add a final 1-inch layer of leveling sand. This layer creates a perfectly smooth surface for the turf to lie on. To achieve a flat, even surface, you will use a technique called “screeding.” Lay two parallel pipes or straight boards across the area and pour the sand between them. Then, pull a long, straight 2×4 board across the top of the pipes, scraping away the excess sand. This leaves a perfectly smooth and level bed. Carefully remove the pipes and fill in the voids with sand, smoothing them with a trowel.
Step 3: Roll Out the Artificial Grass
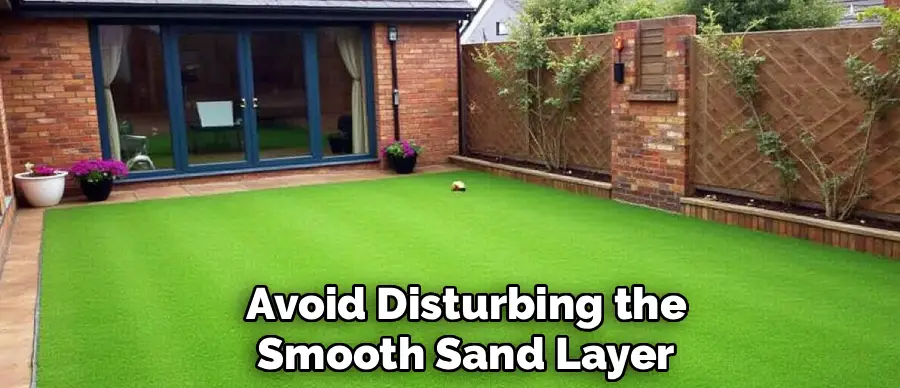
Now comes the exciting part: rolling out the turf. Carefully unroll your sections of artificial grass over the prepared base. Handle the turf with care to avoid disturbing the smooth sand layer beneath. Be certain that the grain or pile direction is facing the same way for all pieces. It is a good idea to let the turf relax in the sun for an hour or two. This helps to remove any wrinkles or creases that may have formed while it was rolled up for transport.
Step 4: Cut and Seam the Turf Pieces
With the turf laid out, it is time to trim and join the pieces. Using your sharp utility knife, carefully trim the edges of the turf to fit the perimeter of your yard and cut around any obstacles like trees or sprinkler heads. To create a seam, lay the two adjoining pieces of turf side by side with a very small gap between them. Fold back the edges and place a strip of seam tape on the base material, centered under the gap. Apply turf adhesive to the tape, then carefully press the edges of the turf back down onto the adhesive, ensuring the fibers do not get stuck. A proper seam should be nearly invisible.
Step 5: Secure the Perimeter
To prevent the turf from lifting or shifting, you must secure it firmly. Drive 6-inch turf staples or nails every 6 to 12 inches around the entire perimeter of the installation. You should also place staples along both sides of any seams for added security. When driving the staples, be careful to spread the turf fibers apart so you do not trap them under the staple head, which would make the staples visible.
Step 6: Apply and Distribute the Infill
The final step is to apply the infill. Infill is a crucial component that weighs down the turf, protects the backing from UV rays, helps the grass blades stand upright, and provides a soft, cushioned feel underfoot. Use a drop spreader to apply the infill evenly across the entire surface. Once applied, use a stiff-bristled push broom to work the infill down into the base of the turf fibers. You will need to brush in multiple directions to distribute it evenly and to help fluff up the grass blades.
Choosing the Right Type of Artificial Grass
When you begin shopping for artificial grass, you will find a wide variety of options. Understanding a few key characteristics will help you choose a product that suits your aesthetic preferences, performance needs, and budget.
Understanding Pile Height and Density
Pile height refers to the length of the grass blades, typically measured in inches. A taller pile height, such as 1.5 to 2 inches, can create a very lush, luxurious look. Density refers to the number of fibers per square foot. A higher density means a fuller, more resilient turf that is better able to withstand heavy foot traffic. The ideal choice is often a balance between a pleasing pile height and a robust density.

Materials: Polyethylene vs. Polypropylene
The most common materials used for artificial grass blades are polyethylene and polypropylene. Polyethylene is prized for its softness and realistic appearance, making it an excellent choice for general-purpose backyards where a comfortable feel is important. Polypropylene is more resilient and has a stiffer texture, making it a popular choice for applications like backyard putting greens where a specific performance is required.
Infill Options Explained
The type of infill you choose is just as important as the turf itself. It plays a significant role in the lawn’s performance, safety, and longevity. While standard sand is a common choice, specialized options are available to address specific needs.
Standard Silica Sand
Silica sand is the most common and affordable infill option. It is excellent for general use, providing the necessary weight to hold the turf in place and helping the blades stand upright. Its rounded granules are less abrasive than common playground sand, which helps to extend the life of the turf backing.
Specialty Infill for Pets and Hot Climates
For homeowners with pets, specialized infills can make a world of difference. Zeolite infill is a popular choice because it is designed to trap and neutralize ammonia from pet urine, helping to control odors. In hot, sunny climates, some homeowners opt for coated or rounded sand infills that are designed to retain less heat than standard silica sand, keeping the turf surface slightly cooler to the touch.
Long-Term Maintenance and Care
One of the primary benefits of artificial grass is its low maintenance, but it is “no maintenance.” A few simple care routines will keep your new lawn looking its best for many years.
Regular Rinsing and Brushing
To keep your lawn free of dust, pollen, and light debris, an occasional rinse with a garden hose is all that is needed. In high-traffic areas, the grass blades may begin to lay flat over time. You can easily fluff them back up by brushing the area with a stiff push broom against the grain.
Dealing with Stains and Pet Waste
Spills and stains are generally easy to handle. Most can be cleaned with a simple solution of mild soap and water. For pet waste, remove solid waste as you normally would, and then rinse the area thoroughly with a hose. For persistent odors, you can use a specialized turf deodorizer or a simple solution of water and white vinegar.
Conclusion
Installing an artificial lawn is a significant project, but the rewards of a beautiful, durable, and low-maintenance outdoor space are well worth the effort. The success of the project hinges on careful preparation, from meticulous planning and measuring to the critical construction of a solid base. By following the key steps of site prep, base construction, and proper turf laying, you now know how to install artificial grass in a backyard. This process allows you to create a stunning, evergreen landscape that frees you from the endless cycle of lawn care. We encourage you to start planning your project and look forward to enjoying a perfect lawn, season after season.

About
Outdoor Fixes is a distinguished figure in the world of Diy design, with a decade of expertise creating innovative and sustainable Diy solutions.
His professional focus lies in merging traditional craftsmanship with modern manufacturing techniques,
fostering designs that are both practical and environmentally conscious. As the author of diy,
outdoorfixes delves into the art and science of outdoorfixes-making, inspiring artisans and industry professionals alike.
Education RMIT University
(Melbourne, Australia) Associate Degree in Design (Outdoor Fixes) Focus on sustainable design, industry-driven projects,
and practical craftsmanship. Gained hands-on experience with traditional and digital manufacturing tools, such as CAD and CNC software.
Nottingham Trent University
(United Kingdom) Bachelor’s in outdoorfixes.com and Product Design (Honors) Specialized in product design with a focus on blending creativity with production
techniques. Participated in industry projects, working with companies like John Lewis and Vitsoe to gain real-world insights.
Publications and Impact
In diy, Outdoor Fixes his insights on indoor design processes, materials, and strategies for efficient production.
His writing bridges the gap between artisan knowledge and modern industry needs, making it a must-read for both budding designers and seasoned professionals.